
I own a wrap dress that is exactly one sleeve short of finished. The left sleeve is cut, interfaced, and pinned to the armhole, and it has been living in a project bag for two years because I bought precisely what the pattern envelope told me to buy and the pattern envelope assumed a fabric width I did not have. That dress is my permanent reminder of the most common math mistake in sewing: trusting the yardage chart without doing your own five minutes of calculation.
Here is how to calculate fabric yardage for any project, whether you are working from a pattern or drafting from scratch. You will learn why the envelope number is only a starting point, how fabric width does most of the math for you, the simple formula I use every single time, and the buffers for shrinkage, nap, and directional prints that keep you out of the one-sleeve club.

The pattern envelope is a starting point, not a promise
Every pattern envelope carries a yardage chart, that little grid of numbers sorted by size and fabric width. It is useful the way a weather forecast is useful: broadly right, specifically suspect. The chart assumes a standard cutting layout, a standard height, and a fabric with no directional print. It does not know that you are six feet tall, that your floral has a definite up and down, or that you plan to squeeze the sleeves in beside the bodice to save fabric.
So use the envelope number as your opening bid, then verify it with the method below. If you are new to reading those envelopes at all, my guide to how to read sewing pattern symbols will decode the markings before they confuse you mid-project. And glance at the notions list while you are there: the yardage chart sits next to it for a reason, because thread, zippers, and interfacing are separate purchases the chart will not remind you about twice.
Step 1: Find your fabric width, because it does most of the math
Fabric width is the single biggest variable in yardage math, and beginners routinely ignore it. Quilting cotton is 44 to 45 inches wide. Most apparel fabrics are 58 to 60 inches wide. Home decor fabric often lands at 54. That fifteen-inch gap between quilting cotton and apparel fabric can easily turn a two-yard project into a three-yard project, because pattern pieces that nest side by side on wide fabric have to queue up single file on narrow fabric.
Check the end of the bolt or the listing before you do anything else. Measure the usable width yourself if you can, because the selvedge, that tightly woven finished edge along each side, does not count as cutting space. Subtract about an inch total for both selvedges. A fabric sold as 45 inches wide gives you roughly 44 inches of usable width, and that missing inch has ruined more cutting plans than dull scissors ever have.
Step 2: Measure the lengths you actually need
Forget the pattern for a minute and think in rectangles. Every garment is a set of long rectangles: bodice length, skirt length, sleeve length, pant leg length. Measure each finished length on your body or on a garment that already fits, then add the extras on top: hem allowances, seam allowances, waistband or facing depth, and a little slack for the fabric to relax after cutting.
This is where accurate body measurements pay off twice. A skirt that needs 26 inches of finished length plus a 2-inch hem plus a 1-inch waistband seam needs 29 inches of fabric length, not 26. Write each piece down as inches needed. You are building a shopping list, and specific numbers beat vibes every time.

Step 3: The five-minute formula
Here is the whole formula. Add up the lengths of your longest pieces, the ones that must run the full length of the fabric. Divide the total inches by 36. Round up to the next quarter yard. That is your yardage.
Worked example: a simple pull-on skirt. Finished length 24 inches, plus a 2-inch hem, plus a 1-inch waistband allowance: 27 inches of length needed. The waistband itself wants a 4-inch strip across the width, which fits in the leftover width beside the skirt piece on 60-inch fabric, so the total length needed is still 27 inches. Divide 27 by 36 and you get 0.75 yards. Round up to 1 full yard and you have comfortable room for error. If your fabric is only 45 inches wide and the pieces will not fit side by side, you need two lengths instead: 54 inches, divided by 36, is 1.5 yards. Same skirt, different width, double the fabric. This is why step 1 comes first.
If mental math is not your thing, a fabric yardage calculator will do the arithmetic for you, but run the formula by hand at least once so you know when the calculator is lying. No calculator can see your nap, your print direction, or your plan to squeeze the sleeves in beside the bodice.
Three worked examples: a top, trousers, and a dress
A boxy woven top. Body length 26 inches plus a 2-inch hem: 28 inches. Sleeves 12 inches plus a 1-inch hem: 13 inches each, and they fit in the leftover width beside the body on 60-inch fabric. Total: 28 inches, divided by 36, rounds up to 1 yard. On 45-inch fabric the sleeves have to go below the body: 28 plus 13 is 41 inches, which is 1.25 yards. That answers how much fabric for a shirt in the most common case: about a yard at full width.
Straight trousers. Outseam 40 inches plus a 2-inch hem: 42 inches per leg. On 60-inch fabric the two legs fit side by side, so you need one 42-inch length: 1.25 yards. On 45-inch fabric you need two lengths: 84 inches, which is 2.5 yards. Trousers are where narrow fabric punishes you hardest, so this is the number to get right before you fall in love with a 44-inch-wide print.
A simple shirt dress. Bodice 18 inches, skirt 30 inches, hems and seam allowances about 6 inches: 54 inches of length. Sleeves at 14 inches tuck into the leftover width on 60-inch fabric, so 54 inches is 1.5 yards, rounded up to 1.75 for safety. On 45-inch fabric the sleeves drop below: 68 inches total, which is 2 yards. When someone asks how much fabric for a dress, this is the honest answer: it depends on the width, and now you know how to work it out.
The extras that eat yardage: nap, prints, and shrinkage
Three things quietly add yardage after the basic math is done. First, nap. Velvet, corduroy, and velveteen have a pile that looks different depending on which way it lies, so every piece must be cut in the same direction. That one-way layout wastes the nesting tricks the formula assumes, so add an extra quarter to half yard. Second, directional prints. A floral with a clear up and down obeys the same one-way rule as nap, and a large-scale print you want centered on the bodice needs even more. Third, shrinkage. Prewash your fabric exactly the way you will wash the finished garment, and buy an extra quarter yard as a shrinkage buffer, more for linen, which shrinks with enthusiasm. A fabric yardage calculation that ignores these three is a wish, not a plan.
Sketch a cutting plan before you spend anything
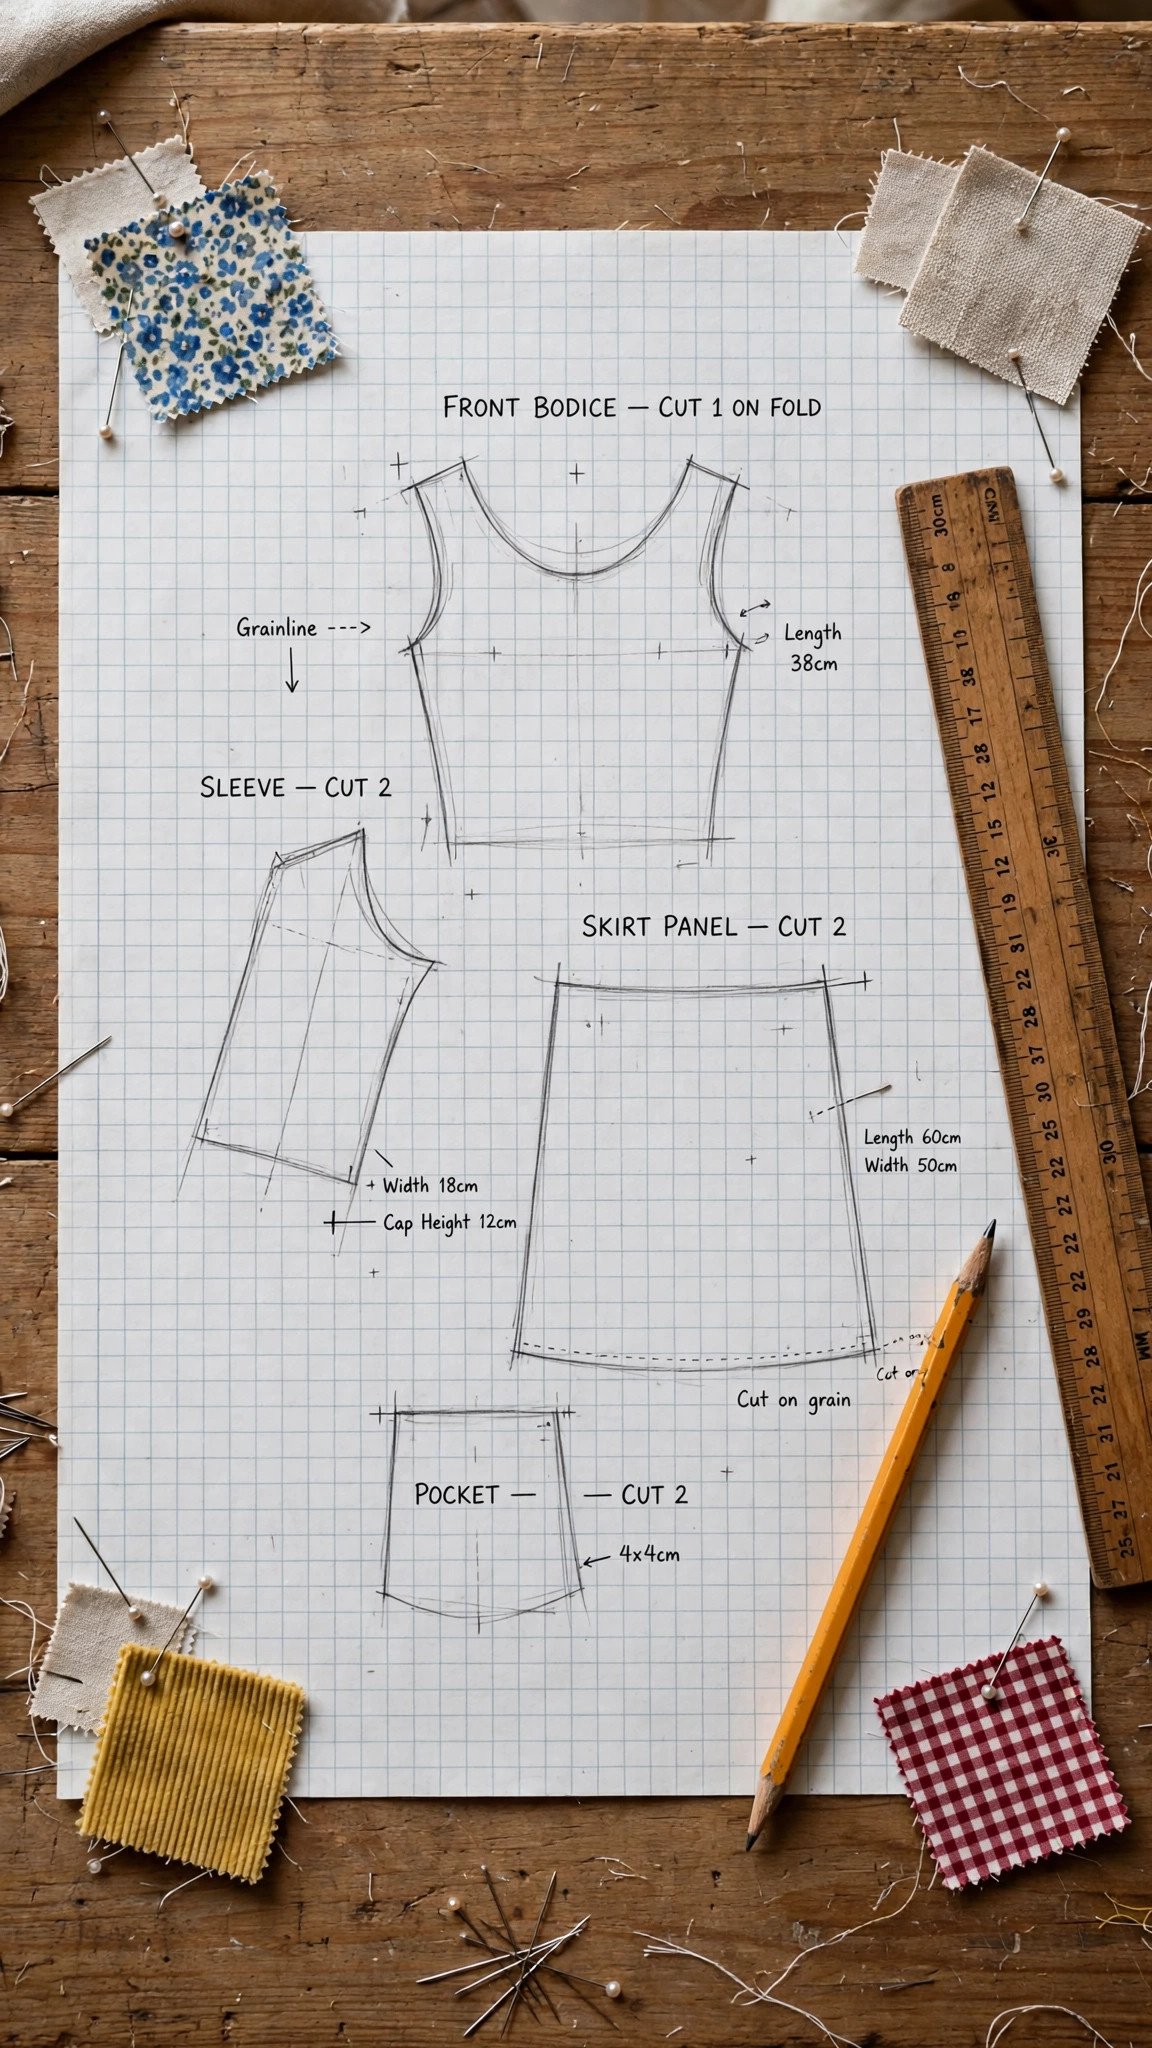
Before you buy, draw it. Take graph paper, let each square equal two inches, draw your fabric width to scale, and sketch your pattern pieces into it with their grainline arrows pointing the right way. Ten minutes with a pencil will confirm your math or catch the mistake, and it is deeply satisfying to watch the pieces fit. If grainline arrows mean nothing to you yet, my guide to how to cut fabric on grain explains why they matter and how to find them. A cutting layout you drew yourself is worth more than any chart, because it is the actual plan for your actual fabric.
Frequently asked questions
How wide is quilting cotton? Almost always 44 to 45 inches, with about 43 to 44 inches of usable width once you subtract the selvedges. Apparel fabric is usually 58 to 60 inches. Always check the specific fabric, because odd widths exist and they change the math.
Can I just use an online fabric yardage calculator? As a cross-check, yes. As your only method, no. Calculators handle the arithmetic but not the judgment calls: nap direction, print scale, pattern matching, or whether your pieces actually nest the way you hope. Do the formula once by hand, then let the calculator confirm it.
How much extra fabric should I buy beyond the calculation? A quarter yard buffer covers normal cutting wobbles and minor shrinkage. Add a half yard for napped fabrics, directional prints, or plaids you plan to match. Leftover fabric becomes test scraps, pocket linings, and the binding you forgot you needed.
What does a one-way layout mean? Every pattern piece faces the same direction on the fabric, which nap and directional prints require. It uses more fabric than a nested layout because you cannot flip pieces to fill gaps. Budget for it or your velvet will look striped in the worst way.
Should I count the selvedge in the usable width? No. The selvedge is woven tighter than the rest of the fabric, it can pucker, and it is often printed with the fabric name. Subtract about an inch total for both selvedges before you do any math.
Measure twice, buy once
That is the whole skill: know your width, add up your lengths, divide by 36, round up, and pad for nap, print, and shrinkage. Five minutes with a tape measure and a pencil beats standing in the cutting line doing panicked mental math, and it beats my one-sleeve wrap dress every time. Do the calculation, sketch the layout, and buy with confidence. Your future self, the one with two finished sleeves, says thanks.

Written by June Carter
I am June, a sewing enthusiast who loves turning simple fabric into things people actually use. I test every technique and product I write about at my own machine before it lands here.