

Nothing deflates the joy of a finished collar faster than flipping it to the right side and finding it bubbly and rippled like a tiny mountain range. Learning how to fuse interfacing without bubbles is one of those unglamorous skills that separates homemade-looking from handmade-beautiful, and it mostly comes down to patience rather than talent.
I am June, and I fuse interfacing on nearly every garment I sew, from shirt collars to bag panels, so I have made every mistake on this list personally. Bubbles are not bad luck. They are feedback. Your iron is telling you exactly what went wrong, and once you learn to read it, smooth fusing becomes boringly reliable. Here is my full method, including the fixes for when it still goes sideways.
Why Interfacing Bubbles: The Three Usual Suspects
Almost every bubbling disaster traces back to three things: not enough heat, not enough pressure, or not enough time. The adhesive dots on fusible interfacing need to melt fully and bond with the fabric fibers. If any of the three falls short, the glue only half melts, and you get blisters and ripples instead of a smooth bond. It really is that simple, and that is actually good news, because all three are completely in your control.
The sneakier culprits are moisture and movement. Steam, or even humidity hiding in your fabric, turns to vapor under the iron and gets trapped between the layers, which is a classic recipe for center bubbles. Sliding the iron around like you are ironing a shirt shears the layers while the glue is liquid. And moving the piece before it cools lets the not-quite-set adhesive shift. Keep those in mind and you have already solved most of it.
Prep: The Boring Part That Prevents Most Bubbles
Smooth fusing starts before the iron ever comes out. First, prewash your fabric, because fabric that shrinks after the interfacing is fused will ripple permanently, and no amount of re-pressing fixes that. Then pre-press the fabric completely flat. That quick pre-press does double duty: it removes wrinkles that would get locked in, and it drives out hidden moisture, which is one of the biggest bubble makers.
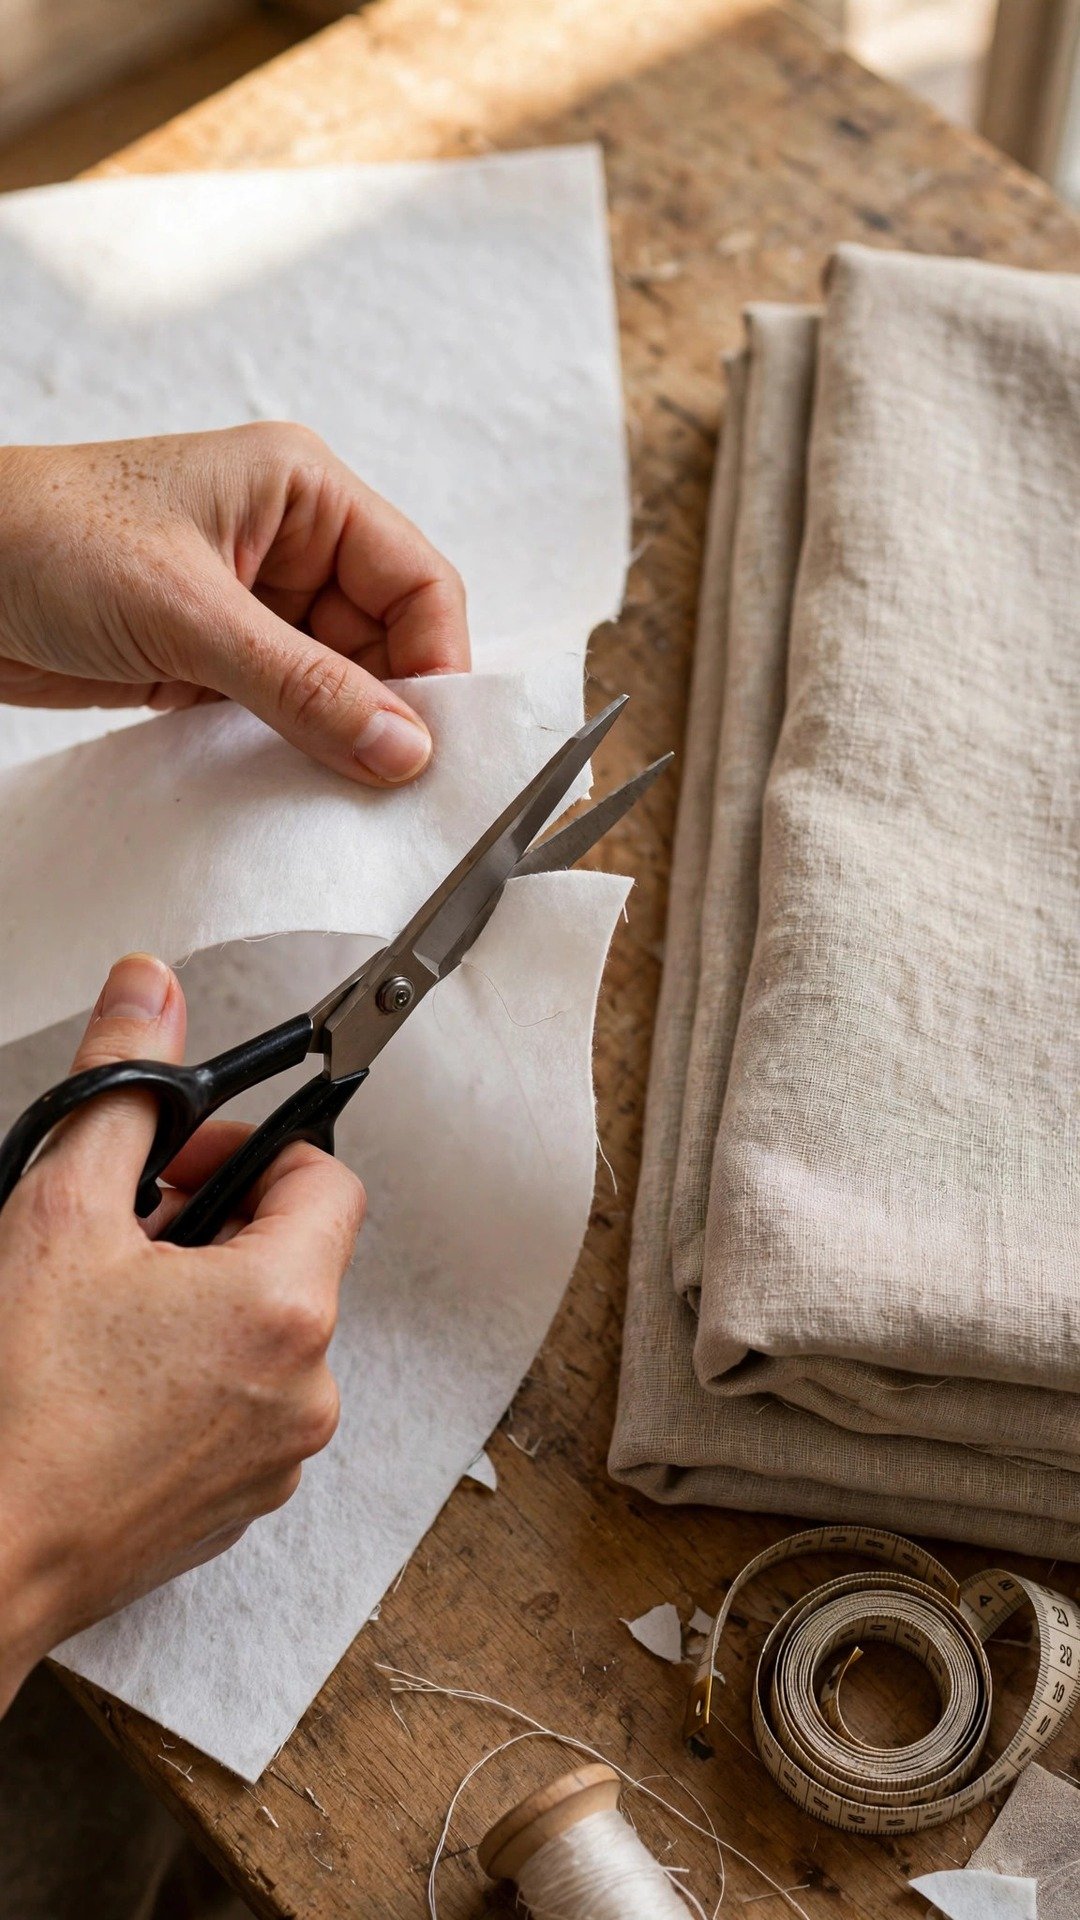
Cut your interfacing pieces next. I trim the seam allowances off my interfacing pieces so they sit just inside the fabric edges, which reduces bulk in the seams and keeps glue away from my iron and press cloth. Set your iron to dry, with the steam firmly off, at a temperature suited to your fabric. And always test on a scrap first: fuse a small sandwich of your exact fabric and interfacing, let it cool, then wash the scrap the way you will wash the garment. Your scrap will tell you the truth about heat, bond strength, and shrinkage.
How to Fuse Interfacing Without Bubbles, Step by Step
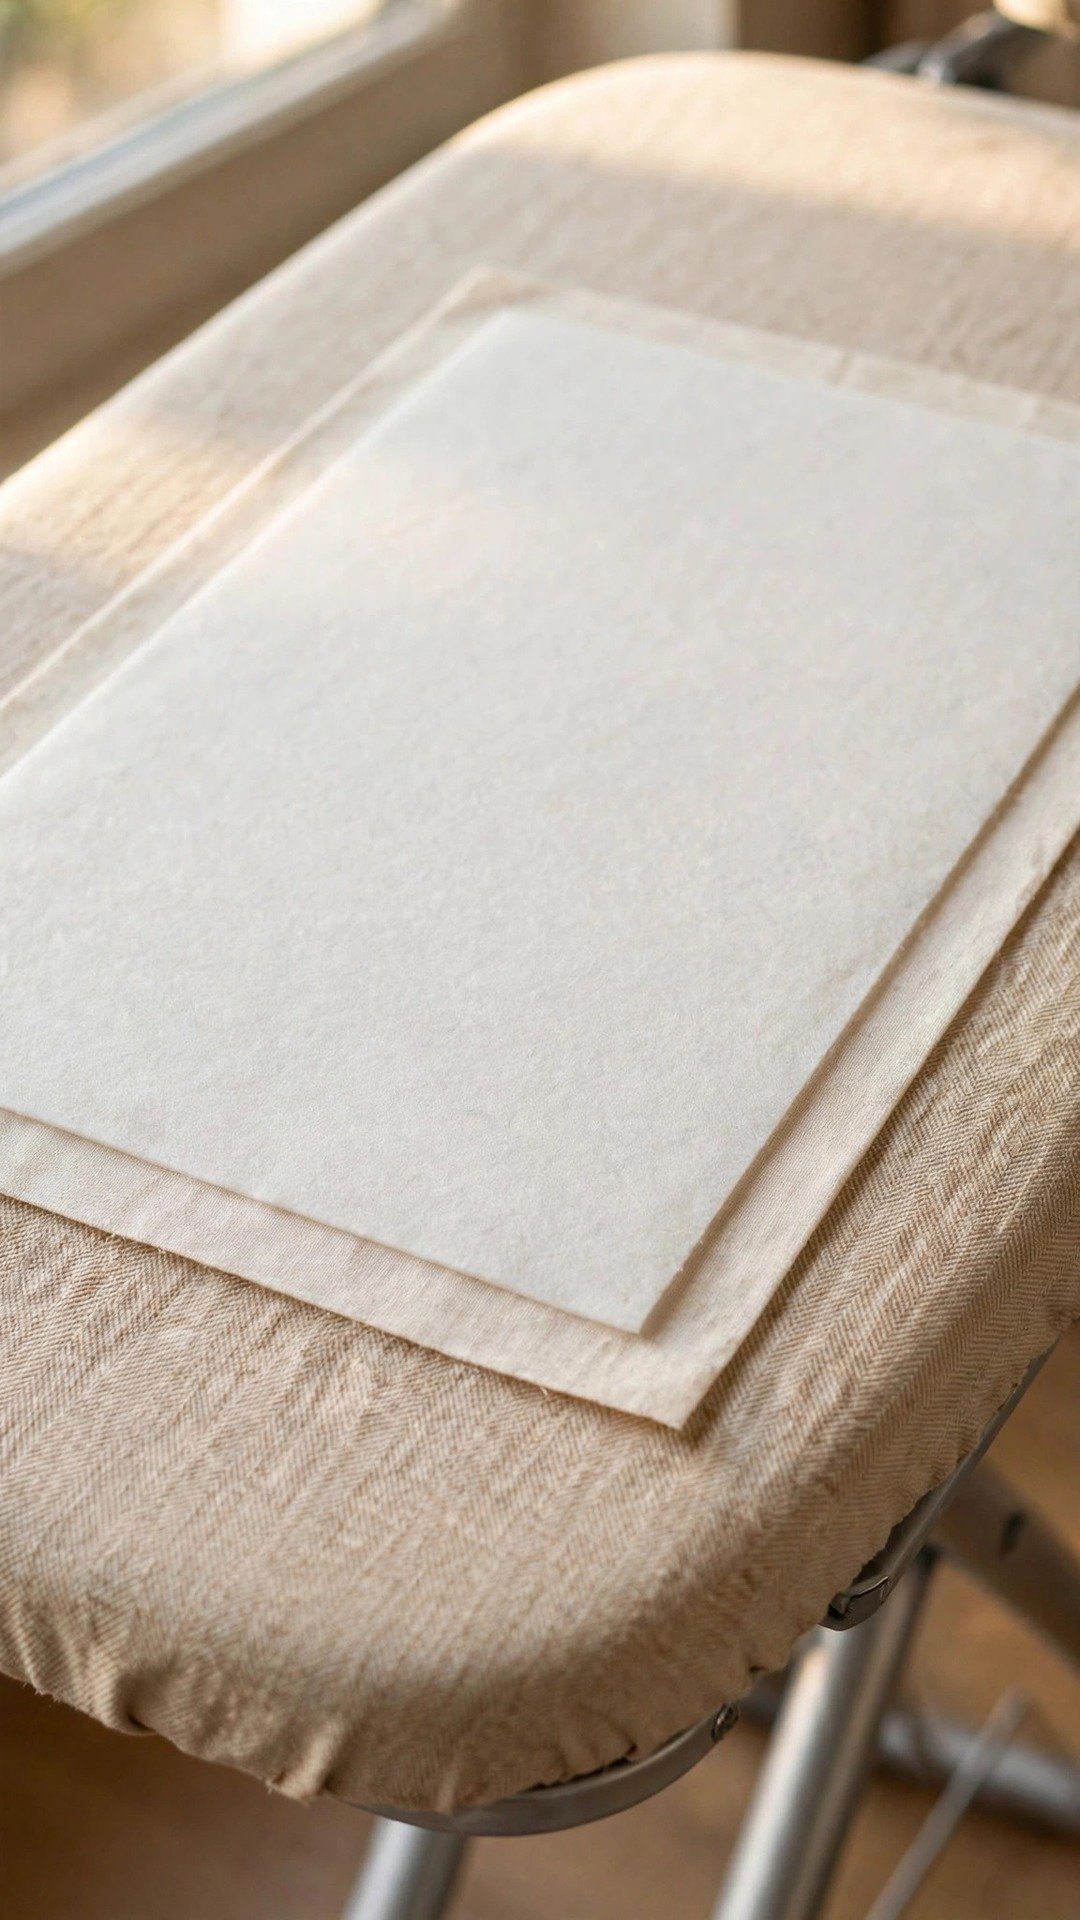
Here is the routine I use every single time. First, find the adhesive side of your interfacing. It is the bumpy, slightly shiny side, the glue side, and it goes face down against the wrong side of your fabric. Fusing it backwards is the most common beginner mistake in existence, so take the extra three seconds to check. Lay the fabric wrong side up, position the interfacing glue side down, and cover everything with a press cloth or pressing cloth to protect both your fabric and your iron’s soleplate from stray adhesive.
Now the actual fusing. Lower the iron straight down onto the press cloth and press and hold with firm, even pressure for 10 to 15 seconds. Do not slide, wiggle, or scrub. Then lift the iron completely and move it to the next section: lift and move, lift and move, overlapping slightly until the whole piece is fused. Work methodically across large pieces rather than rushing. When every section is done, walk away. Let the piece cool flat on the board until it is completely cool to the touch. That cooling time is when the adhesive truly sets, so let it cool completely before you pick it up or you risk delamination.

Match the Interfacing and the Heat to Your Fabric
Technique matters most, but the wrong pairing makes your job harder. Match the interfacing weight to your fabric: featherweight for silk and lawn, medium for quilting cotton and shirting, heavyweight for bag panels and structured collars. A heavy interfacing on a delicate fabric will never drape right, no matter how perfectly you fuse it. Woven fusible interfacing behaves most like fabric and is my default for garments, while nonwoven is fine for crafts and knit fusible is made for stretch fabrics.
Match your heat to the fabric too. Cottons and linens can take a properly hot iron, while viscose, silk, and synthetics want medium heat and a little more pressing time to compensate. Textured fabrics with uneven surfaces are the hardest to fuse well, so test and wash scraps before committing. Always check the manufacturer’s directions on the interfacing packaging as your starting point, then adjust based on your scrap test. And know that interfacing has a shelf life: very old interfacing can lose its adhesive power and refuse to bond no matter what you do.
Fixing Bubbles After They Happen
So you followed the steps and still got a bubble or two. Do not panic, and definitely do not rip it off yet. Lay your press cloth back over the bubbly area, bring your hot, dry iron down, and press and hold completely still for a full 15 seconds with firm pressure. That second dose of heat and pressure melts the glue properly and smooths most bubbles right out. I have rescued many a collar this way.
If the interfacing is bubbling everywhere rather than in one spot, run the detective checklist: was the adhesive side actually down, was the iron hot enough, and was the steam truly off? If the bond is weak all over and re-fusing does not help, the interfacing itself may be old, or the fabric and interfacing may simply be incompatible. In that case the honest fix is to peel it off while warm and start fresh with new interfacing. A smooth fused panel with no bubbles is absolutely achievable, and once you see it you will know exactly what good looks like.
Tricky Cases: Delicate Fabrics and Big Panels
Delicate fabrics like silk charmeuse punish impatience. Use medium heat, a press cloth always, and longer holds rather than hotter ironing. Test on a generous scrap, because scorching silk is a heartbreak you only need once. For big panels like jacket fronts or tote bag bodies, fuse from the center outward in overlapping sections so you are never stretching the fabric as you go, and give each section its full press time.
One more habit that saves me constantly: fuse interfacing to larger fabric pieces before cutting out small pattern pieces when the pattern allows it. It is far easier to get a smooth, bubble-free fuse on a generous rectangle than on a fiddly little collar piece, and your cutting stays accurate because the stabilized fabric does not shift. Little workflow choices like this are what make fusing feel easy instead of fussy.
FAQ
Can I use steam when fusing interfacing?
For almost all fusible interfacing, no. Use a dry iron with the steam off. Moisture is the enemy of a good fuse and a leading cause of bubbles. A few specialty interfacings call for steam, so check the manufacturer’s directions, but dry is the safe default.
Why will my interfacing not stick at all?
Check three things in order: is the adhesive side down against the fabric, is the iron actually hot enough for your fabric, and is the steam off? If all three are correct and it still will not bond, your interfacing may be old and the adhesive degraded, and a fresh piece is the fix.
Can I re-fuse interfacing that bubbled?
Yes, and it works more often than not. Cover the bubbly spot with a press cloth and press with a hot, dry iron, holding completely still for 15 seconds. The extra heat and pressure usually melt the adhesive fully and smooth the bubble out.
Should I prewash fusible interfacing?
Most modern fusible interfacing is pre-shrunk and does not need it, but if you are unsure, a gentle hand wash in lukewarm water and air drying is cheap insurance. What matters far more is prewashing your fabric, since fabric shrinkage after fusing causes ripples you cannot press out.

Written by June Carter
I am June, a sewing enthusiast who loves turning simple fabric into things people actually use. I test every technique and product I write about at my own machine before it lands here.