
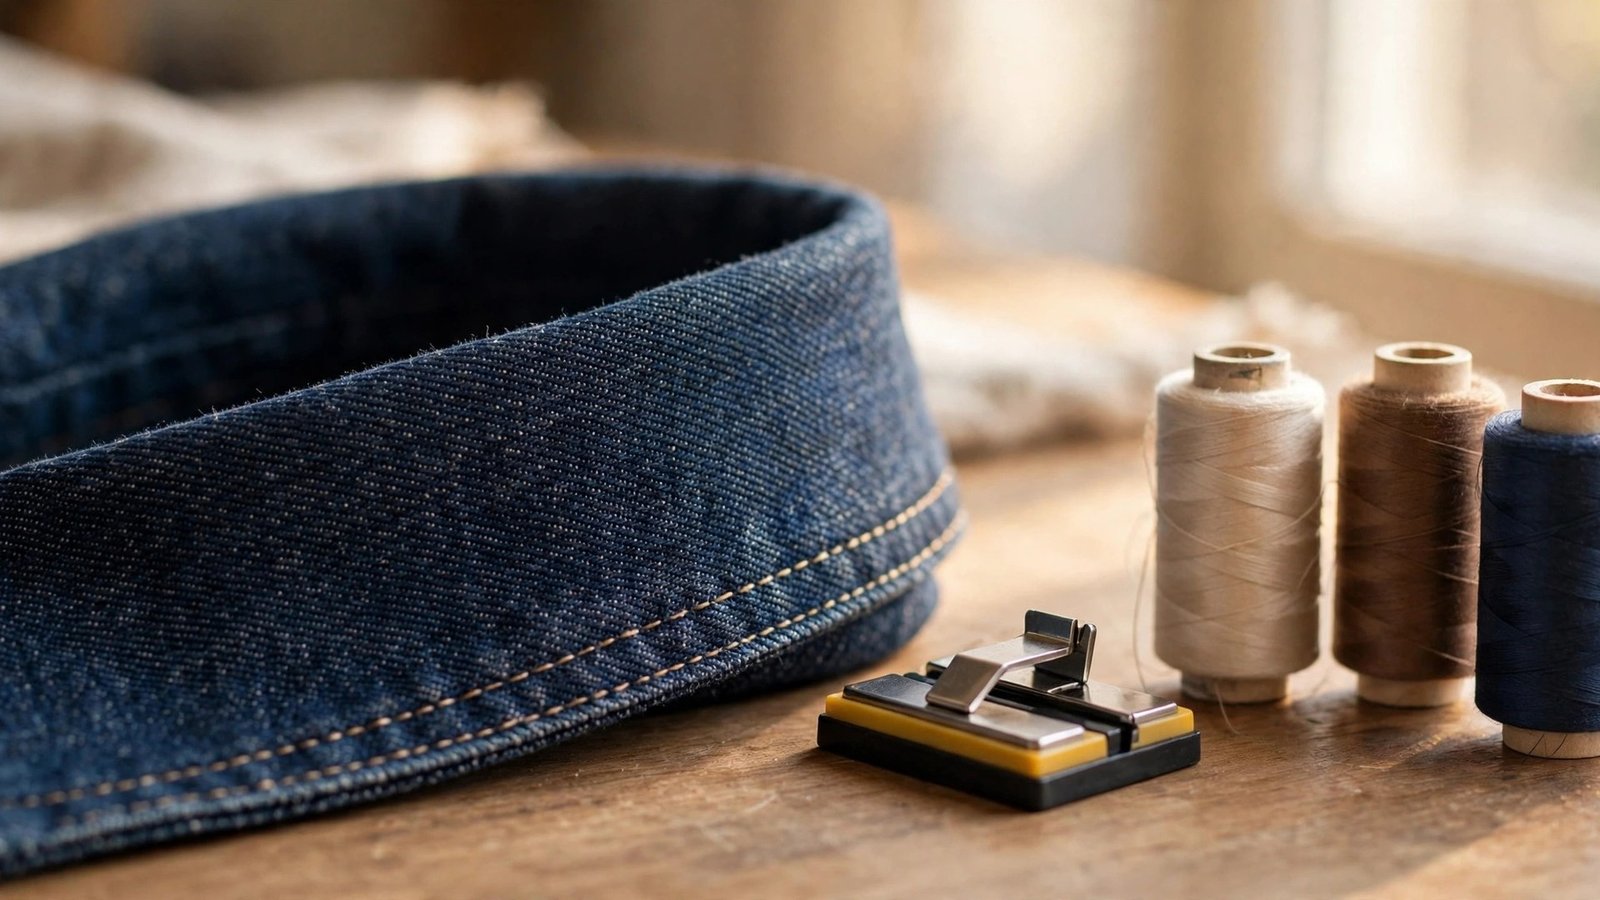
If you need to know how to fix uneven topstitching, start with the most likely culprit: you are watching the needle instead of a guide. Topstitching is the visible stitching on the outside of a garment, the line that everyone sees, so when it wobbles or wanders, the whole project looks homemade in the wrong way. I have unpicked more wobbly topstitching than I care to admit, and every time the fix was simpler than I expected.
Uneven topstitching usually comes down to three things: speed, guidance, and preparation. Sew too fast and the line wanders. Sew without a guide and the distance from the edge drifts. Skip the pressing and basting and the layers shift under the foot. Fix those three things and your topstitching will look like it came from a shop, not a first attempt.
This guide covers what causes uneven topstitching, how to set up your machine for it, the guides and feet that keep you straight, how to fix a line that has already gone wrong, and the practice routine that builds steady hands.
What Causes Uneven Topstitching
The most common cause is speed. Topstitching looks easy, so we rush it, and rushing makes the line wander. The feed dogs move the fabric at a steady pace, but if you push or pull the fabric, or if you sew faster than you can steer, the stitching drifts away from the edge. Slow down. Topstitching is a finishing step, not a race, and a slow, steady line always looks better than a fast, wobbly one.
Setting Up Your Machine for Topstitching
Start with the right needle and thread. A topstitch needle has a larger eye and a sharper point, and it handles the slightly heavier topstitching thread without shredding it. Use a topstitching thread or a good quality all purpose thread in a matching or contrasting colour, depending on the look you want. A contrasting thread shows every wobble, so use it only when your topstitching is already steady, or when you want a deliberate decorative effect.
Guides and Feet That Keep You Straight
A guide is the single best investment for straight topstitching, and the cheapest guides are the best. A strip of masking tape on the machine bed, placed at the distance you want from the needle, gives you a clear line to follow. A magnetic seam guide clips to the needle plate and does the same job. A quilting guide bar that attaches to the presser foot lets you follow a previous line of stitching at an exact distance.
The edge of the presser foot is also a guide. Most presser feet have a right edge that sits a fixed distance from the needle, and keeping the fabric edge aligned with that foot edge gives you a consistent seam allowance. An edge stitch foot, with a blade that rides along the fabric edge or a fold, is even better for topstitching close to an edge, because the blade keeps you from drifting.
Practise using the guide on scraps before you topstitch the garment. Sew a few lines following the tape, then check them. Are they straight? Is the distance from the edge consistent? If not, adjust your guide position and try again. The goal is to build the habit of watching the guide, not the needle, and that habit only comes from repetition. For the basic stitch control underneath all of this, my guide to sewing a straight stitch is worth revisiting.
How to Fix Topstitching That Has Already Gone Wrong
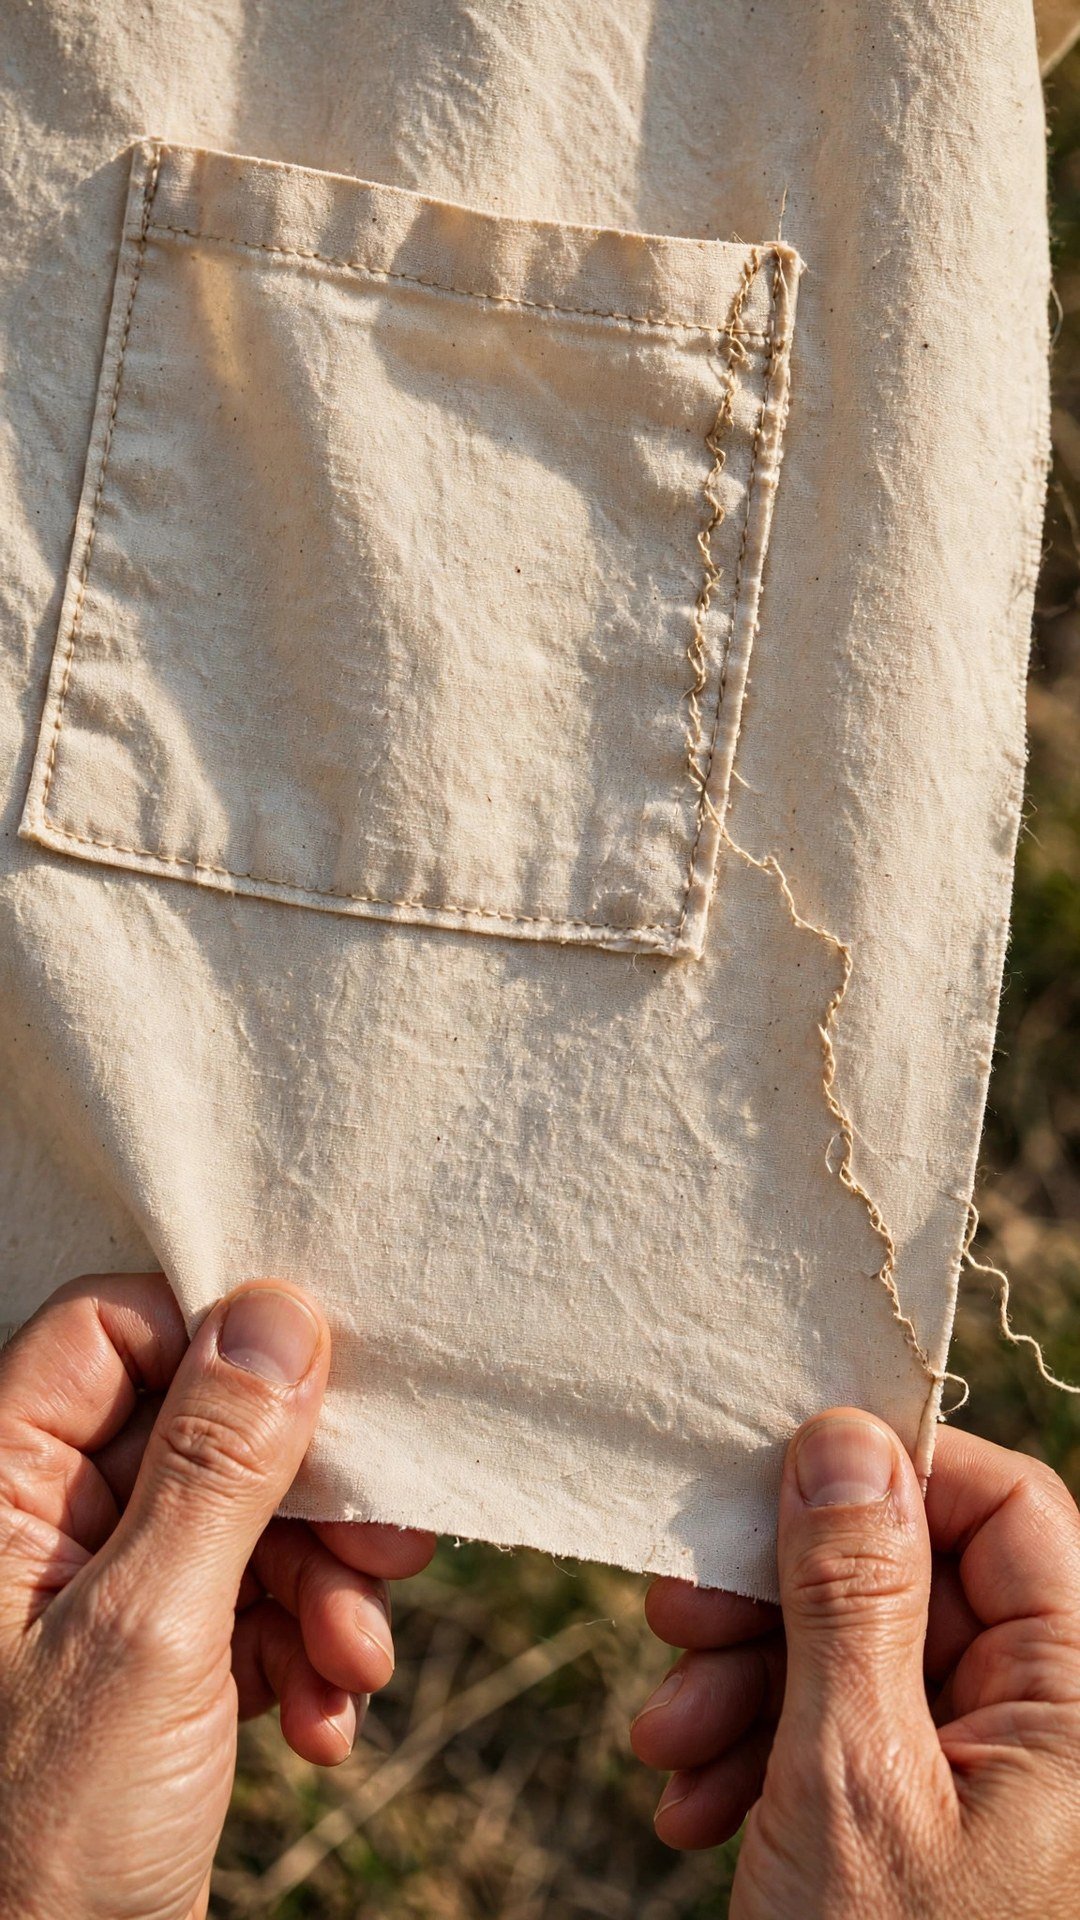
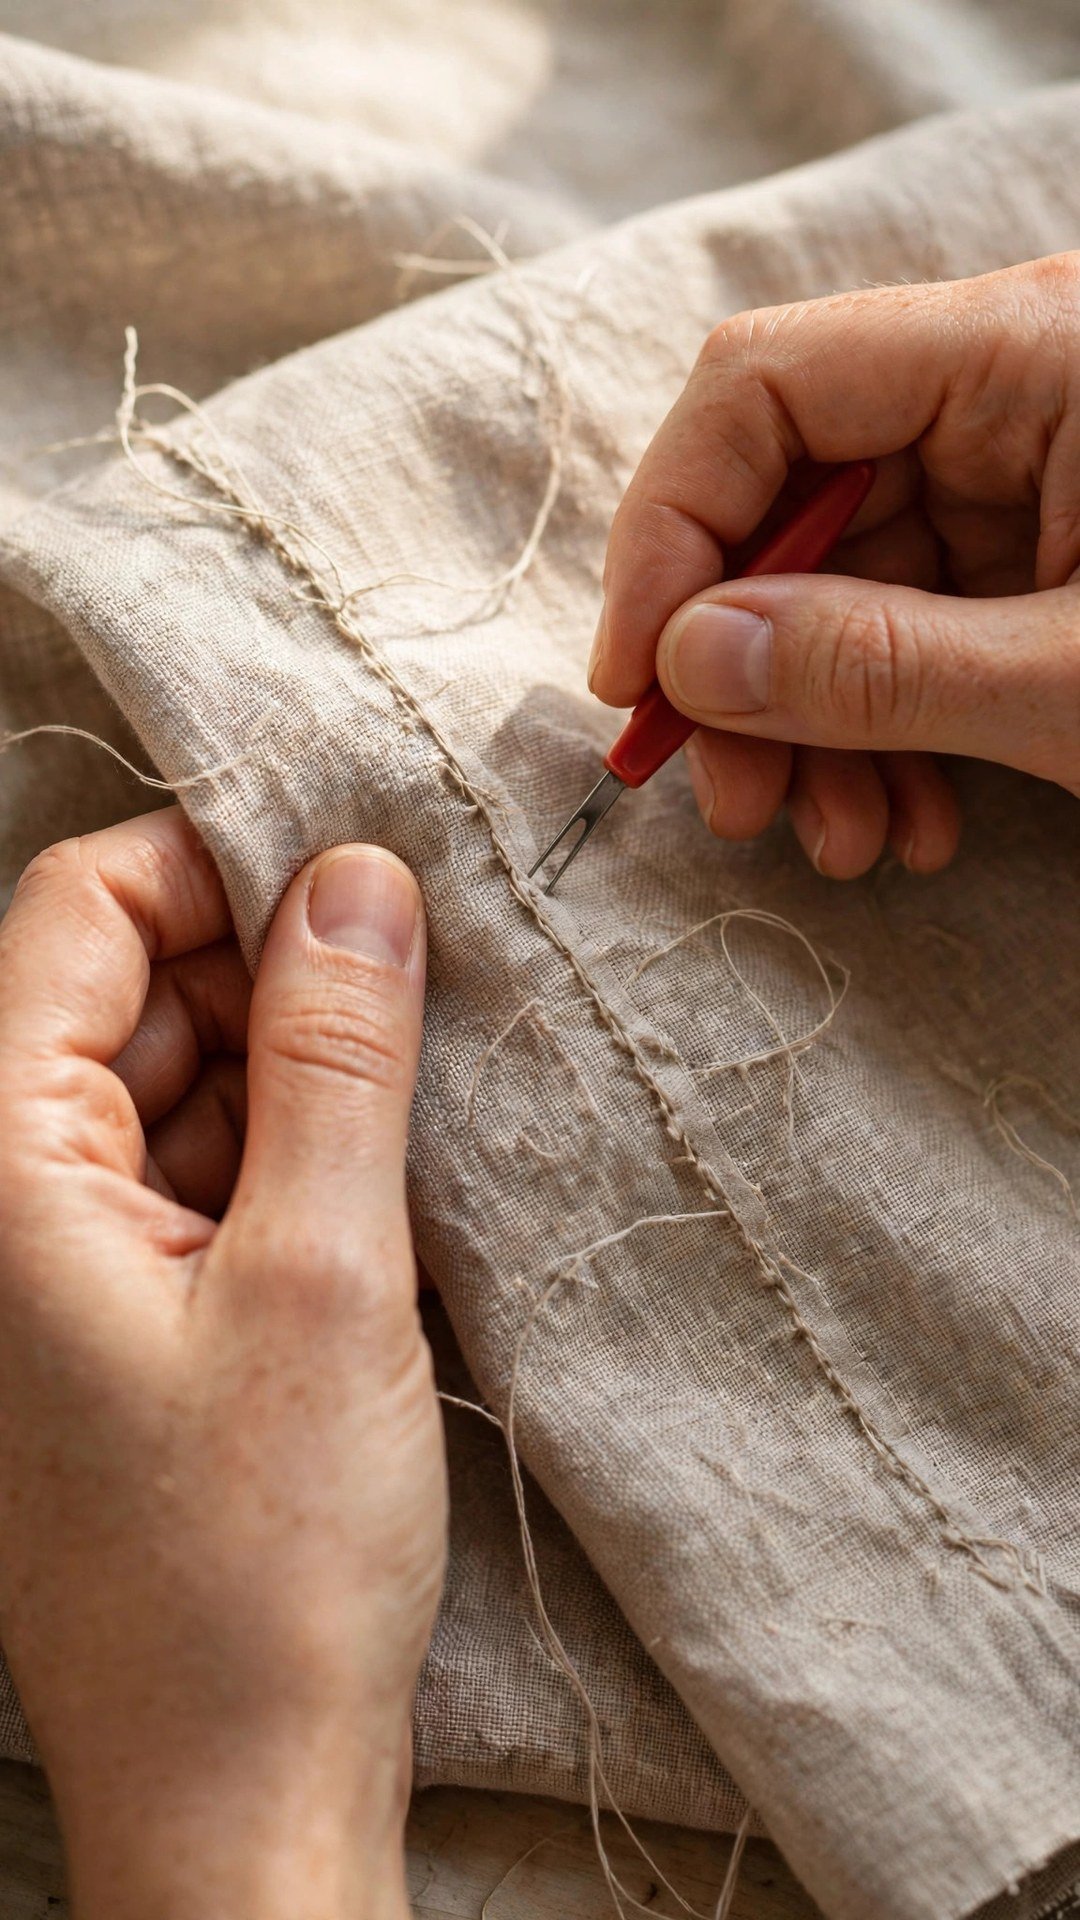
If a line of topstitching has already wandered, you have two choices: live with it or remove it and redo it. A slight wobble on an inside edge or a hem that will rarely be seen is fine to live with. But topstitching on a collar, a placket, or a visible pocket is worth redoing, because it is the first thing people notice. Unpick the bad line carefully with a seam ripper, taking care not to cut the fabric, and press the area flat before you sew again.
Before you redo the line, work out why it went wrong. Was it speed? Was it a missing guide? Were the layers shifting? Fix the cause first, then sew the line again, slower and with a guide. If the fabric now has needle holes from the removed stitching, press it with steam and the holes will often close up on natural fibres. On synthetic fabric, needle holes can be permanent, so be extra careful when unpicking and consider moving the new line a hair to one side to cover the old holes.
If the topstitching is uneven because the fabric puckered, the problem is usually tension or foot pressure, not steering. Loosen the tension slightly, reduce the foot pressure, and test on a scrap with the same layers. If the puckering persists, try a stabiliser underneath the fabric while you topstitch, or use a walking foot to feed the layers evenly. My guide to topstitching evenly covers the full technique, and my guide to reducing fabric puckering covers the pucker causes in depth.
Pressing and Basting Before You Topstitch
Pressing is the preparation that makes topstitching easy. Press the seam or edge you are about to topstitch so it lies flat and crisp, with the seam allowance exactly where you want it. A well pressed edge gives you a clear line to follow and stops the fabric from folding or rolling under the foot. Use a tailor’s ham for curved edges and a sleeve board for narrow areas, and let the fabric cool before you sew so the press sets.
Basting is the second preparation step, and it is worth the time on long or slippery lines. Hand baste the layers together along the line you will topstitch, or use fabric clips to hold them. Basting stops the layers from shifting and lets you focus on steering instead of holding the fabric together. For a hem, baste the hem in place, press it, and then topstitch. The basting comes out afterwards and leaves no trace.
For curved topstitching, like a collar or a pocket, clip the seam allowances and press the curve carefully before you topstitch. Sew slowly around the curve, stopping with the needle down to pivot the fabric at the tightest points. A curve topstitched slowly with the needle down at each pivot will look smooth and even, while a curve rushed in one go will look lumpy and uneven.
A Practice Routine for Steady Topstitching
Steady topstitching is a skill, and skills improve with practice. Set aside ten minutes with a scrap of fabric and a guide, and sew straight lines, curved lines, and lines at different distances from the edge. Focus on watching the guide, not the needle, and on keeping a steady speed. Do not worry about the first few lines: the goal is to build the habit, not to produce perfect stitching on the first try.
Practise on the same fabric and layers as your project, because different fabrics feed differently. A stable cotton is forgiving, while a slippery rayon needs a slower speed and a lighter foot. Practise the exact line you will sew on the garment, including any curves or corners, so the real thing feels familiar when you sew it.
Finally, remember that even experienced sewists unpick topstitching sometimes. The difference is that they know why it went wrong and they fix the cause before they sew again. Slow down, use a guide, press and baste first, and your topstitching will be straight, even, and professional looking, every time.

Frequently Asked Questions
Why is my topstitching wavy?
Wavy topstitching usually means you are sewing too fast, watching the needle instead of a guide, or the layers are shifting. Slow down, follow a fixed guide like tape on the machine bed, and baste the layers together before you topstitch.
What stitch length is best for topstitching?
A longer stitch than a construction seam, usually around 3 to 3.5 millimetres for medium weight fabric. Longer stitches look more professional and are easier to keep even. Always test on a scrap with the same layers first.
Should I use a special needle for topstitching?
Yes, a topstitch needle has a larger eye that handles thicker topstitching thread without shredding it. It gives a cleaner line and fewer thread breaks, especially with contrasting thread.
How do I topstitch in a straight line?
Use a guide: a strip of tape on the machine bed, a magnetic seam guide, or the edge of the presser foot. Keep the fabric edge aligned with the guide and watch the guide, not the needle, while you sew slowly.
Can I fix uneven topstitching without unpicking it?
A slight wobble on a hidden edge can stay, but visible topstitching is worth redoing. Unpick it carefully, press the area flat, fix the cause, and sew the line again with a guide. On natural fibres, steam pressing often closes the old needle holes.
Topstitching is the line everyone sees, so it deserves the extra minute of preparation. Slow down, set up a guide, lengthen the stitch, and press and baste first. Do those four things and your topstitching will be straight, even, and worth showing off.

Written by June Carter
I am June, a sewing enthusiast who loves turning simple fabric into things people actually use. I test every technique and product I write about at my own machine before it lands here.