

Learning how to adjust a pattern for broad shoulders was the fix that finally made my blouses fit the way shop bought ones never did. My shoulders are wider than the size that fits my bust, so patterns that matched my chest always pulled across the back, and patterns that matched my shoulders swam everywhere else. The broad shoulder adjustment lets you widen just the shoulder, without changing the rest of the garment.
The idea is simple, even if the name sounds technical. You slash the pattern at the shoulder, spread it by the amount you need, and true the lines so the sleeve still fits. It takes one afternoon of careful paper work, and then every pattern you own can be adjusted the same way. I wish someone had shown me this years earlier.
In this guide I will show you how to measure your shoulder width, how much to add, where to slash the pattern, and how to check the result in a muslin before you cut your good fabric. Take it slowly, and your next blouse will sit properly for the first time.
How to Adjust a Pattern for Broad Shoulders: Measure First
Start with an honest measurement, because guessing is how adjustments go wrong. Stand relaxed and measure from one shoulder point to the other, across the back, following the curve of your shoulders. The shoulder point is the bony tip where your arm meets your shoulder, and a friend can find it more easily than you can. Write the number down and compare it with the finished shoulder measurement on your pattern.
Choose your pattern size by your high bust or full bust first, as your pattern instructions suggest, and add the shoulder adjustment on top of that size. If you size up to fit your shoulders, the bust and waist will be too large, and you will spend more time taking those in than the shoulder fix would have taken. My guide to how to choose your pattern size explains how to pick the right starting size for your body.
Record your shoulder adjustment in a notebook, because once you know your number you can use it on almost every woven pattern. Mine is three quarters of an inch in total, and I write it on the pattern envelope so I never have to measure it twice for the same design.
Where to Slash the Pattern
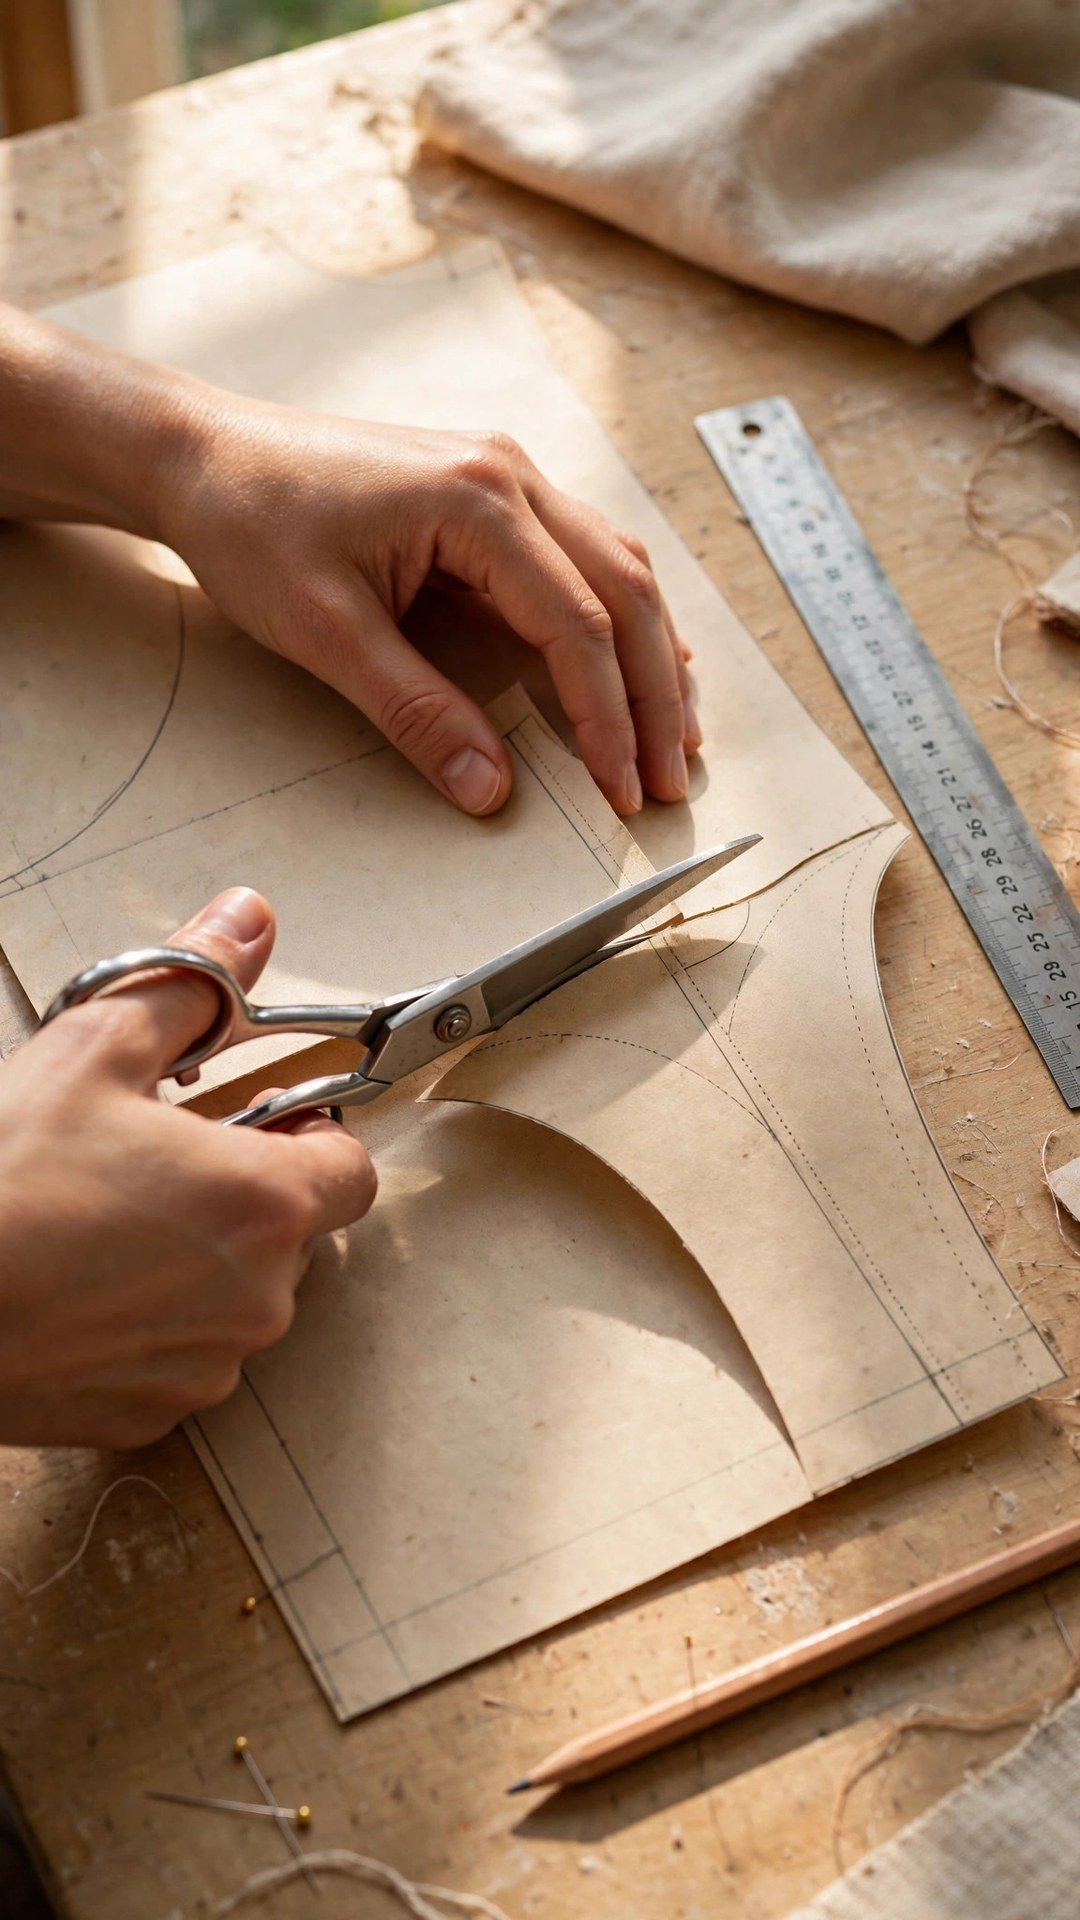
Cut along the first line from the shoulder down, stopping just before the armhole so the paper stays hinged at that point. Then cut along the second line from the shoulder tip in, stopping at the same hinge. You now have a flap that can spread open at the shoulder while the armhole stays almost the same size, which is exactly what you want.
Spread the flap by half of your total adjustment on this pattern piece, and tape a piece of paper underneath to fill the gap. If your total adjustment is one inch, spread the front by half an inch and the back by half an inch, so the change stays balanced. Smooth the paper flat and tape it firmly, because a wrinkled pattern piece will give you a wrinkled garment.
Now true the lines. The shoulder seam will have a small step where you spread it, so draw a smooth new line from the neckline to the new shoulder tip. Check the armhole curve too, and redraw it gently if the spread has flattened it. A French curve or a dinner plate can help you draw a smooth curve, and a ruler keeps the shoulder seam straight.
Adjusting the Sleeve to Match
A wider shoulder changes the armhole slightly, so the sleeve needs a quick check before you cut. Measure the new armhole on your adjusted front and back pieces and compare it with the sleeve cap. If the armhole has grown by a small amount, the sleeve cap may need a matching spread, or you may be able to ease the extra fullness in when you set the sleeve.
For a small change, often a quarter inch or less, easing is enough. Pin the sleeve to the armhole with the extra fullness distributed evenly around the cap, and the gathering will disappear into the seam. For a larger change, slash and spread the sleeve cap by the same amount, using a line drawn down the centre of the sleeve from the cap to the hem, and true the cap curve afterwards.
Always check the sleeve against the new armhole on paper before you cut fabric. Lay the sleeve cap along the armhole edge and walk it around the curve, marking as you go. If the two match within a quarter inch, you are ready to sew. If they do not, adjust the sleeve now, while the fix is just paper and tape.
My guide to how to fit sleeves covers sleeve fitting in more detail, and it is worth reading if your sleeves have always pulled or twisted. A sleeve that fits the shoulder properly will hang straight, and the whole garment will look more polished.
Test the Adjustment in a Muslin
Never cut your good fabric straight after a paper adjustment. Sew a quick muslin, a test garment in cheap cotton, using the adjusted pattern, and try it on. This is the step that catches mistakes while they are still easy to fix, and it is the habit that separates confident sewists from frustrated ones. My guide to how to make and fit a muslin walks through the whole test process.
Check the back too, because broad shoulders often come with a broad upper back. Raise your arms forward and look for pulling across the shoulder blades. If the fabric pulls, you may also need a small broad back adjustment, which uses the same slash and spread idea across the back piece. Add it in small steps, and test again.
Mark any changes directly on the muslin with a pen, then transfer them back to your paper pattern. That way your pattern is correct for the next project, and you never have to repeat the same fitting work twice.

Common Mistakes and How to Avoid Them
The most common mistake is adding the full adjustment to one pattern piece instead of splitting it between the front and back. That makes the shoulder seam sit off centre and the neckline pull to one side. Split the total evenly, front and back, and the garment will stay balanced around your body.
Another mistake is forgetting the facing and the collar. If you widen the shoulder on the bodice, the facing that sits behind it needs the same change, or it will pull and gap at the neckline. Trace the facing from the adjusted bodice, or adjust it with the same slash and spread, and check that the collar still fits the new neckline length.
Do not forget the grainline. When you spread a pattern piece, the grainline arrow should stay parallel to its original direction, so the fabric still hangs straight. If the grainline tilts after spreading, redraw it, and lay the pattern on the fabric with the new grainline in mind. A tilted grainline is what makes a garment twist after washing.
If you grade between sizes as well, do the broad shoulder adjustment first, then grade. My notes on how to grade between sizes on a pattern explain how to blend sizes smoothly, and combining the two techniques gives you a pattern that fits your shoulders, bust, and waist all at once.

Frequently Asked Questions
How do I know if I need a broad shoulder adjustment?
If the shoulder seam of a garment that fits your bust sits short of your shoulder tip, or the upper back pulls when you reach forward, you probably need one. Measure your shoulder width and compare it with the pattern to confirm.
How much should I add for broad shoulders?
Most people add between half an inch and one and a half inches in total. Measure your body, measure the pattern, and use the real difference rather than guessing. Add it in small steps and test in a muslin.
Do I adjust the front and back the same amount?
Yes, split the total adjustment evenly between the front and back pattern pieces. That keeps the shoulder seam centred and the neckline balanced.
Will the sleeve still fit after the adjustment?
A small adjustment can usually be eased into the sleeve cap. A larger one may need a matching spread on the sleeve. Always measure the new armhole against the sleeve cap on paper before you cut.
Can I use this adjustment on knit patterns?
Yes, but knits are more forgiving, so you may need a smaller adjustment. Test in a muslin made from a similar knit, and check the shoulder seam while you move, because knits stretch and settle differently.
Fit the Shoulders, and the Rest Follows
Once your shoulders fit, the rest of the garment has a chance to fit too. Measure honestly, slash and spread carefully, test in a muslin, and keep your adjusted pattern for next time. Your shoulders are not a problem to hide, they are simply a measurement, and now you know how to sew for them.

Written by June Carter
I am June, a sewing enthusiast who loves turning simple fabric into things people actually use. I test every technique and product I write about at my own machine before it lands here.