

If you need to know how to adjust sleeve length on a pattern, the good news is that it is one of the simplest pattern changes you can make. Sleeves are long, straight pieces with a lengthen and shorten line printed right on them, and adjusting that line changes the length without touching the sleeve cap, which is the part that has to fit the armhole. A sleeve that ends at the right place makes a whole garment look better.
I have long arms, so almost every pattern sleeve I sew needs lengthening, and I learned early that guessing the length and hoping for the best is a recipe for sleeves that end halfway up my forearm. Measuring my arm properly, adjusting the pattern before I cut, and checking the length on a basted sleeve takes ten minutes and saves a garment. Shortening is just as easy, and the method is the same in reverse.
This guide covers measuring your arm length, finding the lengthen and shorten line, lengthening and shortening the sleeve correctly, keeping the sleeve cap unchanged, and checking the finished length. It is a small adjustment with a big effect on fit, and it is one you will use on almost every long sleeved pattern you sew.
Measure Your Arm Length Properly
Stand with your arm relaxed at your side and slightly bent, as if you were holding a bag, and measure from the point of your shoulder, where the shoulder seam sits, down around the elbow to your wrist bone. That is your sleeve length, and it is the number your pattern needs. Measure both arms, because most people have one arm slightly longer than the other, and use the longer measurement so the shorter sleeve does not end up too short.
Compare your measurement with the finished sleeve length on the pattern, which you can measure on the paper pattern from the top of the sleeve cap to the hem, minus the seam allowance and the hem allowance. The difference is the amount to add or remove. If the pattern sleeve is 24 inches long and your arm needs 25 inches, lengthen by one inch. Write the number on the pattern, and check it twice, because a sleeve adjusted by the wrong amount is a frustrating mistake. My guide to taking accurate body measurements covers the shoulder and arm measurements in detail.

Find the Lengthen and Shorten Line
Almost every sleeve pattern has a pair of parallel lines printed across it, usually about halfway down the sleeve, marked lengthen or shorten here. That line is placed where a change will not affect the shape of the sleeve cap above it or the cuff below it, so it is the safest place to adjust. If your pattern has no printed line, draw your own line across the sleeve at right angles to the grainline, about halfway between the cap and the hem.
For a tapered sleeve, the lengthen line should sit where the sleeve is fairly straight, not where it narrows sharply, so the sides stay smooth after the adjustment. Mark the line clearly, and mark the grainline too, because you will need it to keep the two halves of the sleeve aligned after you cut. If you are adjusting a two piece sleeve, adjust both pieces by the same amount, and note the change on each piece.
Lengthening a Sleeve with Slash and Spread
To lengthen, cut the sleeve pattern along the lengthen line, from one edge to the other, and separate the two halves by the amount you need to add. Slide a piece of paper underneath, tape the two halves to it, and draw in the new side edges, blending them smoothly so the sleeve sides stay straight. The extra paper fills the gap, and the sleeve is now longer by exactly the amount you spread it.
Check that the grainline is still straight and that the two halves are aligned, then redraw the cutting line around the whole sleeve. If you are lengthening by more than two inches, consider adding half the amount at the lengthen line and half at a second line lower down, so the sleeve shape stays balanced. For the full technique, my guide to lengthening or shortening a pattern covers slash and spread in detail, and the same method works for bodices and skirts too.
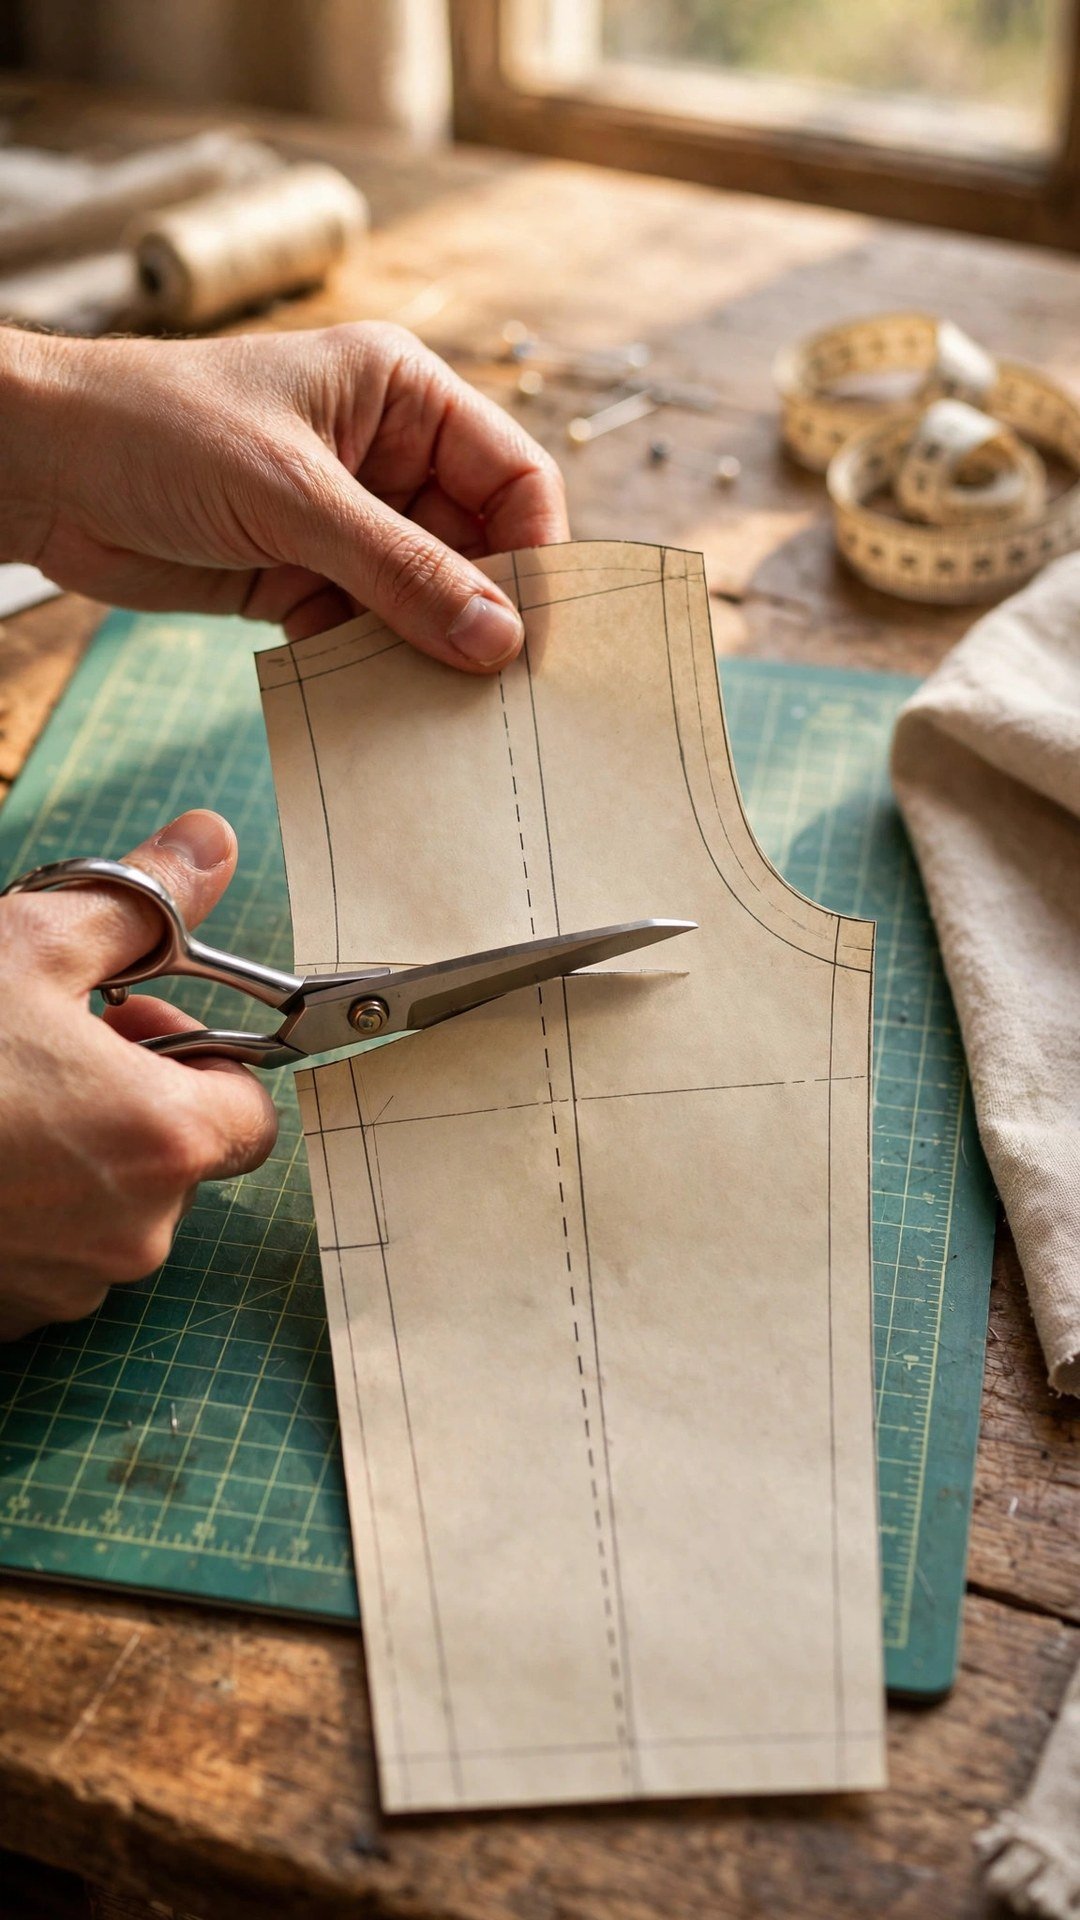
Shortening a Sleeve by Folding
To shorten, fold the pattern along the lengthen line, overlapping the two halves by the amount you need to remove, and pin or tape the fold in place. The fold tucks the extra length away, and the sleeve is now shorter by exactly the overlap. Redraw the side edges across the fold, blending them smoothly so the sides do not kink where the fold sits.
Check the new sleeve length by measuring from the cap to the hem again, and check that the cuff or hem width is unchanged, because folding can narrow the sleeve if the fold is not straight. If you are shortening by a large amount, you may need to redraw the taper below the fold so the sleeve still narrows gracefully toward the wrist. A sleeve shortened neatly looks exactly like a sleeve that was always that length, which is the whole point.
Check the Sleeve Cap, Cuff, and Fit
The most important rule of sleeve length adjustment is that the sleeve cap must not change. Because you adjusted at the lengthen line, well below the cap, the cap curve, the notches, and the ease should all be exactly as they were. Walk the cap seam against the armhole to confirm the lengths still match, and check that the notches still line up, because a cap that no longer fits the armhole is a sign the adjustment went wrong.
Before you cut the good fabric, baste the sleeve into the garment and try it on, checking that the hem ends at your wrist bone with your arm relaxed and slightly bent. The sleeve should cover your wrist bone and reach the base of your thumb when your arm hangs naturally. If it is still too long, you can shorten it at the hem, but if it is too short, you will need to go back to the pattern. My guide to fitting sleeves covers the cap fit in more detail, and it is worth reading if the sleeve cap has ever given you trouble.

Frequently Asked Questions
How much should I lengthen a sleeve?
Measure your arm from shoulder point to wrist bone and compare it with the finished sleeve length on the pattern. The difference is the amount to add or remove, usually between half an inch and two inches.
Where do I adjust sleeve length on a pattern?
At the printed lengthen and shorten line, usually halfway down the sleeve. Adjusting there changes the length without affecting the sleeve cap or the cuff.
Can I just shorten a sleeve at the hem?
For a small change, yes, you can shorten at the hem by deepening the hem allowance. For more than about an inch, adjust the pattern instead, so the taper and the cuff stay in proportion.
Will lengthening a sleeve change the fit?
No, if you adjust at the lengthen line. The sleeve cap, the width, and the ease stay the same, and only the length changes. Always walk the cap against the armhole to confirm it still matches.
How long should a long sleeve be?
It should end at your wrist bone with your arm relaxed and slightly bent, covering the wrist bone and reaching the base of your thumb when your arm hangs naturally.
Adjusting sleeve length is a ten minute pattern change that makes a garment look made for you instead of made for someone else. Measure your arm, adjust at the lengthen line, keep the cap unchanged, and check the length on a basted sleeve before you commit. Your next long sleeved top will end exactly where it should, and you will wonder why you ever wore sleeves that were too short or too long. If your sleeves need width changes too, my guide to grading between sizes on a pattern shows how to blend sizes smoothly.

Written by June Carter
I am June, a sewing enthusiast who loves turning simple fabric into things people actually use. I test every technique and product I write about at my own machine before it lands here.