
If you ask me how to sew consistent seam allowances, I will tell you the plain truth: this is the least glamorous skill in sewing, and it is the single biggest difference between garments that fit beautifully and garments that look homemade in the wrong way. Nobody compliments your seam allowances. But everyone can feel when they are off. A wobbly seam line means pieces do not match up, waistbands twist, and zippers wave instead of lying flat.
The good news is that consistency is not talent. It is setup. Once you give yourself a guide to follow and build one small habit, straight even seams become the default, not the lucky accident. Here is everything I teach beginners about getting seam allowances right, in the order I wish someone had taught me.
Why Consistency Matters More Than the Exact Number
Beginners obsess over whether the allowance should be 1/4 inch or 5/8 inch, and they miss the real point. The number matters far less than repeating it. If every seam on your project is sewn at exactly 1/2 inch instead of the called-for 5/8 inch, your garment will be slightly smaller, but the seams will still match, the pieces will still align, and the result will still look professional. If your allowance wanders between 3/8 and 3/4 inch along a single seam, nothing lines up at the intersections, and no amount of pressing will save it.
That is why every commercial pattern gives you one target and expects you to hit it the whole way down. Your job is not to eyeball 5/8 inch. Your job is to pick a guide, trust it, and let the machine do the measuring. Before you sew a single project seam, take a minute for checking whether your pattern already includes seam allowances, because that tells you which number you are aiming for.
How to Sew Consistent Seam Allowances Using Your Throat Plate
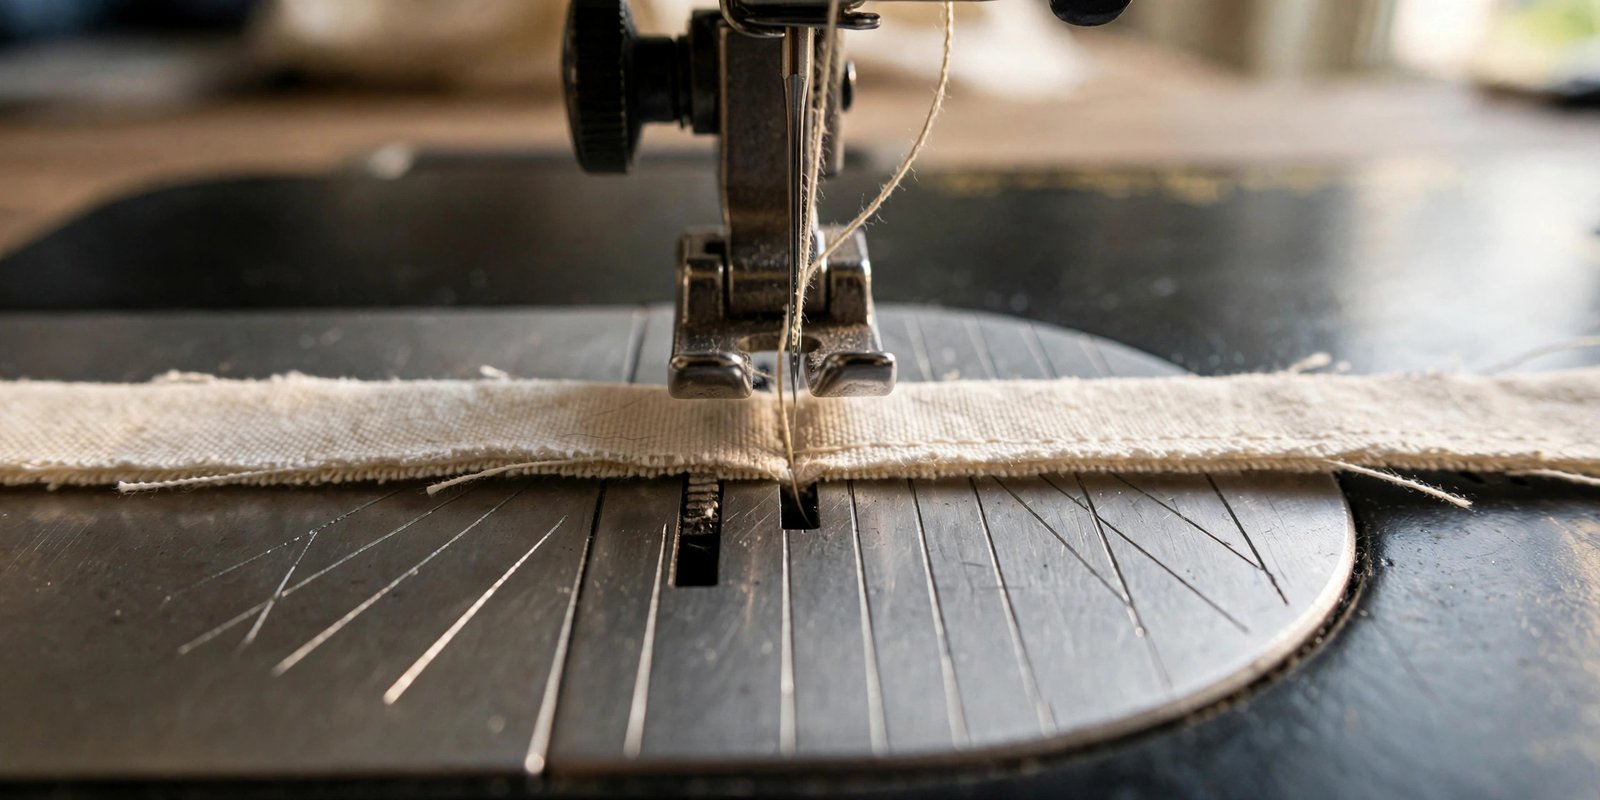
The single best tool for how to sew consistent seam allowances is already bolted to your machine. Look at the metal throat plate around the feed dogs. Most machines have etched lines to the right of the needle marked at common widths like 1/4 inch, 1/2 inch, and 5/8 inch, sometimes in millimeters too. These are your seam guides, and they never get tired or distracted the way your eyes do.
Here is the method: position your fabric so the raw edge lines up exactly with the line for your target allowance, then keep your eyes on the edge of the fabric and that line as you sew. Do not watch the needle. The needle is already doing its job. Your job is the edge. Sew slowly enough that the edge stays glued to the line from the first stitch to the last. When I first started, I practiced this on scraps for ten minutes before every sewing session, and my seams improved faster than from any other single exercise. It pairs perfectly with learning to sew a straight stitch, because the guiding skill is identical.
Washi Tape, Magnetic Guides, and the Quarter Inch Foot
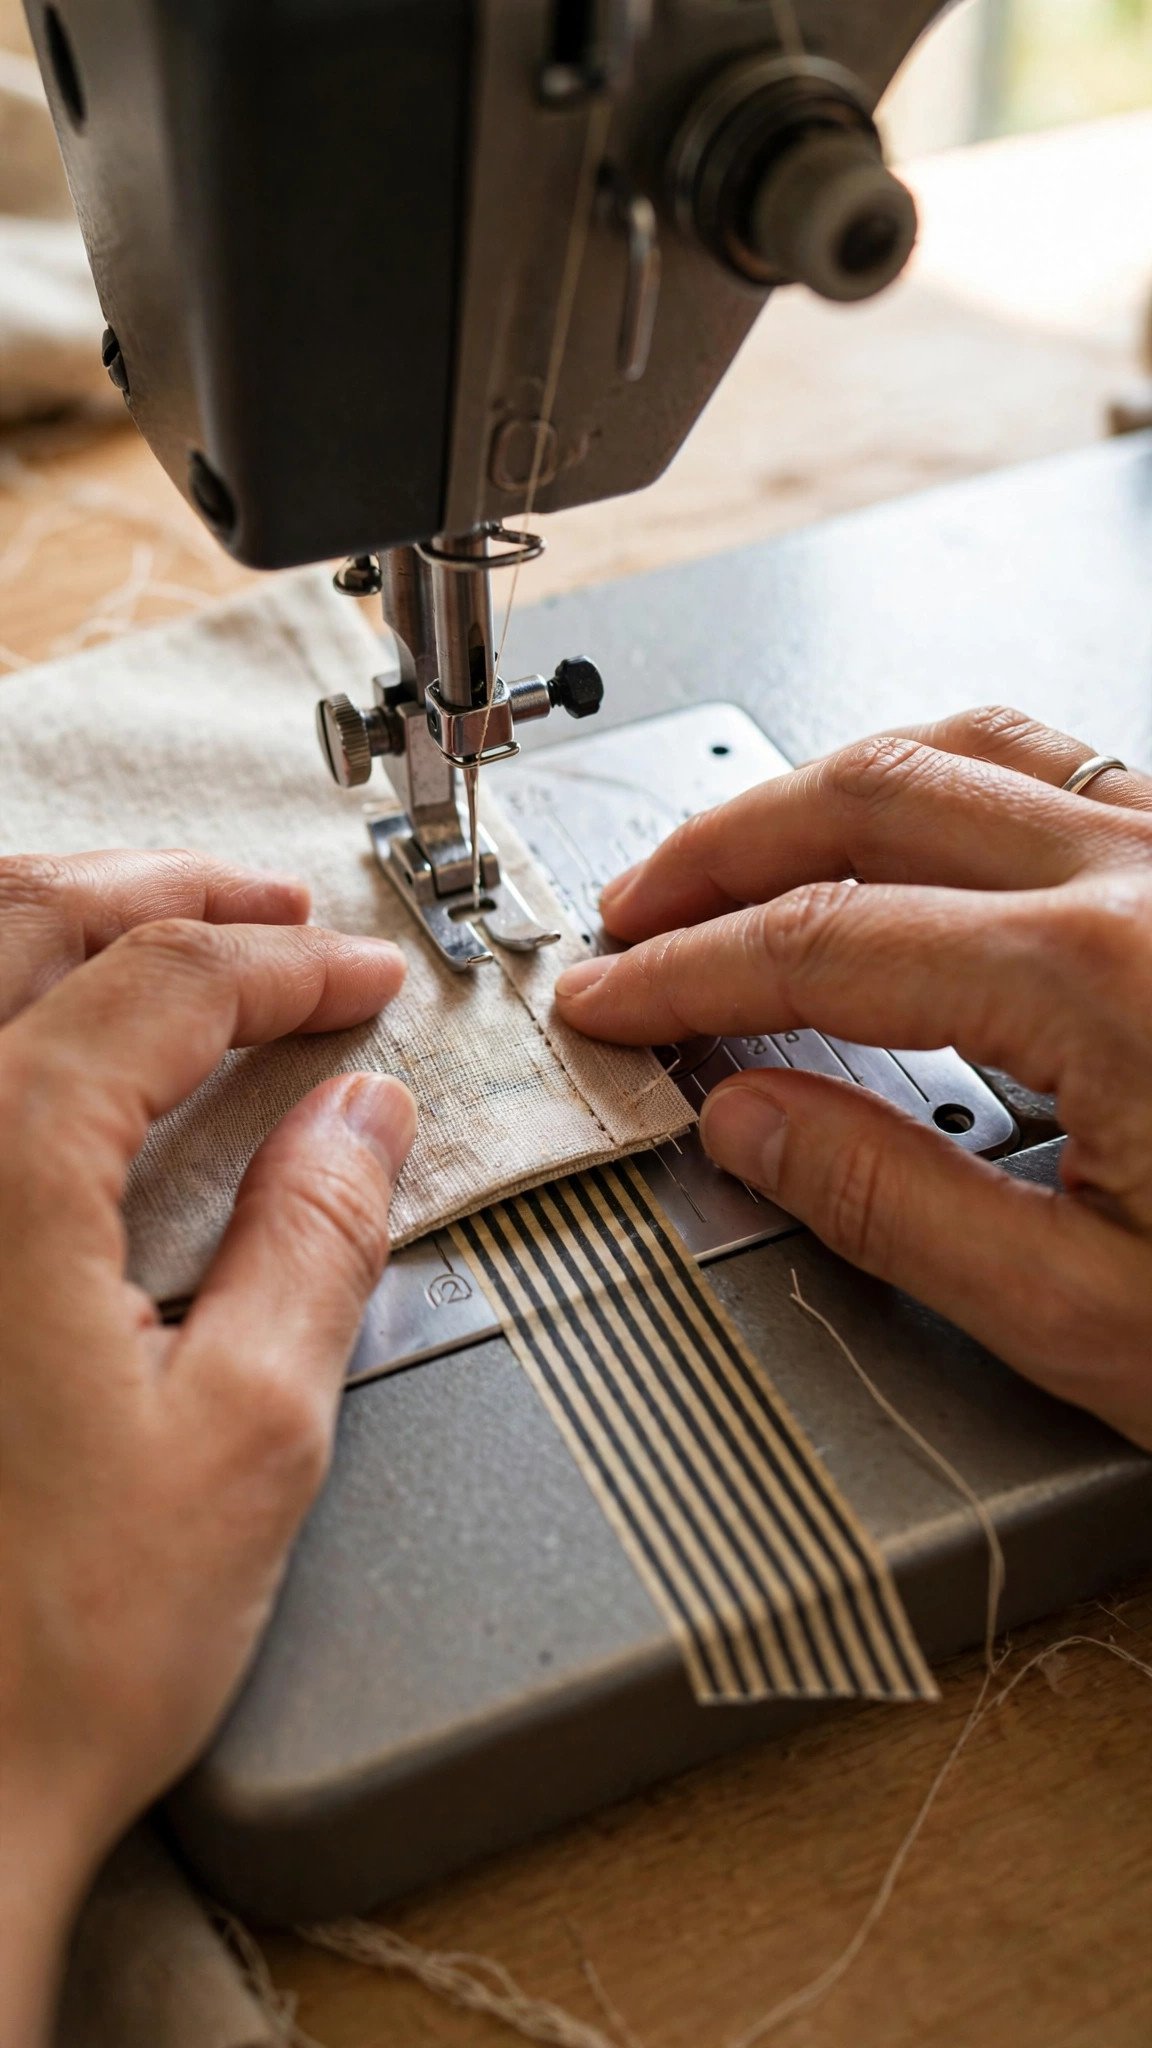
Some machines have faint throat plate markings, or the lines sit too far back to see comfortably. That is when helper guides earn their place. My favorite beginner trick is the washi tape method: measure from the needle to the right the exact distance of your allowance, and lay a strip of washi tape or masking tape on the machine bed. The edge of the tape becomes a bright, impossible-to-miss guide line. It is cheap, it peels off cleanly, and you can reposition it for every project.
A magnetic seam guide does the same job in a sturdier form. It is a small magnetic bar that snaps onto the throat plate and gives your fabric edge a raised wall to ride against. This is wonderful for long straight seams where your attention drifts, like quilt bindings or curtain panels. Just know it needs a metal throat plate to stick to, and it can interfere with some computerized machines, so check your manual first.
Then there is the quarter inch foot, the specialist’s presser foot. If you sew mostly at a scant or true quarter inch, swapping to this foot makes the edge of the foot itself your guide. The foot has a built-in blade or ridge that the fabric rides against. Quilters swear by it, and honestly, I think every beginner should own one even if garment sewing is the goal, because it builds the habit of letting a physical edge do the work.
Watch the Edge, Not the Needle: The Habit That Makes It Automatic
Technique aside, there is a mental habit that fixes half of all wandering seams. Beginners stare at the needle. It is the moving part, so your eyes lock onto it, and meanwhile the fabric edge drifts off the guide unnoticed. Train yourself to watch the fabric edge against the guide line instead. Think of the needle as the past and the edge as the future. The stitching happens behind you, and the guiding happens where the fabric meets the line.
Speed matters here too. A fast, confident pace produces straighter seams than a herky-jerky crawl, but only once your guiding is steady. Start slow, find the rhythm where the edge stays on the line, and let speed build naturally. Sit centered in front of the needle, keep both hands lightly guiding (never pushing or pulling, the feed dogs move the fabric), and pin perpendicular to the seamline with heads facing the same direction so you can pull them as you go. A little backstitch at each end locks everything in place so your careful allowance does not unravel at the edges.
Test on Scraps, Measure, and Press: The Finishing Triangle
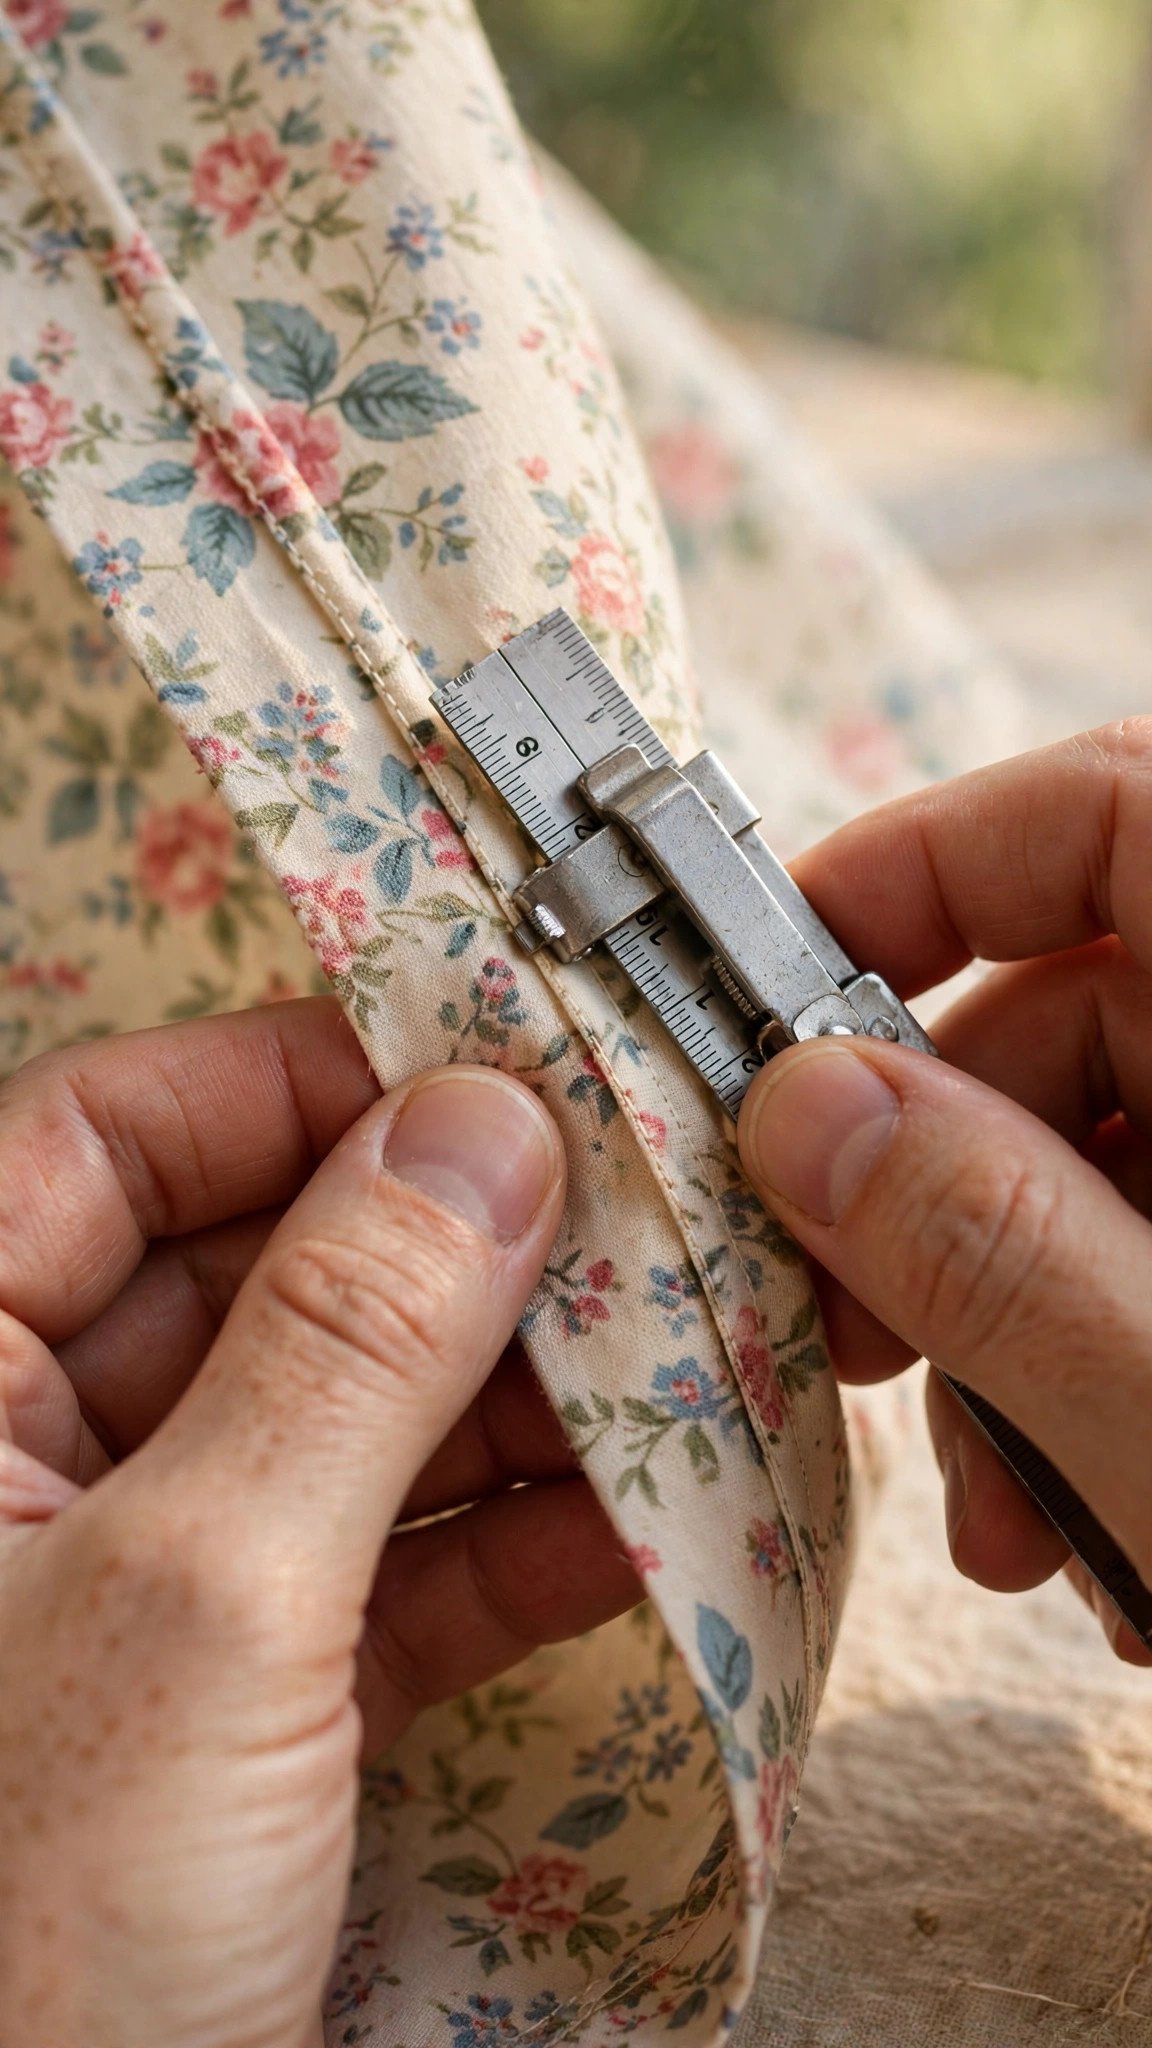
Professionals test before they commit, and you should too. Before sewing your real project, sew a test seam on two scraps of your actual fabric using your chosen guide, then measure the result with a seam gauge. A seam gauge is a small sliding ruler that lets you check the distance from the stitching line to the raw edge in seconds. If your test measures off, adjust your guide and try again. This two-minute ritual catches problems like a bent guide line reading or a tape strip placed a hair too close, before they live in your finished garment.
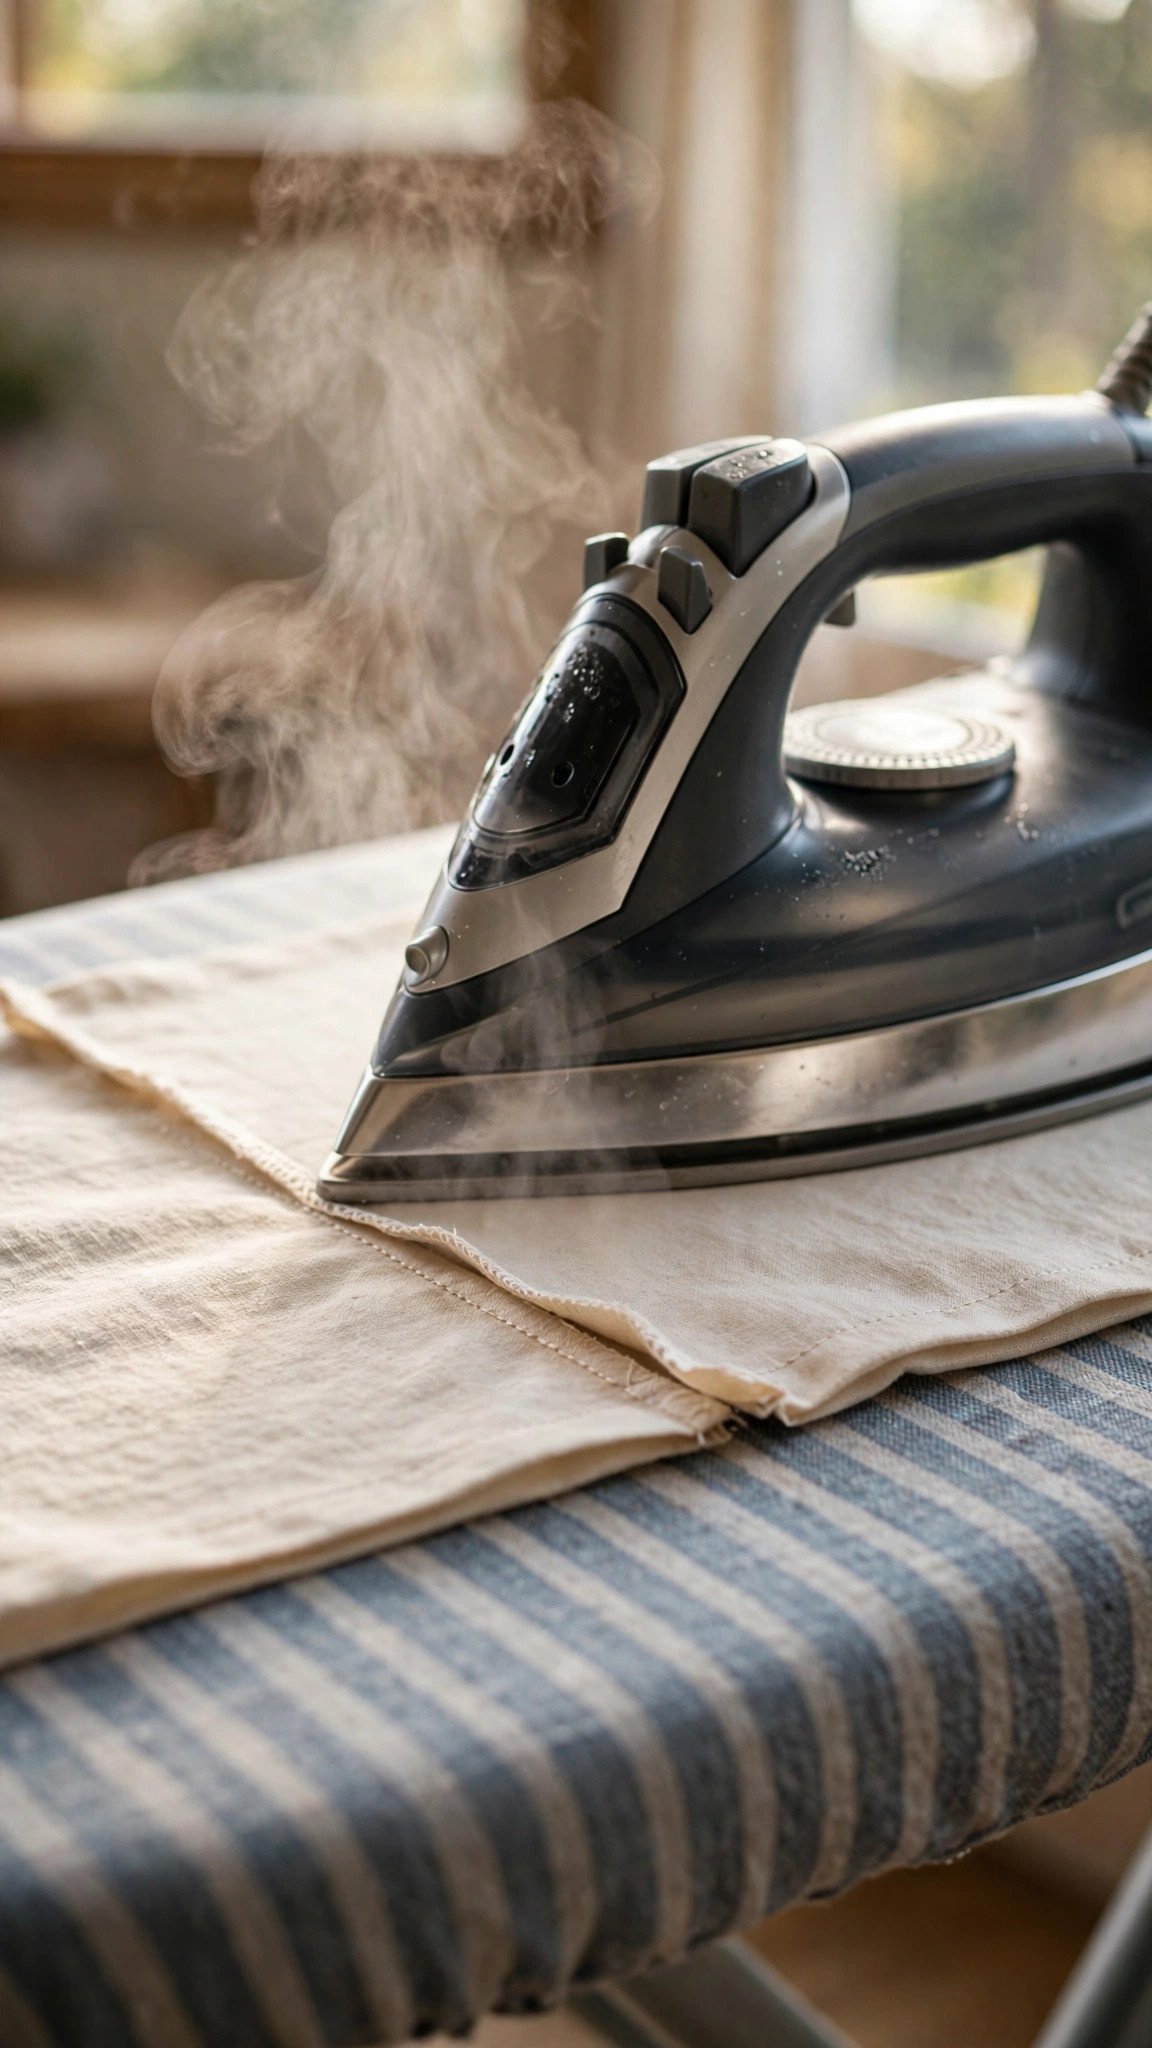
Then press. I know, pressing feels like a chore, but pressed seams are how you verify your work and make the allowance behave in later steps. Press the seam to set the stitches, then press it open or to one side as your pattern directs. A seam that presses flat and lies obedient is a seam you sewed correctly. A seam that fights the iron and ripples usually wandered. Reading your sewing pattern symbols tells you which direction each seam should be pressed, so you never have to guess.
Know Your Common Widths and When to Use Them
Three numbers cover nearly all beginner sewing. A quarter inch is the standard for quilting, many bag patterns, and some fitted garments where bulk must stay minimal. A half inch shows up on simpler garment patterns and children’s clothing. Five eighths of an inch is the classic dressmaking allowance on commercial garment patterns, and it gives you room to finish raw edges and make small fit adjustments.
My opinionated take: do not memorize these, memorize where to look. The pattern envelope or instruction sheet always states the included allowance, and many beginners skip that line entirely. Build the habit of reading it before you cut. When the pattern says 5/8 inch, set your guide to 5/8 inch, and trust the system you just built.
FAQ
Why do my seam allowances keep getting wider at the end of the seam?
This usually happens because you speed up or look away as you approach the end, and the fabric edge drifts off the guide. The fix is simple: keep your eyes on the edge-to-guide alignment all the way through the last stitch, and ease off the pedal rather than lifting your gaze early.
Should I mark the seam line on the fabric before sewing?
For long or critical seams, yes. Drawing the stitching line with a fabric marker and following that line instead of the edge gives you the most precise control. For everyday seams, a reliable guide on the machine bed is faster and just as consistent once you trust it.
Does the throat plate measurement stay accurate on all machines?
Mostly, but not always. Manufacturing tolerances vary, so verify with a ruler once: measure from the needle to the marked line. If it reads 5/8 inch where it should, you are set. If not, use the tape method at the true measured distance instead of trusting the etching.
What is the best seam allowance for a total beginner?
Use whatever your pattern calls for, but if you are practicing on scraps with no pattern, 5/8 inch is the friendliest starting point. It is wide enough to see clearly against the throat plate lines and forgiving if your line wobbles slightly while you learn.

Written by June Carter
I am June, a sewing enthusiast who loves turning simple fabric into things people actually use. I test every technique and product I write about at my own machine before it lands here.