

If you are wondering how to set up a small sewing space that actually works, let me start with the good news: a small space is not a disadvantage. I have sewn in a dedicated craft room and I have sewn at a card table wedged between a bookshelf and a window, and I finished more projects at the card table. A small space forces you to keep only what you use, to put everything within reach, and to clean up when you are done. Those are not compromises. Those are good habits with walls around them.
You do not need a spare bedroom, a wall of cubbies, or a cutting table the size of a dining table. You need a surface for your machine, a way to cut, a way to press, and storage that does not eat your floor. Everything else is a nice-to-have. Let me walk you through the setup I recommend to every beginner who tells me they have no room.
Why Small Spaces Make Better Sewists
Here is my honest opinion: big sewing rooms collect clutter, and clutter kills momentum. Every sprawling craft room I have visited had the same problem: fabric buried under fabric, tools scattered across three surfaces, and a chair you could not actually reach because of the boxes. A small space simply does not allow that. When your whole setup is six feet wide, everything earns its place or it leaves.
Small spaces also keep your tools close. In a compact setup, your scissors, pins, and marking tools live within arm’s reach of the needle, which means you actually use them instead of skipping steps. And there is a psychological bonus: a tidy little corner invites you to sit down for twenty minutes, while a chaotic room makes sewing feel like a project before the project. Set up small, stay nimble, and sew more.
How to Set Up a Small Sewing Space: The Three Zones
Every sewing setup, no matter how tiny, needs three zones: sew, cut, and press. The sew zone is your machine table. The cut zone is any flat surface where you can lay out fabric. The press zone is where your iron lives. In a small space these zones overlap and share surfaces, and that is completely fine. The key is knowing which zone you are in at any moment and keeping its tools at hand.
Think in terms of workflow, not furniture. Fabric flows from storage to the cut zone, then to the machine, then to the press, then back to the machine. Arrange your corner so that flow is a short loop instead of a trek across the room. Even in a closet-sized nook, putting the ironing surface next to the machine instead of across the room will save you hundreds of steps per project and, more importantly, make you actually press your seams.
Start with the minimum viable kit and add only what you reach for repeatedly. A solid starter set of hand tools is covered in my roundup of 8 essential tools for working with fabric, and the machine-side basics are in essential tools for sewing machines. Buy the setup, not the dream.
The Sewing Table: Your Command Center
Your machine table is the heart of the space, so choose it with care. It needs to be sturdy, because a wobbly table makes your stitching wobble too. A solid desk, a sturdy dining table, or even a purpose-built sewing cabinet all work. The ideal height puts your elbows at roughly a right angle when your hands rest on the machine bed. If the table is too high, your shoulders creep up; too low, and your back complains within the hour.
Keep the table surface disciplined. The machine sits with its left side getting the most open space, since fabric feeds to the left of the needle. Your most-used tools, pins or clips, small scissors or snips, a seam ripper, and a marking tool, live in a small tray or pincushion right beside the machine. Everything else goes in drawers or on the wall. A clear table is a fast table: when I have to shove things aside to fit my fabric, I know it is time to purge the surface.
Mind the foot pedal. It needs a stable spot on the floor where your foot rests naturally, not stretched or twisted. If your feet do not comfortably reach the floor, a small footrest under your feet improves both comfort and pedal control. And give your chair some thought: a height-adjustable chair with decent back support beats a dining chair for any session longer than half an hour.
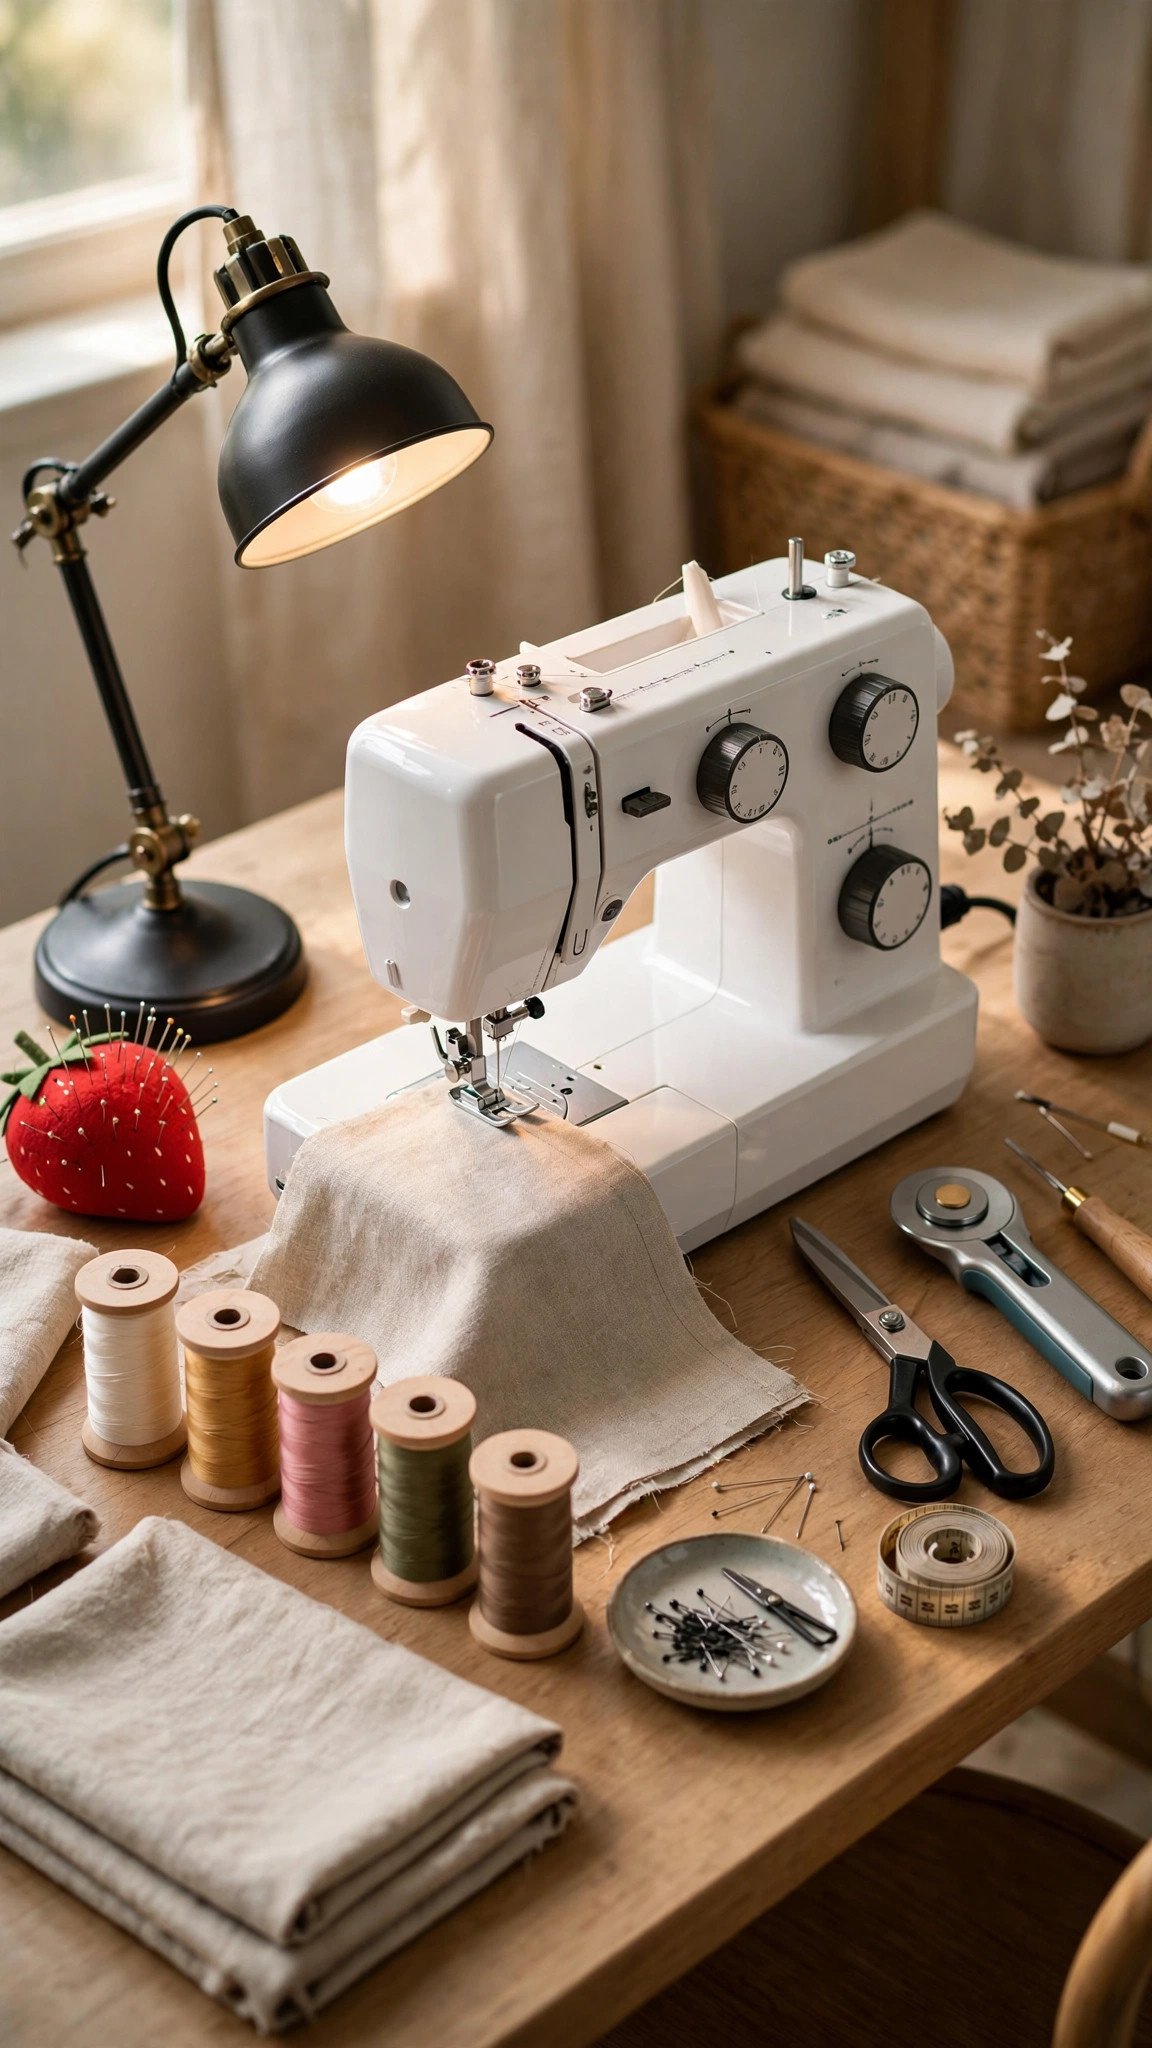
Cutting and Pressing in Tight Quarters
Cutting does not require a permanent station. A folding table, a cleared kitchen table, or even the floor with a cutting mat works perfectly well. What matters is a flat surface large enough for your fabric piece plus your ruler, and good light so you can see your cutting lines. I cut on a folding table that lives behind a door when I am not using it, and I have never once wished for a dedicated cutting counter.
If you want a semi-permanent cutting spot, a fold-down wall-mounted table is the small-space hero: it gives you a real cutting surface at standing height and disappears flat against the wall when you are done. Pair it with a self-healing cutting mat and a rotary cutter, and you have a cutting station that costs you zero floor space between projects.
For pressing, a tabletop pressing mat on a sturdy surface beats a full ironing board in a small room. It lives on a shelf when idle and comes out next to the machine when you sew. Pressing every seam as you go is the habit that separates crisp projects from homemade-looking ones, and a pressing mat two feet from your machine makes the habit easy. Keep a small spray bottle of water nearby for stubborn creases.
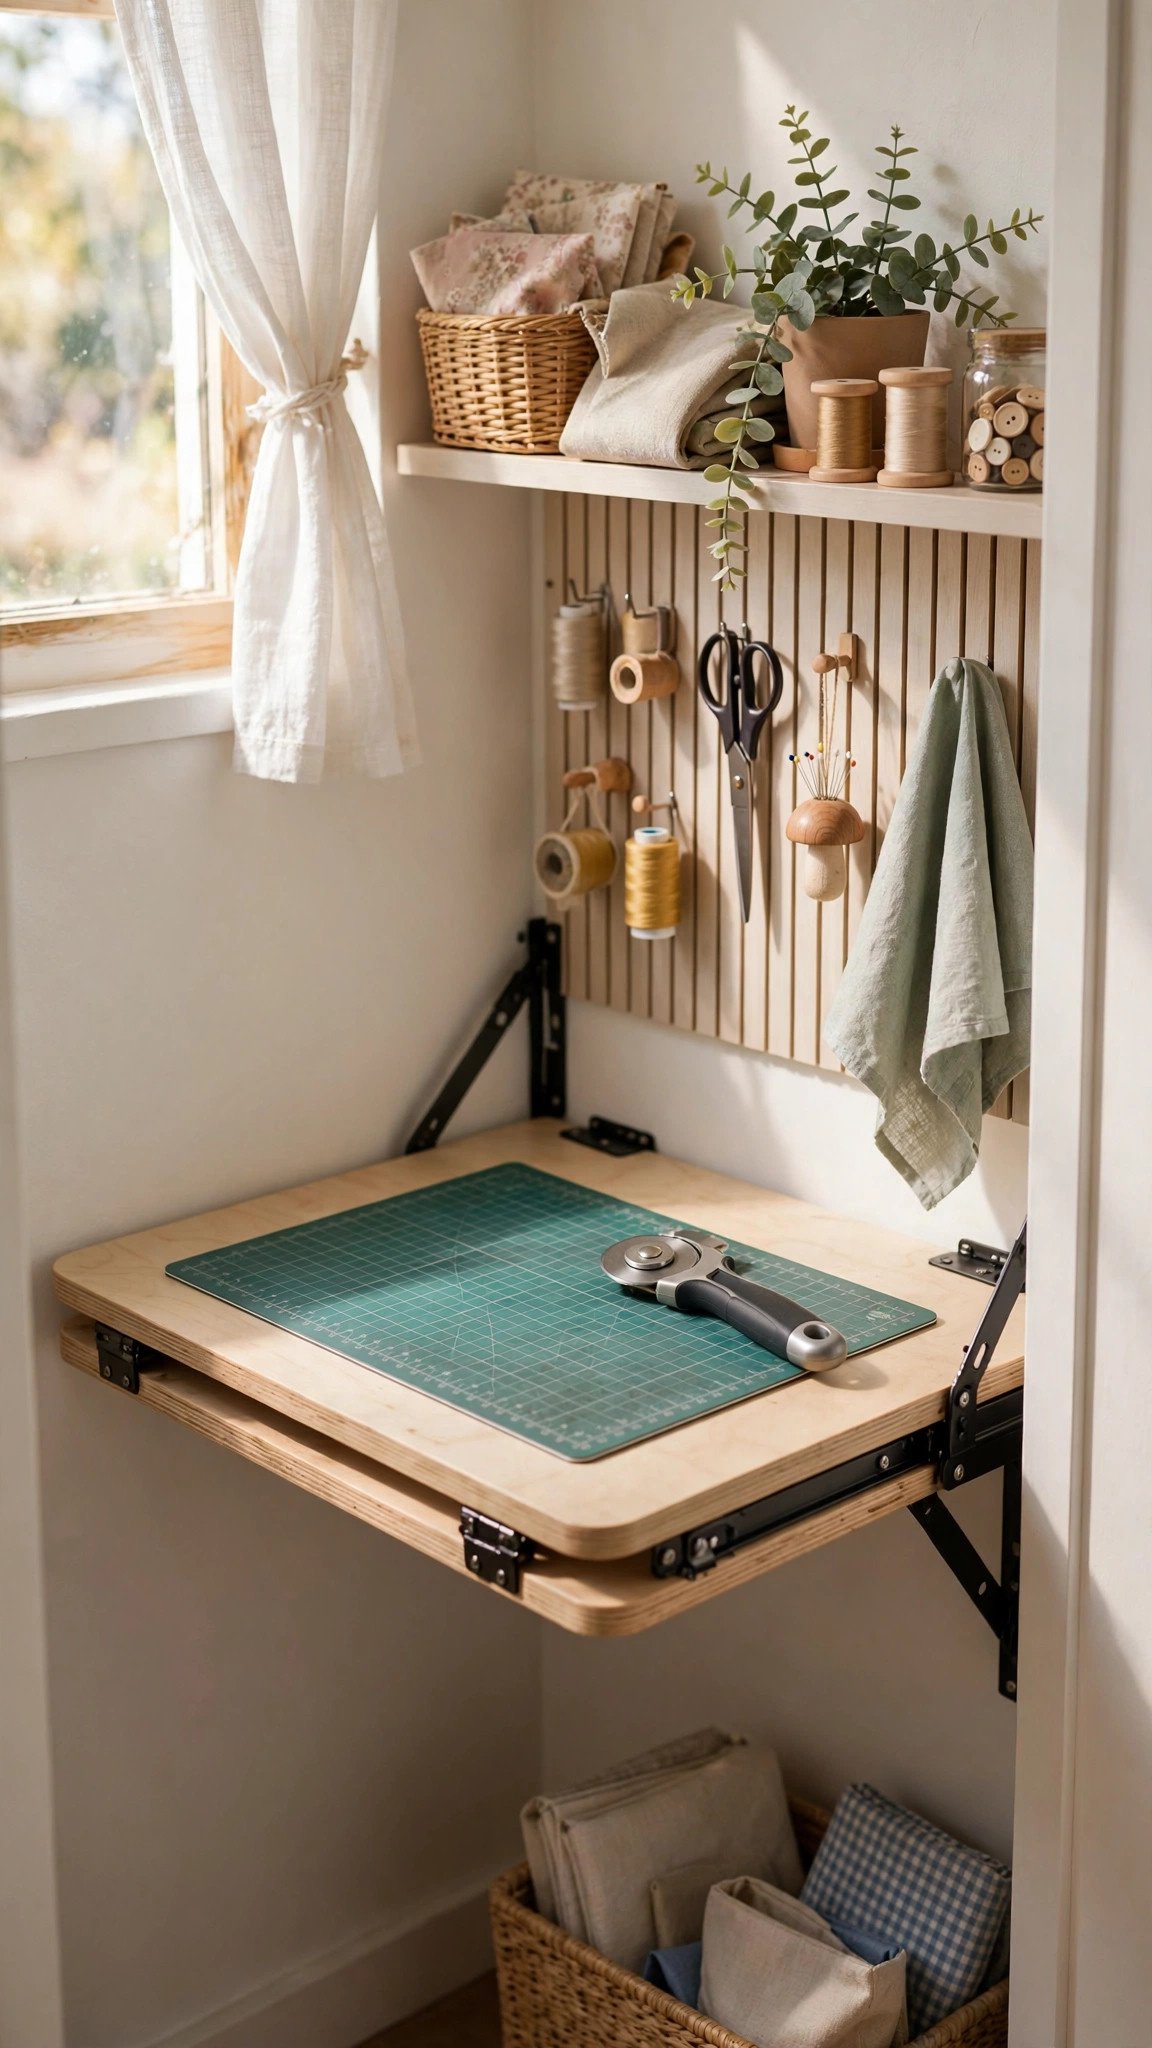
Storage That Goes Up, Not Out
In a small space, the walls are your best furniture. A pegboard above your machine holds scissors, rulers, thread, and tools where you can see and grab them. Wall-mounted shelves hold fabric, patterns, and boxes. The back of a door takes an over-door organizer for notions. Every square foot of vertical storage you add is floor space you get back.
For fabric, store it folded vertically like files in shallow bins or on shelves, sorted roughly by type or color. Folded-file storage lets you see every fabric at a glance and pull one out without disturbing the rest, which is the opposite of the dreaded fabric stack where the good stuff lives at the bottom forever. Keep only your current project’s fabric at arm’s reach; the rest can live in a closet, under the bed, or on a high shelf.
Use the space under your table too. Rolling carts, shallow drawers, or simple bins under the machine table hold your second layer of supplies: interfacing, stabilizers, extra bobbins, and works in progress. Clear containers or labeled bins save you from the archaeology dig every time you need something. And be ruthless about decluttering: if you have not touched a gadget in a year, it is donating its space to something you will actually use.
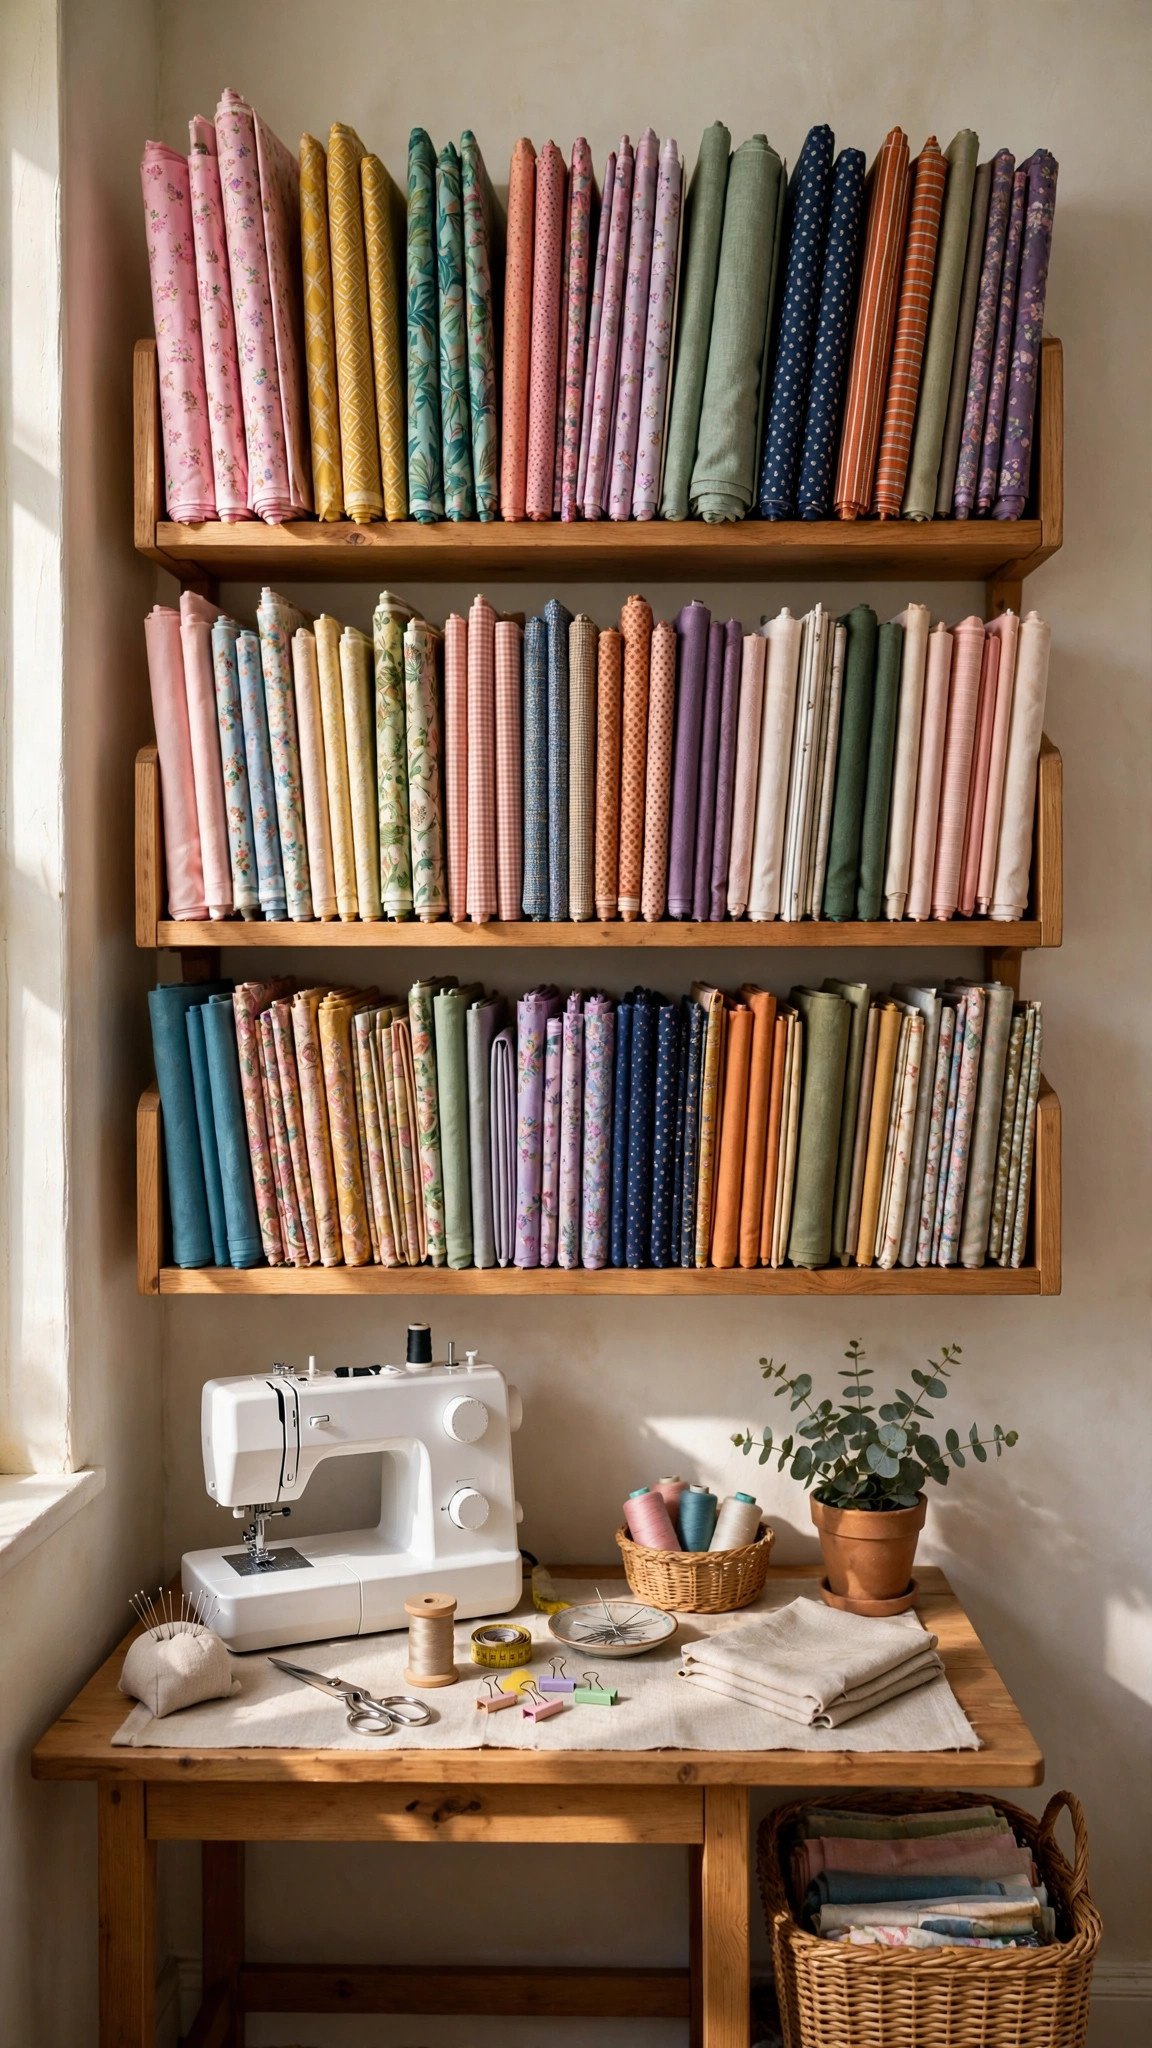
Light, Power, and Comfort Details
Good lighting is not a luxury; it is a fitting and stitching tool. Position your table near a window for daylight if you can, and add a task lamp aimed at the needle area for evenings and detail work. A daylight-balanced bulb shows true fabric colors, which matters when you are matching thread or checking whether two blacks are actually the same black. I do my most accurate work under my task lamp even in daytime.
Map your power before you arrange furniture. Your machine, iron, and lamp each need an outlet within easy reach, and cords trailing across the floor are both a tripping hazard and a pedal-tangling nuisance. A small power strip mounted under or behind the table, with cords clipped along the table edge, keeps everything tidy and safe. Unplug the iron when you step away, every time, no exceptions.
Finally, make the space yours. A small rug under your feet, a pretty pincushion, a jar of buttons on the shelf: these little touches are what turn a corner of a room into a place you want to be. If you are still choosing your first machine for this new corner, my guide to the best sewing machines for beginners will help you pick one that fits both your space and your ambitions. And when the corner is ready, pick a first project you will actually finish: how to choose a first sewing project walks through picking a winner.
FAQ
How much space do I really need for a sewing setup?
Less than you think. A machine table about 4 feet wide, plus access to a flat surface for cutting and a spot for a tabletop pressing mat, is a complete setup. Many sewists work happily in a corner of a bedroom or a section of a living room. The zones matter more than the square footage.
What is the most important piece of furniture for a small sewing space?
A sturdy table at the right height for your machine. Stability affects your stitching quality, and correct height protects your back and shoulders. Everything else, storage, cutting surfaces, pressing, can be foldable, wall-mounted, or shared with the rest of the room.
How do I store fabric in a tiny room without clutter?
Go vertical: wall shelves or a pegboard for tools, and fabric folded file-style in shallow bins so you can see every piece. Keep only current-project supplies within arm’s reach and rotate the rest to a closet or under-bed storage. Clear bins or labels prevent the dreaded mystery-box dig.
Can I sew in a shared room without taking it over?
Absolutely, and this is where small-space thinking shines. A folding table or a desk that closes up, a rolling cart for supplies, and a routine of packing down at the end of each session let you share the room gracefully. The one-session setup, where everything has a home and the table clears in five minutes, is the key skill.

Written by June Carter
I am June, a sewing enthusiast who loves turning simple fabric into things people actually use. I test every technique and product I write about at my own machine before it lands here.