
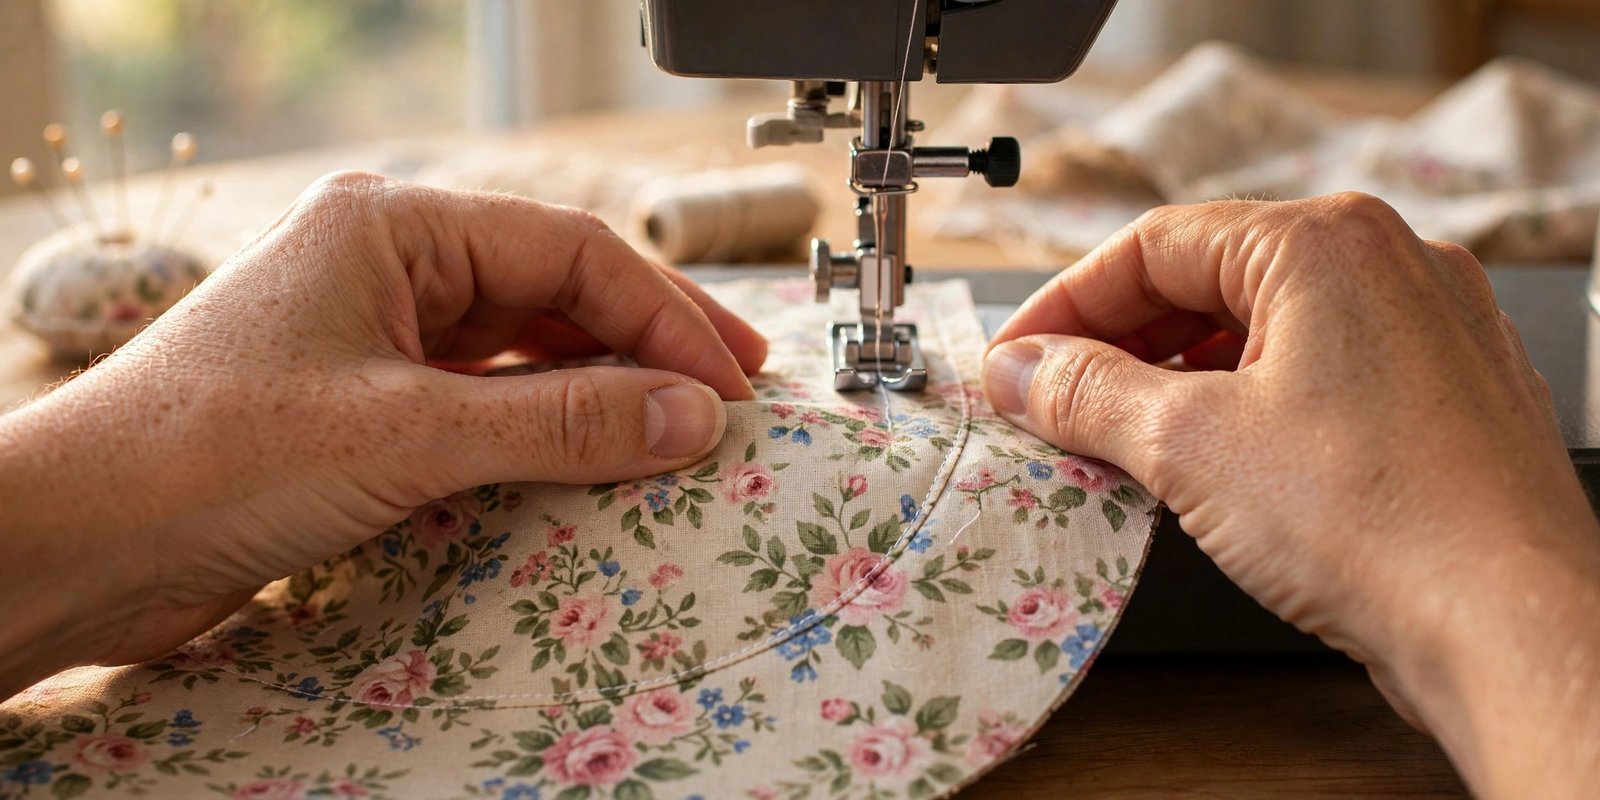
Straight seams are honest work, but curves and corners are where your sewing starts to look like it was made by someone who knows what they are doing. Learning how to sew curves and corners is the skill that takes you from simple rectangles to necklines, armholes, collars, bags, and all the projects that actually look impressive. The good news is that none of it is magic. It is a handful of small techniques, practiced slowly, until your hands know what to do before your brain catches up.
I will be honest with you: my first curved seam looked like a mountain road, and my first collar points looked like blunt crayons. Every sewist has been there. The difference between those sad first attempts and the crisp results you are about to get is simply knowing the moves. Here are the ones that matter most.
Why Curves and Corners Deserve Their Own Lesson
A straight seam is a single decision repeated: keep the edge on the guide and go. Curves and corners ask you to make constant small decisions, and that is exactly why beginners rush them and get puckers, wobbles, and corners that refuse to turn sharp. Each technique below solves one specific problem, and together they cover every curve and corner you will meet in beginner patterns.
The other thing worth knowing is that sewing the seam is only half the job. Clipping, trimming, and pressing after you sew matter just as much as the stitching itself. A perfectly sewn curve that never gets clipped will still look lumpy when turned. So treat the after-sewing steps as part of the technique, not optional extras. If your straight seams are still shaky, spend an afternoon on learning to sew a straight stitch first, because steady straight sewing makes every curve technique easier.
How to Sew Curves and Corners: Mastering the Pivot
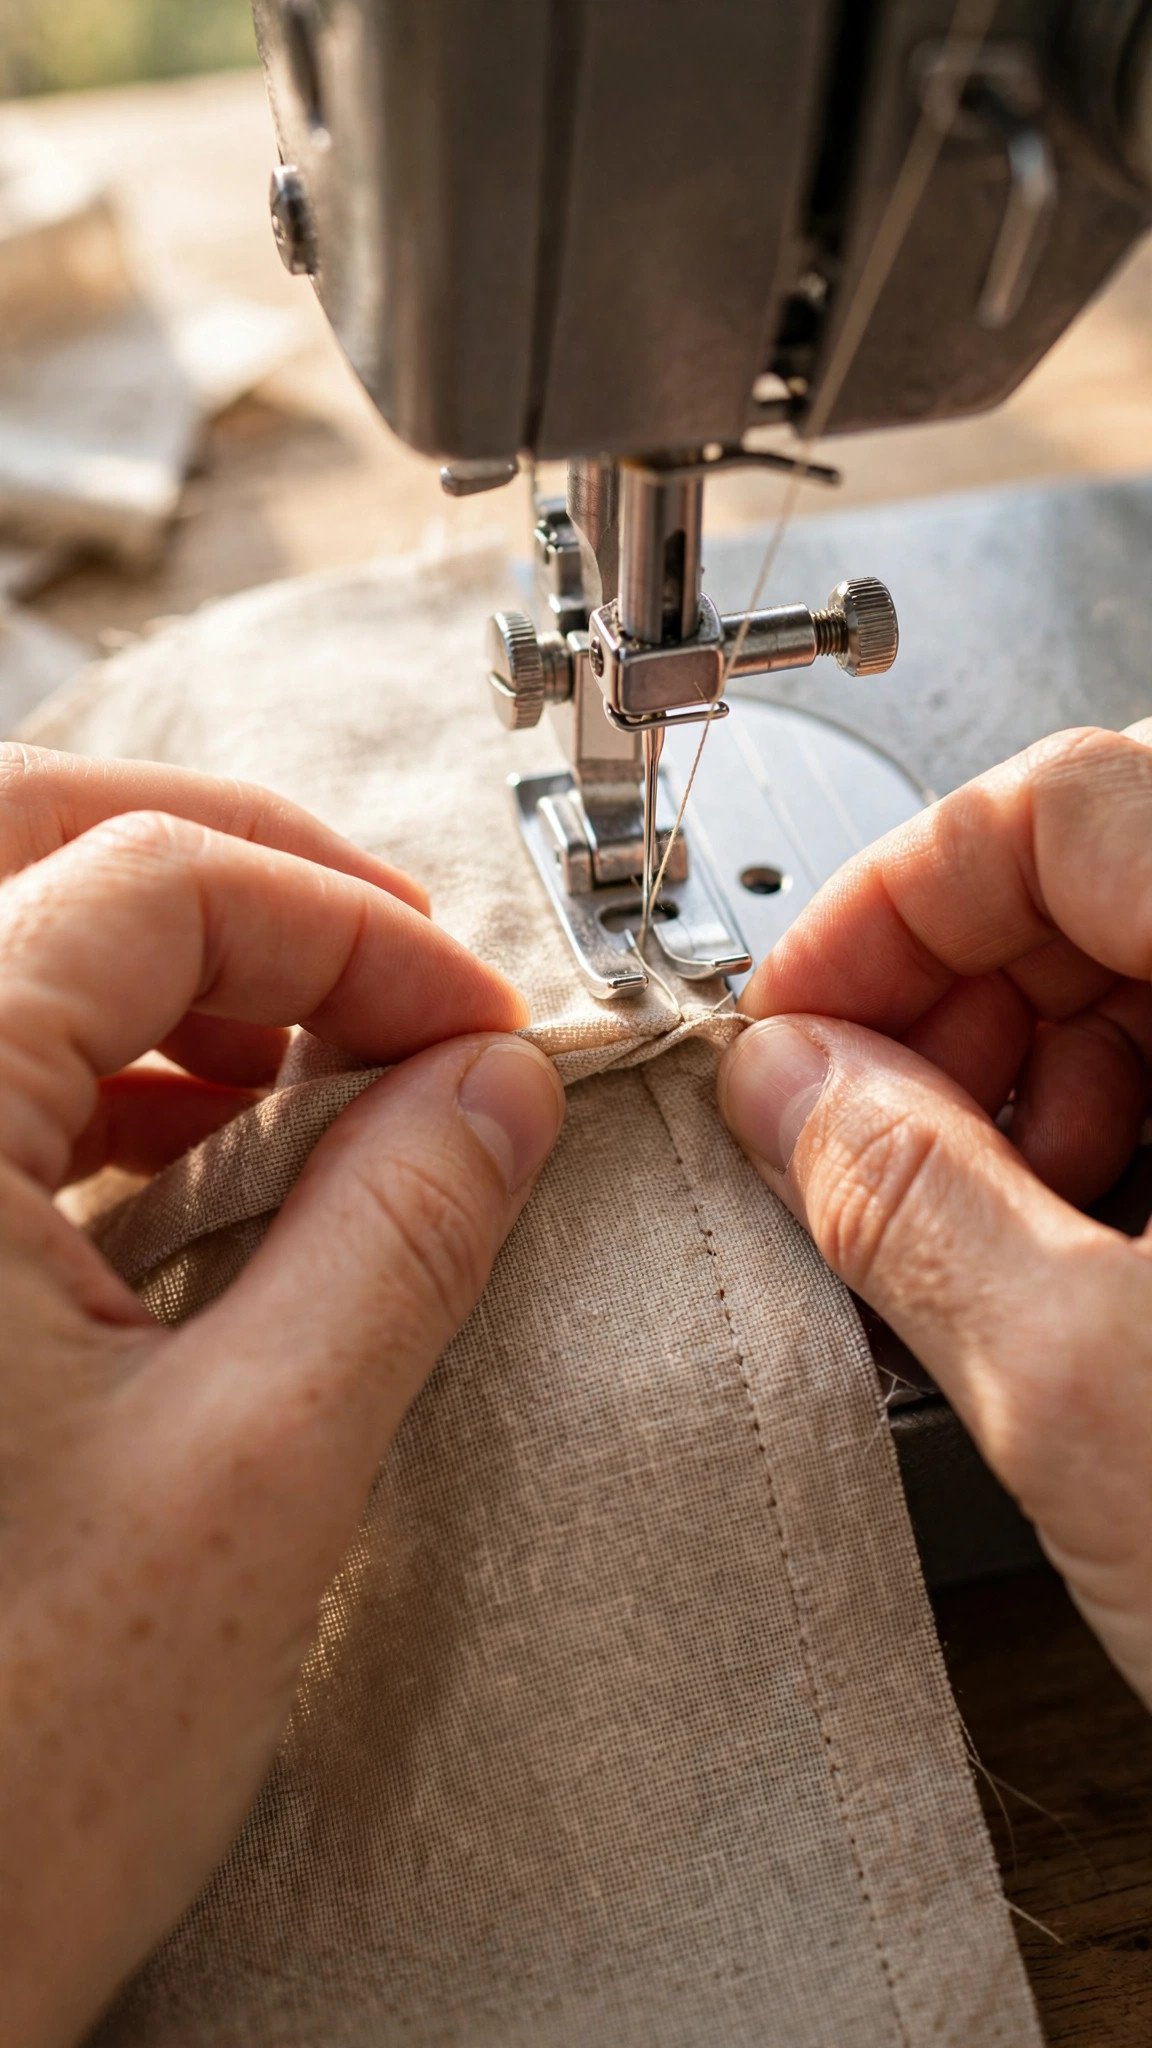
The cornerstone of how to sew curves and corners is the pivot, and it is used for every sharp corner you will ever sew: napkin corners, bag corners, collar points, and waistband ends. Here is the move, step by step. Sew along your seam line toward the corner, and stop exactly at the corner point with the needle down in the fabric. This is the critical detail. Needle down means the fabric cannot shift. Lift the presser foot, rotate the fabric to line up the next side with your guide, lower the presser foot, and sew on.
The most common mistake is stopping too early or too late. Too early and your corner rounds off. Too late and you get a little pucker of overshoot past the point. If your machine has a needle up/down setting, set it to always stop with the needle down. That one setting makes pivoting nearly foolproof, and it also helps on curves, where you will be stopping and adjusting constantly. Practice pivoting on scrap fabric by sewing simple squares with drawn lines. Ten minutes of squares will teach your hands the rhythm faster than any amount of reading.
Sewing Smooth Curves: Slow Down and Shorten Up
Here is the secret about curves that nobody tells beginners: a curve is just a series of very short straight stitches. Once you see it that way, the technique becomes obvious. Sew slowly, take a few stitches, stop with the needle down, adjust the fabric slightly, and sew a few more stitches. You are pivoting in tiny increments all the way around the bend.
Two machine settings make this dramatically easier. First, shorten your stitch length for tight curves. Long stitches turn a curve into a polygon, while short stitches trace the bend smoothly. I drop to around 2 to 2.5 millimeters on gentle curves and even shorter on tight ones. If you need a refresher on what those numbers do, read my guide on how to adjust stitch length and width before you start. Second, ease off the presser foot pressure if your machine allows it, or simply guide the fabric gently without pushing. The feed dogs should move the fabric, while your hands only steer. Pin generously around curves, because pins hold the layers from shifting as you make all those little adjustments.
Clipping, Notching, and Trimming: The Secret Step Beginners Skip
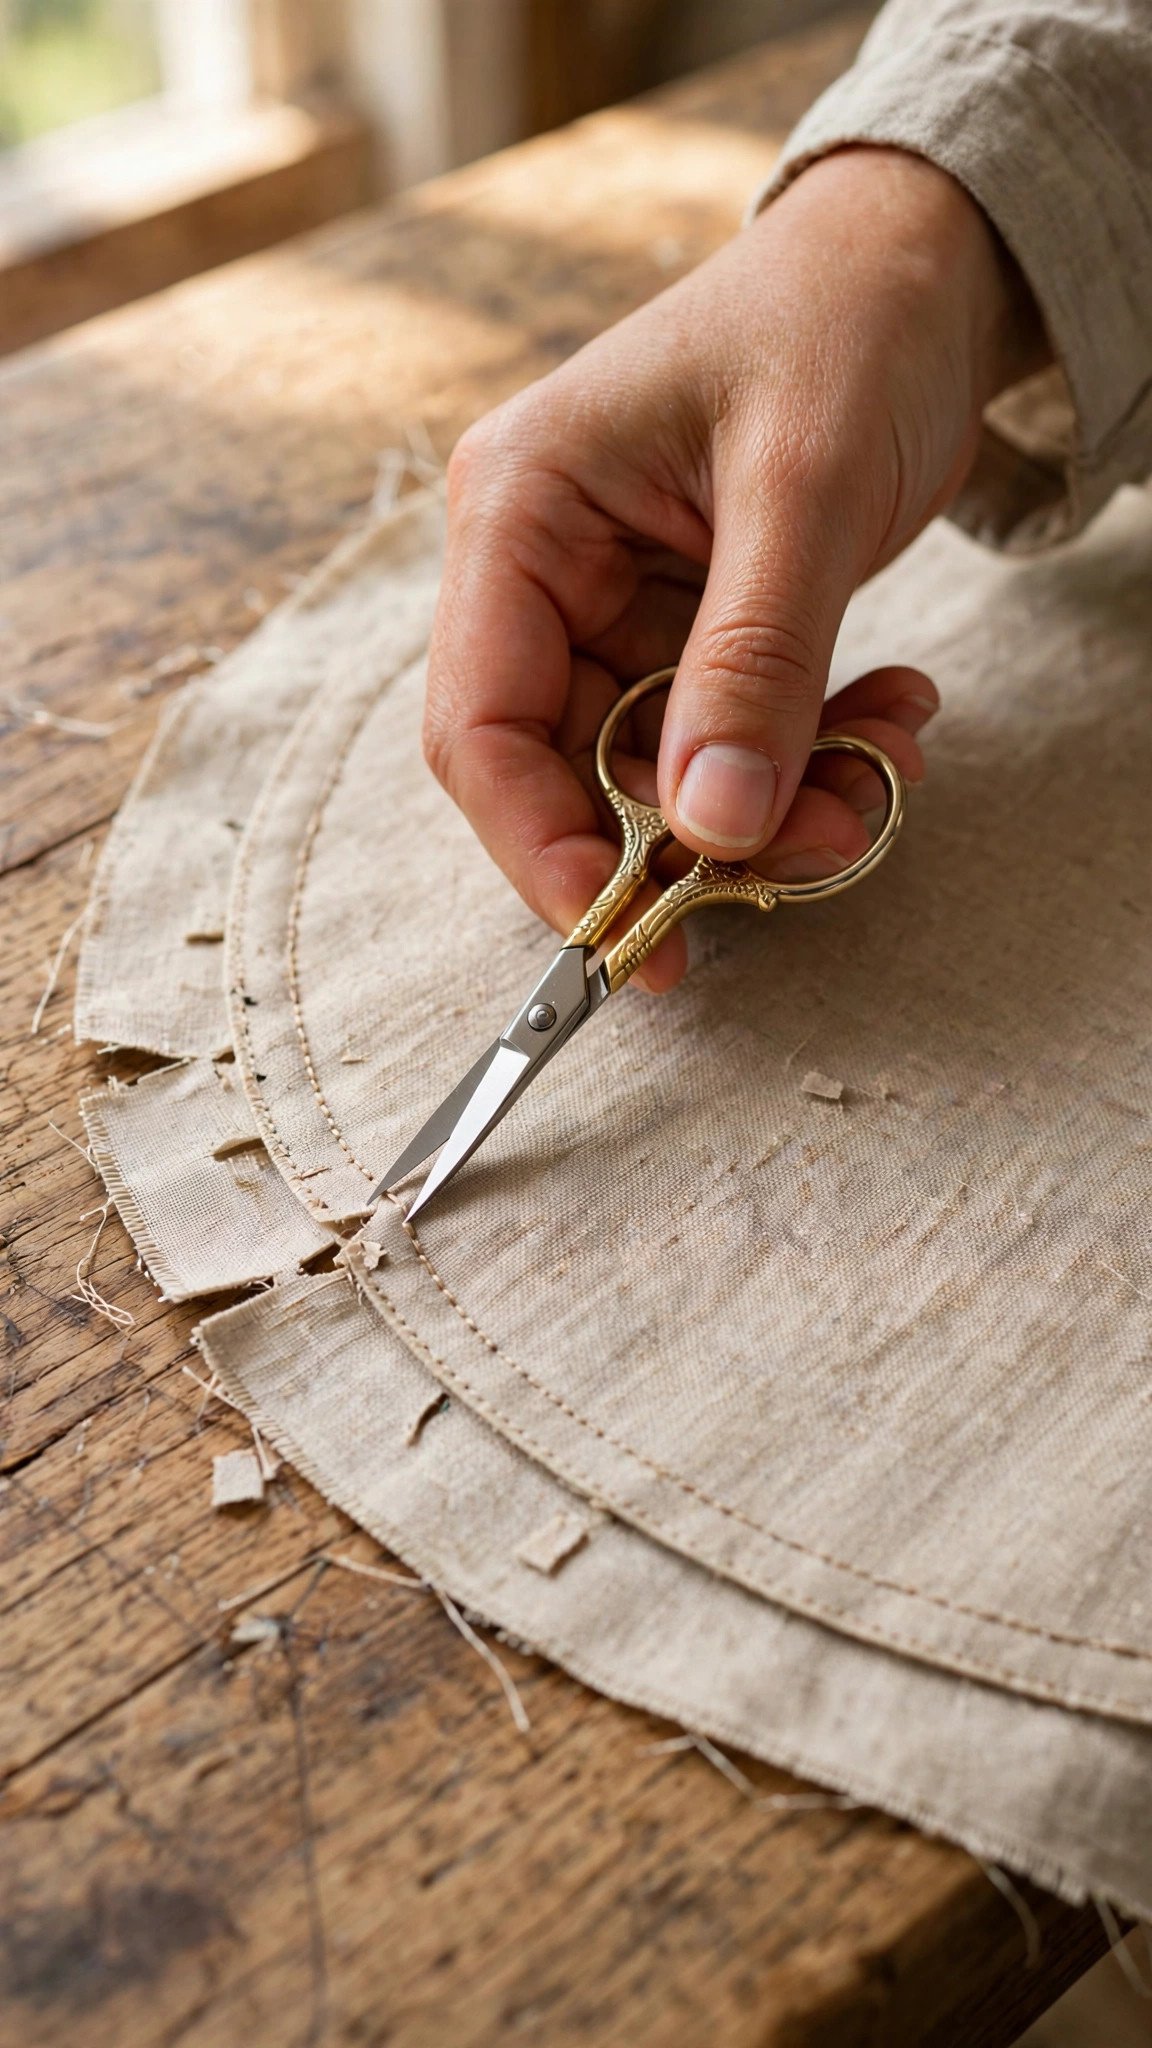
This is the step that separates lumpy homemade curves from smooth professional ones, and it happens after the sewing. When you turn a curved seam right side out, the seam allowance has to either spread or compress to lie flat. Without help, it bunches. Clipping gives it that help.
For outward (convex) curves, make small straight clips into the seam allowance, stopping just short of the stitching line. These clips let the allowance spread like a fan when turned. For inward (concave) curves like necklines, you notch instead: cut tiny wedge shapes out of the allowance so the excess fabric has somewhere to go. And for corners, trim the corner diagonally close to the stitching to remove the bulk that would otherwise jam up inside the point. The rule for all three is the same: cut close, but never cut through your stitches. One careless snip into the seam line and the whole seam can pull open, so work slowly and keep your scissors sharp. My full walkthrough of pinning and clipping fabric covers the hand positions that keep your fingers safe.
Pressing and Turning for Crisp Results
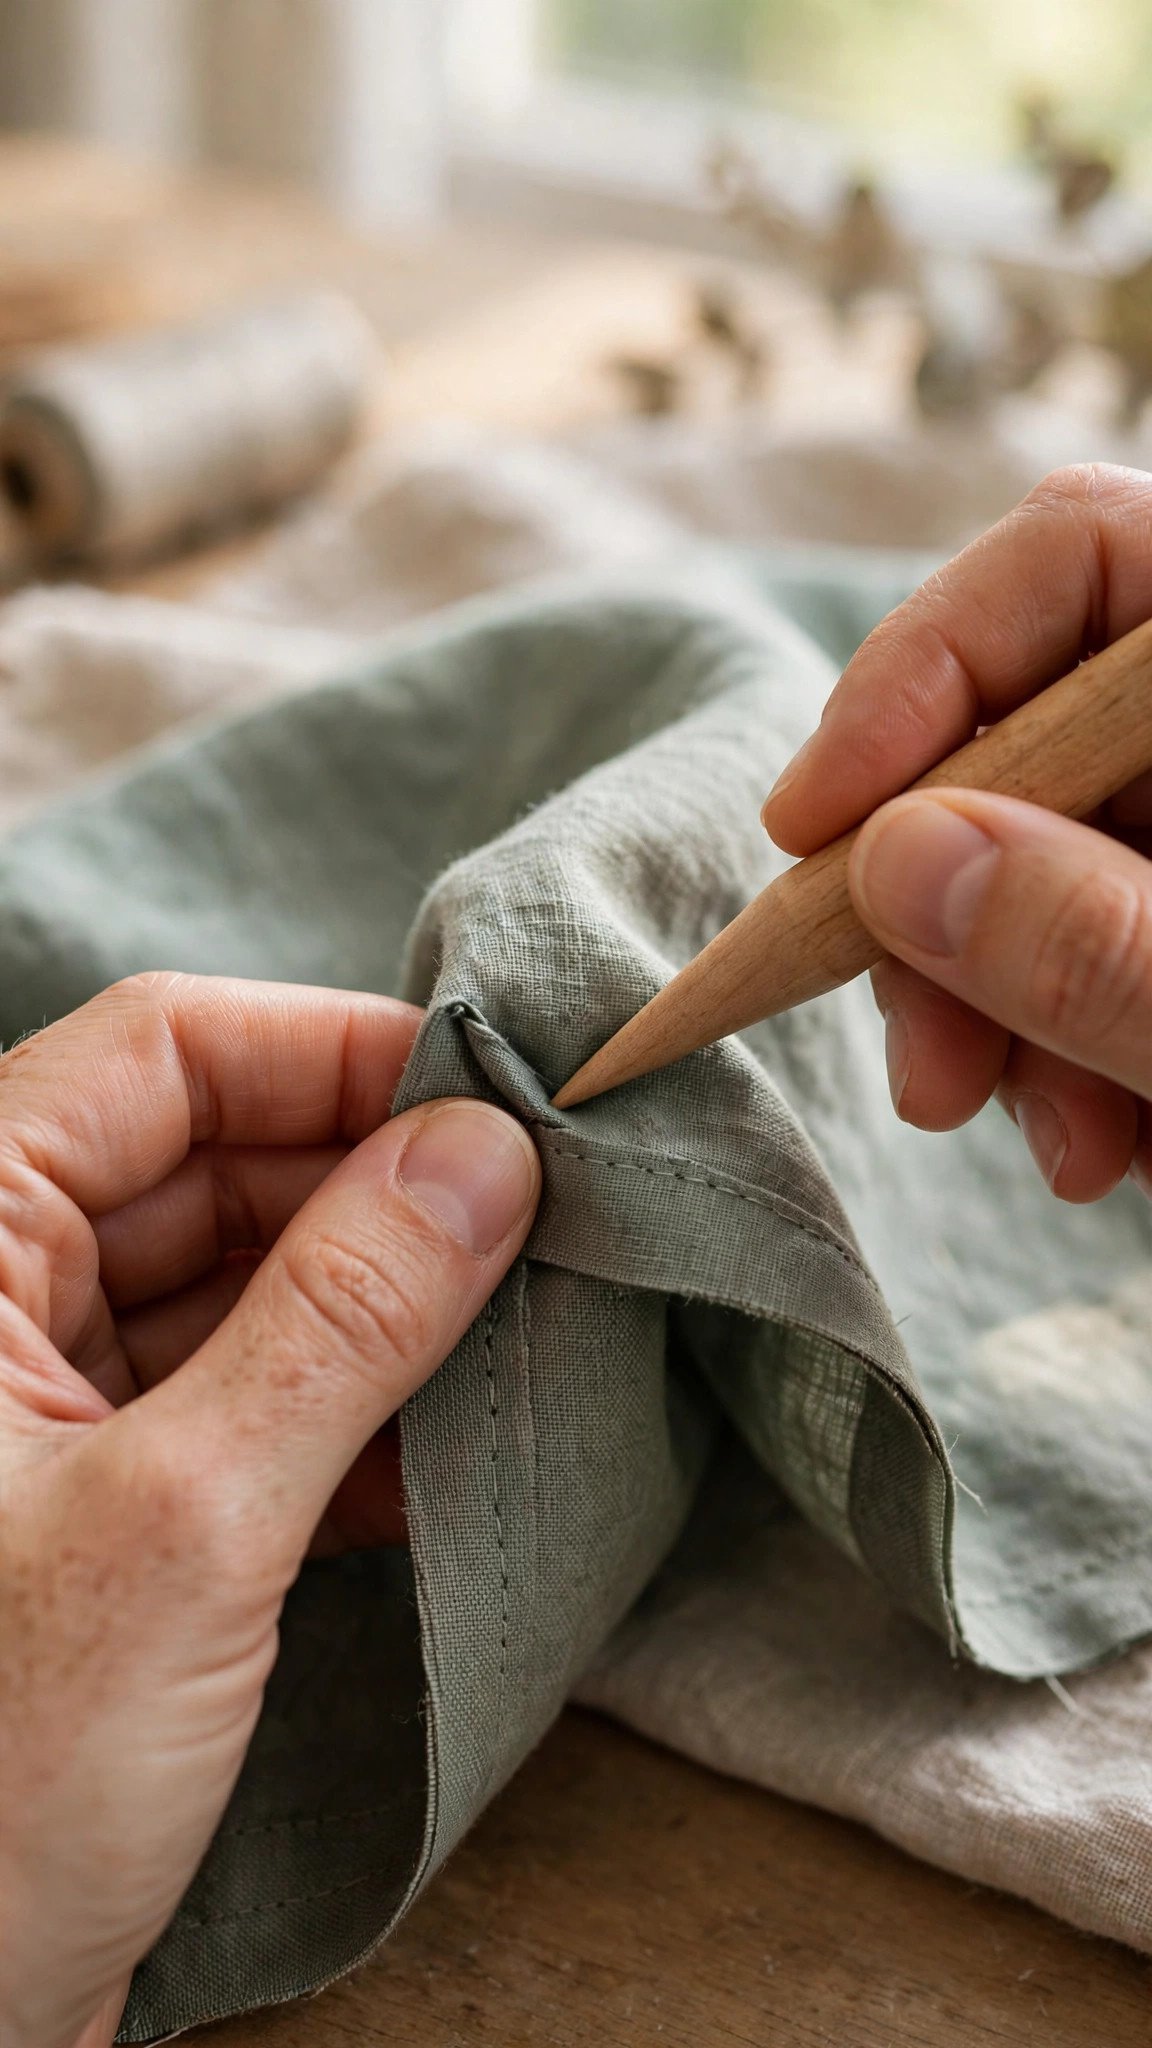
After clipping, press before you turn. Pressing the seam as sewn sets the stitches and flattens the allowance, which makes the turn cleaner. Then turn the piece right side out and use a point turner, a chopstick, or even a blunt knitting needle to gently push out corners and smooth curves from the inside. The key word is gently. Jabbing too hard pokes a hole right through your stitching, which is a heartbreaking way to ruin an otherwise perfect corner.
Once turned, press again. For curves, a tailor’s ham or even a rolled-up towel gives the curve something to wrap around so you can press it without creasing the opposite side. Roll the seam slightly to the inside so the stitching line sits just out of sight on the finished edge. This one pressing habit is what makes store-bought-looking edges, and it takes about thirty seconds per curve.
Practice Drills That Build the Muscle Memory
You do not need a project to get good at this. You need scraps and ten minutes. Drill one: draw squares, triangles, and circles on scrap cotton with a fabric marker, and sew along the lines. Drill two: cut two curved shapes, sew them right sides together, clip, turn, and press, then honestly assess the result and do it again. Drill three: sew a set of four napkin corners in a row, pivoting at each one, and compare the first corner to the fourth. The improvement within a single session will surprise you.
My strong opinion is that you should practice curves on the fabric you actually plan to use, or at least something similar. Sewing curves on stable quilting cotton and then jumping straight to slippery satin is a recipe for tears. Test on your real fabric, clip your real allowance, and press your real seam. The practice piece becomes your rehearsal for the performance.
FAQ
Why are my curved seams puckering?
Puckering on curves usually comes from sewing too fast, using too long a stitch, or letting the layers shift. Slow down, shorten your stitch length, pin well, and let the feed dogs do the moving. If puckering persists, check that you are not pushing or pulling the fabric as you guide it.
How close to the stitching should I clip?
Clip to about 1 to 2 millimeters from the stitching line, close enough to release the tension but never through the stitches. On fabrics that fray easily, stay a touch farther back, since fraying can eat into the seam after washing.
Can I sew curves without clipping at all?
On very gentle curves with lightweight fabric, you can sometimes get away with it, but clipping almost always improves the result. Think of it as cheap insurance: thirty seconds of snipping saves you from a lumpy curve that no pressing will fix.
What is the difference between clipping and notching?
Clipping means straight snips into the allowance, used on outward curves so the fabric can spread. Notching means cutting out small wedge shapes, used on inward curves so excess fabric is removed. Corners get a diagonal trim instead. Each one solves a different geometry problem.

Written by June Carter
I am June, a sewing enthusiast who loves turning simple fabric into things people actually use. I test every technique and product I write about at my own machine before it lands here.