
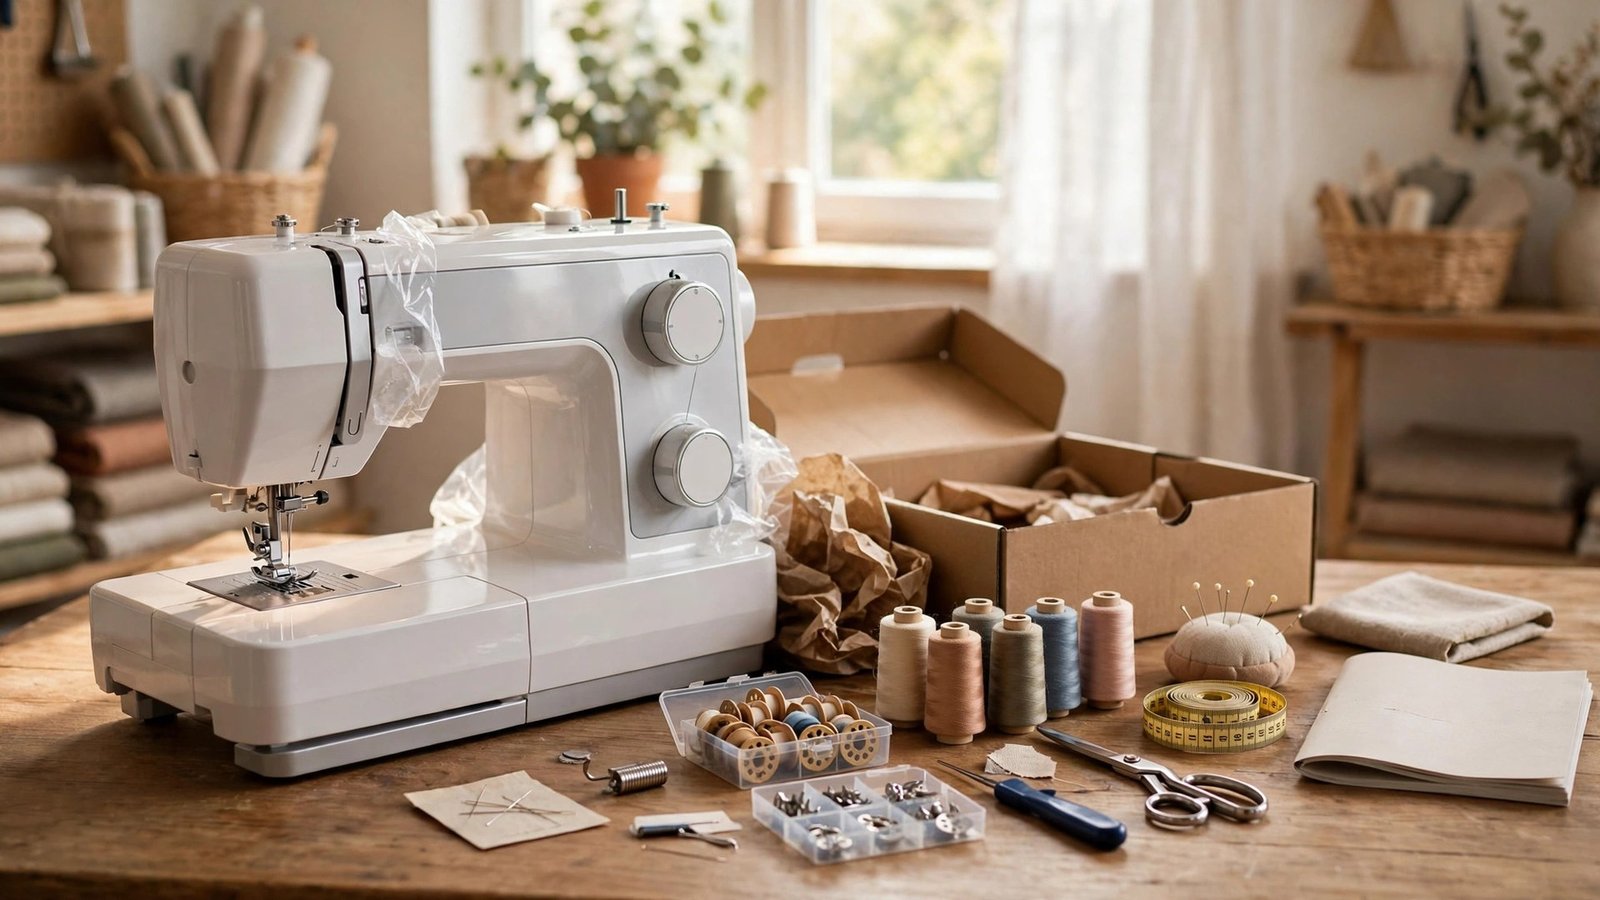
If you have just brought home a new machine and want to know how to set up a sewing machine for the first time, take a breath, because it is far simpler than the manual makes it look. Setting up a machine is really just a handful of steps: take it out of the box, plug it in, wind a bobbin, thread the top, and sew a few test lines. I still remember unboxing my first machine and staring at all the dials, convinced I would break something. I did not, and you will not either.
The trick is to go slowly and in order, and to test each step before you move to the next. A machine that is threaded correctly and set to a straight stitch will sew beautifully on its first try. A machine that is threaded with a missed guide or a bobbin in backwards will tangle, and the tangle will make you think the machine is broken when it is simply threaded wrong. In this guide I will walk you through the whole setup, from the box to your first straight seam, with the checks that catch the common mistakes.
Give yourself an unhurried hour for this, and keep the manual beside you. Every machine is a little different, and the manual shows where your bobbin goes and which way it unwinds, which varies by model. Have a scrap of cotton fabric, a spool of thread, and an empty bobbin ready before you start, and clear a flat, stable table with good light. A wobbly table and poor light are the enemies of a calm first setup.
How to Set Up a Sewing Machine for the First Time: Unboxing
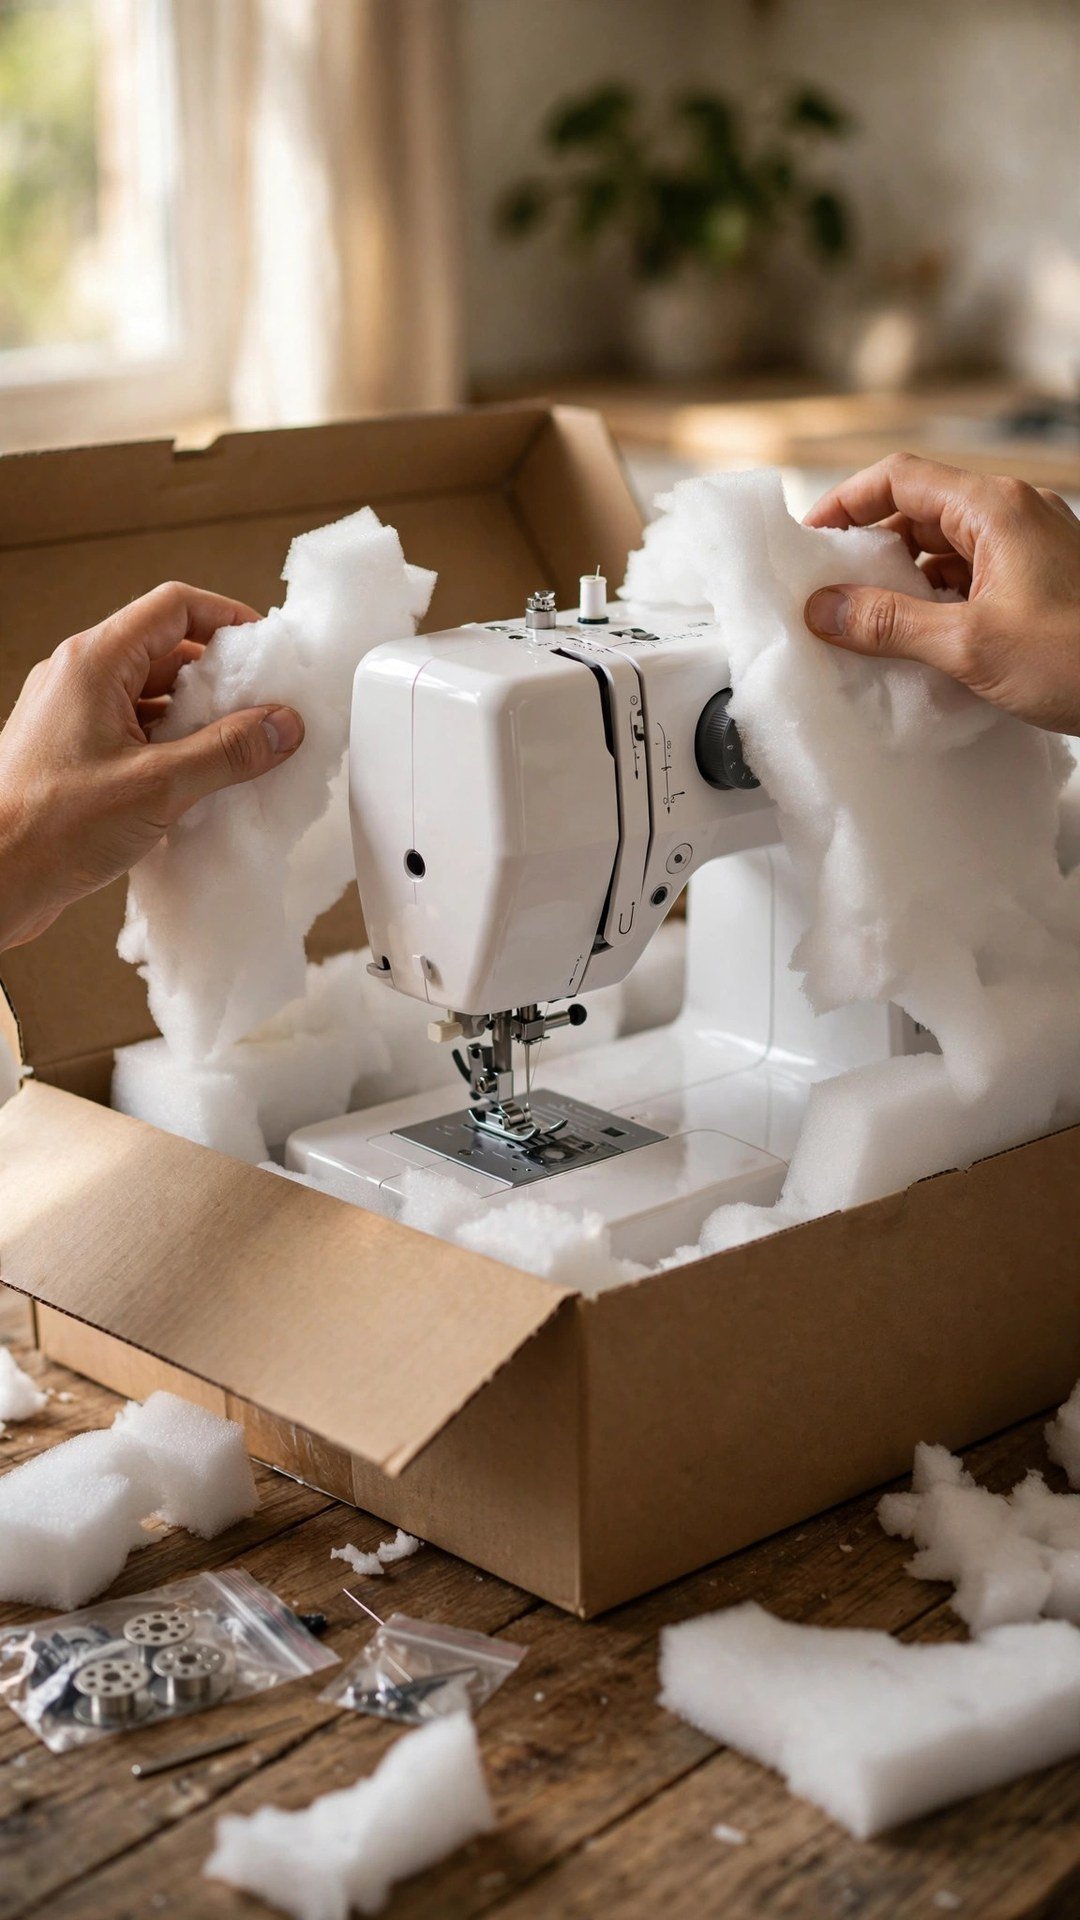
Start by lifting the machine out of the box and placing it on a flat, stable table. Remove the tape, the foam, and the plastic covers, and check that the presser foot is down and the needle is up before you move the machine around. Look in the box for the accessories: a few presser feet, bobbins, needles, a seam ripper, a screwdriver, and the power cord and foot pedal. Put the accessories in a small box or a bag so they do not wander off, because you will need the bobbins and the feet very soon.
Now plug the machine in. Connect the power cord to the machine and to the wall, and connect the foot pedal to the machine if it is separate. Turn the machine on and watch it wake up: the light should come on, and the needle should be in its up position. Raise the presser foot with the lever at the back, and turn the handwheel toward you until the needle is at its highest point. That handwheel direction matters, and you should always turn it toward you, never away, because turning it backwards can tangle the thread. If you are choosing a machine and have not bought one yet, my guide to how to choose a beginner sewing machine will help you pick one that suits your plans.
Winding and Inserting the Bobbin
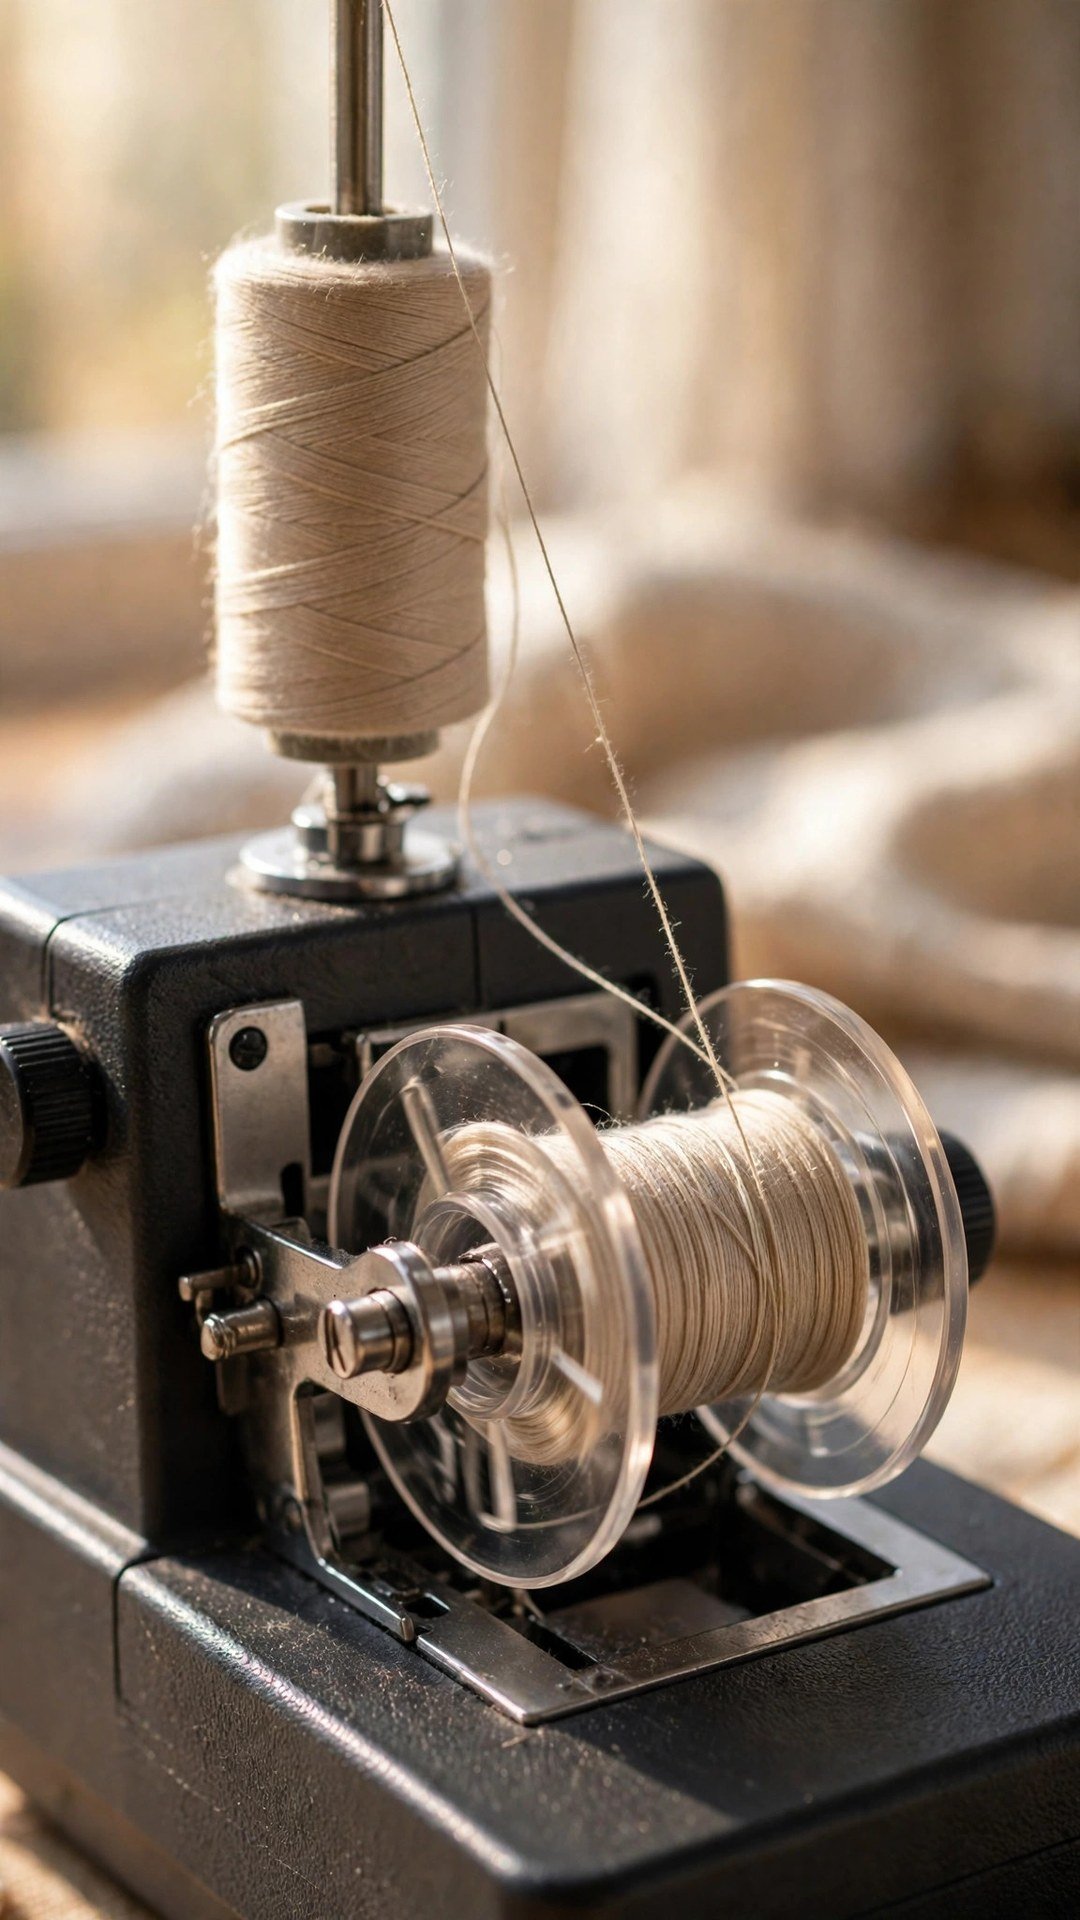
The bobbin is the small spool of thread that sits under the needle plate and forms the underside of every stitch, so winding it correctly is the foundation of good sewing. Place your thread spool on the spool pin, pull the thread through the bobbin winding guides as your manual shows, and thread the end through the tiny hole in the bobbin. Push the bobbin onto the bobbin winder spindle and slide it to the right to engage the winder, then press the foot pedal gently. The bobbin will spin and fill with thread. Stop when it is full but not overflowing, cut the thread, and slide the bobbin back.
Now insert the bobbin into its case. On a front loading machine, open the bobbin cover, drop the bobbin in so the thread unwinds in the direction your manual shows, and pull the thread through the tension slot. On a top loading machine, drop the bobbin into the case under the clear cover and pull the thread through the guide. Either way, the thread should pull out smoothly with a little resistance, not freely and not stuck. My guide to how to wind and insert a bobbin shows both types with clear photos if your manual leaves you guessing.
Threading the Top and Picking Up the Bobbin Thread
Threading the top is the step most beginners rush, and it is the step that causes most first day tangles. Raise the presser foot first, because that opens the tension discs, and raise the needle to its highest point with the handwheel. Then follow the numbered path on your machine, usually printed right on the body: from the spool pin, through the first guide, down through the tension discs, up through the take-up lever, down through the lower guides, and through the needle eye from front to back. Do it slowly, and check each guide as you go, because a single missed guide will cause looping underneath.
Once the top is threaded, you need to bring the bobbin thread up. Hold the top thread tail loosely in your left hand, turn the handwheel toward you one full turn so the needle goes down and comes back up, and the bobbin thread will loop up through the needle plate. Pull the loop out gently with a pin or your fingers, and pull both thread tails to the back of the machine, under the presser foot. You are now threaded and ready to sew. The full threading path is covered in how to thread a sewing machine, if you want to double check any step.
Your First Test Seams and Basic Settings
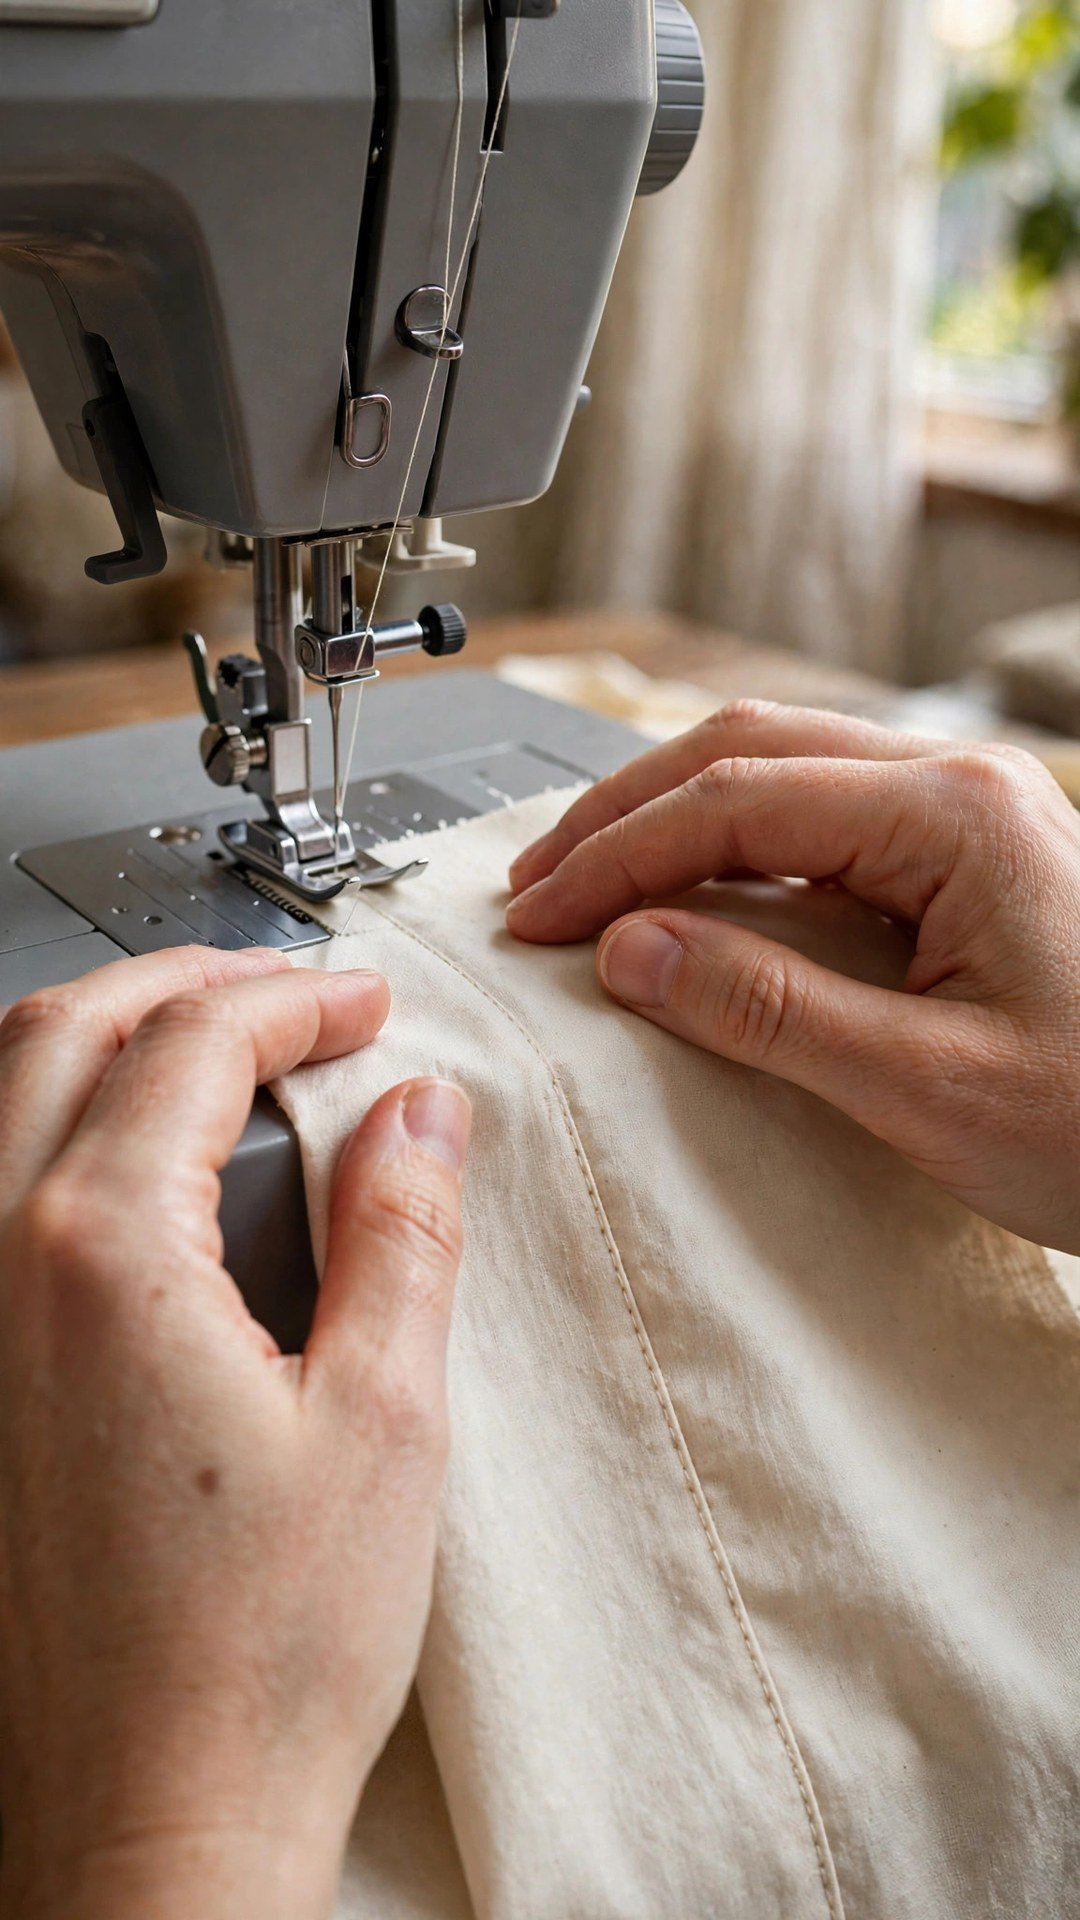
Before you sew a real project, sew test lines on a scrap of cotton. Set the machine to a straight stitch, set the stitch length to about two and a half, and place the fabric under the presser foot with the edge lined up on the seam guide. Lower the presser foot, hold the thread tails behind the foot for the first few stitches, and press the foot pedal gently. The machine should sew smoothly, with even stitches on the top and the bottom. Sew a few lines, then check the underside: it should look like the top, neat and even, with no loops or nests.
If the underside loops, rethread the top with the presser foot up, because a missed tension disc is the usual cause. If the stitches skip, change the needle, because a bent or blunt needle skips on its first outing more often than you would think. And if the fabric puckers, loosen the top tension slightly or lengthen the stitch. Test on the same fabric you plan to sew, because a machine set up for cotton will behave differently on a thick denim or a slippery satin. Once your test seams look good, you are set up, and the machine is ready for its first real project. For a look at which machines suit beginners best, see best sewing machines for beginners.
Frequently Asked Questions
What do I need to set up a sewing machine for the first time?
You need the machine, the power cord and foot pedal, a spool of thread, an empty bobbin, a needle, and a scrap of cotton fabric for testing. The manual, a seam ripper, and good light complete the kit.
Why does my new machine keep tangling underneath?
Tangling underneath almost always means the top thread missed a guide or the tension discs, usually because the presser foot was down while threading. Rethread the top with the presser foot raised, and check each guide in order.
Which way should the bobbin unwind?
It depends on your machine, so check the manual. Most top loading bobbins unwind counter clockwise, and most front loading bobbins unwind clockwise when viewed from the front. The manual diagram is the authority for your model.
What stitch length should I start with?
A stitch length of about two and a half is a good starting point for straight stitching on cotton. Shorter stitches are stronger but harder to unpick, and longer stitches are easier to remove but weaker.
Do I need to oil a new sewing machine?
Most modern machines are oiled at the factory and do not need oiling before first use. Check the manual: if it says to oil a specific spot, follow it, and if it says the machine is self lubricating, leave it alone.
Thread It, Test It, Then Sew Something Real
Setting up a sewing machine for the first time is a calm, orderly job once you know the steps: unbox and plug in, wind and insert the bobbin, thread the top, bring up the bobbin thread, and sew test lines on a scrap. Do it slowly, check each step, and trust the manual for your model. Your machine is ready, and your first project is waiting.

Written by June Carter
I am June, a sewing enthusiast who loves turning simple fabric into things people actually use. I test every technique and product I write about at my own machine before it lands here.