

If you are learning how to knot thread for hand sewing, you are learning the very first skill every hand sewist needs, and it is easier than it looks. A good knot is small, sits close to the fabric, and holds through the whole seam without pulling through or coming undone. A bad knot is bulky, slips out at the worst moment, or leaves a lump you can feel through the fabric. The difference is just a little practice and the right method.
I use the wrap and roll method, the one my grandmother taught me, because it makes a neat knot in seconds and it works with almost any thread. You wrap the thread around your finger, roll it off, and pull it tight, and with a bit of practice your hands will do it without thinking. In this guide I will show you that method step by step, plus a double knot for heavier work, and the fixes for the two problems beginners meet most often.
What You Need Before You Knot
Start with a needle threaded and ready, and cut your thread to a sensible length, about the distance from your fingertips to your elbow. Longer thread tangles and knots itself while you sew, and shorter thread means you are rethreading every few minutes. Thread the needle, pull the thread through so one end is short and one end is long, and work with the long end for your knot.
Choose thread that matches your project. A standard all purpose thread works for most hand sewing, and a slightly heavier thread is better for buttons and repairs. If you are still choosing supplies, my guide to the best thread for sewing machines also explains thread weights in plain language, and the same ideas apply by hand. Dampen the very end of the thread slightly if it frays, and trim it cleanly with sharp scissors so it passes through the needle eye easily.
Work in good light and sit comfortably, because knotting is a finger skill and tense hands make clumsy knots. Keep a scrap of fabric nearby to test each knot before you start on your real project. That scrap is your practice ground, and it is where you will learn how much pressure makes a knot tight without puckering the fabric.
How to Knot Thread for Hand Sewing Step by Step
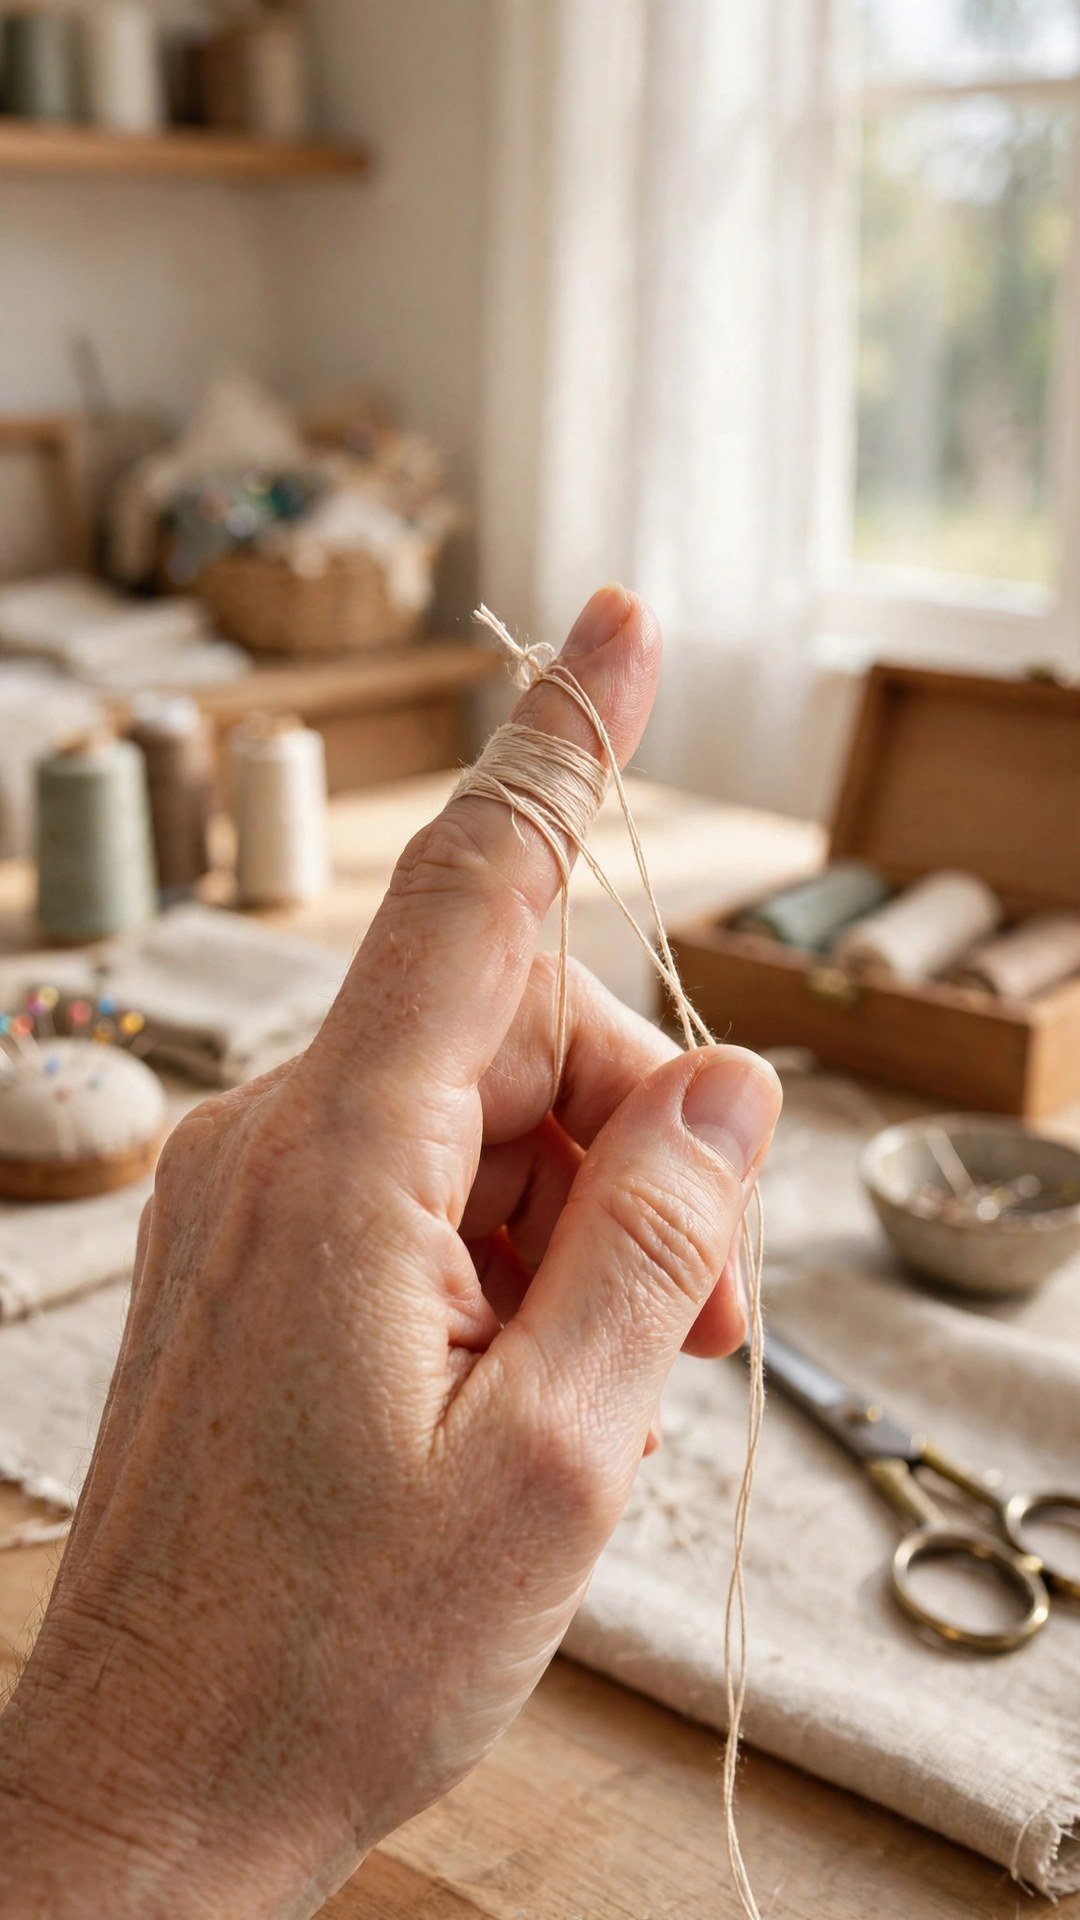
Hold the long end of the thread between the thumb and forefinger of your non dominant hand, leaving a tail of about three inches beyond your fingers. Now wrap the thread around the tip of your index finger, making one full loop that crosses over itself. This loop is the heart of the knot, and keeping it loose at this stage is fine, because you will tighten it in a moment.
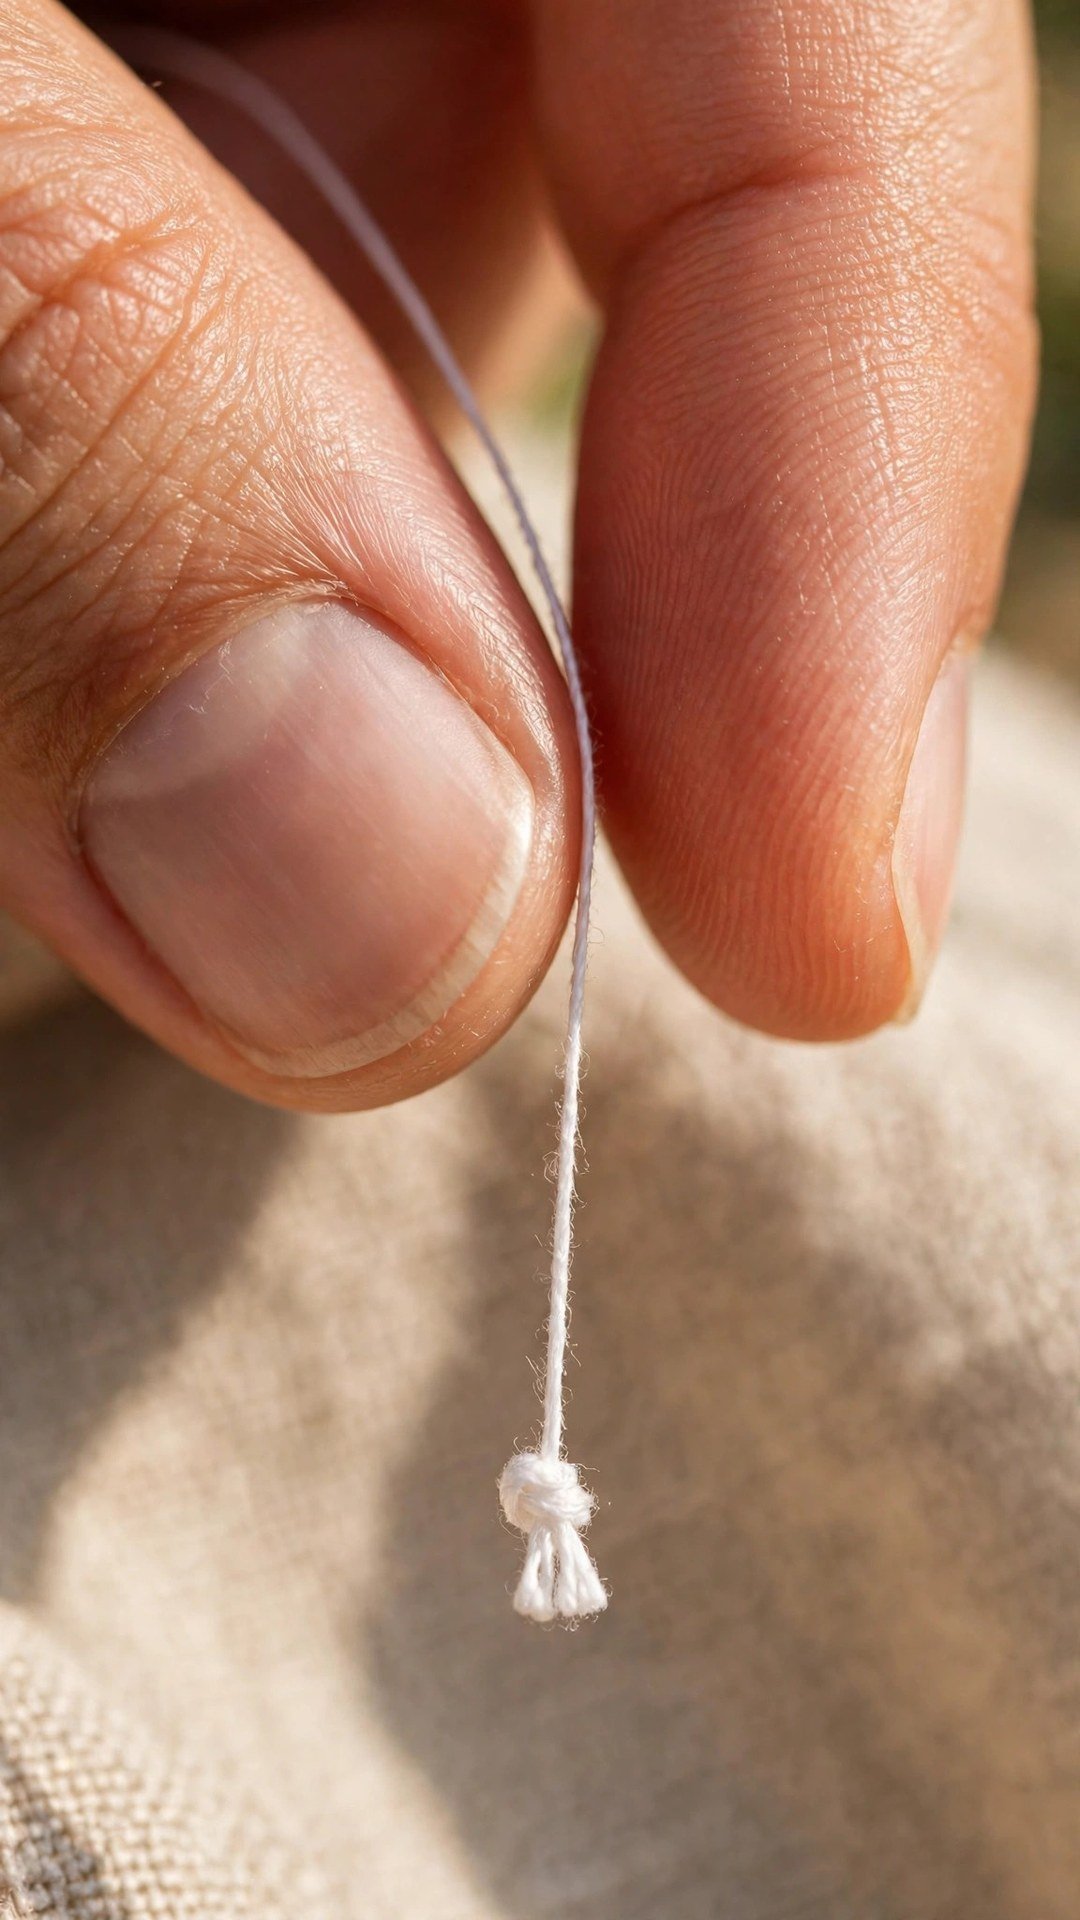
Next, roll the loop off your fingertip by rubbing your thumb across it, so the loop twists into a small tight coil. Keep hold of the thread end with your other hand while you do this, and do not let go of the coil. Now pull the thread steadily through the coil, keeping the tension even, and the coil will slide down the thread and snug up into a small knot near the end. Slide the knot to about a quarter inch from the very end of the thread, and give it a firm final tug.
When to Use a Double Knot
A single knot is enough for most hand sewing, including hems, seams, and light repairs, because the knot sits behind the fabric and the stitches themselves share the load. But some jobs need more holding power, and that is when I use a double knot. Buttons, heavy fabric, and anything that will be pulled or stressed deserve the extra security, and a double knot costs only a few seconds.
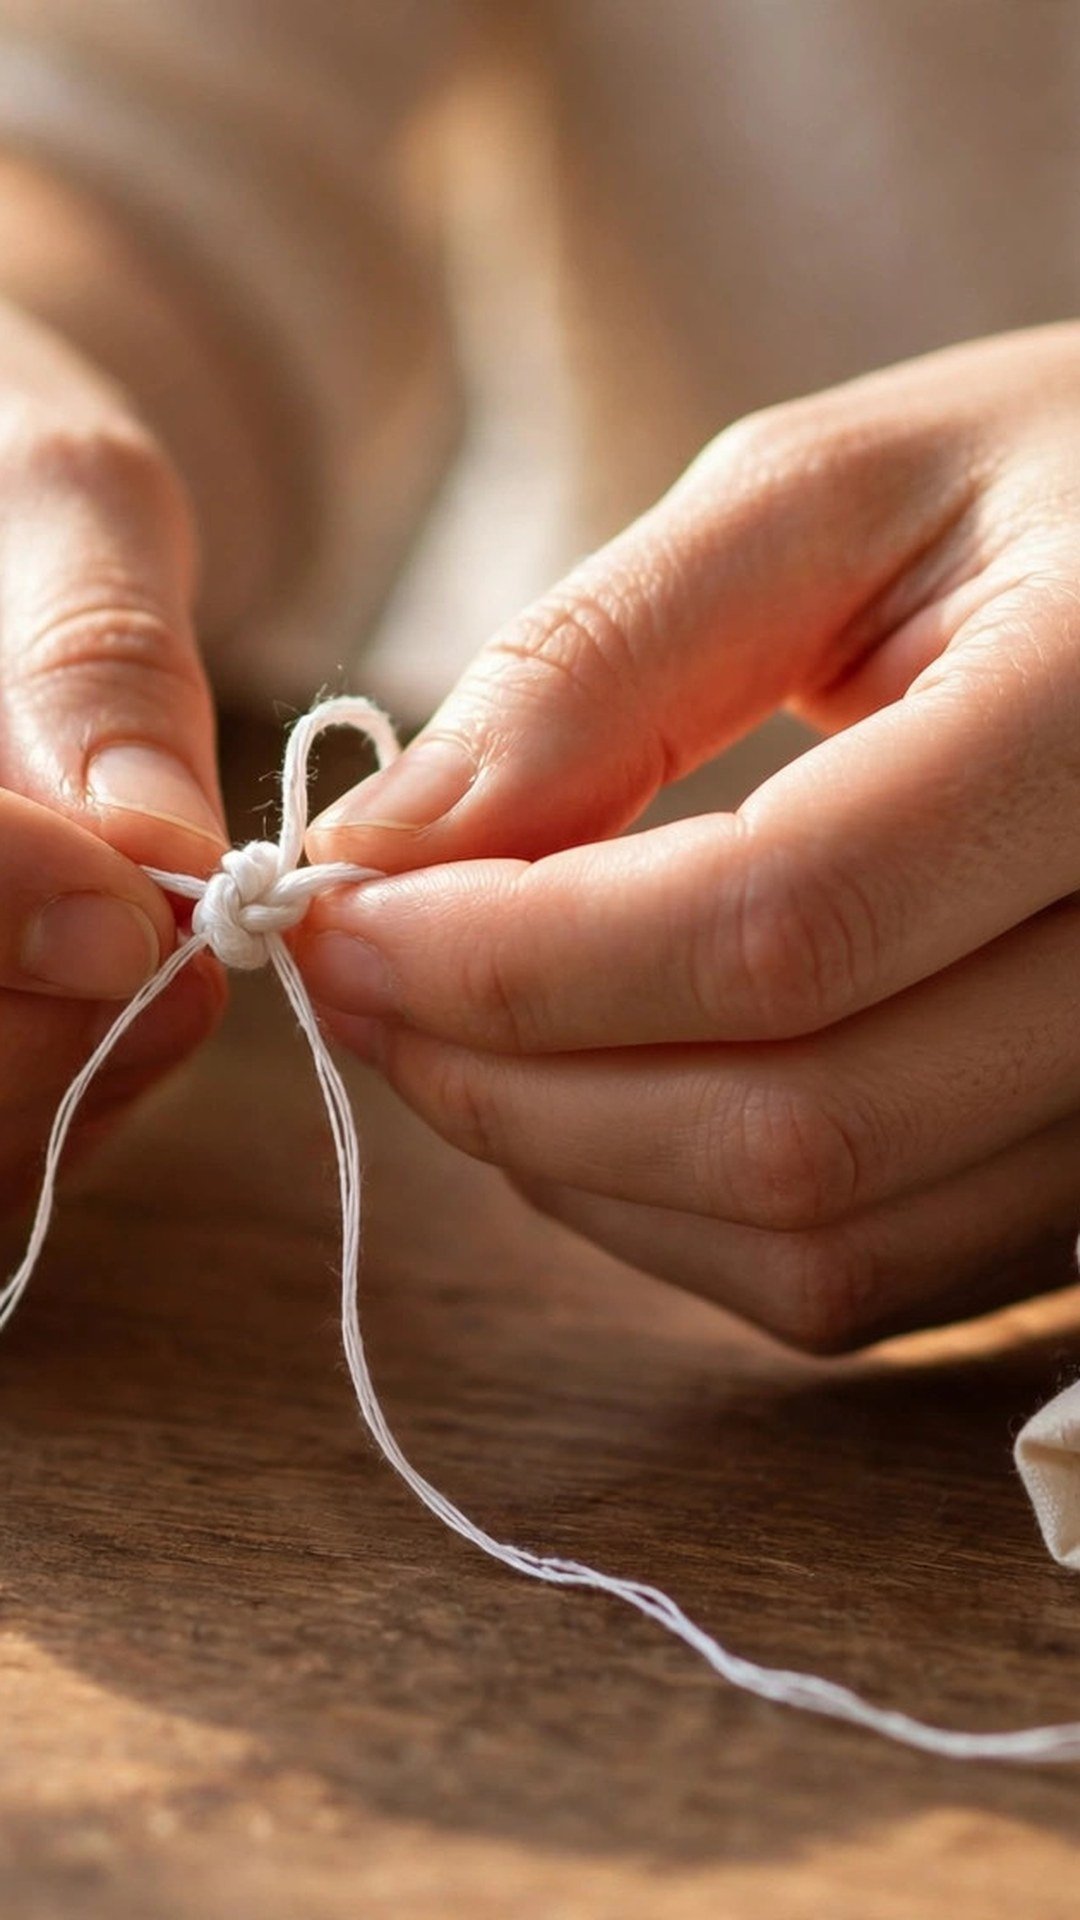
To make a double knot, tie your first knot exactly as above, then tie a second knot right on top of it, using the same wrap and roll movement. The second knot should sit snugly against the first, forming one slightly larger knot rather than two knots spaced apart. Pull each knot tight separately, and check that the finished knot is still small enough to hide behind the fabric or inside a fold.
Do not use a double knot where a single knot will do, because a bigger knot can show through fine fabric and can feel lumpy inside a garment. Save the double knot for the jobs that need it, and use a single neat knot everywhere else. If your knot keeps pulling through the fabric even when doubled, the problem is usually the fabric weave rather than the knot, and starting with a tiny backstitch will anchor it better.
Fixing Knots That Slip or Tangle
The most common complaint I hear is that the knot slips out while sewing, and it almost always has one of two causes. Either the knot was not pulled tight enough, so it unravelled under tension, or the thread tail beyond the knot was too short, so the knot slipped off the end. Leave a slightly longer tail, pull the knot firmly until it feels solid, and test it before you sew. A knot that survives a firm tug between your fingers will survive your stitching.
Tangles are the other frustration, and they usually come from thread that is too long or twisted. If your thread twists on itself as you sew, let the needle dangle freely every few stitches so the thread can unwind naturally. Keep your thread length modest, and run the thread through a little beeswax if you have it, because waxed thread tangles less and knots more cleanly. These small habits make hand sewing feel calm instead of fiddly.
Practise Until It Feels Automatic
The best way to learn this knot is to practise it ten times on a scrap before you start a real project. Thread your needle, tie a knot, pull it tight, cut it off, and do it again. Watch what your fingers do, and notice how the loop rolls off your fingertip and tightens into a knot. After a few repetitions you will stop thinking about each step, and your hands will know the movement. That is the moment the skill is yours.
Try the knot with different threads too, because fine thread makes a tiny knot and heavier thread makes a chunkier one, and both behave slightly differently. Practise with the thread you will actually sew with, on the fabric you will actually sew, so there are no surprises when the real project starts. If you are building your first kit, my guide to how to start sewing from zero covers the other basics in the same friendly order.
Keep your early knots and look at them honestly. A neat knot is small, round, and firm. A messy knot is loose, lumpy, or trailing a long tail. You do not need perfection, you need a knot you can trust, and trust comes from repetition. Ten minutes of practice now will save you from rethreading and reknotting in the middle of every project for years.
Frequently Asked Questions
How do you knot thread for hand sewing?
Wrap the thread once around your index fingertip, roll the loop off with your thumb, and pull the thread steadily through the coil until it tightens into a small knot near the end of the thread.
Should I use a single or double knot?
Use a single knot for most hand sewing, including hems and light seams. Use a double knot for buttons, heavy fabric, and repairs that will take stress, because the extra knot adds real holding power.
Why does my knot keep slipping out?
The knot was probably not pulled tight enough, or the tail beyond it was too short. Leave a slightly longer tail, pull the knot firmly until it feels solid, and test it with a tug before you sew.
How long should hand sewing thread be?
About the distance from your fingertips to your elbow is ideal. Longer thread tangles and knots itself, and shorter thread means constant rethreading.
Can I knot thread without wrapping it around my finger?
Yes, you can tie a small overhand knot with your fingers, but the wrap and roll method makes a neater, smaller knot and is easier to repeat. Practise the wrap method first, then try alternatives.
Tie Ten Knots, Then Start Sewing
Knotting thread is a tiny skill with an outsized payoff, because every hand sewing project starts with it. Practise the wrap and roll knot ten times on a scrap tonight, test each knot with a firm tug, and notice how quickly your fingers learn the movement. Once the knot feels automatic, you are ready for the real joy of hand sewing, which is the stitching itself, not the setup. Your needle is threaded, your knot is secure, and your project is waiting.

Written by June Carter
I am June, a sewing enthusiast who loves turning simple fabric into things people actually use. I test every technique and product I write about at my own machine before it lands here.