
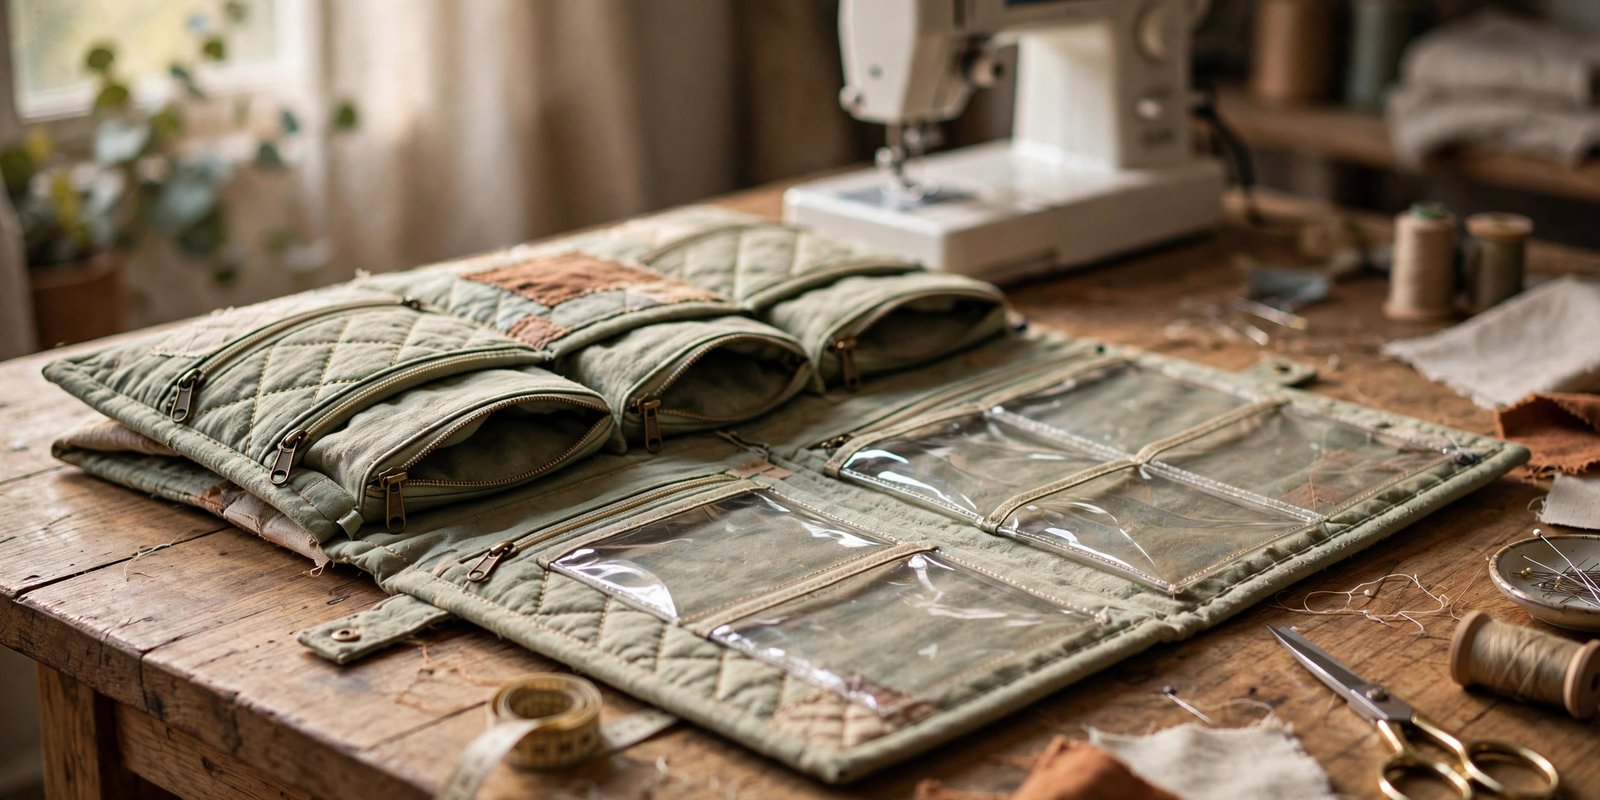
Learning how to sew a travel organizer is one of those projects that pays you back on every single trip. I stitched my first one from leftover quilting cotton the week before a long flight, and I still reach for it more than any organizer I have ever bought. It holds my chargers, my passport, my medications, and all the little things that otherwise roll around loose in my carry on.
Here is the honest truth: a travel organizer is just a flat fabric panel with smart pockets. If you can sew a straight line and install a basic zipper, you can make one. There is no fitting, no darts, and no sleeves to set in. It is a forgiving build, which makes it a lovely confidence project even if you are still fairly new to your machine.
In this guide I will walk you through my favorite method: a soft-sided organizer with open slip pockets, a couple of zippered pockets, and one clear vinyl window so you can spot your essentials at a glance. We will interface everything for structure, bind the edges for a clean finish, and end up with something sturdy enough to live in a suitcase for years.
How to Sew a Travel Organizer: Plan the Layout First
Before you cut a single thread, decide what this organizer needs to carry. A toiletry organizer wants tall pockets for bottles and a wipeable lining. A tech organizer wants slim slots for cables, a padded sleeve for a tablet, and a zippered pocket for adapters. A document organizer wants wide flat pockets for a passport, boarding passes, and a pen loop. Write your list on paper, because guessing at the machine leads to pockets that are almost, but not quite, the right size.
Next, think about where it will live. Measure the inside of your suitcase lid, your carry on front pocket, or your tote bag, and size your panel to a custom size that fits that space. A flat organizer about the size of a magazine page slides into most bags. If you prefer packing cubes, you can scale this same method down into two or three smaller cubes that stack. Sketch your pocket layout on paper first: draw the panel, then draw each pocket as a rectangle with its finished measurements. That little sketch is your pattern, and it saves more fabric than any other habit I know.
Choose the Right Travel Organizer Fabric and Interfacing
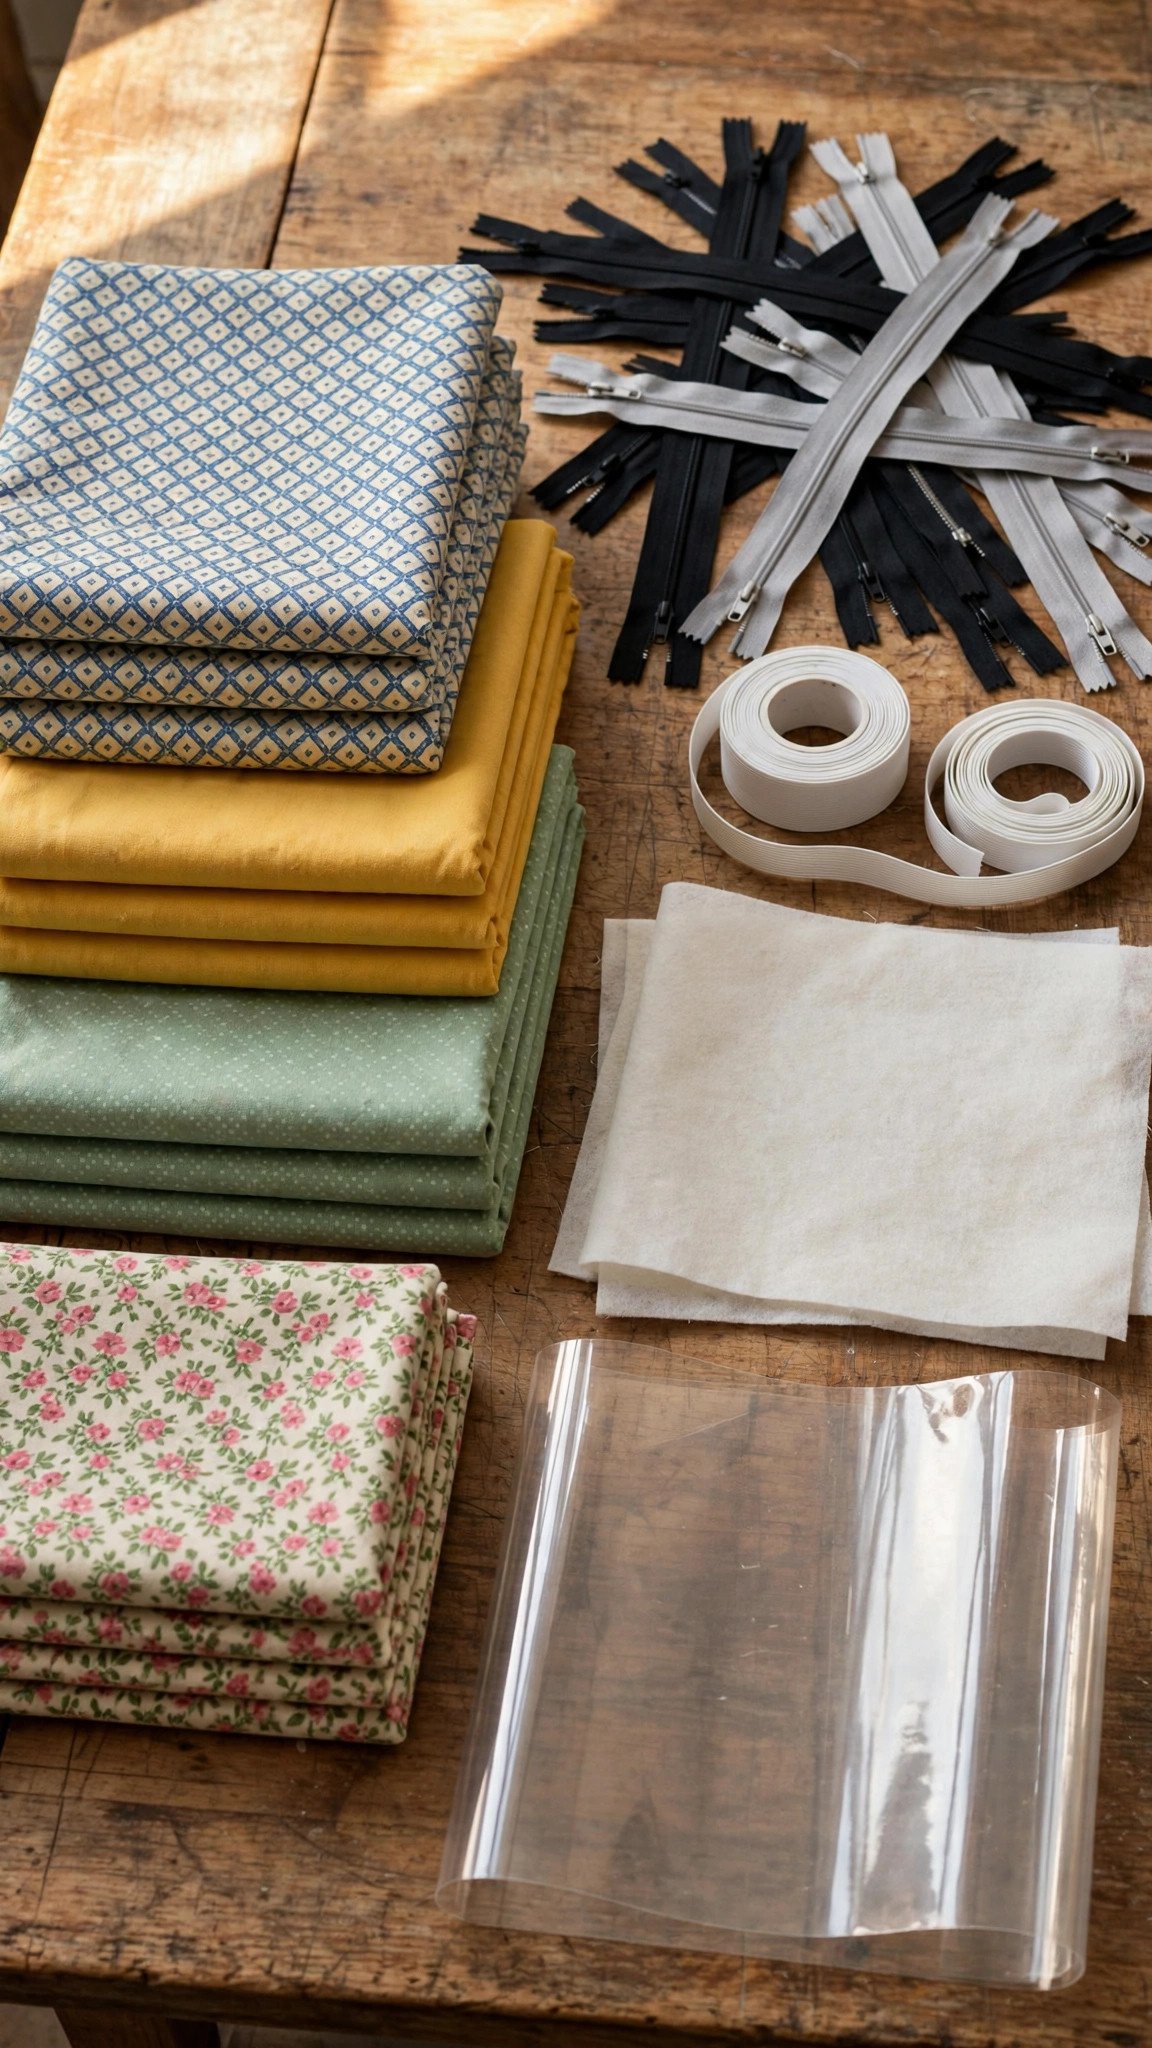
The best travel organizer fabric is something with a bit of body. Quilting cotton works beautifully and comes in prints that make you happy at airport security, but it needs help to stand up, so always pair it with interfacing. Canvas and lightweight denim are my picks when I want something that feels rugged and holds its shape with less fusing. For the lining, a smooth cotton or a wipeable laminated cotton keeps the inside tidy and easy to clean.
Interfacing is what turns floppy fabric into an organizer that actually functions. A medium weight fusible interfacing on the back panel gives the whole piece structure without making it stiff. If you want a padded, premium feel, use a foam stabilizer instead; it adds cushioning for electronics and makes the finished piece look professionally made. For pocket pieces, a light fusible is plenty, since the pockets get their stiffness from being layered and topstitched. Whatever you choose, always prewash your cotton and linen first so nothing shrinks after you have sewn it, and fuse your interfacing with steady heat and pressure rather than sliding the iron around.
Cut Your Pieces
Good cutting is half the sewing. Start with your back panel, cut to your planned finished size plus seam allowance on all sides. Cut the lining the same size, and cut your fusible interfacing just a hair smaller so it does not peek out at the edges after fusing. If you are making a wipeable version, cut a vinyl or laminated lining piece the same size as the lining.
For the pockets, cut each pocket piece wider than its finished width so you have room to fold and hem the top edge, and taller than its finished height so the bottom tucks cleanly under the binding. A zippered pocket needs three pieces: the pocket front, the pocket lining, and the zipper itself, which should be at least two inches longer than the pocket opening so you have room to maneuver the pull. If you are unsure how much fabric to buy, take a few minutes to calculate your fabric yardage from your sketch before you shop; a fat quarter bundle often covers a medium organizer with fabric to spare.
Sew the Pockets and Compartments
This is the heart of the project, and the order matters: sew all the pockets and compartments onto the back panel before you assemble anything else. Start with the zippered pocket. Lay the pocket lining right side up, place the zipper face down along its top edge, then lay the pocket front right side down on top, sandwiching the zipper tape between the two layers. Pin or clip the layers, stitch close to the teeth with a zipper foot, then press the layers away from the zipper and topstitch. That little row of topstitching keeps the fabric from catching in the zipper pull, which is the most common frustration with handmade zipper pockets.
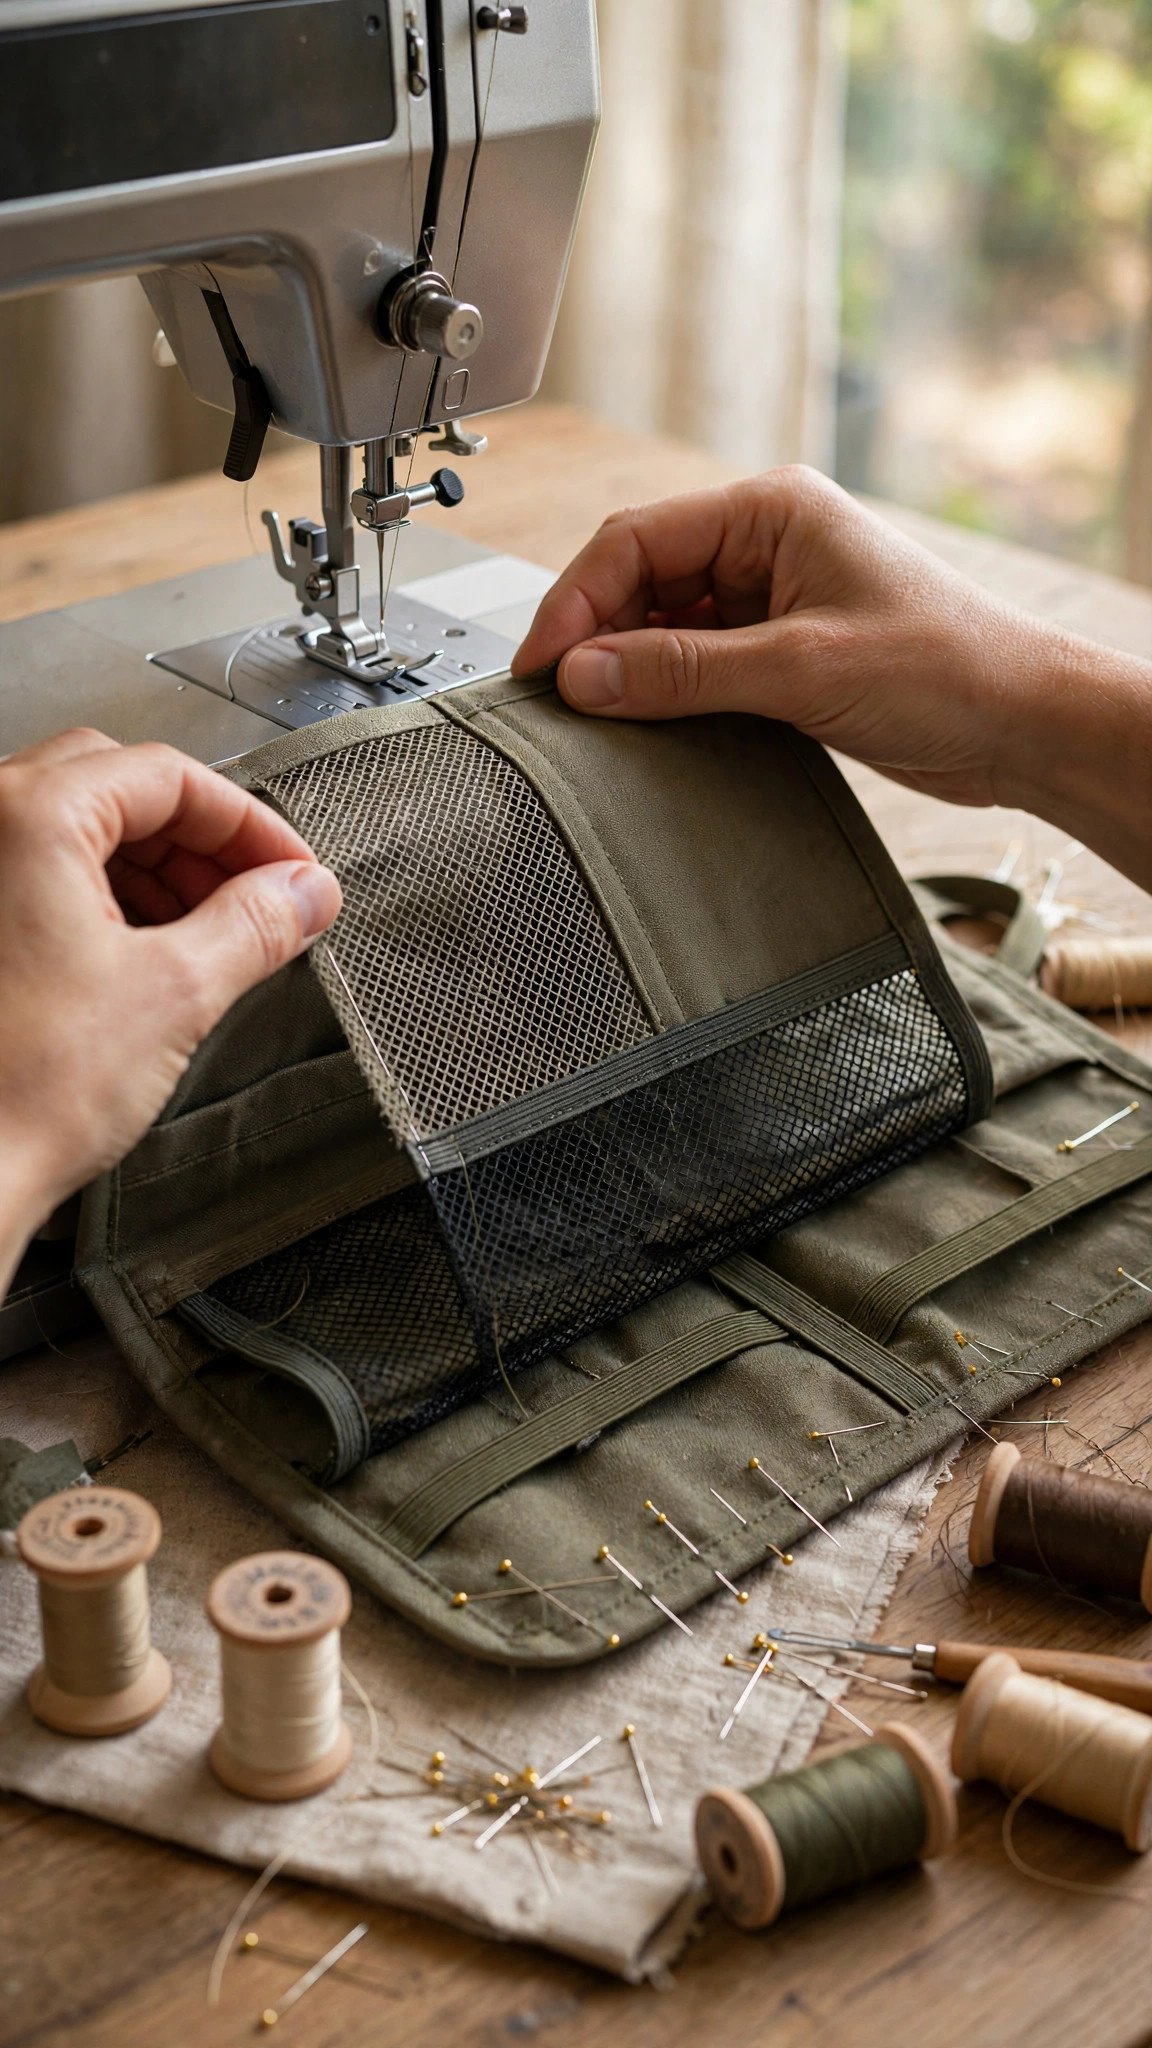
Slip pockets are simpler. Fold and press the top edge under twice, topstitch the hem, then pin the pocket to the back panel and stitch the sides and bottom. To divide one wide pocket into slots for pens, cables, or brushes, just stitch vertical dividing lines through all layers. For a clear vinyl window pocket, treat the vinyl gently: use a longer stitch length, and if your machine wants to stick, lay tissue paper under the vinyl and tear it away afterward. A mesh pocket works the same way as a slip pocket, but bind its top edge with a strip of fabric instead of hemming it, since mesh frays if you fold it.
Assemble the Organizer Body
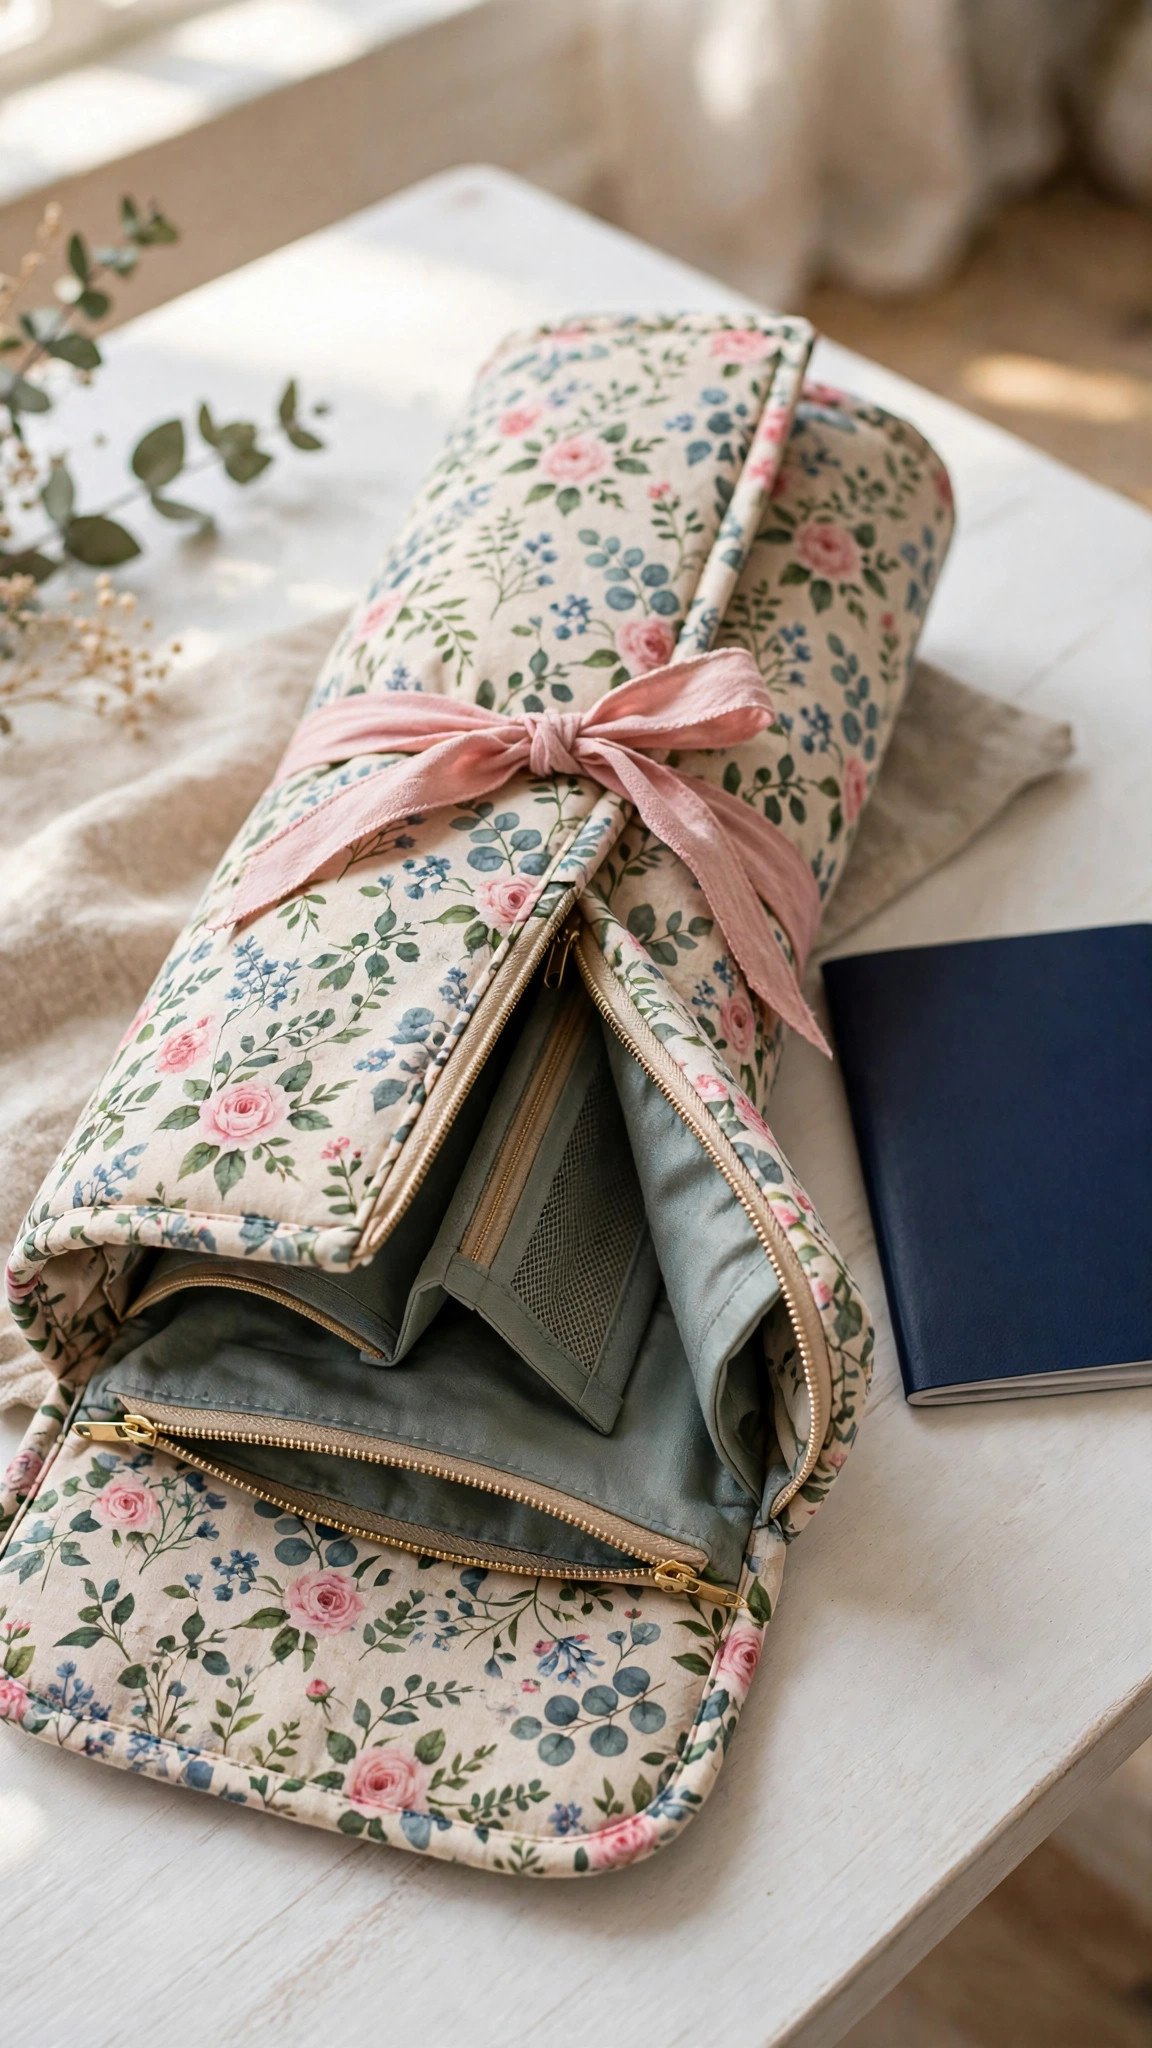
Once every pocket is sewn and pressed, stack your layers: lining right side down, then the interfaced back panel right side up with all its pockets facing you. If you want the organizer to roll up, now is the time to tuck ribbon ties or an elastic loop between the layers at one side edge, with the raw ends sticking out. Pin or clip generously around all four sides so nothing shifts.
I finish my organizers with binding because it looks crisp and wears well at the edges. Cut binding strips, join them, and sew the binding to the front of the panel, wrap it to the back, and stitch it down, mitering the corners as you go. Binding also gives you a perfect place to finish edges that would otherwise fray, like the vinyl window or mesh. If you prefer a turned finish instead, stitch around the panel leaving a gap, trim the corners, turn it right side out, press, and topstitch the opening closed.
Finishing Touches and Care
Give the whole organizer a final press, being careful to keep the iron off the clear vinyl. Add a small fabric label or a snap to the ties if you like; a snap at the center of each tie keeps a rolled organizer shut in transit. Check every zipper pull, trim your threads, and load it up once to make sure each pocket earns its place. I always find one pocket I want to divide differently after the first pack, and that is normal.
A well made travel organizer is genuinely durable. The interfacing keeps it from going limp, the binding protects the edges, and the whole thing is washable if you used cotton throughout: just machine wash on gentle, skip the dryer, and reshape it while it is damp. Vinyl windows prefer a simple wipe down with a damp cloth instead of the machine. Roll it or fold it flat between trips, and it will be ready for the next one.
FAQ
What is the best fabric for a travel organizer?
Quilting cotton paired with fusible interfacing is the easiest combination for beginners, and it comes in endless prints. Canvas or lightweight denim gives a sturdier result with less fusing. Use a smooth or wipeable lining inside so the compartments stay clean.
Do I need interfacing in a travel organizer?
Yes, unless you are using a heavy canvas. Interfacing gives the panel the structure it needs to stand up and keeps the pockets from sagging under the weight of your things. A medium weight fusible on the back panel and a light fusible on the pockets is my standard recipe.
Can I make a travel organizer without a zipper?
Absolutely. Slip pockets with elasticized or bound top edges hold plenty, and a fold-over flap with a snap or tie keeps everything contained. Zippers are wonderful for small loose items, but they are optional, so do not let them stop you from starting.
How do I wash a handmade travel organizer?
If every layer is cotton, machine wash on a gentle cycle and air dry, then reshape while damp. Organizers with clear vinyl windows should be wiped clean with a damp cloth instead, since heat and agitation can cloud the vinyl.

Written by June Carter
I am June, a sewing enthusiast who loves turning simple fabric into things people actually use. I test every technique and product I write about at my own machine before it lands here.