

Knowing how to sew buttons securely is one of those small skills that pays off forever. A button sewn properly survives years of wear and washing. A button sewn carelessly pings off in a parking lot and takes your favorite shirt out of rotation. I learned this the dramatic way when the top button of my best blouse launched itself across a restaurant table mid-dinner. It was sewn with three lazy loops of single thread and no knot worth the name. Never again.
The good news is that a truly secure button takes about five minutes and no special tools: a hand needle, strong thread, and a toothpick. The difference between a button that lasts and a button that escapes is all in the details most tutorials rush past. Let me slow it down and show you the whole method, including the thread shank trick that professionals use on everything from shirts to winter coats.
Why Buttons Pop Off (and It Is Rarely the Button’s Fault)
When a button comes off, the usual suspects are thread choice, too few stitches, and no proper knot. Single all-purpose thread, three passes through the holes, and a wimpy knot will hold for a while, but every buttoning and unbuttoning flexes those threads. Eventually they saw through each other or the knot works loose, and off goes the button.
Sewing the button too tight to the fabric is another classic cause. A flat button pulled flush against the cloth leaves no room for the buttonhole layer to sit underneath, so every fastening strains the threads sideways. The fix is a thread shank: a little stem of wrapped thread between the button and the fabric that gives the button room to sit properly. It takes an extra minute and roughly doubles the life of the attachment. There is no reason to skip it.
How to Sew Buttons Securely: The Thread Question
Thread is the foundation, so choose it deliberately. I sew buttons with doubled thread: a single strand folded in half through the needle, knotted at the folded end. Doubling the thread doubles the strength of every pass and means fewer passes through the holes to get a solid attachment. For most garments, good-quality all-purpose polyester thread in a matching color is ideal because it is strong and resists abrasion.
For heavy coat buttons or buttons that take real strain, step up to a heavier thread such as buttonhole twist or topstitching thread, and consider waxing it. Running the thread across a block of beeswax, or even a white candle in a pinch, coats the fibers so they glide through fabric without fraying and grip each other in the knot. It is an old tailor’s habit and it genuinely works. If you want a refresher on what makes one thread stronger than another, my guide to the best thread for sewing machines covers fiber and weight in plain language, and the same principles apply to hand sewing.
Cut your thread no longer than about 18 inches. Longer thread seems efficient but it tangles, knots on itself, and weakens from being dragged through fabric dozens of times. If the button needs more thread than one length provides, finish the first length properly with a knot and start a fresh one. Your patience will be rewarded with a button that does not move.
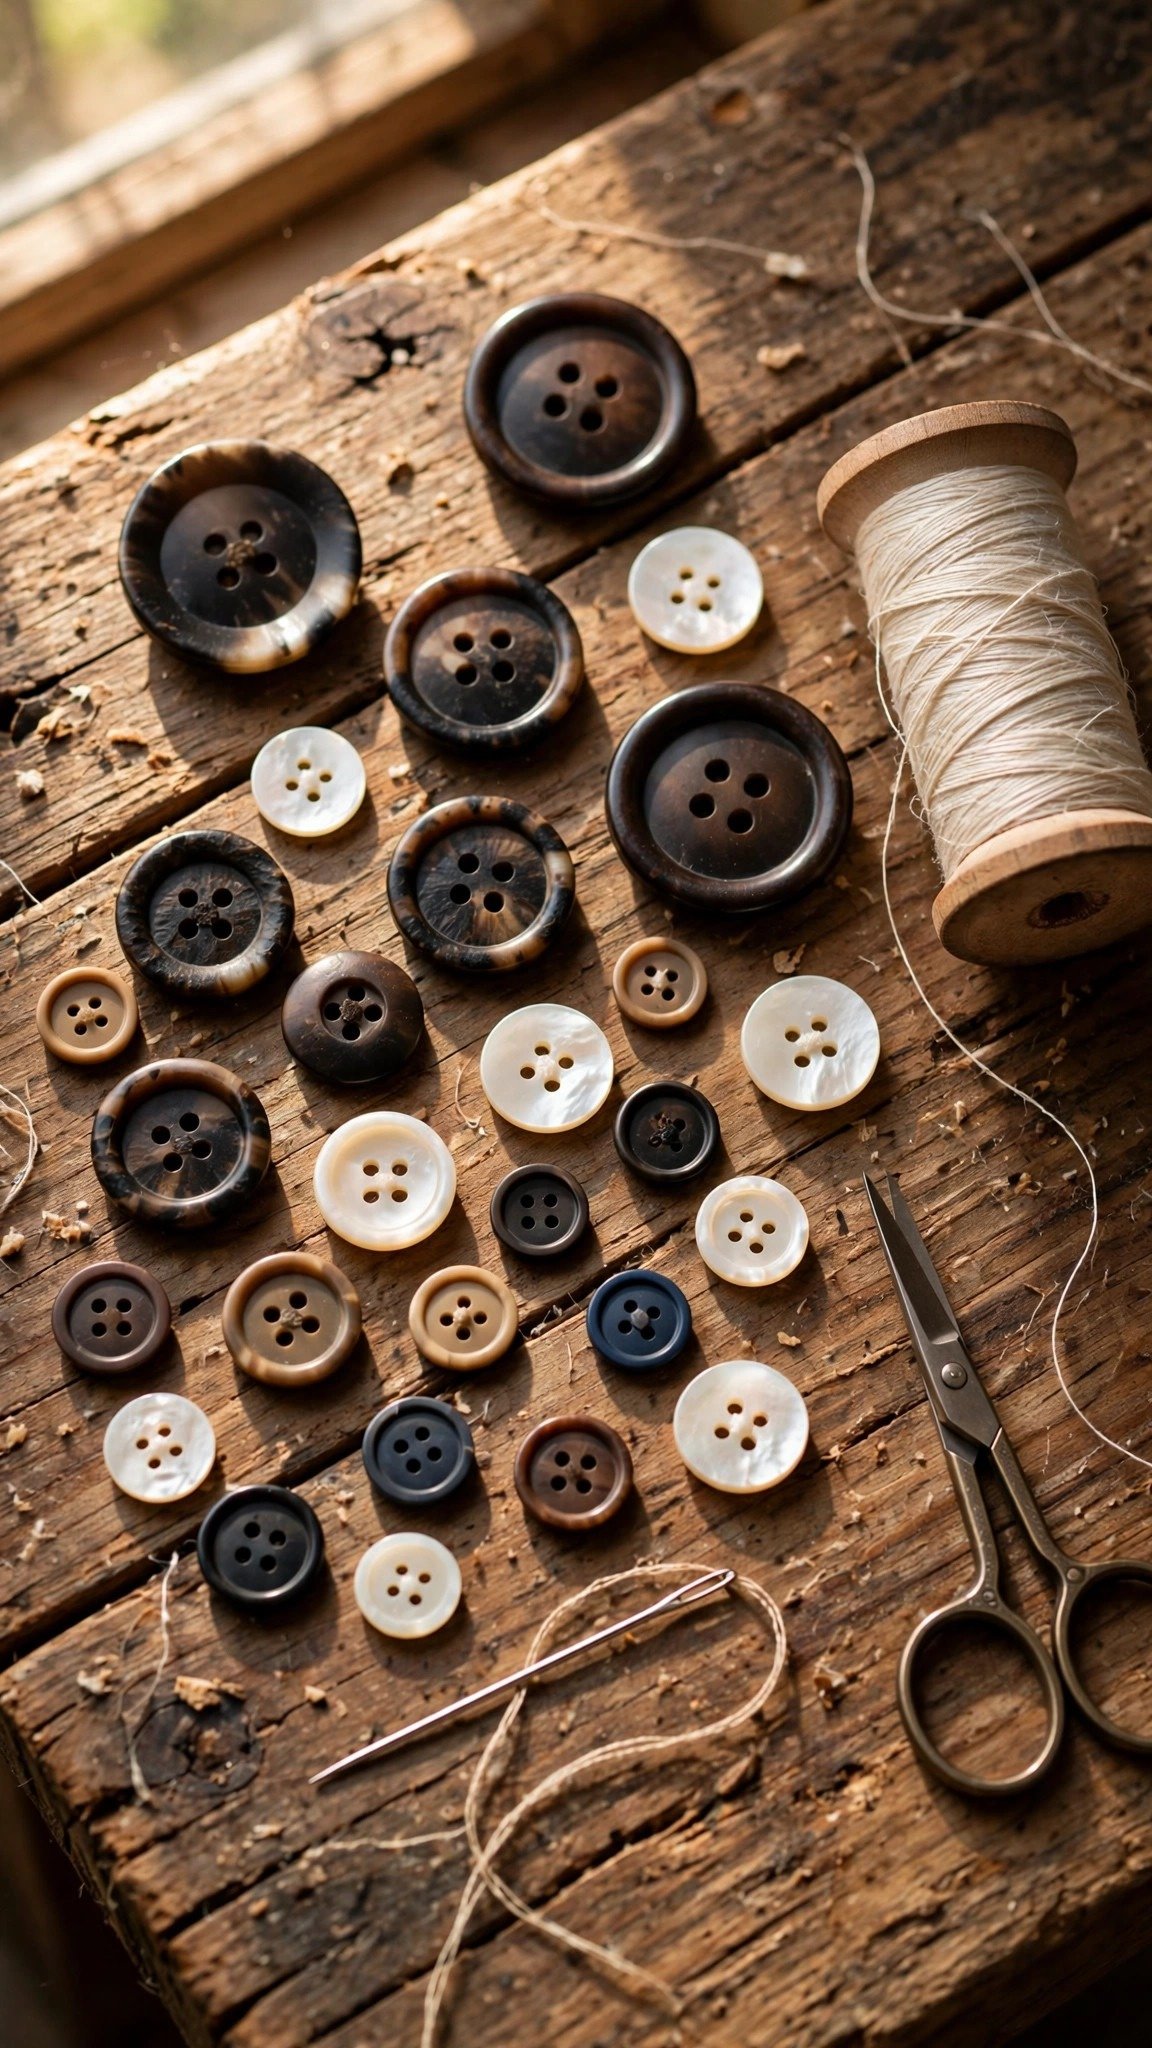
Flat Buttons: The Anchor, the Spacer, and the Shank
Flat buttons, the kind with two or four holes, are the most common and the ones most people sew badly. Start by marking the button position precisely. If you are replacing a lost button, the old stitch holes usually show you exactly where it sat. For a new garment, measure from the edge and from neighboring buttons so the spacing is even. A pin pushed up from the wrong side marks the spot without ink on your fabric.
Anchor first. Bring your knotted, doubled thread up from the wrong side of the fabric at the marked spot and take two or three tiny stitches in place, right where the button will sit. This anchor is the unsung hero of the whole operation: it locks the thread to the fabric so that even if the button stitches somehow loosen, the foundation holds.
Now place the button over the anchor and lay a toothpick or a pin across the top of the button. This is your spacer, and it guarantees the shank room you need. Sew up through one hole and down through the opposite hole, keeping your stitches neat and parallel, or in a cross pattern for four-hole buttons if that matches the garment’s other buttons. Make about six passes for a shirt button, more for anything heavier. Keep the stitches snug but not strangling: the toothpick should slide out easily afterward, leaving a little slack.
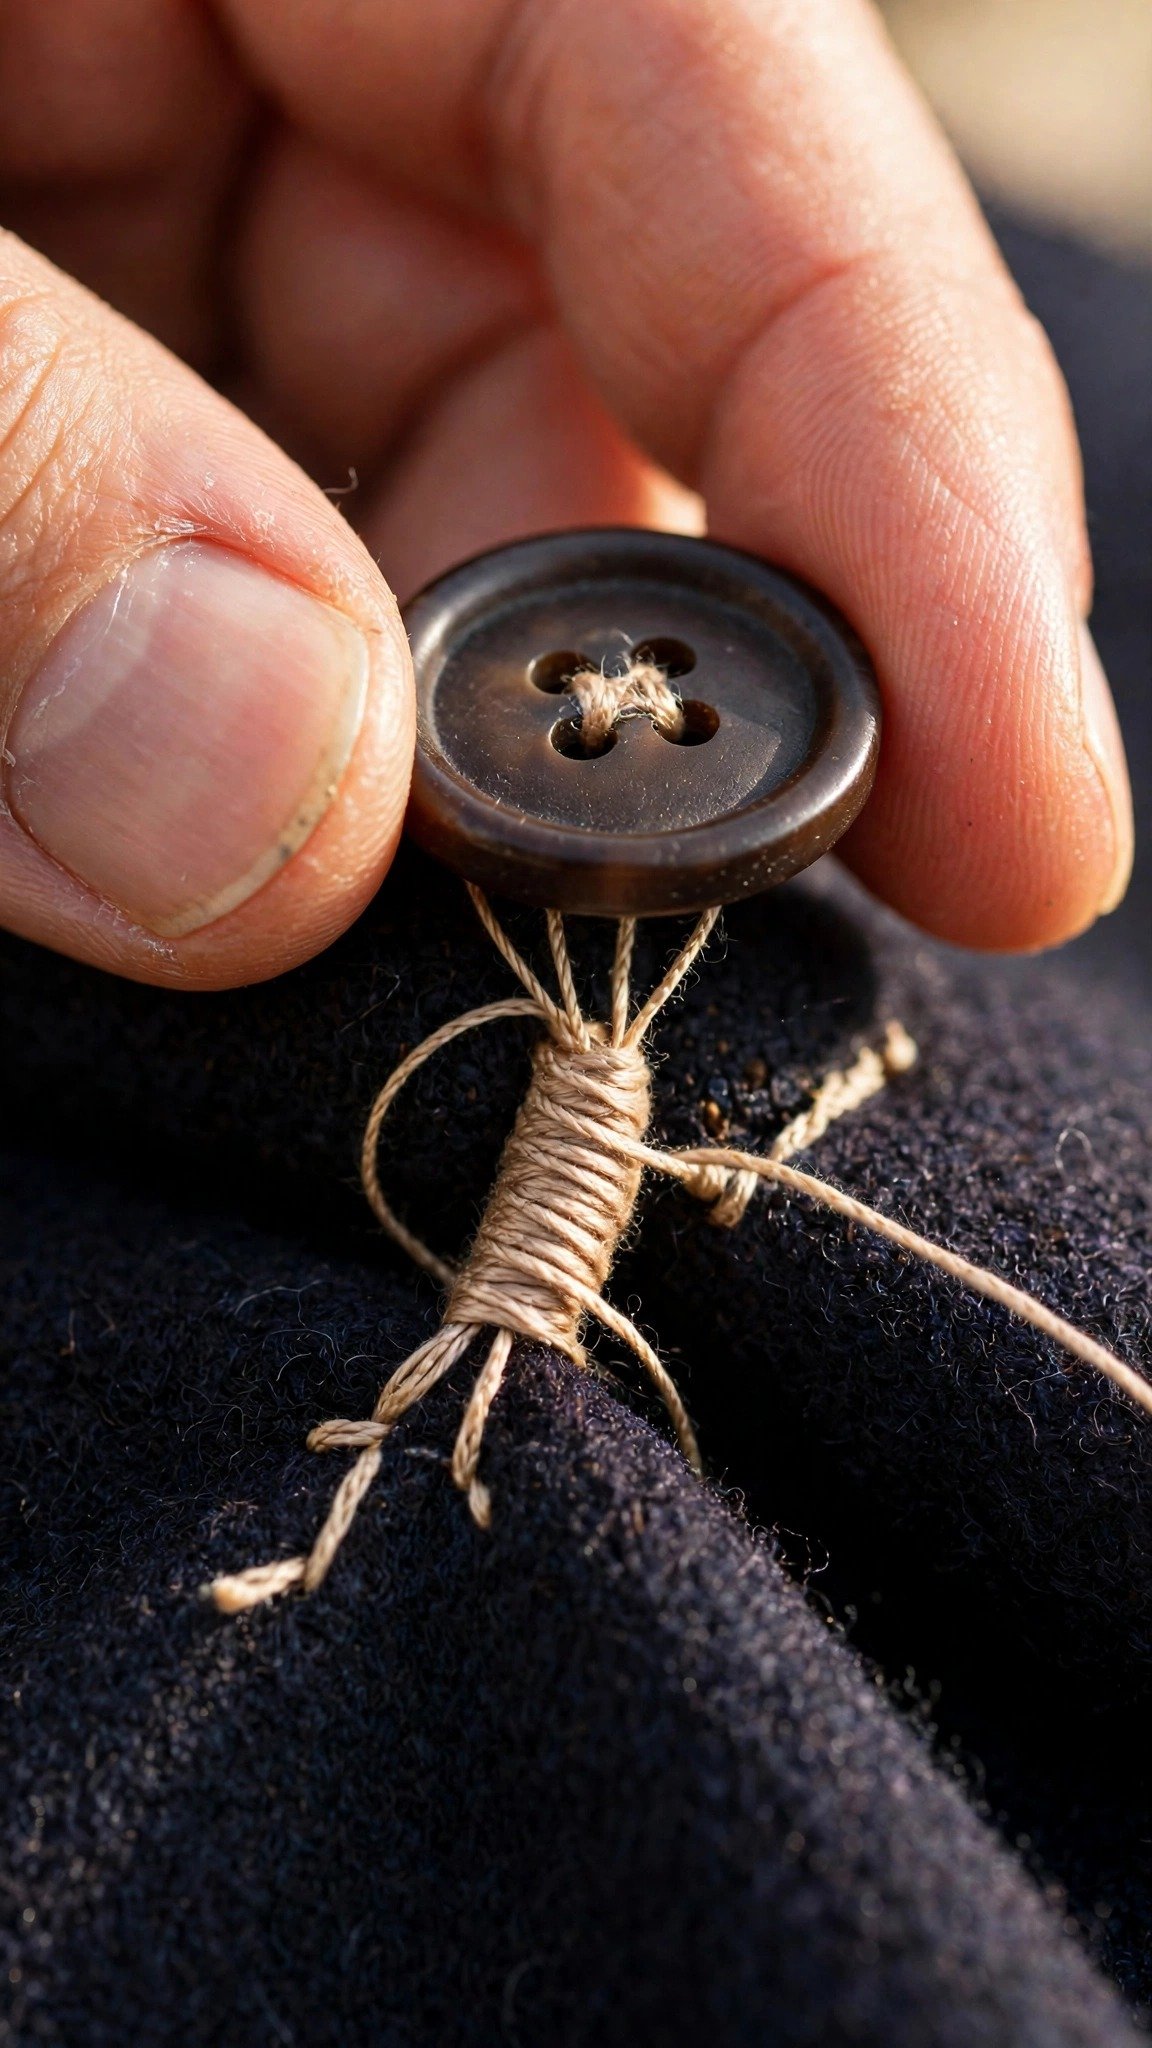
Remove the toothpick and lift the button away from the fabric slightly. Bring the needle up between the fabric and the button, not through any hole, and wrap the thread tightly around the stitches under the button six to eight times. This wrapped stem is the thread shank. It is what lets the button stand off from the fabric so the buttonhole layer slides underneath without strain. If you have only ever sewn buttons flat to the cloth, this one step will change your results completely.

Shank Buttons and Heavy Coat Buttons
Shank buttons have a built-in loop or stem on the back instead of holes, which means they come with their own standoff distance and need no wrapped shank. Sewing them is simpler: anchor your thread on the wrong side, bring it up, pass it down through the shank loop and the fabric, and repeat six to eight times. The key detail is keeping the stitches inside the loop’s footprint so they do not show from the front, and pulling each pass snug so the button does not wobble.
Heavy coat buttons deserve reinforcement behind the scenes. On thick melton or wool, I sew a small spare button on the inside of the garment, directly behind the visible button, catching it in the same stitches. This inside button spreads the strain across more fabric and stops the outer button from tearing through. For metal or very heavy buttons on thick fabric, the doubled and waxed thread from earlier is not optional, it is the whole game. Take small, firm stitches and do not rush the knot at the end.
One more professional touch: on garments that get hard wear, add a drop of clear nail polish or fray sealant to the finished knot on the wrong side. It is invisible, it takes ten seconds, and it stops the knot from working loose in the wash. I do this on every coat button I sew, and I have never had one come back.
Placement and Marking: Getting the Position Right
A securely sewn button in the wrong place is still a failure, so let me cover marking properly. On a shirt placket, each button must align with its buttonhole when the placket lies flat and relaxed, not stretched. Lap the garment as it will be worn, mark through the center of each buttonhole with a pin or washable marker, and double-check the spacing against the other buttons before you sew a single stitch.
For cuffs, sew the button so the cuff closes comfortably around your wrist with a finger’s width of ease. Too tight and the button strains every time you flex your wrist; too loose and the cuff slides around. On waistbands and trousers, sit or move in the garment before marking, because bodies change shape between standing and sitting and the button placement should serve the sitting position too.
If you are also making the buttonholes themselves, sew and cut them before you mark button positions, since the finished buttonhole is your true reference point. My tutorial on how to sew buttonholes walks through clean, even buttonholes that make this whole process easier.
Locking It Down: Knots That Hold
The finish is where secure buttons are made or lost. After your last pass through the button, bring the needle to the wrong side of the fabric. Take two or three tiny backstitches in place, each one looped to form a knot: pass the needle under the previous stitch, pull through the loop it forms, and snug it down against the fabric. Two of these locking stitches hold better than one big knot, which can work itself loose.
Trim the thread ends close but not flush: leave about a quarter inch so the knot cannot slip off the end. Give the button a firm tug test. It should feel absolutely solid, with the shank flexing slightly but the stitches unmoving. If there is any wobble at the base, add a few more wraps to the shank or another locking stitch before you call it done.
This hand-sewing control is the same foundation behind all sturdy hand finishing. If you want to build the broader skill set, my lesson on hand sew essential stitches covers the running stitch, backstitch, and slip stitch you will reach for again and again.
FAQ
What is a thread shank and why does my button need one?
A thread shank is a short stem of wrapped thread between the button and the fabric, created by sewing over a spacer like a toothpick and then wrapping the stitches. It gives the button room to stand off from the fabric so the buttonhole layer slides underneath without straining the threads. Buttons sewn without a shank pull tight and pop off sooner.
Should I use single or double thread for buttons?
Double, always. Fold a single strand in half through the needle and knot the folded end. Doubled thread is twice as strong per pass, so you need fewer passes through the holes and the attachment lasts much longer. Keep the total length around 18 inches to avoid tangling.
How many stitches does a button need to be secure?
About six passes through the holes for a shirt button, eight or more for coat buttons, plus a wrapped shank and two or three locking stitches on the wrong side. Three lazy loops with a weak knot is the classic recipe for a button that escapes in a parking lot.
How do I sew a button onto thick coat fabric?
Use doubled, waxed heavy-duty thread, anchor well on the wrong side, and sew a small spare button on the inside of the garment behind the visible one to spread the strain. Finish with firm locking stitches and a drop of clear nail polish on the knot. Take your time: thick fabric rewards patience.

Written by June Carter
I am June, a sewing enthusiast who loves turning simple fabric into things people actually use. I test every technique and product I write about at my own machine before it lands here.