
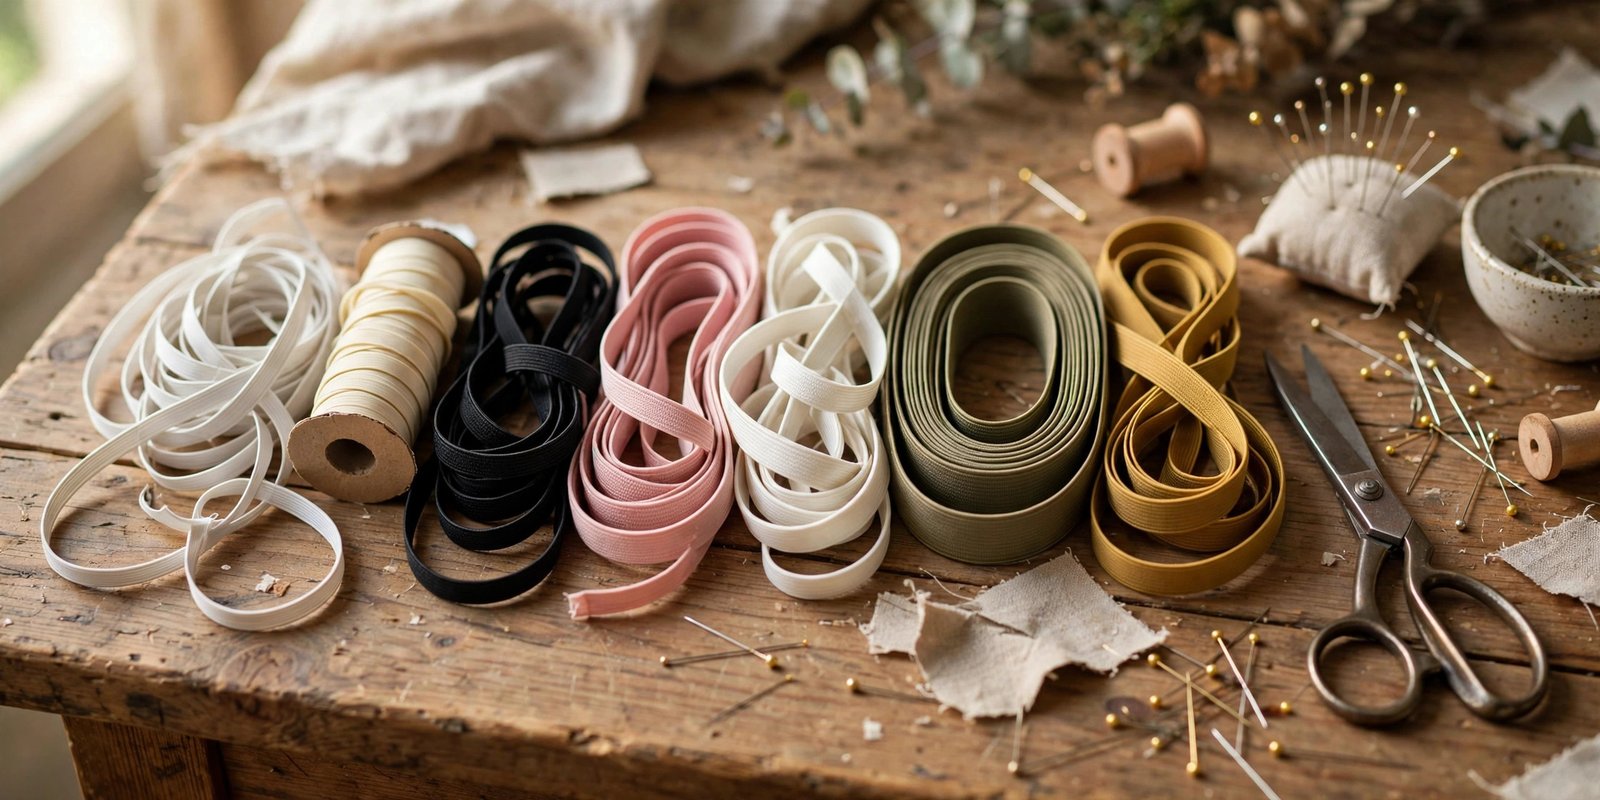
Learning how to select elastic width is one of those small skills that quietly upgrades everything you sew. I learned it the uncomfortable way: I put narrow lingerie elastic in the waistband of a pair of pajama pants, and the result was a thin, rolling cord that dug in every time I sat down. The pants were fine. The elastic choice was a disaster. A wider elastic would have distributed the same holding power across a comfortable band, and the whole project would have gone from unwearable to favorite.
Elastic width is not a decoration decision. It is an engineering decision about how force spreads across the body, how the elastic behaves when stitched, and how comfortable the finished garment feels after hours of wear. In this guide I will walk you through the standard elastic widths and where each belongs, the three main elastic types and how they differ, a simple decision process for any project, and how to measure, cut, and sew elastic so it behaves.
Width Is About Force Distribution, Not Just Looks
Here is the mental model that changed how I shop the notions wall: a wider elastic spreads the same holding force over a larger area of your body. That is why waistbands want wide elastic and delicate edges want narrow elastic. The same tension that feels gentle across two inches feels like a tourniquet across a quarter inch. When a waistband digs, rolls, or leaves marks, the culprit is very often elastic that is too narrow for the job, not elastic that is too tight.
Width also affects how the elastic behaves in construction. Wide elastic resists twisting inside a casing, which is why it is the standard for waistbands. Narrow elastic is easier to thread through small casings and gentler on lightweight fabrics, but it rolls and flips if you ask it to do a wide elastic’s job. Match the width to the workload first, and the aesthetics will follow.
The Standard Widths and Where Each One Belongs
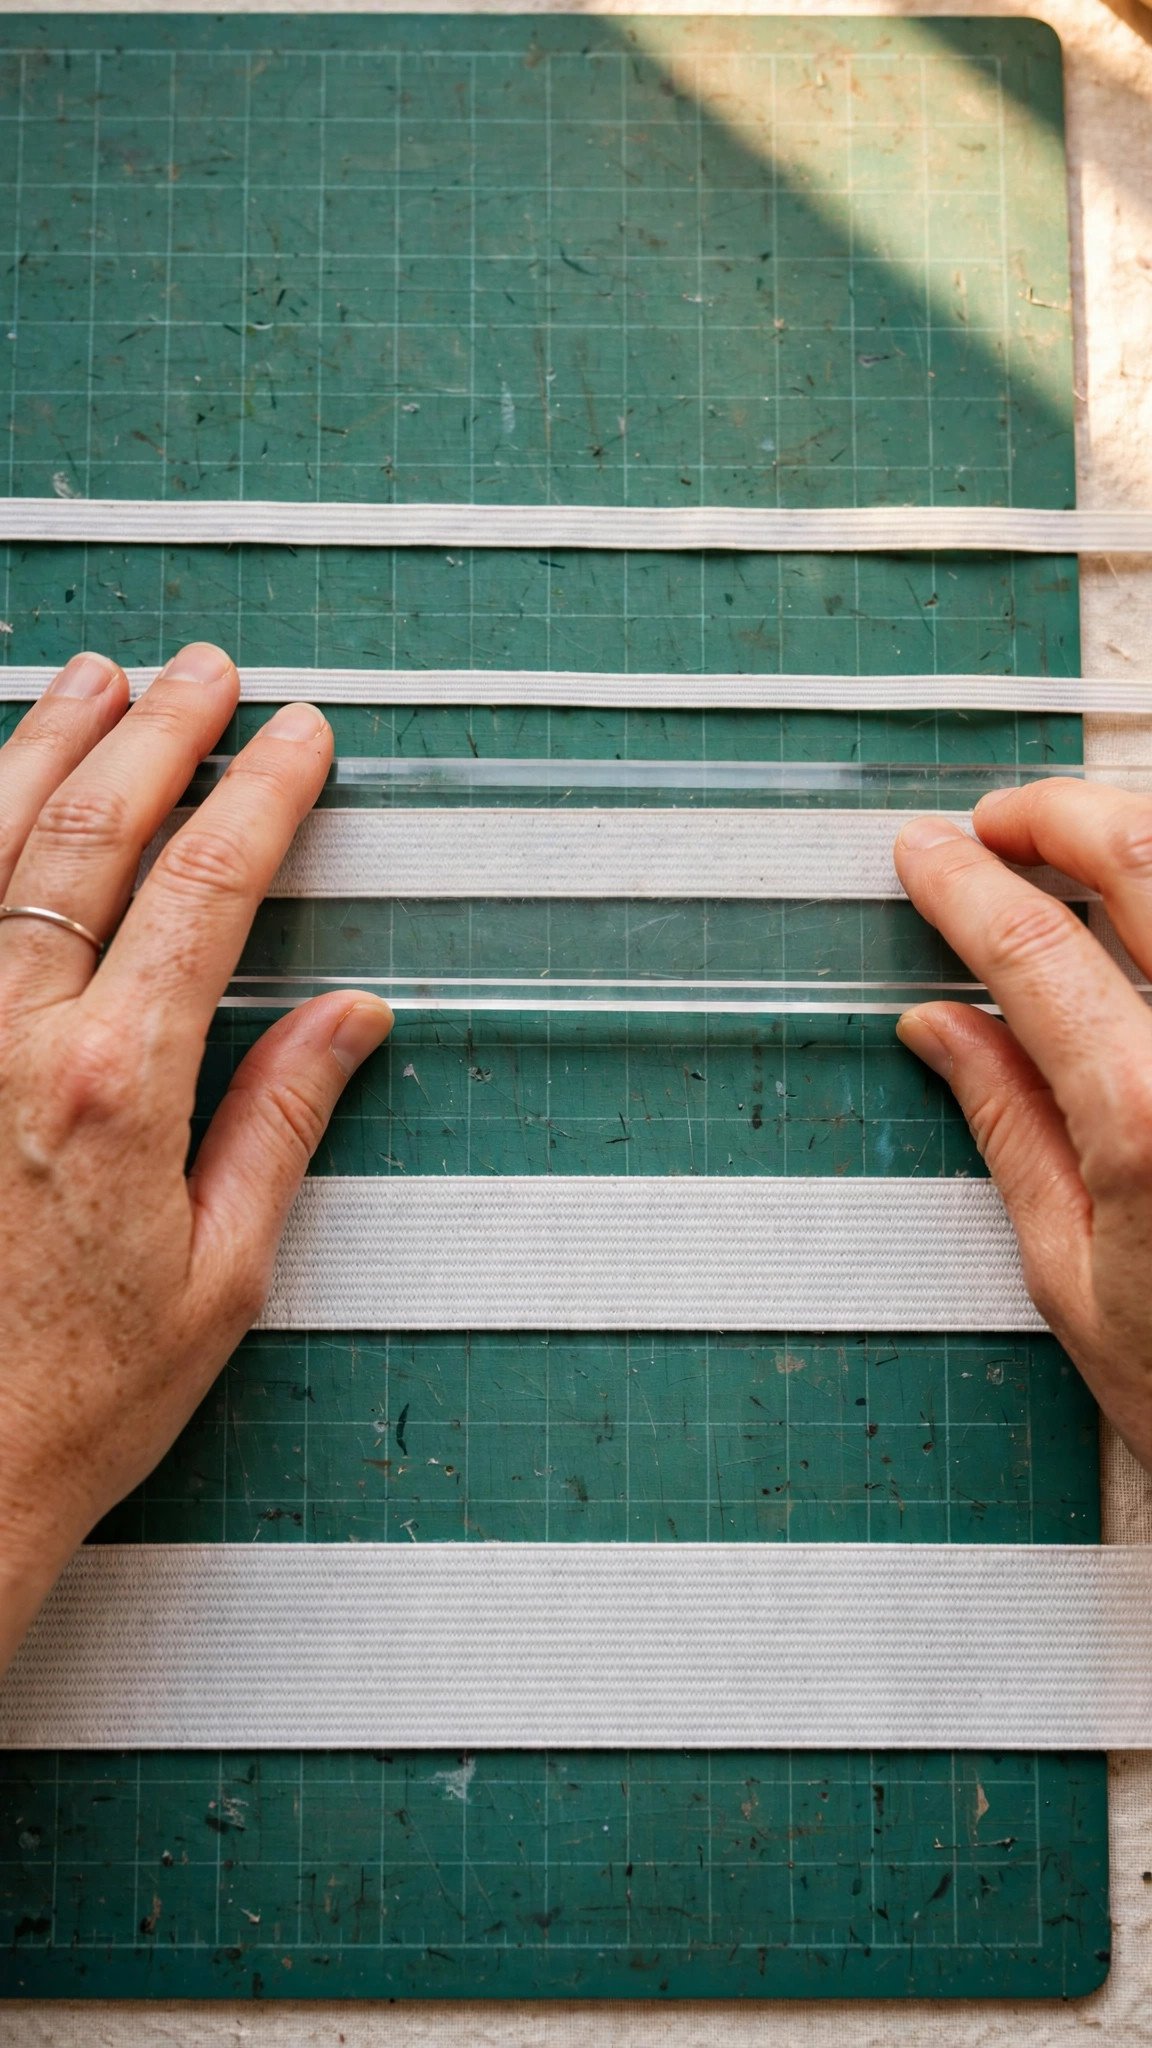
The standard elastic widths you will find in most stores run from 1/8 inch up to 2 inches, and each has a natural habitat. For necklines, baby garments, and delicate lingerie edges: 1/8 to 1/4 inch. For sleeve cuffs, ankle cuffs on joggers, and lightweight casings: 1/4 to 1/2 inch is the sweet spot, so the elastic width for waistband-adjacent details stays flexible without bulk. For skirts, casual pants, and shorts waistbands: 1 to 1.5 inches. For heavy fabrics like denim or structured waistbands that carry real weight: 1.5 to 2 inches.
These are starting points, not laws. A gathered skirt in featherweight rayon might be happiest with 3/4 inch elastic even though the chart suggests wider, because the fabric cannot support a stiff wide band. Conversely, a heavy twill work pant wants the full 2 inches regardless of what looks delicate. When in doubt, hold the elastic against the garment area and imagine it doing the job: your eyes are better at this than you think.
One practical note: measure your elastic’s actual width with a ruler rather than trusting the package alone. Elastic widths 1/4 inch and narrower can vary slightly between manufacturers, and that fraction matters when you are sizing a casing. Cut your casing width from the measured elastic, not the labeled one.
Elastic Types Matter as Much as Width: Knit, Woven, and Braided
Width is only half the story. The construction type determines how the elastic behaves when you sew through it, how it recovers after stretching, and whether it will torment you or cooperate.
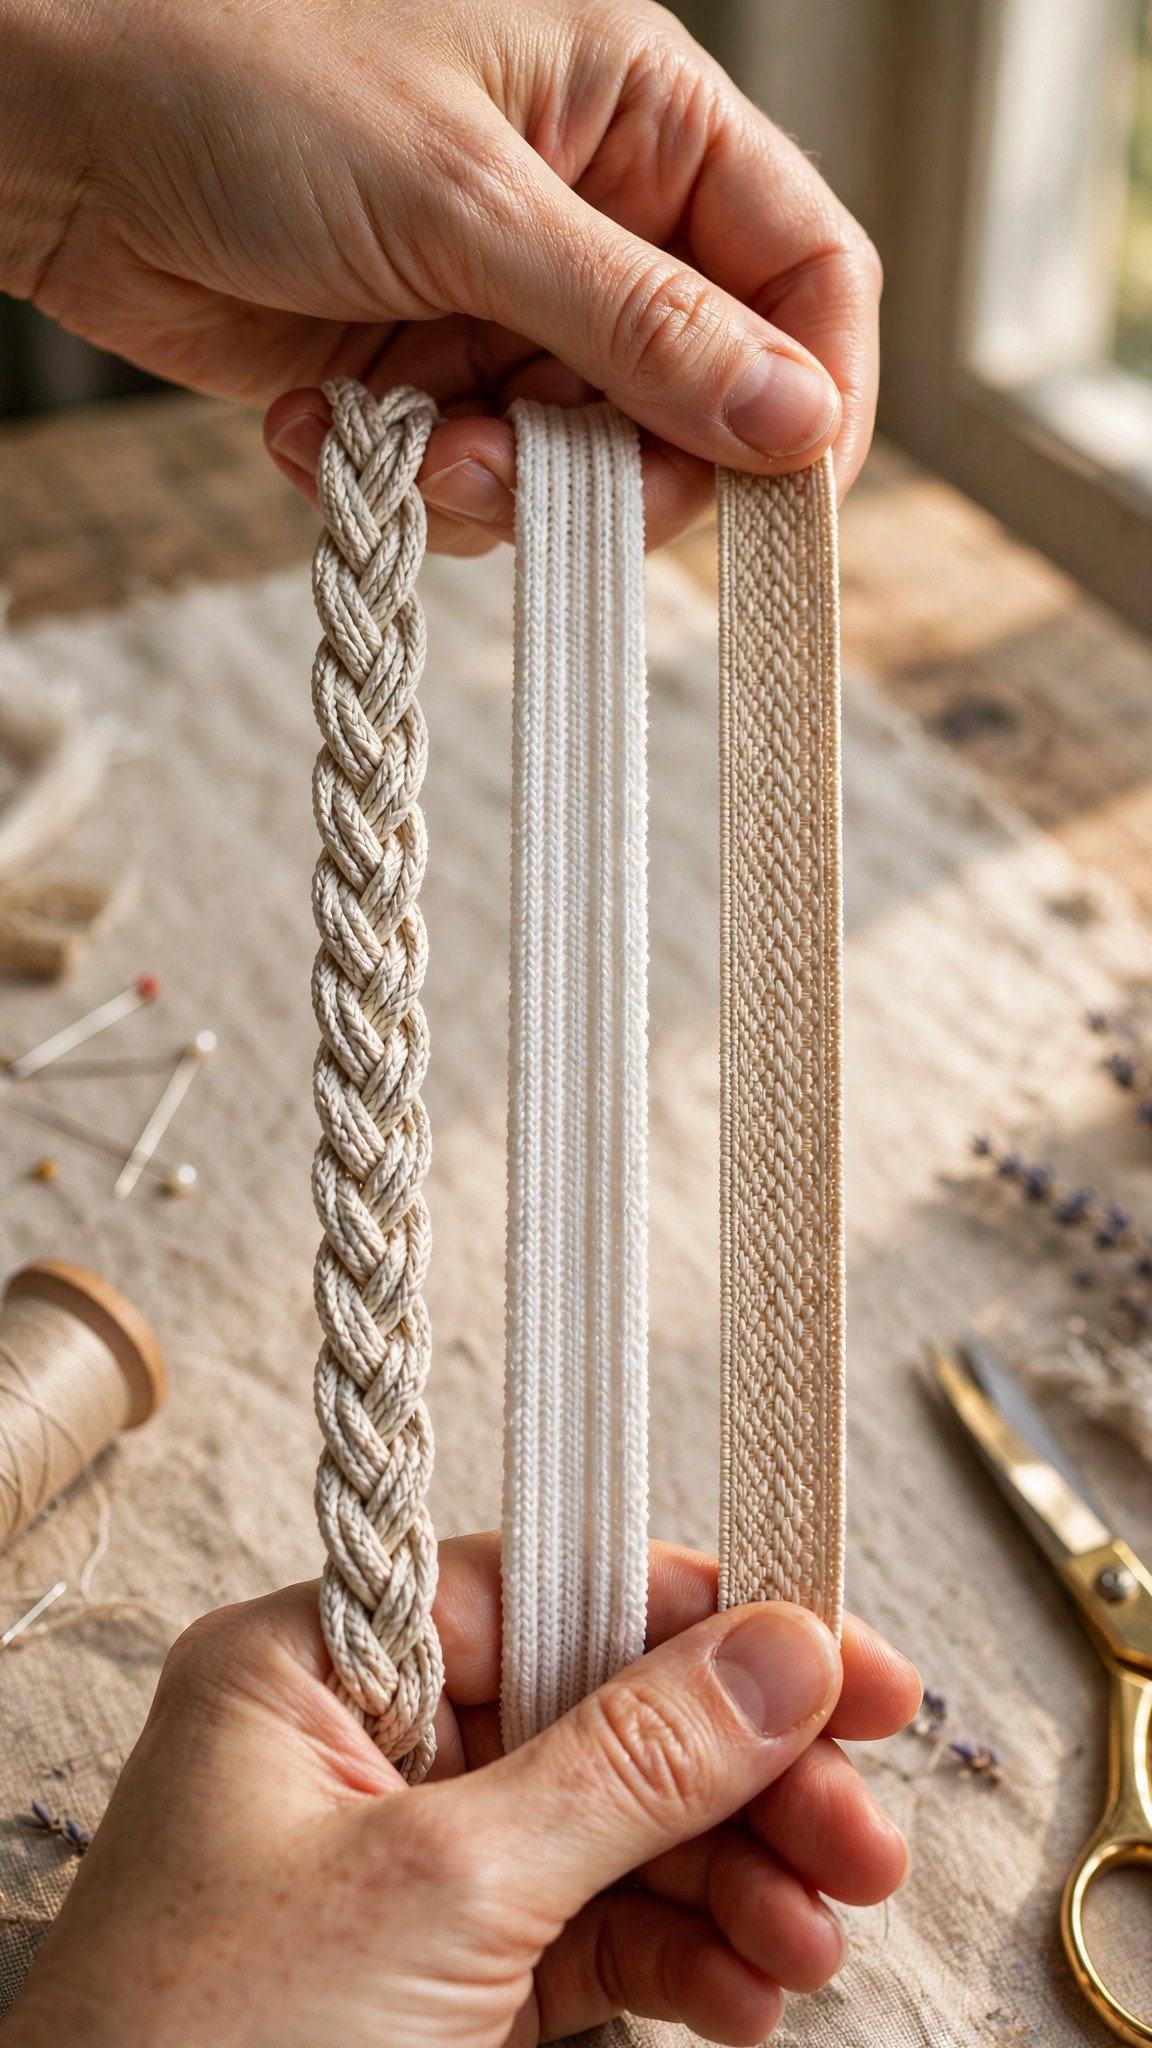
Knit elastic, sometimes labeled knitted elastic, is the soft, flexible all-rounder. It stays flat when stitched through, recovers well, and comes in a wide range of widths. It is my default recommendation for waistbands, cuffs, and most garment elastic because it is forgiving to sew and comfortable to wear. If you are buying one type to keep in your stash, make it knit elastic in a medium width.
Woven elastic, including the heavy-duty kind sold as no-roll elastic, is firmer and stronger. It does not narrow when stretched, which is exactly what you want in a waistband that has to stay put. Use woven elastic for waistbands on pants and skirts, for heavy fabrics, and anywhere you need maximum holding power. It is stiffer against the skin, so for direct skin contact consider a soft knit instead.
Braided elastic is the lightweight, inexpensive option you will see in narrow widths. It works fine threaded through a casing where the needle never touches it, but braided elastic curling and narrowing when stitched through is a well-known frustration: the braid structure loses resilience wherever the needle pierces it. Rule of thumb: braided for enclosed casings only, never for sew-through applications. And whatever type you choose, stretch a sample and let it snap back before committing; good elastic returns crisply to its original length, while tired or cheap elastic stays stretched and baggy.
How to Select Elastic Width for Your Project
Here is my decision process for how to select elastic width on any new project. It takes about two minutes at the notions wall and it has never steered me wrong.
Step 1: Name the job. Is this elastic holding up a garment (waistband), finishing an edge (neckline, leg opening), or gathering fabric decoratively (cuffs, sleeve hems)? Holding jobs want wider, firmer elastic; finishing jobs want narrower, softer elastic. The waistband elastic width for an adult pant is a different universe from the elastic on a baby bonnet, and naming the job keeps you from cross-applying.
Step 2: Check the fabric weight. Heavy fabrics need wider, stronger elastic to do the same job, because the elastic is fighting more fabric resistance. Lightweight fabrics want narrower, softer elastic that will not overpower them. Denim gets 1.5 to 2 inches; rayon challis gets 3/4 to 1 inch; chiffon gets a whisper of narrow elastic or clear elastic instead.
Step 3: Decide sew-through vs casing. If you will stitch directly through the elastic, choose knit or woven, never braided, and pick a width your machine can handle comfortably under the foot. If the elastic will live inside a casing, braided is fine and the width just needs to slide through the casing with a little room to spare. Size the casing to the measured elastic plus about half an inch.
Step 4: Test the stretch. Before cutting, stretch a sample to the length it will need to reach on the body and check that it recovers fully when released. This is also the moment to confirm the comfort: wrap it around the relevant body part at the intended tension. If it digs now, it will dig for the life of the garment. Go wider or softer.
Measuring and Cutting Elastic: The Comfort Formula
For waistbands, the classic rule is to cut the elastic a few inches shorter than the body measurement so it hugs without strangling: measure the waist or hip where the garment will sit, subtract 2 to 4 inches depending on how snug you want it, and that is your cut length. Always base this on accurate body measurements taken over the undergarments you will actually wear, not on the pattern’s finished garment measurement.
For cuffs and edges sewn directly to fabric, quarter the elastic and quarter the fabric edge, mark both, and match the marks. This quartering technique distributes the gathering or easing evenly so you do not end up with all the fullness bunched on one side. Use plenty of pins and clips at the quarter marks; elastic shifts under the presser foot with enthusiasm.
To join elastic ends into a loop, overlap them by about half an inch and sew a rectangle with an X through it, or butt the ends together and zigzag across the join. Trim the seam allowances close and finger-press flat. A bulky join in a waistband will announce itself every time you sit down, so keep it as flat as you possibly can.
Sewing Tips for Wide Elastic That Behaves
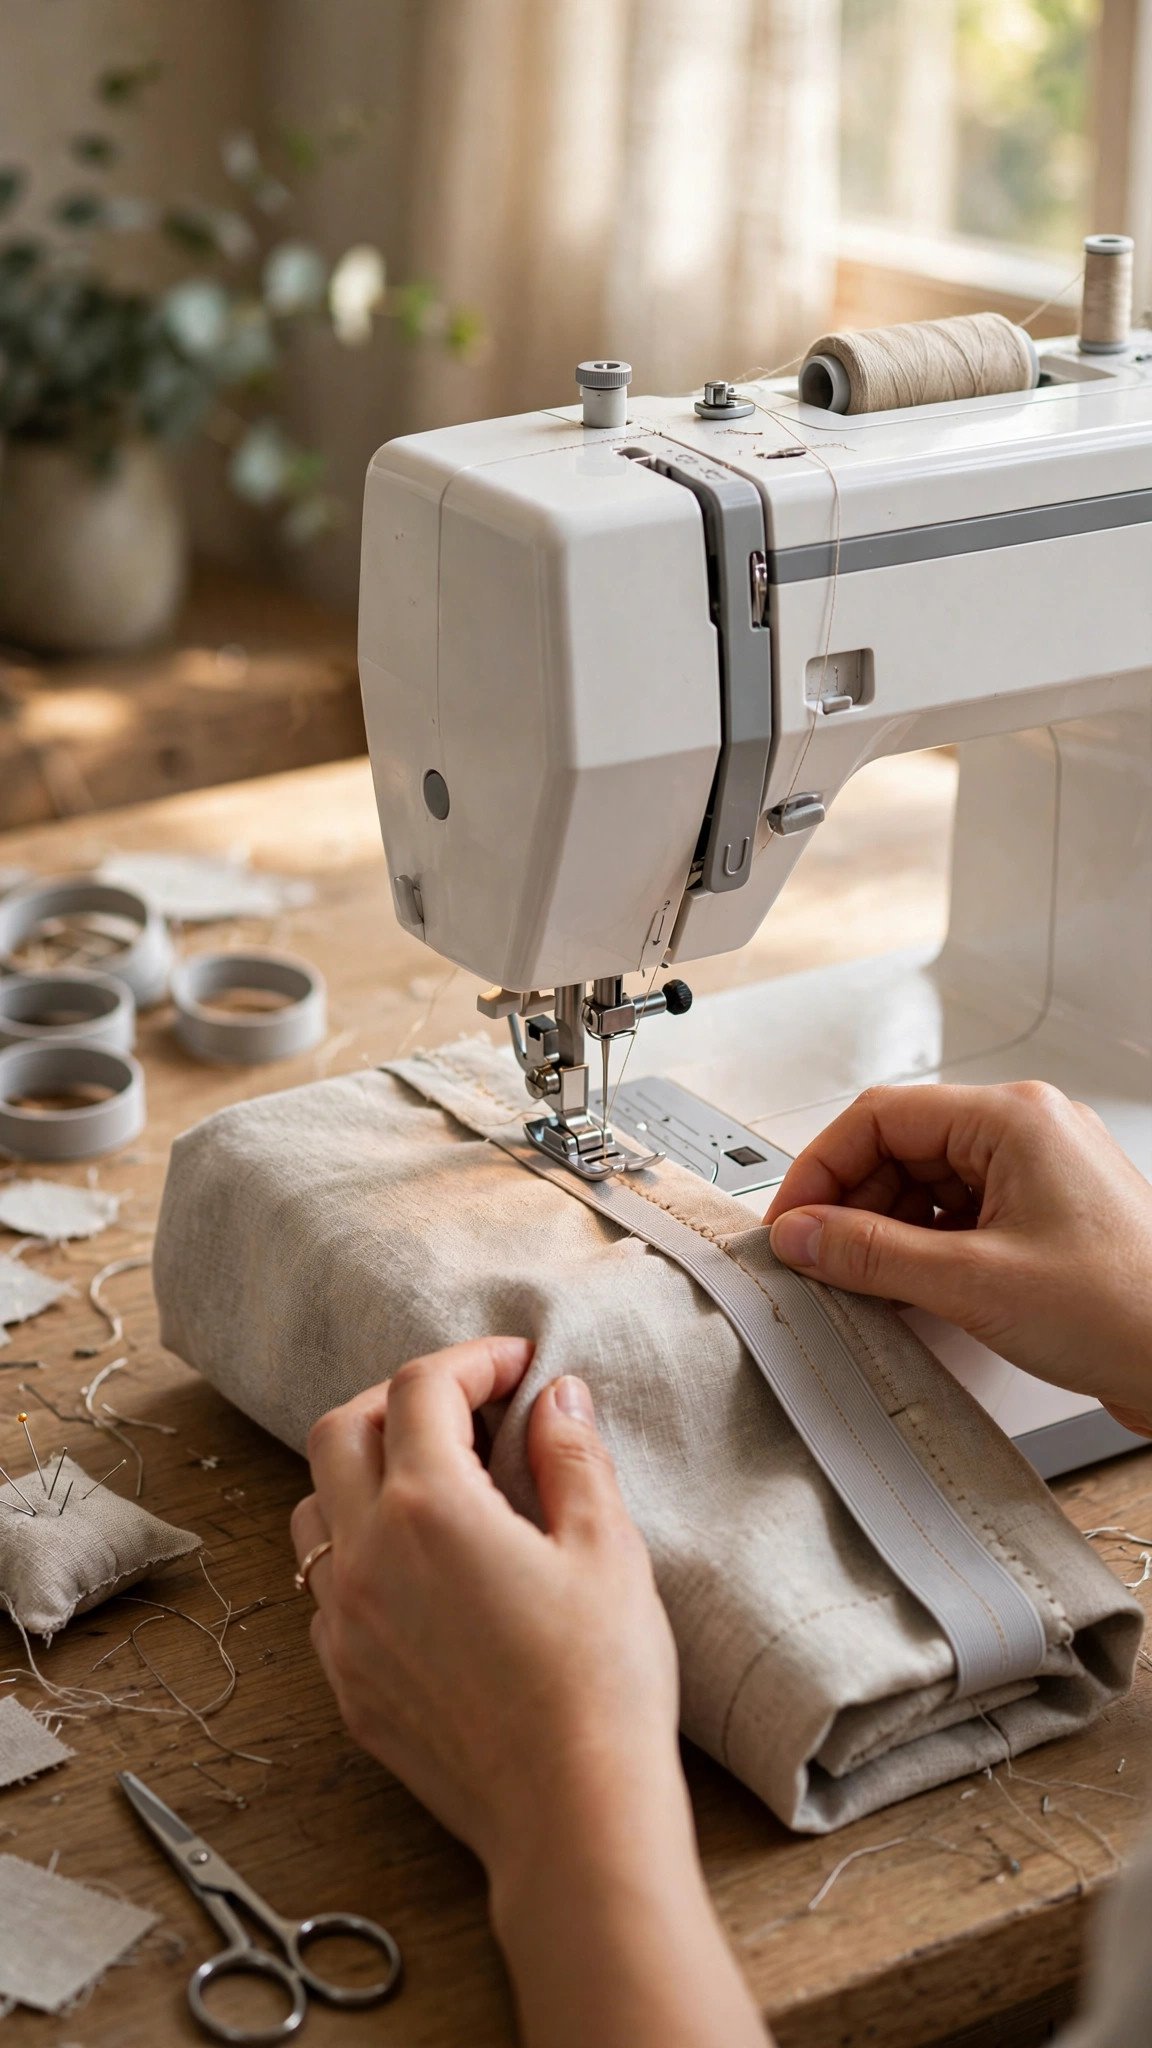
Wide elastic in a waistband casing is wonderfully forgiving, but a few habits make it look professional. Stitch the casing with the elastic already threaded through, or leave a gap in the casing stitching to thread it after; either way, secure the elastic at the side seams with a few stitches through all layers so it cannot twist or migrate in the wash. Twisted waistband elastic is one of life’s great small miseries, and two bar tacks prevent it entirely.
When sewing elastic directly to fabric, use a zigzag or three-step zigzag stitch and stretch the elastic (not the fabric) as you sew, keeping the fabric flat. This is a good moment to adjust your stitch length and width: a wider zigzag stretches further without popping threads. Sew slowly, keep the elastic tension even, and let the feed dogs do the work.
For fold-over elastic, usually called fold-over elastic or FOE, remember it is both elastic and binding: it wraps the raw edge and finishes it in one step. Common fold over elastic widths are 5/8 and 1 inch, and since you fold it in half over the edge, the visible finished width is half of what you bought. Choose accordingly, and skip glittery prints if the elastic will sit against sensitive skin.
FAQ
What width elastic should I use for a waistband?
For most adult skirts and casual pants, 1 to 1.5 inch woven or knit elastic is the standard. Go up to 2 inches for heavy fabrics like denim or for waistbands carrying real weight. For children’s waistbands or lightweight fabrics, 3/4 to 1 inch is usually more comfortable.
Can I sew through braided elastic?
You can, but you will probably regret it. Braided elastic narrows and loses stretch wherever the needle pierces it, which defeats the purpose. Use braided elastic inside casings where it never meets a needle, and choose knit or woven elastic for any sew-through application.
Why does my elastic twist inside the casing?
Unsecured elastic migrates and twists with wear and washing. Stitch through all layers at the side seams or at the center back to anchor it, and make sure the casing is only slightly wider than the elastic so there is no room for acrobatics. Wider, no-roll elastic also resists twisting better than narrow elastic.
How do I know if elastic is good quality before I buy it?
Stretch a sample to about one and a half times its length and release it. Good elastic snaps back to its original length crisply and repeatedly. If it returns slowly, stays stretched, or the edges look wavy and uneven, put it back. Also check that the width is consistent along the length and that cut edges do not unravel when you tug them.

Written by June Carter
I am June, a sewing enthusiast who loves turning simple fabric into things people actually use. I test every technique and product I write about at my own machine before it lands here.