
Buttonholes scare beginners more than zippers, which is funny, because a buttonhole is just a very dense zigzag stitched around a slit. There is no magic in it. There is measuring, stabilizing, stitching, and cutting. Do those four things in order and you get a buttonhole that works. Skip one and you get a buttonhole that eats buttons or unravels in the wash. I sewed my first buttonholes on a scrap shirt placket, made every mistake in the book, and then made a shirt I still wear. This tutorial will get you to the wearable shirt faster than I got there.

Know your buttonhole options
Most modern machines sew buttonholes in one of two ways, and a couple of special cases exist beyond that.
One-step automatic buttonholes are the default on most machines made in the last twenty years. You clamp the button into the buttonhole foot, and the machine measures it and sews the whole buttonhole in one go. Fast, consistent, and the right choice for nearly everything.
Four-step manual buttonholes are the older style: you sew each side and each bartack yourself by turning a dial through four steps. Slower and fussier, but useful on machines with no automatic foot, and genuinely better on very thick or stretchy fabrics where you want full control.
Bound buttonholes are the couture option: a rectangle of fabric frames the opening instead of stitching. Beautiful on coats and tailored jackets, and a whole separate skill. Hand-sewn buttonholes use the buttonhole stitch worked by hand around a slit, the traditional finish for fine shirts. Both are worth learning later. For now, machine buttonholes will handle your entire wardrobe.
Measure and mark before you touch the machine
Every buttonhole disaster I have ever seen started at the marking stage. Get this right and the sewing is easy.
Length: the buttonhole needs to fit the button’s diameter plus its thickness. Measure across the button, add its height, and add a sixteenth of an inch of ease. A flat shirt button and a chunky coat button need very different holes. When in doubt, test on a scrap with the actual button.
Placement: on a shirt placket, buttonholes sit on the center front line, spaced evenly. On a waistband or cuff, center them on the band. Mark the full length of each buttonhole with chalk or a fabric marker, plus a horizontal line at each end so you can see exactly where to start and stop.
Grainline: buttonholes on plackets run vertically, along the grain. Horizontal buttonholes, used on waistbands, take less stress and stay closed better. Cut your buttonhole on the wrong grain and it will stretch and gape no matter how perfectly you stitched it. If grainline is still a mystery, my guide to how to cut fabric on grain will sort it out.
Stabilize: fuse a small square of lightweight interfacing behind every buttonhole, even on stable cotton. Good buttonhole interfacing stops the dense stitching from puckering the fabric and gives the buttonhole something to grip. Learning to stabilize buttonholes this way fixes most beginner buttonhole complaints and will prevent buttonhole puckering on nearly every fabric.
One-step automatic buttonholes, step by step
1. Attach the buttonhole foot and place your button in the gauge at the back of the foot. The foot measures the button and sets the length.
2. Mark your buttonhole start point on the fabric. Lower the foot so the needle sits at the mark, with the fabric’s marked line centered under the foot.
3. Select the buttonhole stitch on your machine and pull the buttonhole lever down. It sits near the needle bar, and your manual shows exactly where. The machine will not sew the automatic cycle unless this lever is engaged.
4. Hold the top thread tail gently and sew. Do not push or pull the fabric. The machine sews down one side, bartacks the end, comes back up the other side, and bartacks the start. When it stops on its own, you are done.
5. Raise the foot, pull the threads to the back, and knot or bury them. Never backstitch over a buttonhole. The extra bulk distorts it.
Sew one test buttonhole on a scrap of your actual project fabric, with the interfacing, before you sew the real ones. Test the button through it. Adjust the length if it is too tight. Only then sew the garment.
Four-step manual buttonholes, step by step
1. Mark the buttonhole length with chalk, then mark the two long sides about an eighth of an inch apart. Set a narrow zigzag, roughly 2 mm wide with a very short length, and sew down the left side from the top mark to the bottom mark.
2. At the bottom, switch to a wide zigzag with zero stitch length and sew five or six stitches in place to form the bartack. This locks the end.
3. Switch back to the narrow zigzag and sew up the right side from bottom to top.
4. At the top, sew another wide bartack. Knot the threads on the back.
The trick is keeping the two sides parallel and the bartacks the same width. Go slowly, and stop with the needle down whenever you need to adjust. Manual buttonholes reward patience and punish rushing, which is a decent description of sewing generally. A fresh, correct sewing machine needle matters here more than usual, because dense buttonhole stitching exposes a dull needle that straight stitching hides.
Cutting the buttonhole open
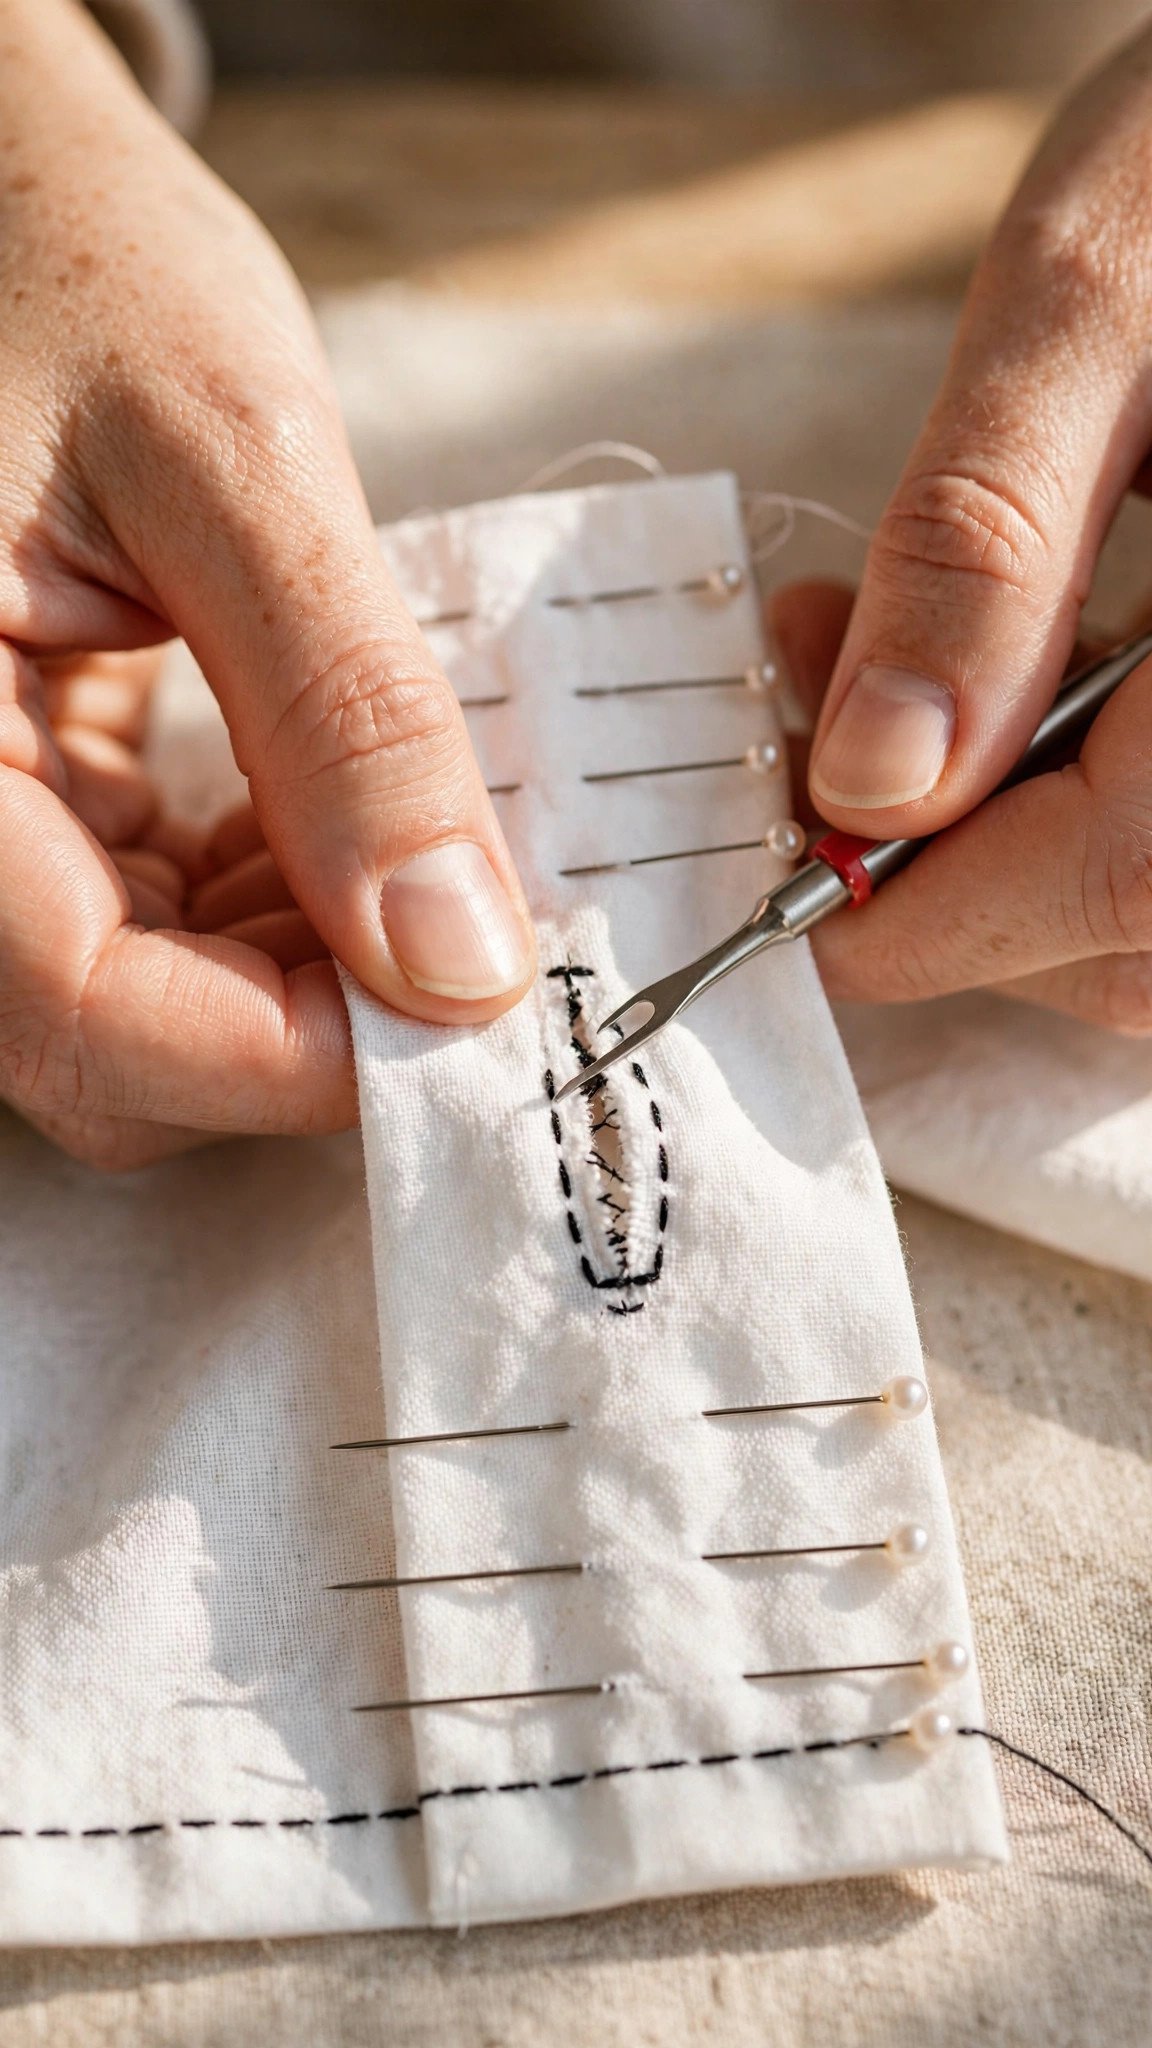
Place a pin across each end of the buttonhole, just inside the bartacks. The pins are your insurance: if the blade slips, it hits the pin instead of slicing through your stitching. Slide a seam ripper or a dedicated buttonhole cutter into the center and cut toward each pin. For thick fabric, cut from the center toward each end rather than trying to push through in one motion.
Small, sharp embroidery scissors work too, and some sewists prefer them for control. Whatever tool you use, cut after stitching, never before, and always with the pins in place. I have strong feelings about this because I carry the metaphorical scar tissue of learning it the other way.
Troubleshooting every common buttonhole problem
Nearly every buttonhole problem falls into one of these buckets: buttonhole puckering, uneven buttonhole sides, a buttonhole too tight for its button, or skipped stitches around the buttonhole. Here is the fix for each.
Puckering around the buttonhole: the fabric needed interfacing, or the interfacing was too light. Fuse a proper square behind the area and test again. Also check that you are not pulling the fabric as it sews.
One side denser or longer than the other: on one-step feet, the fabric is feeding unevenly, often because of thickness differences or a sticky presser foot. A little tissue paper under the fabric, torn away afterward, helps it feed. On four-step buttonholes, it is usually inconsistent speed. Slow down.
Skipped stitches: wrong needle or a dull needle. Use a fresh needle in the right size for your fabric and rethread the machine. Buttonhole stitching is dense enough to expose needle problems that straight stitching hides.
The button will not fit: the hole is too short. Remember diameter plus thickness plus a whisper of ease. Cut a new test on scrap and check with the actual button before committing to the garment.
The buttonhole gaps open: the hole is too long, or it is cut on the bias, or the fabric is too soft for the button weight. Shorten the next one, check the grainline, and consider a smaller button.
Thread nests underneath: the bobbin area has lint, or the top thread is not seated in the tension discs. Clean under the bobbin, rethread with the presser foot up, and test again.
A note on hand-sewn buttonholes
Hand-sewn buttonholes are the traditional finish for fine shirts and tailored garments. A hand sewn buttonhole is a slit finished with the buttonhole stitch by hand, worked closely around the opening. They are beautiful, they are strong, and they take about fifteen minutes each once you know how. Learn machine buttonholes first and get your wardrobe sewn. Then, on a quiet evening, try one on a scrap. It is one of the most satisfying stitches in sewing, and it connects you to every shirtmaker who came before the electric motor.
Frequently asked questions
Which side of a shirt gets the buttonholes? On women’s garments, buttonholes go on the right front as worn, buttons on the left. On men’s, it is reversed. For non-gendered patterns, follow the pattern markings. Consistency matters more than convention.
Can I sew buttonholes without a buttonhole foot? Yes, with the four-step manual method and a regular zigzag foot. It takes longer and needs more care, but the result is a perfectly functional buttonhole. The automatic foot is a convenience, not a requirement.
How do I keep buttonholes from fraying in the wash? Dense stitching plus interfacing is the main defense. A tiny drop of fray-check liquid on the cut edges adds insurance on fabrics that fray aggressively. Trim loose threads, never pull them.
My machine sews the buttonhole backwards or mirrored. What happened? The buttonhole lever is not engaged or not positioned correctly. Stop, raise everything, re-seat the lever according to your manual, and test on scrap. Every machine’s lever looks slightly different and every manual buries the instructions.
Should buttonholes be vertical or horizontal? Vertical on shirt plackets and most front openings, following the grain. Horizontal on waistbands, cuffs, and anywhere the button takes sideways stress. Horizontal holes stay closed better under pull.
Measure twice, stitch once, cut carefully
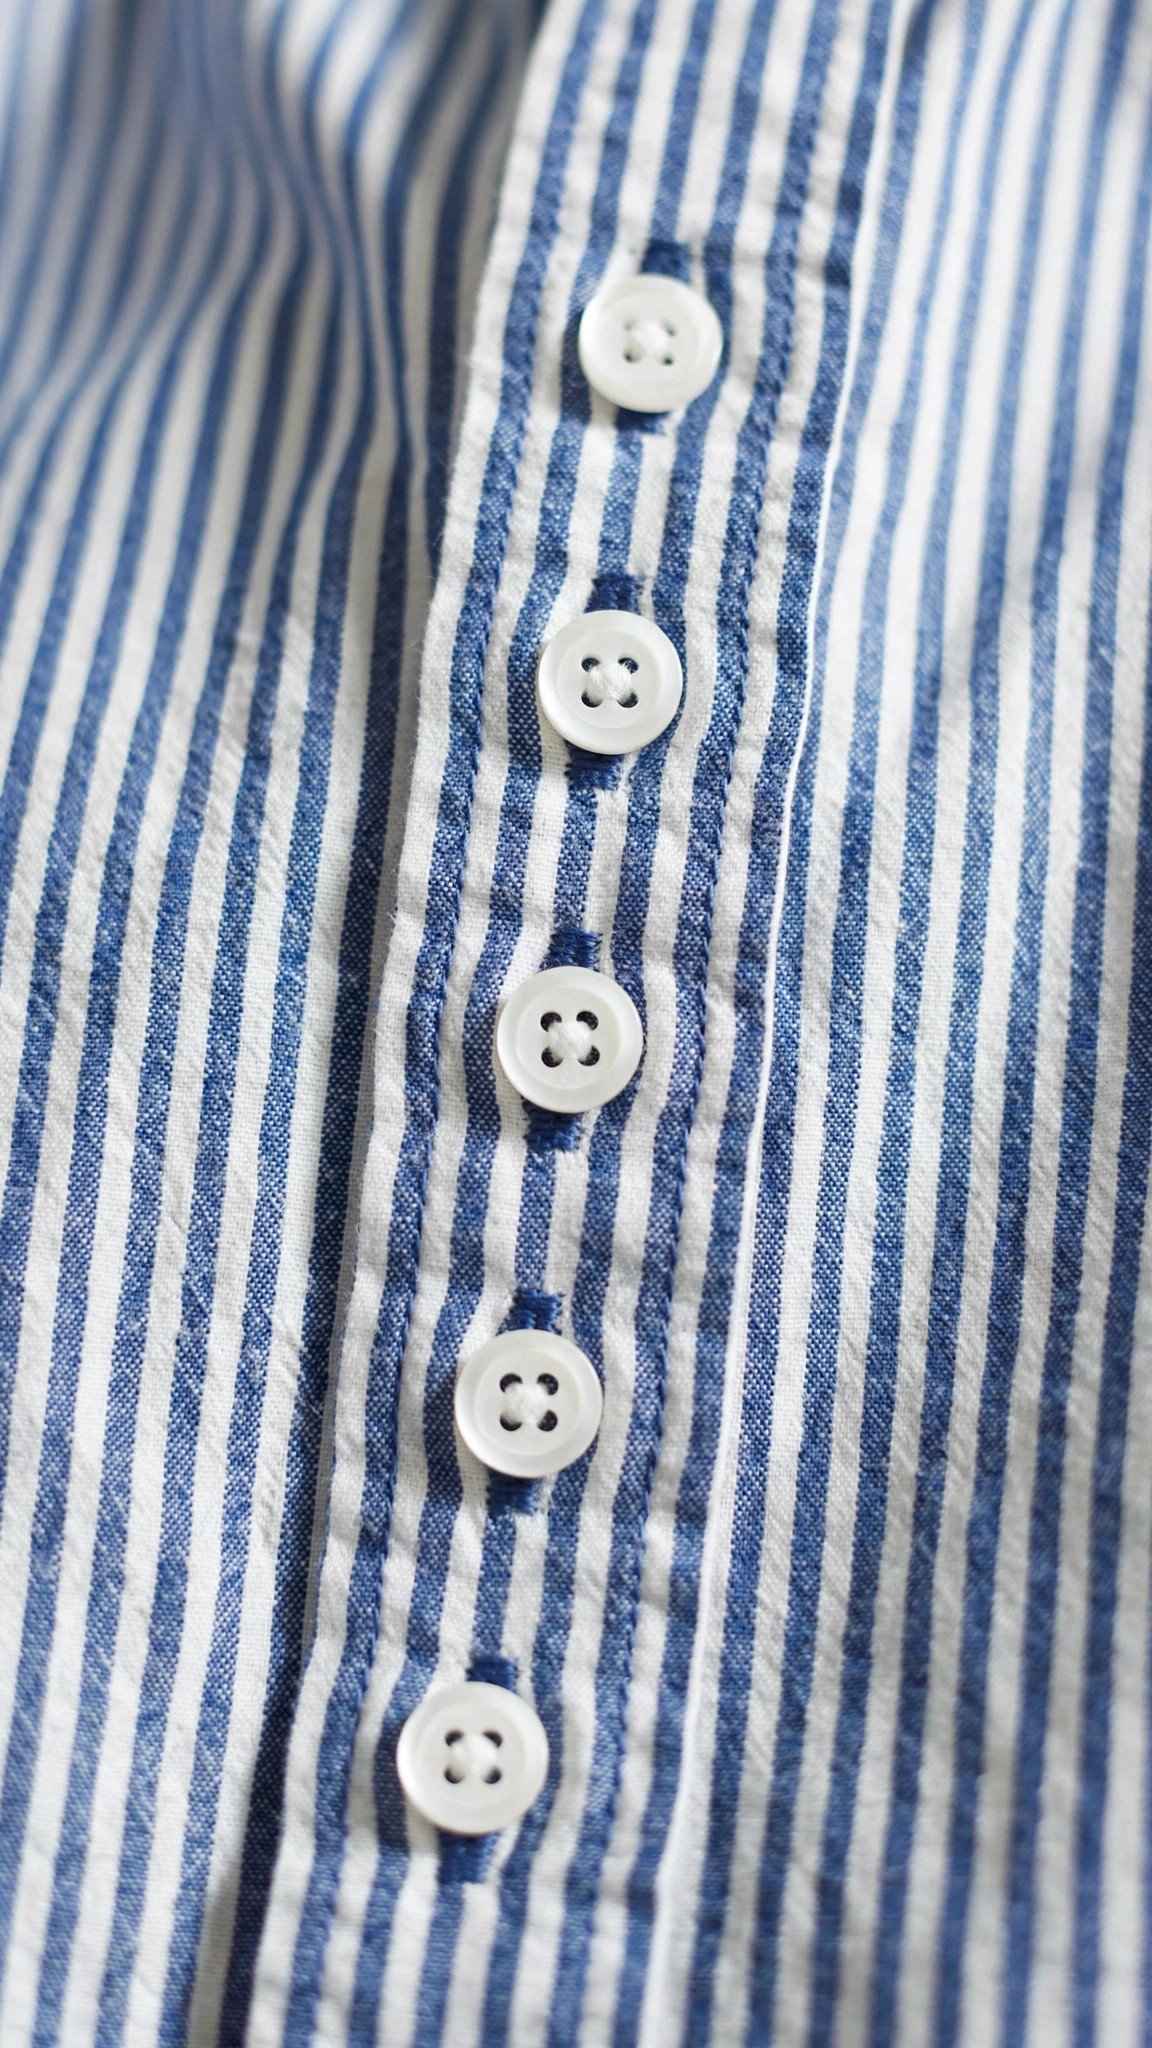
That is the whole buttonhole philosophy. Mark carefully with the real button in hand, stabilize with interfacing, test on a scrap of the real fabric, sew without pushing, and cut with pins guarding the ends. Do that and your buttonholes will look like they came from a factory, in the good way. Then put buttons through them and wear the thing. That is the entire point.

Written by June Carter
I am June, a sewing enthusiast who loves turning simple fabric into things people actually use. I test every technique and product I write about at my own machine before it lands here.