
Skipped stitches driving you mad? Here is how to fix skipped stitches: sewing machine checks in the order I actually do them, from the 30-second needle swap to the rare moment you call a technician.
A skipped stitch is simply a stitch your machine failed to form. The needle goes down, the hook is supposed to catch the top thread and loop it with the bobbin thread, and sometimes that catch just does not happen. You get a gap in your seam line, then normal stitches, then another gap. It looks sloppy and it weakens the seam, so it is worth fixing properly instead of sewing over it.
The 5 Most Common Causes, In Order
Before you touch a single dial, here is the quick answer. In my experience, skipped stitches come from these five things, listed from most to least likely:
- The needle. Dull, bent, or just wrong for your fabric. This is the cause the vast majority of the time.
- Bad threading. The top thread missed the tension discs or the take-up lever, usually because the presser foot was down during threading.
- Wrong tension. The upper tension dial is set too far from where your fabric needs it.
- Needle and fabric mismatch. A universal needle trying to sew stretch knit, or a fine 70/10 trying to punch through denim.
- Timing problems. The hook and needle are out of sync. Rare, and the only one on this list you should not fix yourself.
Work through them in this order and test on a scrap after every step. Do not jump to timing. In all my years of sewing I have seen maybe two genuine timing problems. Everything else was a needle.
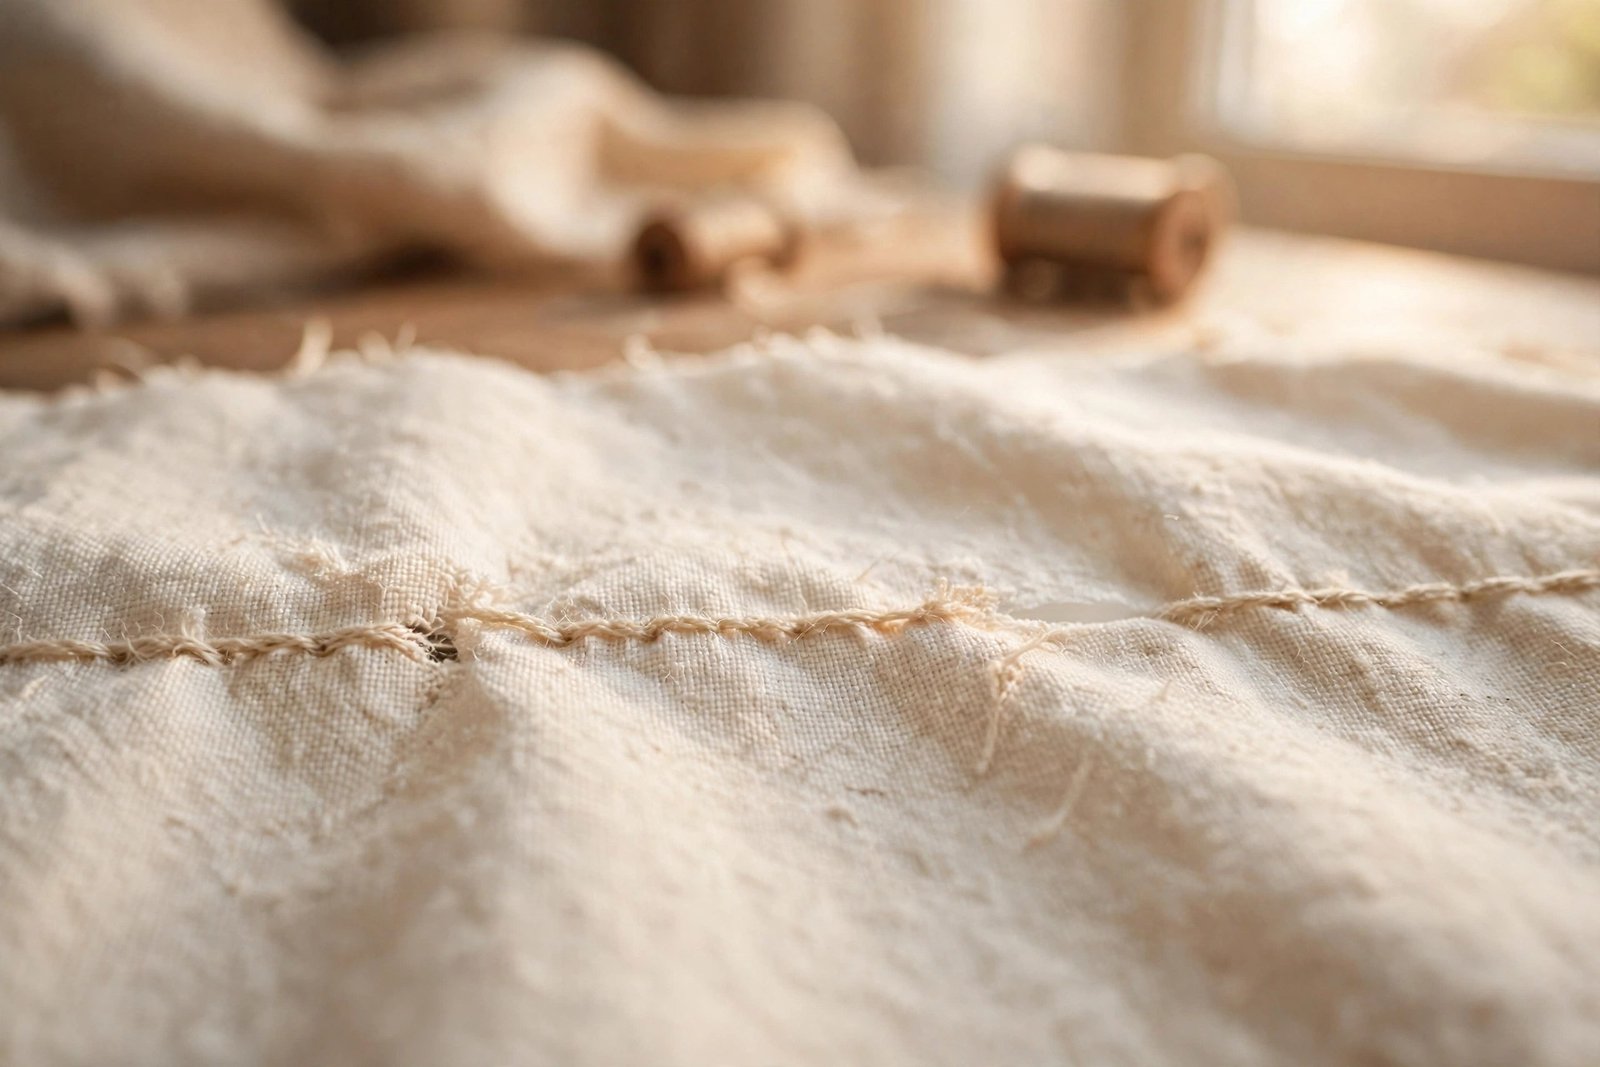
How to Fix Skipped Stitches on Your Sewing Machine, Step by Step
Step 1: Change the Needle
I know, you just changed it. Change it anyway. A needle can look perfectly fine and still be the problem. The tip dulls gradually, so you never notice the exact moment it stops piercing cleanly, and a slight bend from hitting a pin is invisible until you roll the needle on a flat table and watch it wobble.
Here is my rule: a new needle at the start of every project, and never more than 6 to 8 hours of actual sewing on one needle. Needles are the cheapest part of sewing. A five-pack costs less than the thread you will waste fighting a dull one.
When you put the new one in, push it all the way up into the clamp and make sure the flat side of the shank faces the back of the machine (that is correct for almost every modern home machine; check your manual if yours is a vintage oddball). Tighten the clamp screw firmly. A needle that sits even a millimeter too low changes where the hook meets the thread, and that alone causes skips.
For everyday quilting cotton and medium wovens, my default is a Schmetz Microtex 80/12. The slim sharp point pierces cleanly instead of pushing the fabric down into the needle plate, which is exactly the kind of deflection that makes stitches skip. I keep a five-pack in my notions drawer at all times: Schmetz Microtex Sharp needles, size 80/12, 5-pack.

Test on a scrap now. If the skips are gone, you are done, and you just fixed your machine in under a minute. If not, keep going.
Step 2: Rethread the Entire Machine
This is the step everyone rushes, and it is the step that fixes the second-largest pile of skipped-stitch problems. A thread path has a lot of guides, and missing just one of them changes the tension on the whole system.
Take all the thread out, top and bobbin both, and start over:
- Raise the presser foot. This is the big one. With the foot down, the tension discs are closed, and your thread just lays on top of them instead of seating between them. Thread with the foot up, every time.
- Follow your machine’s numbered thread path exactly: spool pin, first guide, down around the tension discs, back up through the take-up lever (that little hook that moves up and down; the thread must be caught in it), then down through the remaining guides to the needle.
- Thread the needle front to back.
- Rewind or re-seat the bobbin too. A loosely wound bobbin feeds unevenly and mimics every symptom on this list.
If you want the full slow-motion version of this with photos of each guide, I wrote one: how to thread a sewing machine. It is the single most useful page on this site for beginners, and half the “broken machine” emails I get are solved by it.

Step 3: Check Your Tension
If the needle is fresh and the threading is textbook, look at the tension dial. For most medium-weight fabrics, the correct upper tension sits around 4 on the dial. If someone (possibly you, possibly a curious small person) bumped it to 1 or 9, your stitches will skip, loop, or pucker.
Here is how to read what the stitches are telling you. Sew a test line on a scrap of your actual project fabric, then look at both sides:
- Loops on the underside of the fabric mean the top tension is too loose. Turn the dial up in half-point steps.
- Loops on the top side mean the top tension is too tight. Turn it down in half-point steps.
- Flat, even stitches on both sides mean the tension is right and your problem lives elsewhere on this list.
Test after every adjustment, always on scrap, never on your project. And leave the bobbin case screw alone. That tiny screw is set at the factory and it almost never needs touching on a modern machine. Nine times out of ten, “bobbin tension problem” turns out to be upper threading or upper tension, fixed from the top of the machine.
Step 4: Match the Needle to the Fabric
A perfect needle in the wrong situation still skips. Needles are tools with specific jobs, and using the wrong one is like cutting bread with a butter knife. It sort of works until it does not.
- Quilting cotton and medium wovens: universal or Microtex 80/12. This is home base.
- Lightweight fabrics (voile, lawn, silk): drop to a 70/10 so the needle does not shove the fabric into the plate.
- Stretch knits and jersey: switch to a ballpoint or jersey needle. The rounded tip slips between knit loops instead of piercing them, which is exactly what stops the skipping. A universal needle on knit is probably the single most common fabric mismatch I see.
- Denim, canvas, twill: go up to a jeans needle in 90/14 or 100/16. Heavy fabric needs a stronger shaft, full stop.
Thread matters here too. Old thread from a garage sale, or the dusty bargain-bin stuff, has weak spots and uneven thickness that the tension discs cannot handle consistently. If your thread is of mysterious age, try a fresh spool of decent all-purpose polyester before you blame the machine. I go deeper on what to buy in my best thread for sewing machines guide.
And if you are not sure what fabric you are actually holding, that is normal when you are starting out. My fabric guide for beginners walks through identifying common fabrics and what to sew first.
Step 5: Clean the Lint Out
Lint is the silent saboteur of sewing machines. Every meter of thread sheds tiny fibers, and they pack into the bobbin area, under the needle plate, and around the feed dogs. Enough buildup and the bobbin thread cannot move freely, the feed dogs cannot grip, and you get skipped stitches that look exactly like a tension problem.
Pop off the needle plate (one or two screws on most machines), lift out the bobbin case, and brush everything out. Get under the feed dogs and around the hook race, the little track the bobbin case sits in. Do not blow into it with your mouth; breath carries moisture. A brush does the job properly.
I do this after every project, and it takes about three minutes. A little 21-piece sewing machine cleaning kit with the double-ended lint brush, tweezers, and small screwdrivers lives next to my machine, and it has paid for itself many times over in machines that “mysteriously” started working again.
When It Is Actually a Timing Problem (Call a Tech)
Okay, you have done all five steps with a fresh needle, perfect threading, sane tension, the right needle for the fabric, and a lint-free machine, and it still skips. Now you are allowed to suspect timing.
Timing means the choreography between the needle and the hook underneath. The hook has to pass behind the needle at exactly the right microsecond to catch the thread loop. If a bad jam or a snapped needle knocked things out of alignment, the hook misses, and no needle or setting will fix it.
Here is how timing problems announce themselves:
- The skipping happens at a regular interval, like every eighth stitch, instead of randomly.
- It started right after a serious jam or a broken needle.
- The machine makes a clunking or knocking sound it did not make before.
- The needle visibly strikes the needle plate or the bobbin case.
If that sounds like your machine, stop and take it to a professional. Re-timing involves loosening the needle bar and hook assembly and setting them with precision you cannot eyeball. A basic service usually runs somewhere between $75 and $150, and it comes back sewing like new. Forcing it or poking at the internal screws yourself can turn a simple adjustment into a real repair bill.
It is worth knowing that even the manufacturers say to check everything else first. Brother’s own troubleshooting guide for skipped stitches lists threading, needle condition, needle installation, and lint before it ever mentions service. Your manual almost certainly has a similar chart, and it is always worth a look for your specific model.
Skipped Stitches FAQ
Why does my sewing machine skip stitches on thick fabric?
Thick seams are a stress test. Switch to a jeans needle in 90/14 or 100/16, lengthen your stitch slightly, and slow down, especially when crossing bulky seams like jean hems. Sewing fast over a lump is the classic way to bend a needle mid-seam, and a bent needle skips immediately.
Can a dull needle really cause skipped stitches?
Yes, and it is the most common cause by a wide margin. A dull tip does not pierce the fabric cleanly, so the fabric gets pushed down slightly as the needle descends. That tiny deflection is enough for the hook to miss the thread loop. When in doubt, change the needle. It is a two-dollar experiment.
How often should I change my sewing machine needle?
Every 6 to 8 hours of actual sewing time, or at the start of each new project, whichever comes first. Also change it immediately after hitting a pin, sewing over a zipper, or hearing any unusual clunk. I write the date on the needle case with a marker so I stop guessing.
Why is my machine skipping stitches with brand new thread?
New thread still needs correct threading and the right needle. But also check that you are not using a specialty thread (metallic, heavy topstitching thread) with a standard needle and standard settings. Heavy threads usually want a topstitch needle with a bigger eye and slightly loosened upper tension.
Now Go Sew Something
Once your machine is stitching cleanly again, prove it on a scrap with a nice even straight stitch, and then put it to work. A machine that just got a new needle, fresh threading, and a lint clean-out is in the best shape it has been in months, which makes it the perfect moment to start something real.
If you are looking for where to begin, my easy sewing projects for beginners are all chosen to be finishable in an afternoon. And when you are ready to follow your first commercial pattern, how to read sewing pattern symbols will decode all those mysterious markings before they confuse you mid-project.
Happy stitching, and may your seams be ever skip-free.

Written by June Carter
I am June, a sewing enthusiast who loves turning simple fabric into things people actually use. I test every technique and product I write about at my own machine before it lands here.