
The Quick Answer
Learning how to take body measurements for sewing is simpler than most beginners fear. You need a soft tape measure, fitted clothing (or just undergarments), a mirror, and about ten minutes. Stand relaxed with your feet together, keep the tape level with the floor and snug but not tight, and record five core numbers: bust, waist, hips, back waist length, and shoulder width. Write every number down immediately, measure twice, and never measure over a bulky sweater. That last one cost me an entire skirt.

Why Measuring Right Matters More Than You Think
Here is the thing nobody tells you at the fabric store: your pattern size is not your clothing size. I sew a size 12 in most commercial patterns and wear a medium in ready-to-wear, and those two facts have nothing to do with each other. Pattern companies draft to their own body charts, and the only way to pick the right envelope size is to know your real numbers.
My first fitted skirt is my cautionary tale. I measured my waist while wearing jeans, sucked in my stomach (we all do it, do not lie), and wrote down 27.5 inches. My relaxed waist was 29. That inch and a half was the difference between a skirt that zipped and a skirt that became a very expensive pencil case. Measure honestly. The tape does not judge you, but your zipper will.
What You Need Before You Start
Gather these before the tape comes out, because stopping mid-measure to hunt for a pencil is how numbers get misremembered:
- A soft, flexible tape measure. Not the metal one from the toolbox, which does not bend around a body. I use the Singer 60-inch tape measure. It costs a few dollars, the fiberglass tape does not stretch out over time, and the pink color means I can actually find it in my notions drawer.
- Fitted clothing or undergarments. A thin t-shirt and leggings work. A chunky sweater adds phantom inches, and I have the failed skirt to prove it.
- The bra you will wear with the finished garment. This one matters more than people expect. A sports bra versus an underwire bra can shift your bust measurement by a full inch, and that inch decides your pattern size.
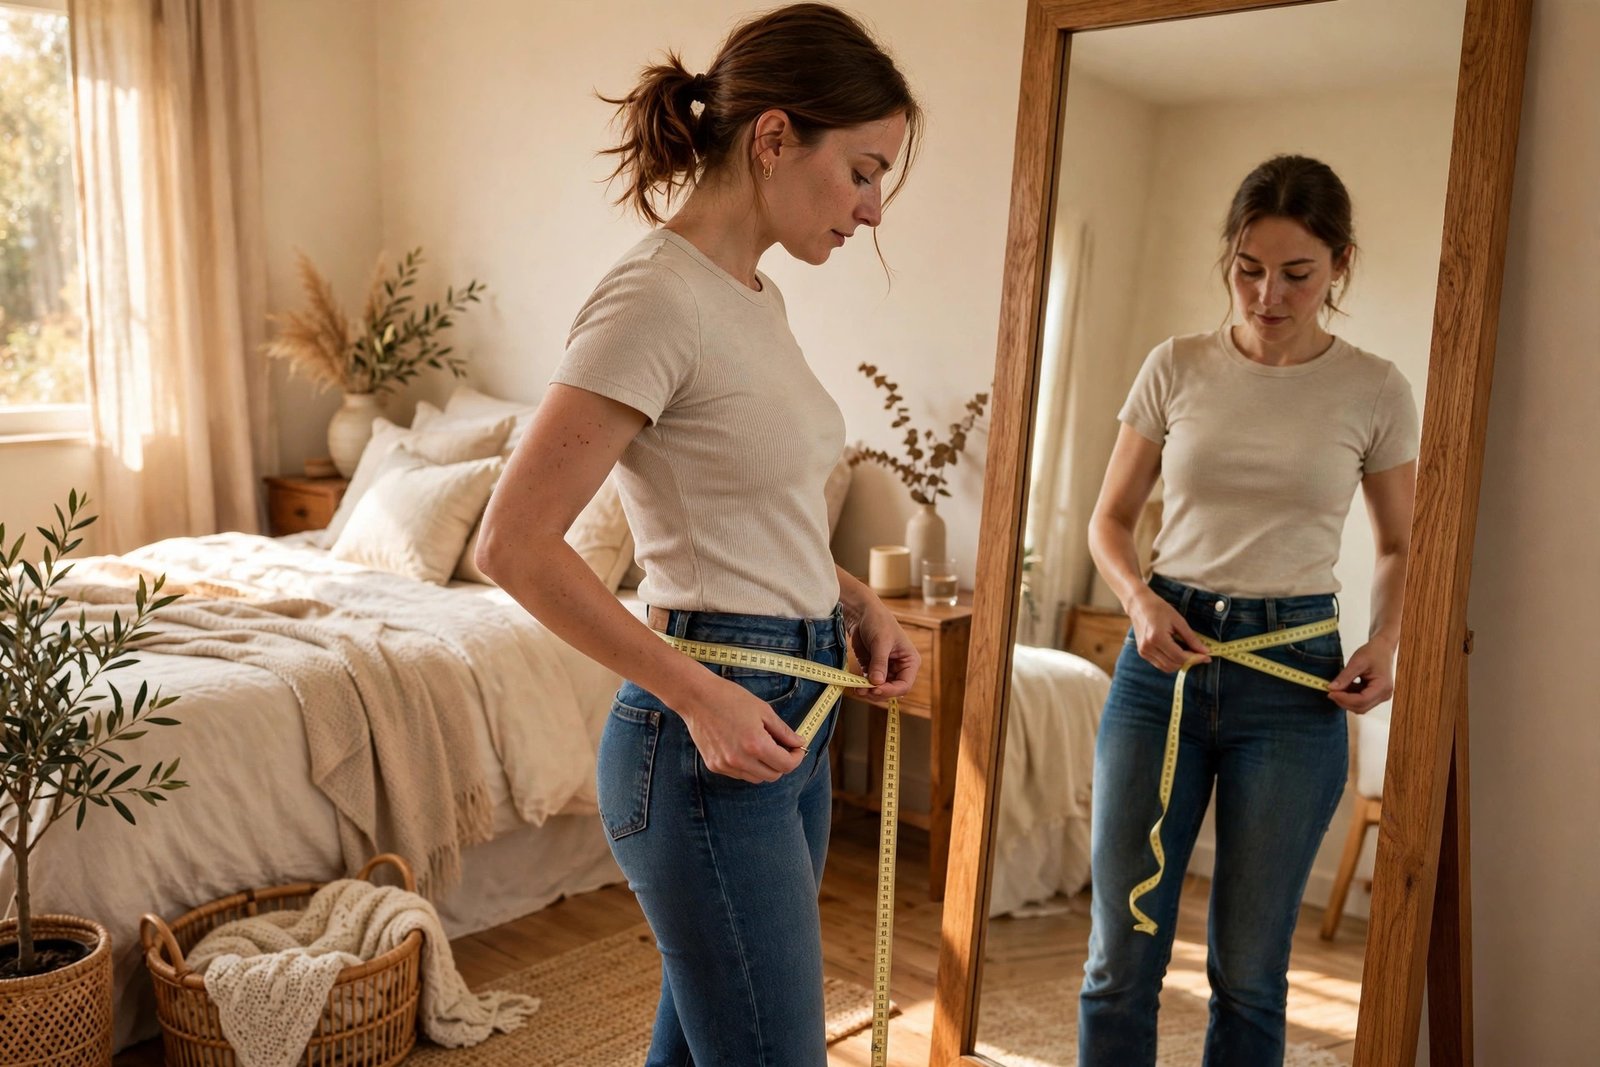
- A mirror. Full-length if you have one. You need to see whether the tape is level around your back, which you cannot feel accurately.
- A piece of string or thin elastic, about 24 inches. Tie it around your waist and let it settle. This is the oldest tailor trick in the book and the single best way to find your natural waistline.
- A notebook or printed chart, and a pencil. Write numbers down the second you read them. Memory is a liar.
How to Take Body Measurements for Sewing: The Core Seven
Work top to bottom and record each number before moving on. Breathe normally through all of these. If you catch yourself holding your breath, start that measurement over.
1. Bust
Wrap the tape around the fullest part of your bust, passing under your arms and straight across your back. The tape must stay parallel to the floor all the way around, which is exactly what the mirror is for. Keep it snug enough that it does not slip, loose enough that you can fit one finger underneath.
Common mistake: letting the tape ride up in the back. If the back of the tape sits higher than the front, your number will read small and your bodice will pull. Check the mirror, adjust, read again.
2. Waist
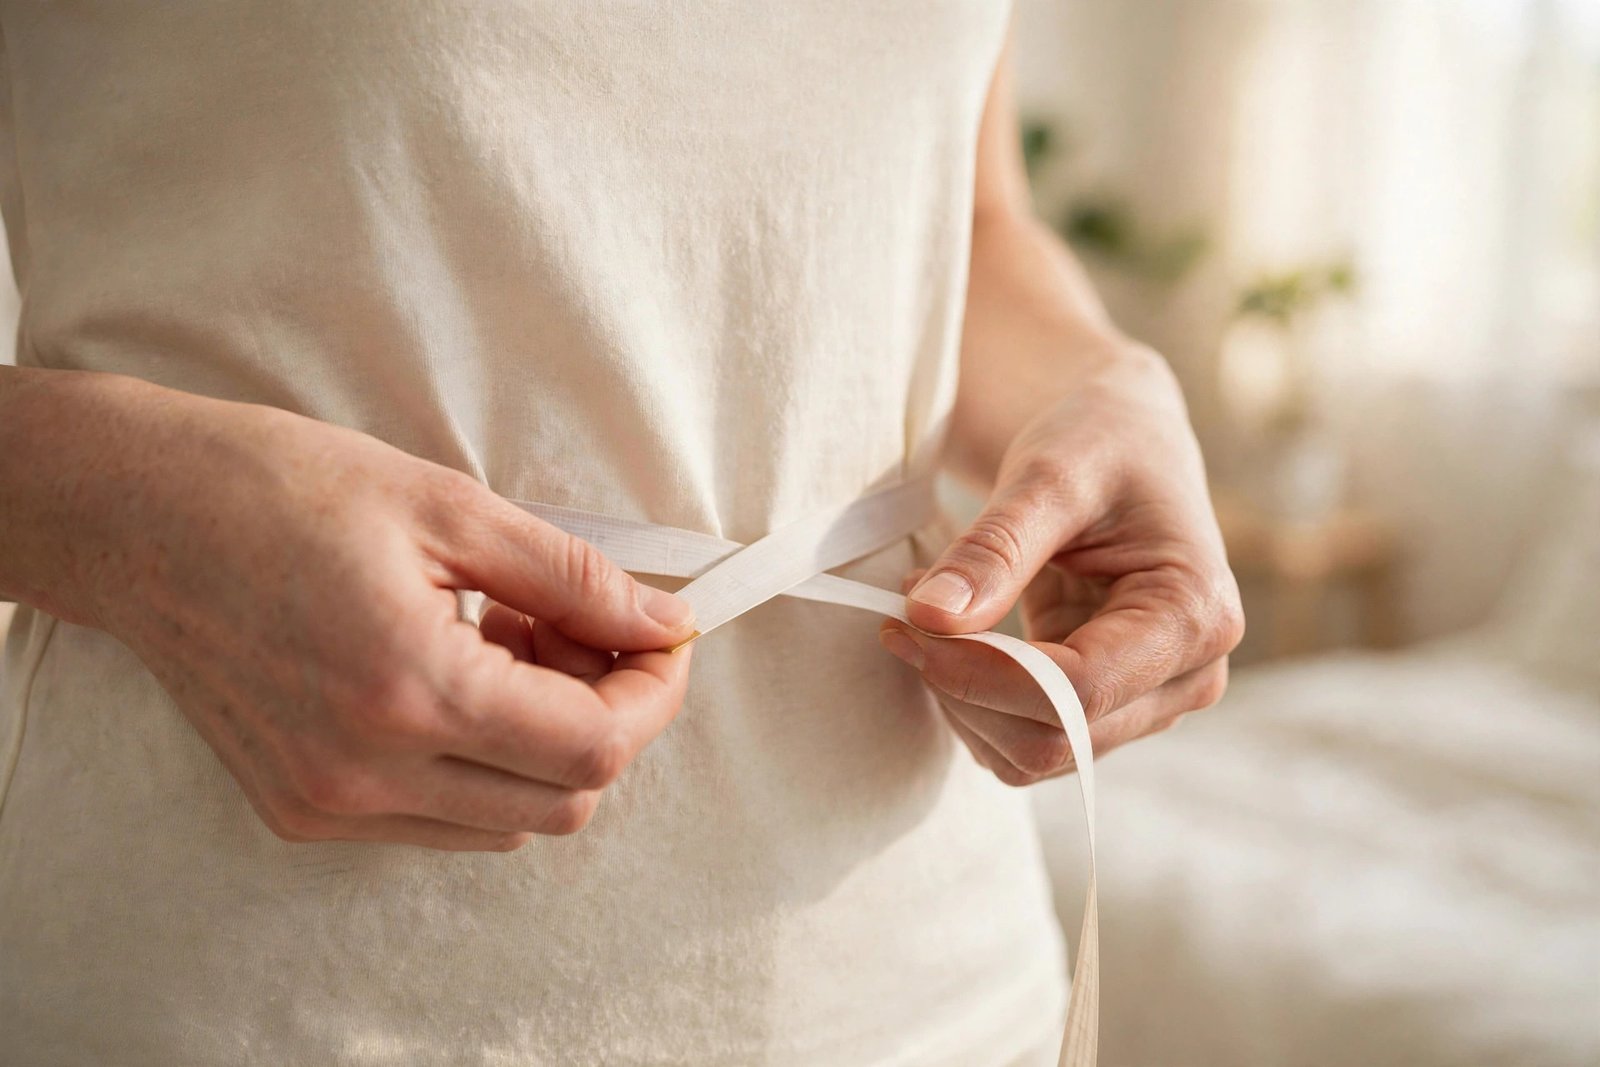
Tie the string or elastic around your middle and bend side to side a few times. It will settle into your natural waistline, which is usually an inch or two above your belly button and almost never where your jeans sit. Measure around the string with the tape level.
Common mistake: measuring where you wish your waist were, or where your pants waistband sits. Your natural waist is a specific anatomical spot. Find it with the string trick and trust it.
3. Hips
Stand with your feet together and wrap the tape around the fullest part of your hips and seat. This is usually 7 to 9 inches below your natural waist, but bodies vary, so slide the tape up and down an inch or two until you find the widest point. Keep it level.
Common mistake: standing with feet apart, which narrows the reading, or measuring too high at the hip bones. Feet together, widest point, level tape.
4. Back Waist Length
This one needs a friend or a mirror and some patience. Find the prominent bone at the base of your neck (tilt your head forward and feel for it), and measure straight down your spine to your natural waistline string. This number tells you whether a pattern bodice will be too long or too short on your torso, which is the alteration beginners need most often.
Common mistake: curving the tape to follow the spine’s shape. Keep it straight and vertical, dropping like a plumb line.
5. Shoulder Width
Measure from one shoulder tip to the other across your back, about 4 inches below the base of your neck. To find your shoulder tip, raise your arm and feel for the hollow where the shoulder bone ends. Keep the tape straight across, not dipping.
Common mistake: measuring across the front of the chest instead of the back. Shoulder width for patterns is a back measurement.
6. Sleeve Length
Bend your elbow slightly, as if your hand were sliding into a front pocket. Measure from your shoulder tip, over the outside of your elbow, down to your wrist bone. The slight bend matters because sleeves are drafted for arms that move, not arms pressed flat.
Common mistake: measuring with the arm hanging dead straight, which gives a sleeve that binds every time you bend your elbow.
7. Inseam
Stand straight in the shoes you will wear with the garment. Have your helper measure from your inner ankle bone up to your crotch, keeping the tape close to the leg. If you are alone, you can measure a pair of well-fitting pants instead: lay them flat and measure the inner leg seam from crotch to hem.
Common mistake: doing this one solo without a helper and guessing. The pants-measuring workaround is genuinely more accurate than a solo crotch measurement, so use it without shame.
Measuring Yourself vs. Asking a Friend
Let us be honest: bust, waist, and hips are easy enough solo with a mirror. Back waist length, shoulder width, and inseam are genuinely hard alone, and the numbers show it. When I measured my own back waist length three times, I got 15.5, 16, and 16.25 inches. My sister measured me once: 16.5. She was right.
If you have a willing friend, use them for every back measurement and the inseam. If you are solo, the mirror is non-negotiable, and measuring your best-fitting pants for the inseam is the pro move. Either way, measure everything twice. If the two readings differ by more than half an inch, take a third and go with the two that agree.
What Can Go Wrong (and How to Fix It)
Your pattern size does not match your clothing size. Normal. Ignore the number on the envelope and go by the size chart. If your bust says size 14 and your waist says size 10, you are not a 10 or a 14. You are a 14 at the bust graded to a 10 at the waist, and blending between sizes on the pattern tissue is a standard skill, not a failure. Pattern companies expect this.
Your numbers changed since last time. Bodies do that. Remeasure every six months, or before any fitted project if it has been a while. I keep the date next to every set of numbers so I know which ones to trust.
Your tape measure is old. Soft tapes stretch with age, especially cheap vinyl ones left in a hot car or a sunny window. If your waist has mysteriously “grown” two inches since spring, check the tape against a ruler before you blame the ice cream. Fiberglass tapes hold their accuracy far longer, which is one reason I recommend the Singer one above.
You compared your body to the wrong line on the chart. Pattern size charts list body measurements, but the finished garment includes wearing ease, extra inches built in so you can move and breathe. Compare your numbers to the body measurement chart for size selection, not the finished garment measurements. New Mexico State University’s Cooperative Extension Service has a solid free guide on checking your pattern for proper fit that walks through comparing your measurements plus ease against the actual pattern pieces before you cut.
Write It Down: Keep a Measurement Log
A scrap of paper works once. A system works forever. I keep a single page per person in a notebook with the date at the top: bust, waist, hips, back waist length, shoulder width, sleeve length, inseam, plus the bra I wore and which shoes for the inseam. When I sew for my sister, she has her own page.
If you want something prettier than my notebook, there is a printable body measurement chart on Etsy for a few dollars that gives you a clean template to fill in and reuse. Either way, the rule is the same: no number exists until it is written down with a date.

Frequently Asked Questions
Should I measure over my clothes? Only if the clothes are thin and fitted, like a t-shirt and leggings. Anything bulky, padded, or structured adds inches that are not you. When in doubt, measure over undergarments.
How often should I re-measure? Every six months is the standard advice, and before starting any fitted garment if your last numbers are older than that. Knit t-shirts are forgiving. Fitted bodices are not.
What if my bust, waist, and hips fall into three different pattern sizes? Welcome to being human. Almost nobody is one size all over. Pick the size that matches your most important measurement for that garment (bust for tops, hips for skirts and pants), then blend to your other sizes by drawing smooth lines between the size markings on the pattern tissue. Learning how to read sewing pattern symbols and markings will make those size lines much less intimidating.
Do I really need the high bust measurement too? For most beginners, no. Full bust, waist, and hips pick your size correctly for simple patterns. High bust becomes useful later when you start fitting bodices closely, but do not let it delay your first project.
Does fabric choice change which measurements matter? It changes how much ease you need, not the measurements themselves. A woven cotton shirt needs real wearing ease drafted in, while a stretch knit forgives a multitude. When you choose fabric for a beginner project, check the pattern’s recommended fabric types, because the ease is built for those.
Your Numbers Are Ready. Now Sew Something.
Accurate measurements are the unglamorous foundation everything else stands on. With your numbers recorded and dated, you can pick a pattern size with confidence instead of hope, and that is the difference between garments you wear and garments that live in a drawer.
If this is your first project, start with one of these easy sewing projects for beginners and practice how to sew a straight stitch first. Fit comes from numbers. Everything else comes from practice.

Written by June Carter
I am June, a sewing enthusiast who loves turning simple fabric into things people actually use. I test every technique and product I write about at my own machine before it lands here.