
Learning how to sew a straight stitch is the moment a sewing machine stops being an intimidating appliance and starts being a tool you actually control. I will be honest with you, though: it is also the skill most beginners quietly struggle with for weeks, because every tutorial makes it sound like you just press the pedal and magic happens.
Here is what those tutorials skip. A straight stitch is not one skill. It is four small skills stacked together: picking the right settings, placing your fabric on a guide line, steering without pushing, and locking your stitches at both ends. Get those four right and your seams come out straight. Miss one and you get the wobbles, the puckers, and the mysterious thread nests underneath.
I have sewn thousands of straight seams by now, on everything from quilting cotton to slippery satin, and I still test on a scrap first. This guide takes you from zero to a clean, confident straight stitch on your machine, then shows you the hand-sewn version too.
The 30-second version
Select the straight stitch (usually stitch 01 on the dial), set the stitch length to 2.5 mm, and place your fabric edge on the 5/8-inch seam guide with the needle up. Lower the presser foot, backstitch 3 to 4 stitches to lock the start, then sew forward at medium speed while watching the guide line, not the needle. Backstitch again at the end. That is a straight stitch, and everything below is just doing each of those pieces well.
What you need
You do not need much, which is part of why this is the perfect first skill.
- A sewing machine, threaded and with a wound bobbin. If yours is not threaded yet, start with my walkthrough on threading a sewing machine and come back.
- All-purpose polyester thread. I sew almost everything with Gutermann Sew-All, about $3.50 a spool, because it is strong, low-lint, and behaves in the tension discs. If you want the full reasoning, I wrote a whole guide on the best thread for sewing machines.
- A fresh universal needle, size 80/12. A dull or bent needle is behind an embarrassing number of “my stitches look terrible” complaints. When in doubt, change it.
- Two scraps of woven cotton or linen, roughly 6 by 8 inches each. Quilting cotton is the ideal practice fabric because it does not stretch or slip. If you are buying fabric for a first real project, my guide on how to choose fabric for a beginner project will keep you out of trouble.
- Small scissors or thread snips, and a few pins.
- Optional but genuinely useful: a magnetic seam guide. It sticks to your needle plate and gives your fabric edge something physical to ride against. It is the cheapest fix I know for wandering seam lines, and I still use one when I am sewing long seams.

How to sew a straight stitch on a sewing machine: settings first
Before you touch the pedal, set the machine up. Ninety percent of ugly straight stitches are a settings problem, not a you problem.
Stitch selection. Turn your stitch dial to the straight stitch. On most machines it is stitch 01, drawn as a single dashed straight line. If your machine has a screen, select it there. Leave the stitch width at 0, which centers the needle.
Stitch length: 2.5 mm. This is the standard straight-stitch length for medium-weight wovens, and it is where you should live as a beginner. Shorter than 2.0 and the seam gets stiff and hard to unpick; longer than 3.0 and the seam gets weak and loopy. Here is my cheat sheet:
- Lightweight cotton, quilting cotton: 2.5 mm
- Medium wovens like linen or chambray: 2.5 to 3.0 mm
- Heavy canvas or denim: 3.0 to 3.5 mm, with a 90/14 or 100/16 needle
- Basting (temporary stitches you will remove): 4.0 to 5.0 mm
Tension: leave it on auto, or 4. On a dial machine, the middle setting (usually 4) is correct for balanced stitches on quilting cotton. Do not fiddle with tension until you have ruled out threading and needle problems, because tension gets blamed for things it did not do.
Needle position: center. Make sure the needle is centered, not swung left or right. Some machines remember a zigzag position, and sewing a “straight” stitch with the needle parked left is a classic confusion.
How to sew a straight stitch: 7 steps
Step 1: Place your fabric. Put your two fabric pieces right sides together (the pretty sides facing each other) under the presser foot. Line the raw edge up with the 5/8-inch mark on the needle plate. Those engraved lines are your seam guides, and they are the whole secret. Make sure the needle is UP before you slide the fabric under, or you will bend it.
Step 2: Lower the presser foot. Use the lever behind the needle area. Lowering the foot does two jobs: it holds the fabric steady, and it engages the tension discs. Sewing with the foot up gives you a loopy mess on the underside every single time.
Step 3: Lock the start with backstitching. Sew forward 3 to 4 stitches, then hold the reverse button or lever and sew back over those same stitches. Release and continue forward. This knots the thread in place so your seam cannot unravel from the end. Skipping this is why beginner seams fall apart in the wash.
Step 4: Guide, do not push. Rest your hands lightly on the fabric, one on each side of the needle, and let the feed dogs pull the fabric through. Your job is steering, not propulsion. Pushing or pulling stretches the fabric and gives you wavy, puckered seams. Think of it like guiding a shopping cart, not shoving one.
Step 5: Watch the guide, not the needle. This is the single biggest technique tip I can give you. Your eyes should be on the seam guide line where the fabric edge meets the plate, about an inch in front of the needle. Staring at the needle makes everyone drift. Threads magazine has a great piece on topstitching technique that makes this same point, and it is worth reading once your basics are solid.
Step 6: Pivot at corners. When you reach a corner, stop with the needle DOWN in the fabric. Lift the presser foot, rotate the fabric to the new direction, lower the foot, and keep sewing. The needle acts like a pin holding everything exactly in place, so your corner stays sharp.
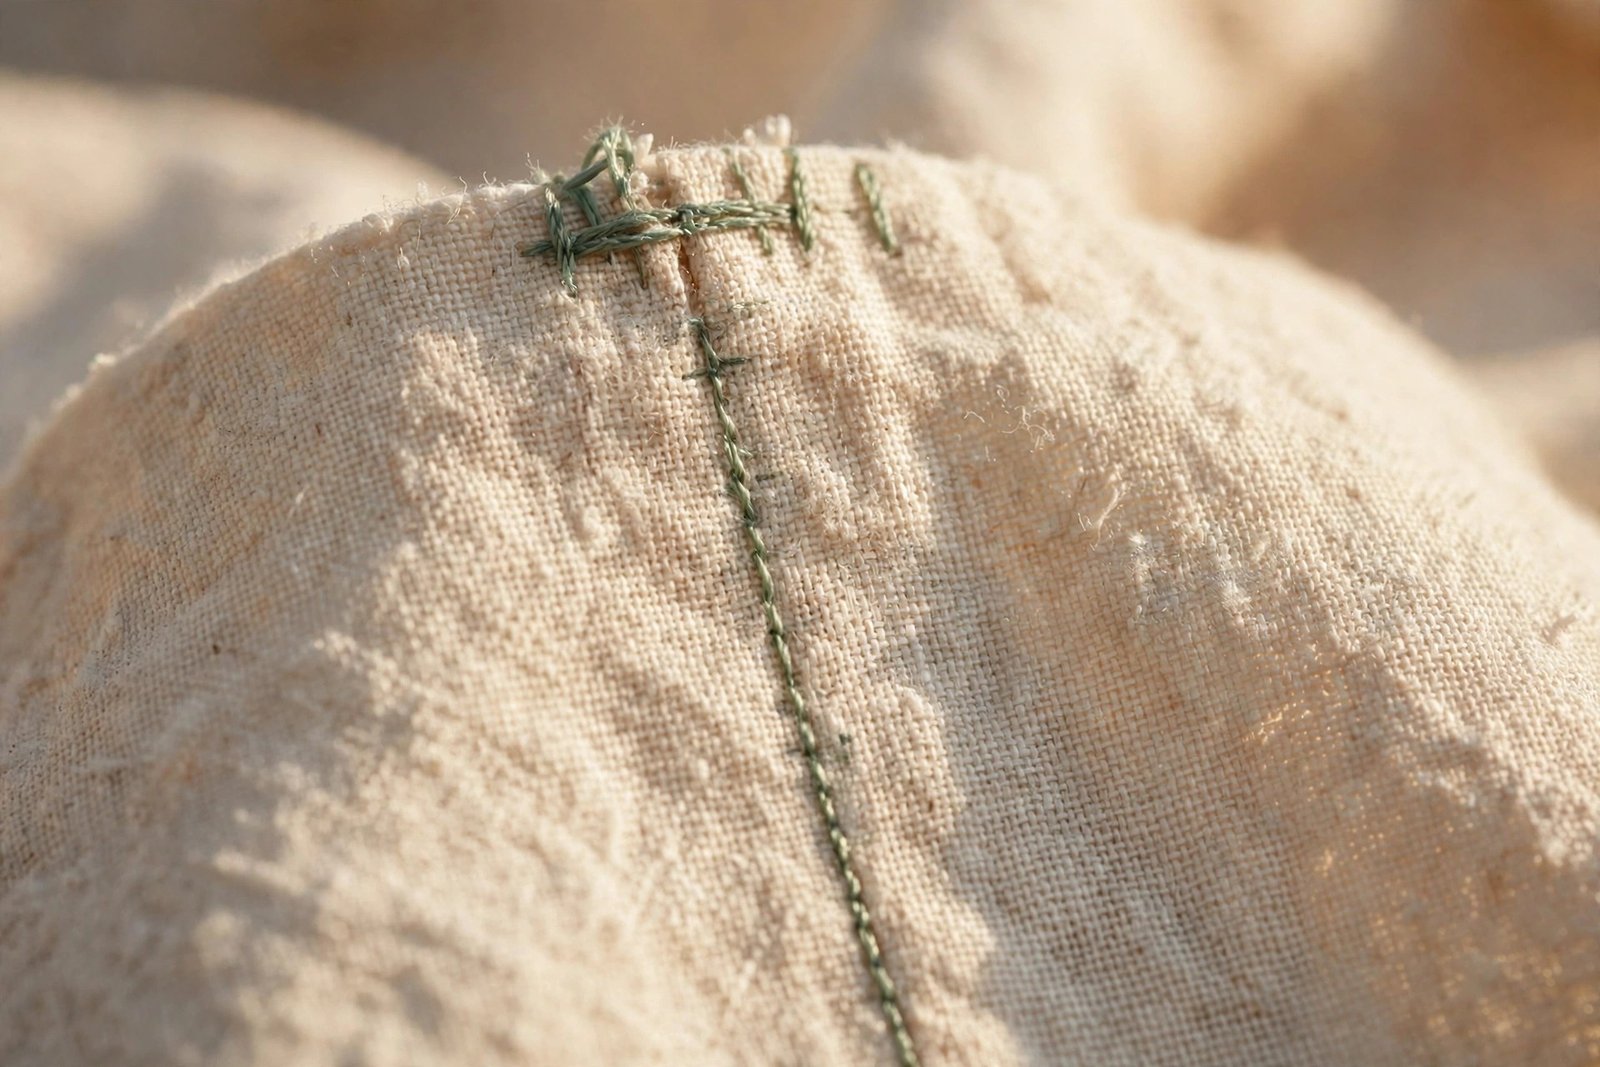
Step 7: Lock the end and finish. When you reach the end of the seam, backstitch 3 to 4 stitches again. Turn the handwheel toward you to raise the needle to its highest point, lift the presser foot, pull the fabric out to the back (never toward you), and clip the threads, leaving 3-inch tails.
How to keep your straight stitch actually straight
Settings and steps get you 80% there. These are the habits that get you the last 20%.
Sew slower than you think. Beginners almost always sew too fast. Medium speed gives your hands time to steer and your eyes time to watch the guide. Speed comes later, on its own.
Use the 5/8-inch guide until it is boring. Most commercial patterns use a 5/8-inch seam allowance, and you will read about that in my guide on how to read sewing pattern symbols. Practice on that line until following it feels automatic, then try 1/2 inch and 1/4 inch.
Pin perpendicular to the edge. Place pins at right angles to your seam line, heads facing outward, and pull each pin out just before it reaches the needle. Never sew over pins. I know people do it. Do not be those people.
Press your seam when you are done. Pressing is not optional fussing; it is what makes a seam look professional. Press the seam closed first to set the stitches, then press it open or to one side. A pressed seam looks twice as good as an unpressed one with zero extra sewing skill.
Practice on paper first if the machine scares you. This sounds silly and works brilliantly. Draw straight lines and gentle curves on printer paper and sew along them with an unthreaded machine. It trains your hands and eyes with zero fabric waste.
How to sew a straight stitch by hand
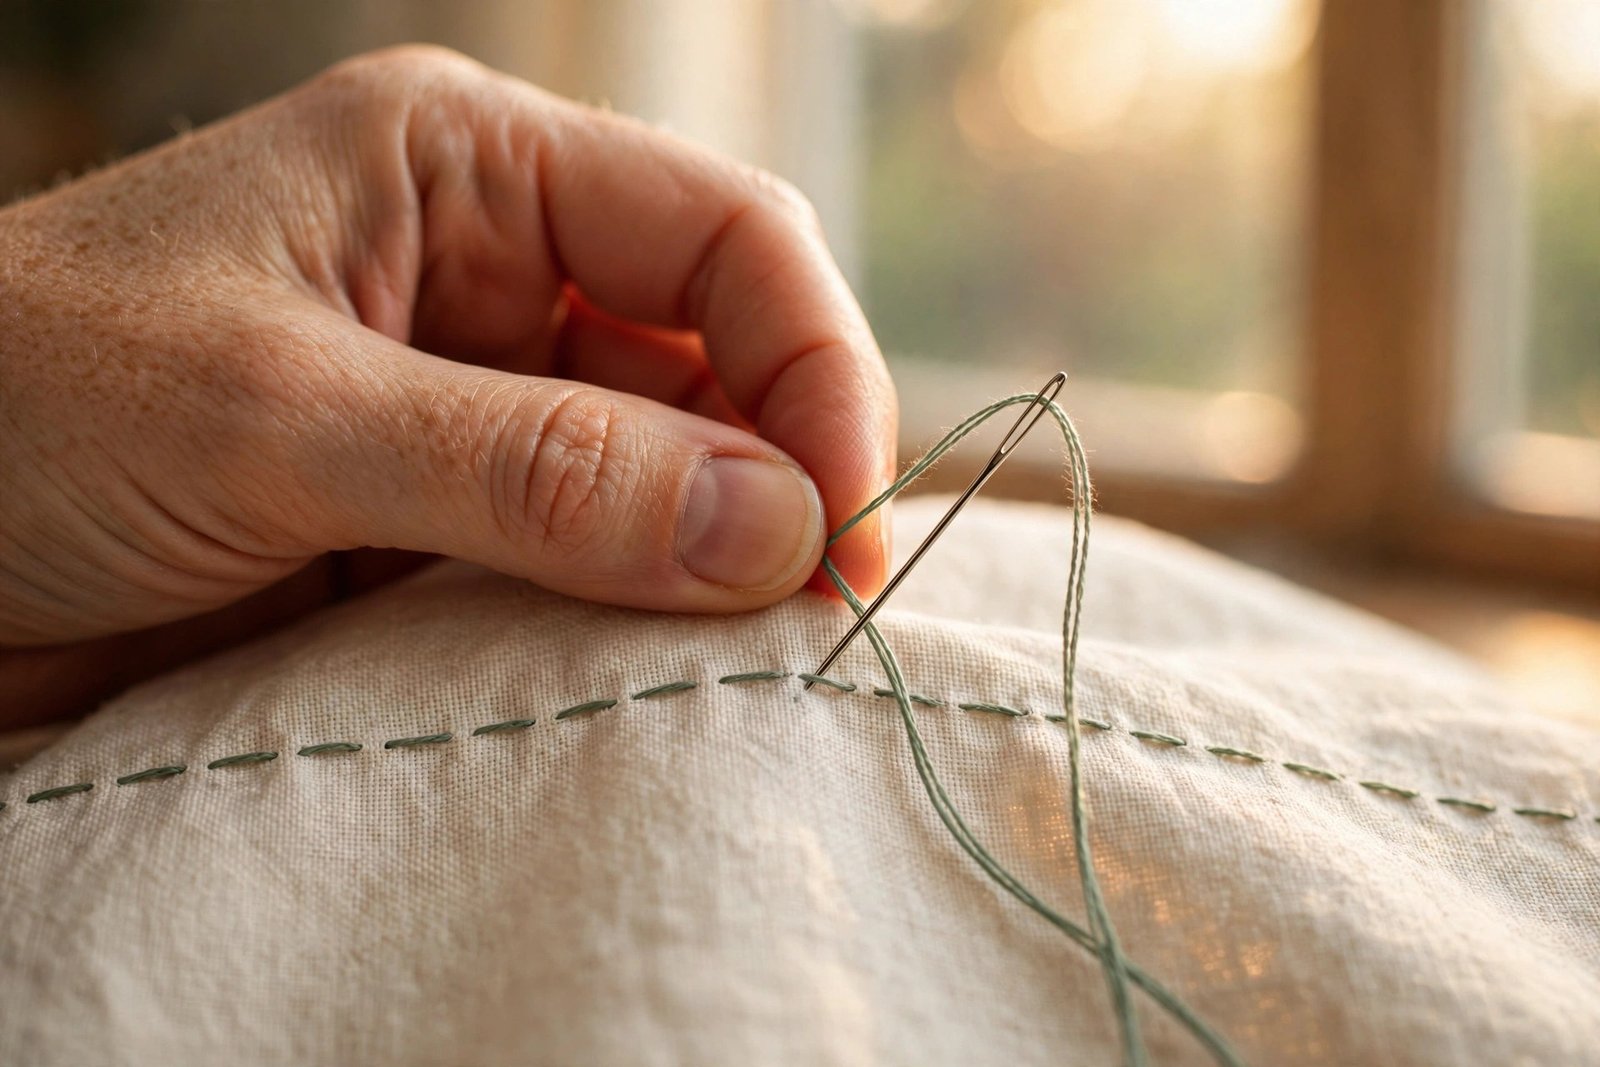
Sometimes you need a straight stitch away from the machine: closing a small gap, basting layers together, or tacking something quickly. The hand version is called a running stitch, and it takes two minutes to learn.
- Thread a hand-sewing needle with about 18 inches of all-purpose thread and knot one end. Longer thread tangles; I am strict about this.
- Draw your line lightly on the fabric with a fabric marker or chalk, using a ruler.
- Push the needle up from the back of the fabric at the start of your line.
- Take the needle down through the fabric about 1/8 inch ahead, then bring it back up another 1/8 inch ahead. Keep the stitches and the gaps between them even.
- Repeat down the line. For seams that need strength, make a second pass filling in the gaps, which gives you a hand backstitch.
- End with two tiny stitches in the same spot, or run the thread under the last few stitches and snip.
Your hand stitches will not be as even as machine stitches at first, and that is completely fine. Even, not perfect, is the goal.
What can go wrong (and how to fix it)
My line wanders and wobbles. You are watching the needle instead of the guide, or sewing too fast. Slow down, move your eyes to the seam guide line, and consider the magnetic seam guide I mentioned above. Wandering also happens when you push the fabric, so lighten your hands.
The fabric puckers. Three usual suspects, in order: the fabric is being pushed or pulled while sewing, the stitch length is too short for the fabric, or the tension is too tight. Stop pushing first, because that is free to fix. Then try lengthening to 3.0 mm. Touch tension last.
Thread nest (a bird’s nest of thread under the fabric). This is almost always a threading problem, not a tension problem. Rethread the top thread completely with the presser foot UP, and check that the bobbin is inserted correctly. Nine times out of ten, rethreading fixes it instantly.
Skipped stitches. Usually a dull, bent, or wrong-size needle. Put in a fresh 80/12 universal and test again. If skips persist on stretchy or very thick fabric, you may need a ballpoint or heavy-duty needle instead. I have a full walkthrough for how to fix skipped stitches if this one keeps haunting you.
Seam falls apart at the ends. You skipped the backstitching. Go back and lock both ends of every structural seam. Decorative stitching can skip it; anything that holds weight cannot.
Bottom thread shows on top (or vice versa). Your tension is unbalanced. Before touching the dial, rethread top and bobbin. If the problem survives a clean rethread, adjust the top tension in half-number steps and test on a scrap each time.
FAQ
What stitch length should a beginner use for a straight stitch? 2.5 mm on quilting cotton or any medium-weight woven. It is strong enough to hold, easy to unpick if you make a mistake, and it is the default on most machines for a reason.
Do I have to backstitch every seam? Every seam that needs to hold under stress, yes. The only time I skip it is basting stitches I plan to remove, or decorative stitching where the ends will be buried in another seam.
Why is my straight stitch not straight? Because you are watching the needle. Move your eyes to the seam guide line, slow down, and stop pushing the fabric. Those three changes fix wandering lines for nearly every beginner I have taught.
Can I sew a straight stitch without a sewing machine? Yes, that is the running stitch described above. It is slower and less even than machine stitching, but it works fine for small repairs, basting, and hand-finishing.
What is the difference between a straight stitch and a running stitch? A straight stitch is the machine version: locked, even, and strong. A running stitch is the hand version: a simple in-and-out stitch that is weaker unless you go back over it. Same idea, different tools.
Where to use it next
A straight stitch is the seam behind almost everything you will ever sew: pillowcases, tote bags, simple skirts, quilt piecing. Once yours is reliable, put it to work on some easy sewing projects for beginners and feel how fast the skill compounds. And if a simple garment is calling your name, start with how to take accurate body measurements, because a straight seam sewn to the wrong size is still the wrong size.
Sew one good straight seam today. Then sew ten more. That is genuinely the whole curriculum.

Written by June Carter
I am June, a sewing enthusiast who loves turning simple fabric into things people actually use. I test every technique and product I write about at my own machine before it lands here.