
Your sewing machine is the one tool in your sewing room that quietly does everything you ask of it, and it is the one most of us ignore until it starts sounding like a cement mixer. I understand. When the machine is stitching along, maintenance feels like a problem for Future June. Then one day the tension goes wild, the bobbin area sounds like gravel in a blender, and Future June is furious.
Here is the truth my grandmother taught me on her old Singer: a sewing machine is a mechanical tool, and mechanical tools need cleaning and oil the way a cast iron skillet needs seasoning. Ignore it and it will still work for a while. Maintain it and it will sew beautifully for decades. This is my whole routine: how often to clean and oil, exactly what to do, the two-minute checks that solve most problems, and how to recognize when the job is too big for your kitchen table. If lint in the bobbin area is already causing you grief, my guide to how to clean sewing machine lint walks through the deep-clean version of step one below.
What a neglected machine sounds and acts like
Machines do not usually die suddenly. They complain first, and the complaints are predictable. Clicking or clunking noises from the needle area. Skipped stitches on fabric it used to handle fine. Thread that shreds or snaps for no reason. Tension that was perfect yesterday and is a bird nest today. A handwheel that feels stiff or gritty when you turn it.
Almost every one of these symptoms traces back to the same three culprits: lint packed around the bobbin case and feed dogs, dried-out moving parts crying for oil, or a needle and thread combination that was wrong from the start. The cleaning and oiling routine in this post fixes the first two. The checks at the end fix the third. Between them, they cover the vast majority of sewing machine tantrums.
How often should you clean and oil your sewing machine
The rule I follow is simple: clean the lint out after every 8 to 10 hours of actual sewing, and oil according to your manual. For most home sewists, that means a quick clean after every big project and a thorough clean plus oil once a month if you sew weekly. If you sew flannel, fleece, or anything that sheds, cut that interval in half. Those fabrics leave behind a shocking amount of fluff, and it all ends up under the needle plate.
Some modern machines are marketed as self-lubricating and their manuals say never to oil them. Read your manual before you oil anything. Oiling a machine that does not want oil can gum it up worse than no oil at all. If your manual is long gone, the manufacturer almost always has a PDF of it on their website, and it is worth the five minutes to find it.
There is one exception to every schedule: if the machine starts complaining, clean it now, no matter when you last did it. The schedule prevents problems. It does not override them.
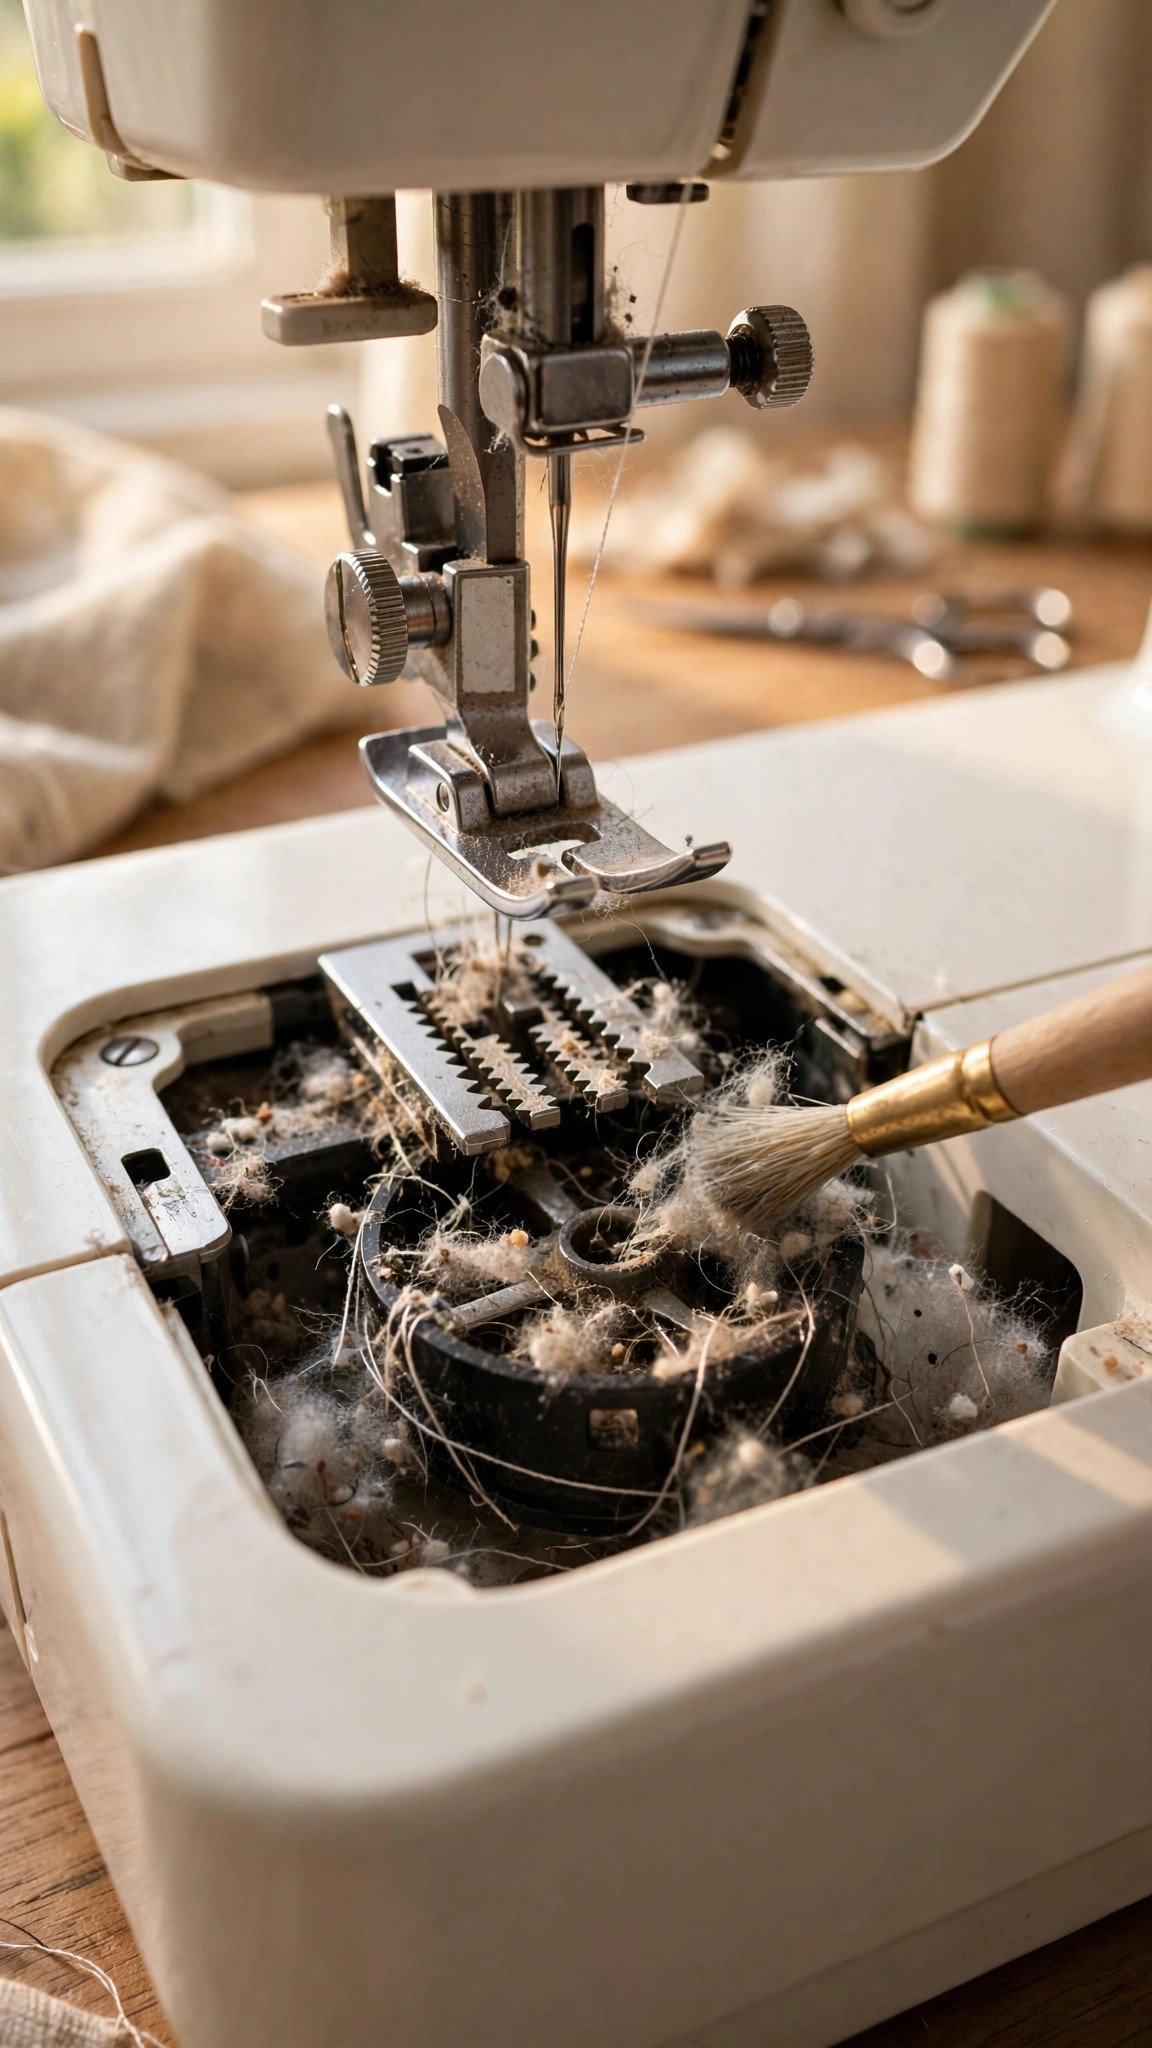
Step one: cleaning the lint out of your machine
This is the highest-value fifteen minutes in all of sewing machine maintenance. Lint builds up around the bobbin case, under the needle plate, and between the feed dogs, and that packed fluff changes how thread moves through the tension system. A startling number of tension problems are just lint problems wearing a disguise.
Unplug the machine first. I know the foot pedal is nowhere near your foot, but machines and water and loose scarves do not mix well with plugged-in motors, and this is a good habit anyway. Remove the presser foot, the needle, and the needle plate. Most modern plates are held by a screw or two; older machines may have a sliding plate. Take out the bobbin and the bobbin case if your machine has a removable one.
Use a small lint brush to sweep out everything you can see. The brush that came with your machine is fine, a small clean paintbrush works too. Get into the corners around the feed dogs and under the bobbin case. Tweezers pull out the stubborn thread nests the brush leaves behind. I keep a pair of long craft tweezers in my maintenance kit specifically for this, because thread nests love to wrap themselves around the bobbin case spindle where fingers cannot reach.
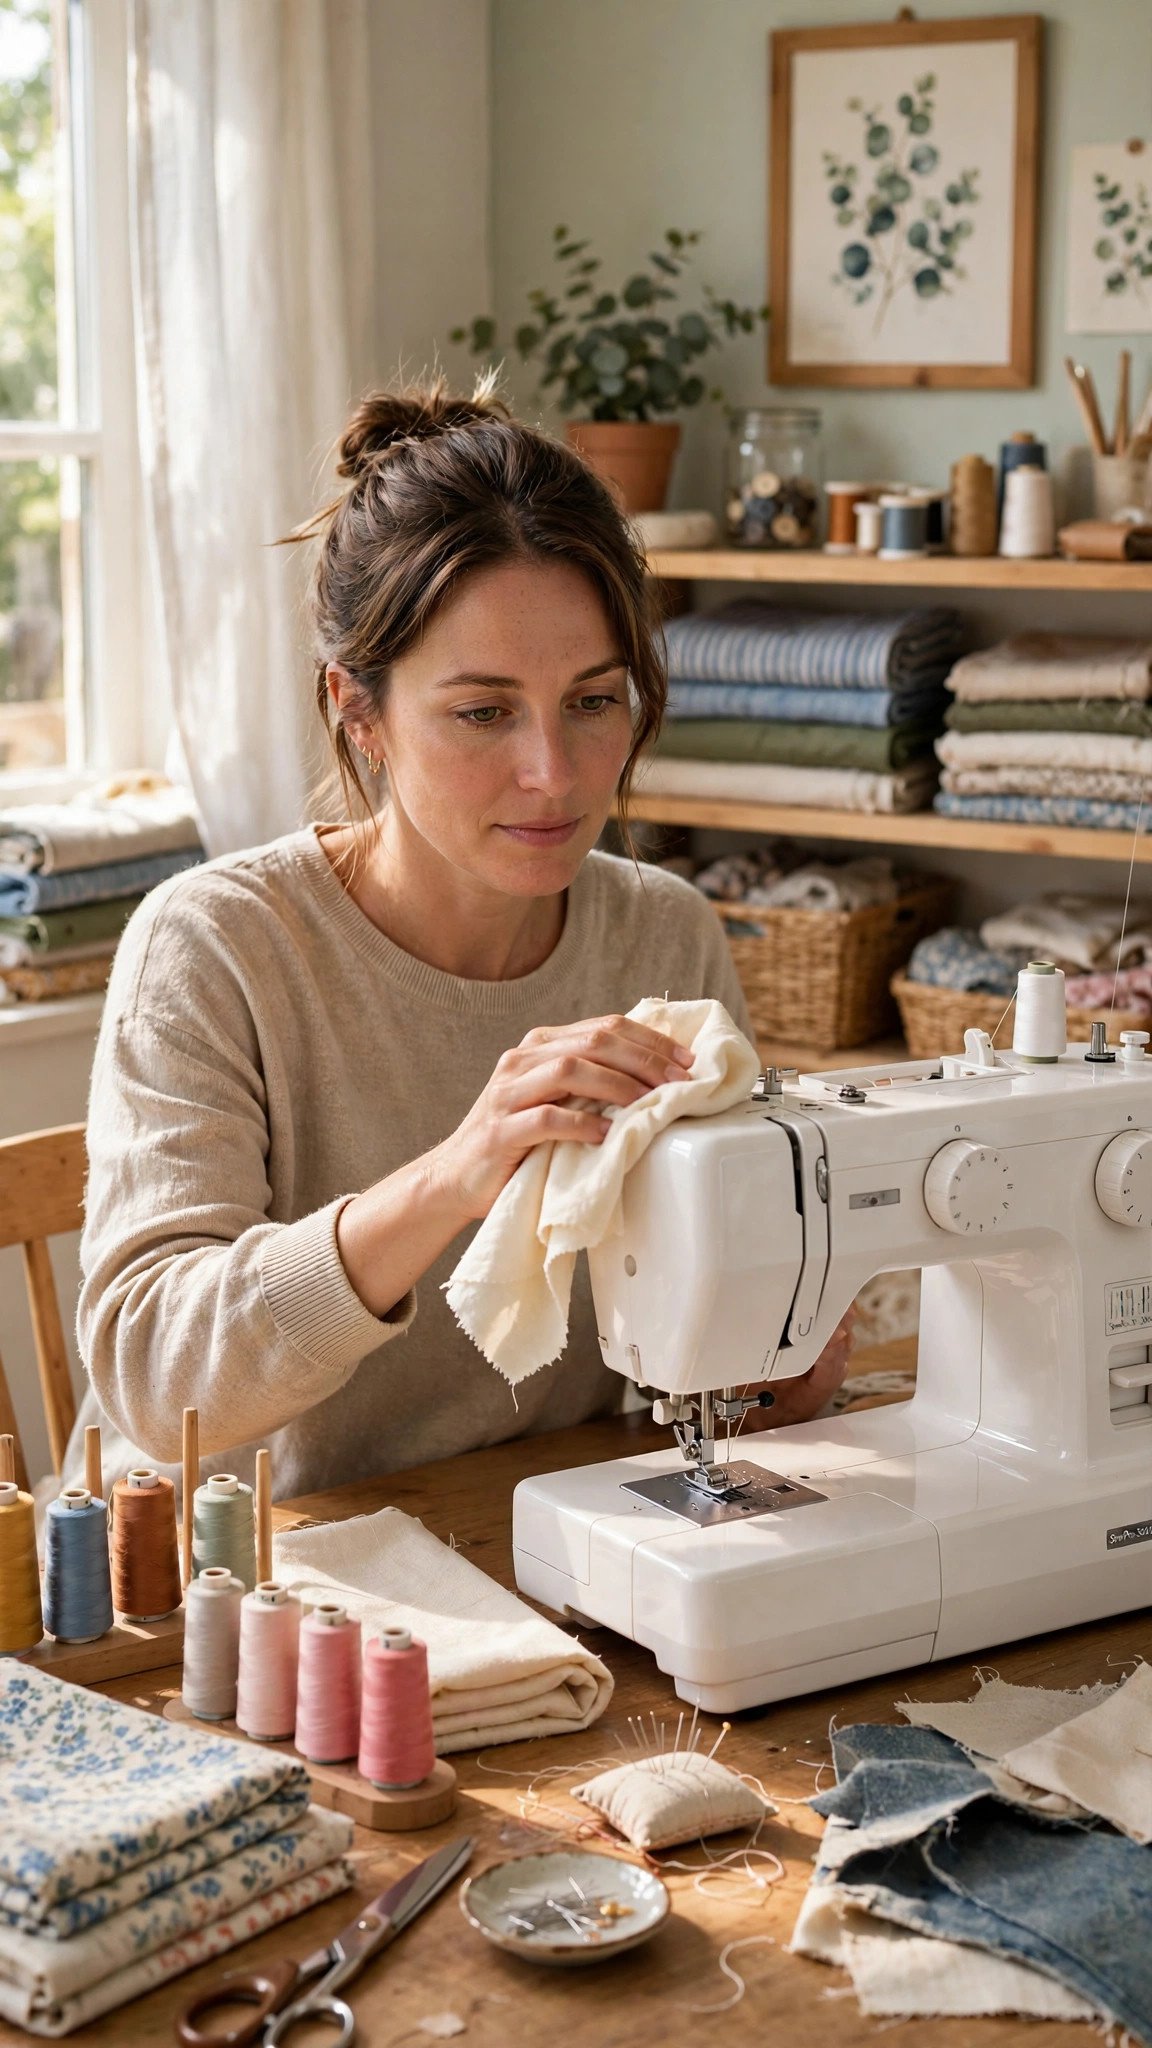
Wipe the outside of the machine with a soft, dry cloth while you are at it. Do not use household cleaners, and keep water away from the inside of the machine entirely. A drop of isopropyl alcohol on a cotton swab cleans dried gunk off the needle plate, but dry is the default.
One word about compressed air: you will see it recommended everywhere, and I do not use it inside my machines. A blast of canned air can drive lint deeper into the machine where you cannot reach it, and the propellant can leave residue on delicate parts. A brush, tweezers, and patience do the job without the risk. Some techs do use shop air, but they are blowing from the inside out with the machine open on a bench, which is not your kitchen table situation.
Step two: oiling the moving parts
Oiling scares people, and it should not. You are putting one tiny drop of oil in the places your manual marks, not bathing the machine. The oil to use is sewing machine oil, sold in little bottles at every sewing shop. It is a clear, light mineral oil made for this exact job. Do not use 3-in-1 oil, WD-40, cooking oil, or anything else that was in the garage. The wrong oil gums up, attracts lint, and turns a two-minute job into a service appointment.
Your manual has an oiling diagram showing the exact spots, which are usually the bobbin hook area and one or two points on the needle bar mechanism. Put one drop in each marked spot. One drop. Not a squeeze, not a stream, one drop. Then turn the handwheel toward you a few times to work the oil in, and run a few seams on a scrap of fabric before your project. The scrap catches any excess oil so it does not end up as little dots on your good fabric.
If your manual says the machine is self-lubricating or says not to oil it, believe it. Plenty of modern machines have sealed bearings and adding oil does nothing but make a mess. This is not a step to improvise. When in doubt, the manual wins, and the dealer or manufacturer can answer in about thirty seconds if you call.

Step three: the two-minute checks that fix most problems
When something goes wrong mid-project, run this checklist before you touch the tension dial. I say this as someone who has adjusted tension for twenty minutes only to discover the real problem was a bent needle. These five checks resolve the problems most sewists blame on the machine.
Change the needle. Needles are disposable. A needle should be changed every 8 hours of sewing or at the start of every project, whichever comes first. A dull or bent needle causes skipped stitches, shredding thread, and a clicking sound that mimics serious mechanical trouble. Use the right needle for the fabric too: a universal needle is fine for quilting cotton, but denim wants a denim needle and knits want a ballpoint. My guide to how to choose a sewing machine needle covers the whole system if needle types still confuse you.
Rethread everything, with the presser foot up. Most threading mistakes happen because the thread was not seated in the tension discs, and the discs only open when the presser foot is up. Raise the foot, pull the thread out completely, and rethread from the spool following the path printed on the machine. Nine times out of ten, this alone fixes a bird nest under the fabric.
Check the bobbin. A bobbin wound unevenly, wound too loosely, or inserted backward feeds thread inconsistently, and inconsistent thread feed looks exactly like a tension problem. Rewind it neatly, drop it in the way your manual shows, and make sure it spins the correct direction.
Use decent thread. This is my hill and I will die on it. Cheap thread is linty, weak, and inconsistent in thickness, and it sheds its fluff straight into your bobbin area while it sews. You do not need the most expensive thread on the shelf, but a mid-range all-purpose polyester from a real thread brand beats bargain-bin thread every single time. My rundown of the best thread for sewing machines names the brands I actually use.
Reset your stitch settings. If you have been fiddling with stitch length, width, or tension chasing a problem, set them back to the standard values in your manual and start fresh. Troubleshooting on top of mystery settings is how you end up further from the answer than when you started. For reference, how to adjust stitch length and width covers what the normal ranges look like.
When to take your machine to a professional
Some problems are not maintenance problems, and knowing the difference saves you both money and heartbreak. Take the machine in when the needle hits the needle plate or the bobbin case, which usually means the timing has slipped. Take it in when it still grinds or clunks after a thorough cleaning and oiling. Take it in for anything electrical: a dead light that is not the bulb, a motor that smells hot, a foot pedal that surges.
And take it in for a full professional service on a schedule. A machine you use regularly deserves a proper servicing about once a year, the way a car gets an oil change. A good technician opens it up, cleans the places you cannot reach, checks the timing and belt, and catches wear before it becomes damage. If you only sew a few times a year, every two to three years is fine. Ask local sewists or your fabric shop who they trust; a good machine tech is worth their weight in bobbins, and a bad one is an expensive lesson.
Frequently asked questions
Can I use WD-40 or 3-in-1 oil on my sewing machine?
No. Use only sewing machine oil. Household oils and sprays leave residue that gums up the mechanism and attracts lint. Sewing machine oil is light, clear, and made for this, and one small bottle lasts years.
How do I know if my machine needs oil?
It starts sounding dry: a slightly harsh, metallic noise instead of the smooth hum you are used to, or a handwheel that feels gritty when turned by hand. Regular machines also just need it on schedule. If your manual says self-lubricating, it does not need oil at all.
My machine was sewing fine and suddenly is not. What do I check first?
Rethread with the presser foot up, change the needle, and clean the lint out of the bobbin area, in that order. That trio resolves the large majority of sudden problems. Only touch the tension dial after those three check out.
Should I cover my machine when I am not using it?
Yes. A cover keeps dust out of the mechanism and off the tension discs, and dust plus humidity is how machines get sluggish between projects. The cover your machine came with is fine. A pillowcase works too. Your machine does not care about aesthetics.
Is it normal for a new machine to need servicing?
A brand new machine should sew well out of the box, but if you bought it used, a professional service is the best money you will spend on it. Used machines come with unknown histories, dried oil, and lint archaeology from previous owners. Get it serviced, then start your own maintenance routine from a clean baseline.
Make it a habit, not a project
None of this is hard. The whole routine is fifteen minutes of cleaning, two minutes of oiling, and a checklist you will have memorized by the third time. What makes it work is repetition, not intensity. Clean after the big projects, oil on schedule, change your needles like they are disposable (because they are), and buy thread that does not fight you. Do that and your machine will outlast your sewing table, your cutting mat, and probably your favorite chair. Mine has outlasted two apartments and one very patient husband, and it still hums like the day it was serviced.

Written by June Carter
I am June, a sewing enthusiast who loves turning simple fabric into things people actually use. I test every technique and product I write about at my own machine before it lands here.