
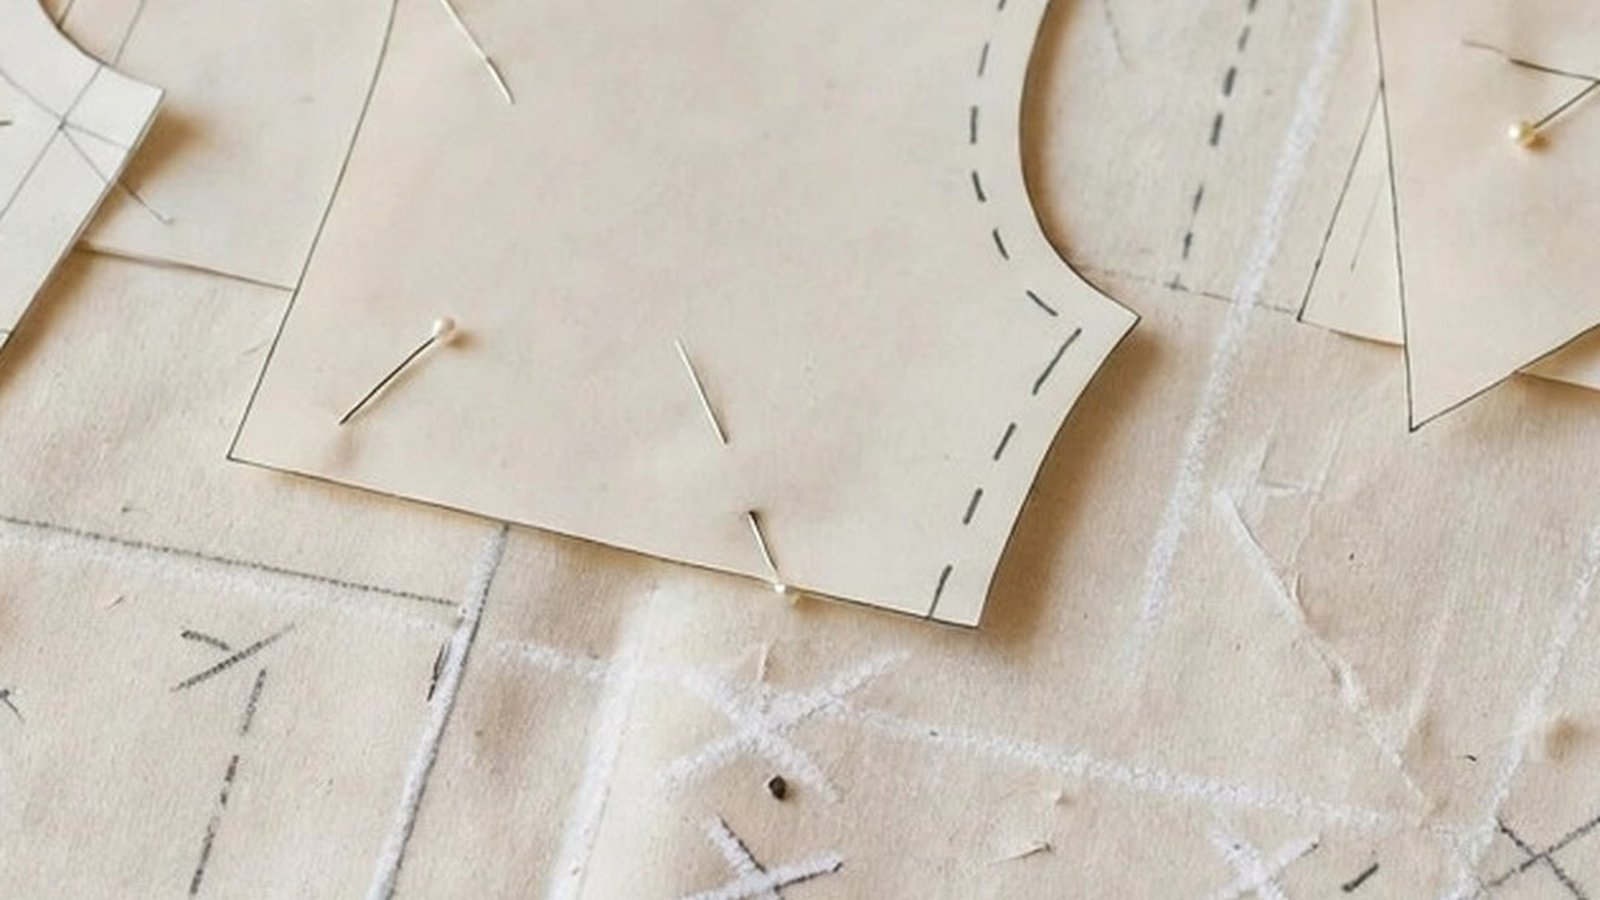
If you are learning how to transfer pattern markings, here is the honest truth: the markings are the pattern talking to you, and skipping them is like throwing away half the instructions. Those little triangles, dots, lines, and circles tell you where to fold, where to sew a dart, where a pocket sits, and where two pieces must meet. I ignored them on my first dress and spent a whole evening wondering why the sleeves did not match the armholes. They did not match because I had never marked the notches.
Transferring markings is not hard, and it does not need fancy tools. You need a method that suits your fabric, a little patience, and the habit of marking before you lift the pattern off the cloth. In this guide I will walk you through the four methods I actually use, which one fits which fabric, and how to keep your marks visible until you need them and gone when you do not. If you are still getting comfortable with pattern symbols themselves, my guide to how to read sewing pattern symbols is a good companion to this one.
Before we start, one rule that saves more projects than any tool: mark on the wrong side of the fabric unless the marking is meant to show on the right side, like a buttonhole position or a pocket placement. Most markings live on the wrong side, where nobody will ever see them. Once the paper lifts, guessing where a dart point sat is a losing game.
What Pattern Markings Actually Mean
Pattern markings fall into a few families, and knowing them helps you decide how carefully each one needs transferring. Notches are the small triangles or diamonds cut into the pattern edge, and they are your matching points. When two notches line up, the pieces are aligned correctly. Darts are the long triangles drawn on the pattern, and they shape flat fabric around curves, so their points and fold lines matter a lot. Grainlines show the direction the fabric should run, and circles or dots usually mark a button, a pocket corner, a gather point, or the end of a stitching line.
Some markings are more forgiving than others. A notch that is off by a fraction of an inch will rarely ruin a garment, but a dart point that drifts will show as a pucker right at the bust or waist, exactly where the eye lands. Button positions need to be exact or the whole front will sit crooked. My rule is simple: transfer every marking, even the ones that look unimportant. A quick look at how to transfer notches and grainlines will help if notches are the part that confuses you most.

How to Transfer Pattern Markings with a Tracing Wheel
The tracing wheel with carbon paper is the classic method, and it is still my first choice on stable woven fabrics like cotton, linen, and poplin. You lay a sheet of tracing paper, colored side down, between the pattern and the fabric, or between the two layers of folded fabric, then run the wheel firmly along every marking line. The wheel leaves a dotted line of color on the cloth, neat and surprisingly accurate.
A few details make this method work well. Use a smooth tracing wheel for most fabrics and a serrated wheel only on sturdy cloth, since the teeth can snag delicate weaves. Choose a tracing paper color that contrasts with your fabric, white or yellow on dark fabric, blue or red on light fabric, and always test on a scrap first because some tracing paper colors are stubborn to remove. Press firmly and roll slowly, especially around curves and dart points, and lift the pattern edge to check that the dots are actually showing before you move on. Faint dots are the enemy here, so a second pass is better than a guess.

Chalk, Pens, and Pencils for Quick Marking
Tailor chalk is my everyday marking tool, and if you buy one thing for this job, make it a good piece of chalk or a chalk pencil. You draw directly on the fabric through the pattern, following the printed lines with the pattern still pinned down. For a dart, I mark the point and the two legs by poking the chalk through the pattern at the key points, then I lift the pattern and join the dots with a ruler. It is fast, it is visible, and it brushes away when you are done.
Chalk works beautifully on wool, linen, cotton, and most medium weight fabrics. It struggles on very smooth or slippery cloth, where it slides off, and on very dark fabric you will want white chalk rather than colored. Keep the edge sharp, a blunt piece of chalk draws a thick fuzzy line that is no help to anyone. A chalk wheel, which lays down a fine line of powdered chalk, is a nice upgrade if you mark a lot of patterns. My full comparison of tools lives in how to use fabric marking tools, if you want to see the whole range before you buy.
Tailor Tacks and Thread Marking for Delicate Fabric
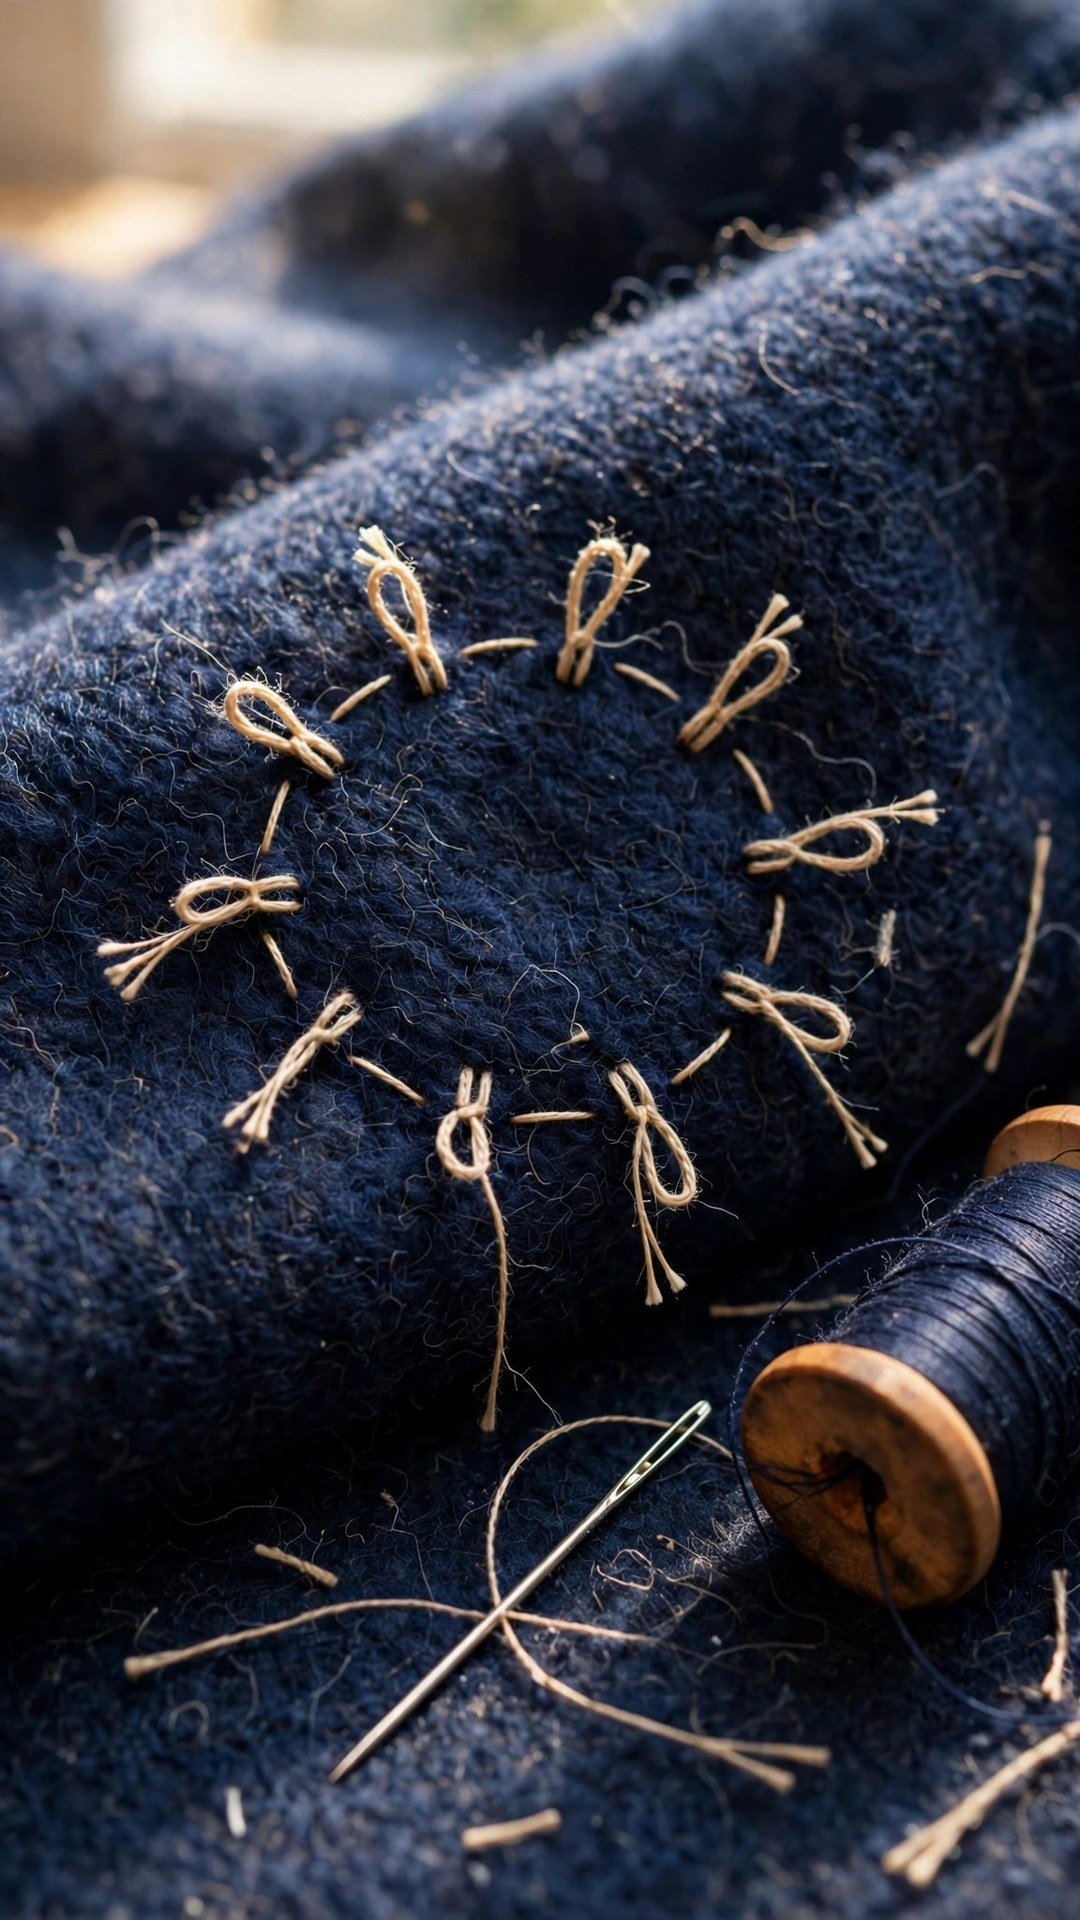
Tailor tacks are the gentlest method of all, and the one I reach for on delicate fabric, dark fabric, and anything I am afraid to mark with color. You take a length of contrasting basting thread, doubled, and sew a loose loop through the pattern and both layers of fabric at the marking point, leaving a loop of thread standing up on top. Then you snip the top of the loop, lift the pattern away, and gently pull the two fabric layers apart. Each layer keeps a little tuft of thread showing exactly where the mark belongs.
It sounds fiddly, and the first time it feels slow, but it is the most reliable way to mark a circle, a dart point, or a pocket corner on fabric that would show any other kind of mark. Use a thread color that contrasts strongly with your fabric so you can see the tufts, and keep the stitches loose. If you pull them tight, the layers will not separate cleanly and you will tug the mark out of place. Work through all the markings before you remove the pattern, then clip and separate once, and you have a full set of marks that will not smudge, fade, or wash away before you need them.
Mistakes That Ruin Transferred Markings
The most common mistake is marking after the pattern has been lifted. I have done it, and I have watched students do it, and the result is always the same: a dart point placed from memory, a notch guessed at, and a seam that does not quite meet. Mark while the pattern is pinned down, and do a final check before you unpin anything. Lift one corner, peek underneath, and confirm the marks are there.
The second mistake is choosing the wrong tool for the fabric. A tracing wheel on velvet crushes the pile, a water soluble pen on silk can leave a shadow, and chalk on a loosely woven linen can fall off before you reach the machine. Test on a scrap, and if the mark does not show clearly or does not come out cleanly in your test, switch methods. The third mistake is marking too faintly. A timid dotted line that you cannot see under the sewing machine light is the same as no line at all. Press firmly, draw boldly, and trust that a proper marking tool will come out later.
Frequently Asked Questions
Do I need to transfer every marking on the pattern?
Yes, if you want the garment to fit the way the designer intended. Notches, darts, grainlines, and placement dots all carry information, and skipping them is the most common cause of pieces that do not match up. Transfer them all while the pattern is still pinned down.
What is the best method for transferring markings to dark fabric?
White tailor chalk or white tracing paper usually works best, and tailor tacks in a light contrasting thread are the safest choice on dark delicate fabric. Test on a scrap first to make sure the mark shows clearly and removes cleanly.
How do I mark both layers of fabric at once?
Use a tracing wheel with carbon paper between the folded layers, or make tailor tacks through both layers and separate them after clipping. Both methods give you mirrored marks on the two layers without re-measuring.
Will tracing paper marks wash out?
Most tracing paper marks wash out or brush away, but some colors are stubborn, especially red on light fabric. Always test on a scrap, wash the scrap the way you will wash the garment, and check before you commit to a color.
Can I use a regular pen to mark fabric?
No. Ordinary pens and permanent markers can stain fabric permanently. Use tools made for fabric, like tailor chalk, water soluble pens, or heat erasable pens, and test removal on a scrap before you mark your real pieces.
Transferring pattern markings is a small, quiet step, and it is the step that makes everything after it easier. Mark while the pattern is pinned, choose the tool that suits your fabric, test it on a scrap, and check your work before the paper comes off. Your darts will land where they should, your pieces will match, and your sewing will feel calmer from the very first seam.

Written by June Carter
I am June, a sewing enthusiast who loves turning simple fabric into things people actually use. I test every technique and product I write about at my own machine before it lands here.