

If you want to know how to sew a Hong Kong seam finish, you are aiming for the prettiest inside a garment can have. A Hong Kong finish wraps each raw seam allowance in bias binding, so the inside of an unlined jacket or coat looks as carefully made as the outside. It is a couture technique, but it is not difficult, and it is one of those finishes that makes you proud every time you turn a garment inside out.
I first used a Hong Kong finish on an unlined wool jacket, and I remember thinking the inside looked too beautiful to hide. The binding was a soft cotton print that peeked out just a little at the seams, and it turned a plain jacket into something that felt made for me. It takes longer than a simple zigzag finish, but the result lasts for the life of the garment and it never frays, never unravels, and never looks messy.
This guide covers what a Hong Kong finish is, how to choose and make bias binding for it, how to stitch it to the seam allowance, how to wrap it and stitch it in place, and how to press the finished seam. It is slow, satisfying work, and it is worth every minute on a garment you love.
What a Hong Kong Finish Is and When to Use It
A Hong Kong finish, sometimes called a bound seam finish, wraps the raw edge of each seam allowance in a strip of bias binding. Unlike a bound seam where the two layers are bound together, a Hong Kong finish binds each seam allowance separately, so the seam can still be pressed open. That makes it ideal for unlined jackets, coats, and skirts, where the inside is visible and the seams need to lie flat.
Use it on medium weight fabrics such as wool, tweed, linen, and cotton, where a simple overlocked edge would look plain and a French seam would be too bulky. It is less suited to very sheer fabrics, where the binding would show through, and to very thick fabrics, where the extra layers become bulky. For choosing between finishes, my guide to choosing a seam finish compares the options, and Hong Kong wins whenever the inside matters as much as the outside.
Choosing and Making Bias Binding
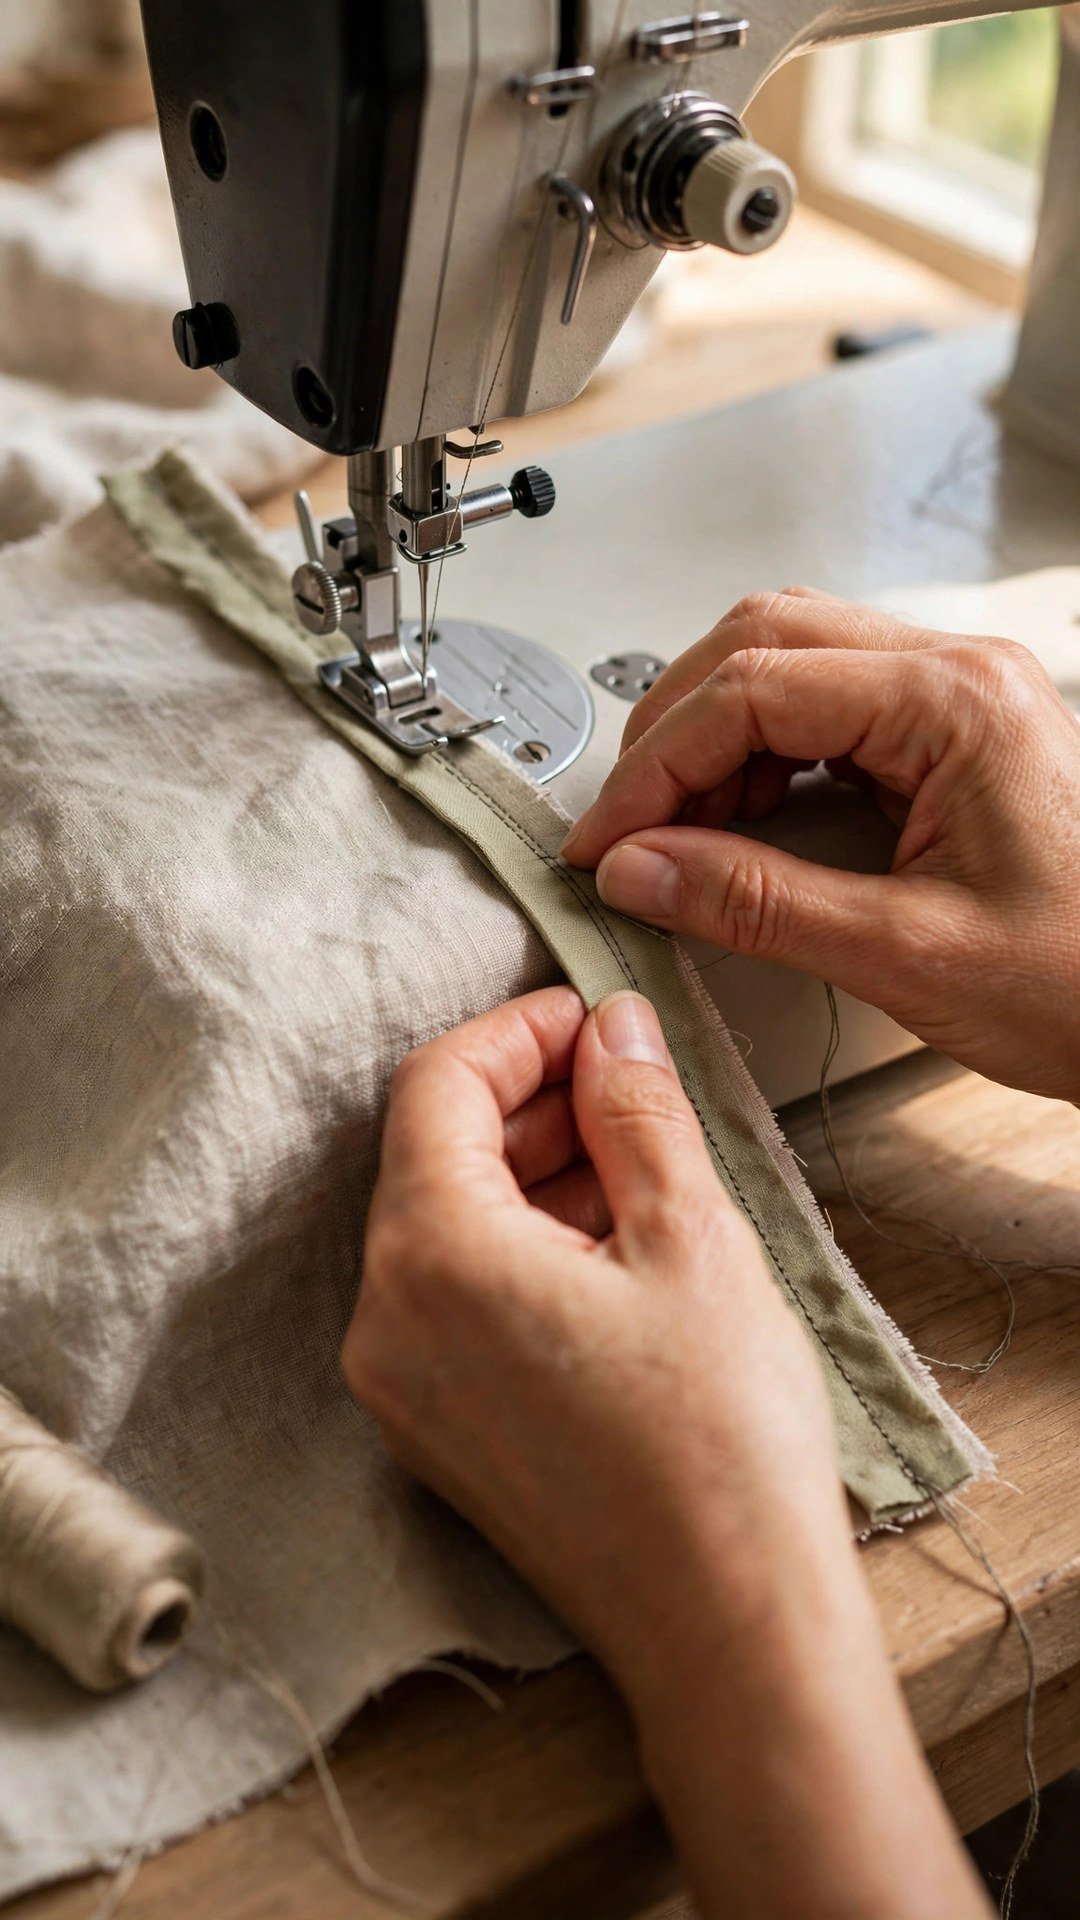
Hong Kong binding is usually made from lightweight bias cut fabric, about one inch wide, so it folds smoothly around curves. You can buy ready made bias tape, but for a Hong Kong finish I prefer to make my own from a lightweight cotton, silk, or lining fabric, because shop bought tape is often too stiff and too wide. A soft, lightweight binding wraps more neatly and presses flatter.
Cut the binding on the true bias, at 45 degrees to the grain, so it stretches and curves around the seam allowance without puckering. My guide to making bias binding shows the cutting and joining method, and you will need roughly twice the total length of all your seam allowances. Choose a binding colour that matches your fabric for a discreet finish, or a contrasting print for a delightful surprise inside the garment.
Stitching the Binding to the Seam Allowance
Start by sewing your garment seams as usual, then press each seam open. Working on one seam allowance at a time, pin the bias binding to the raw edge of the allowance, right sides together, lining up the raw edges. Stitch the binding to the allowance with a quarter inch seam allowance, using a stitch length of about 2.5 mm, and sew slowly so the bias does not stretch.
Trim the seam allowance of the binding layer if it is bulky, then press the binding away from the seam allowance, so it stands out from the edge. This first stitching is the foundation, so take your time and keep the binding flat against the allowance. If the seam is curved, ease the binding gently around the curve, letting the bias stretch where it needs to, and pin generously before you sew.
Wrapping the Binding and Stitching in the Ditch
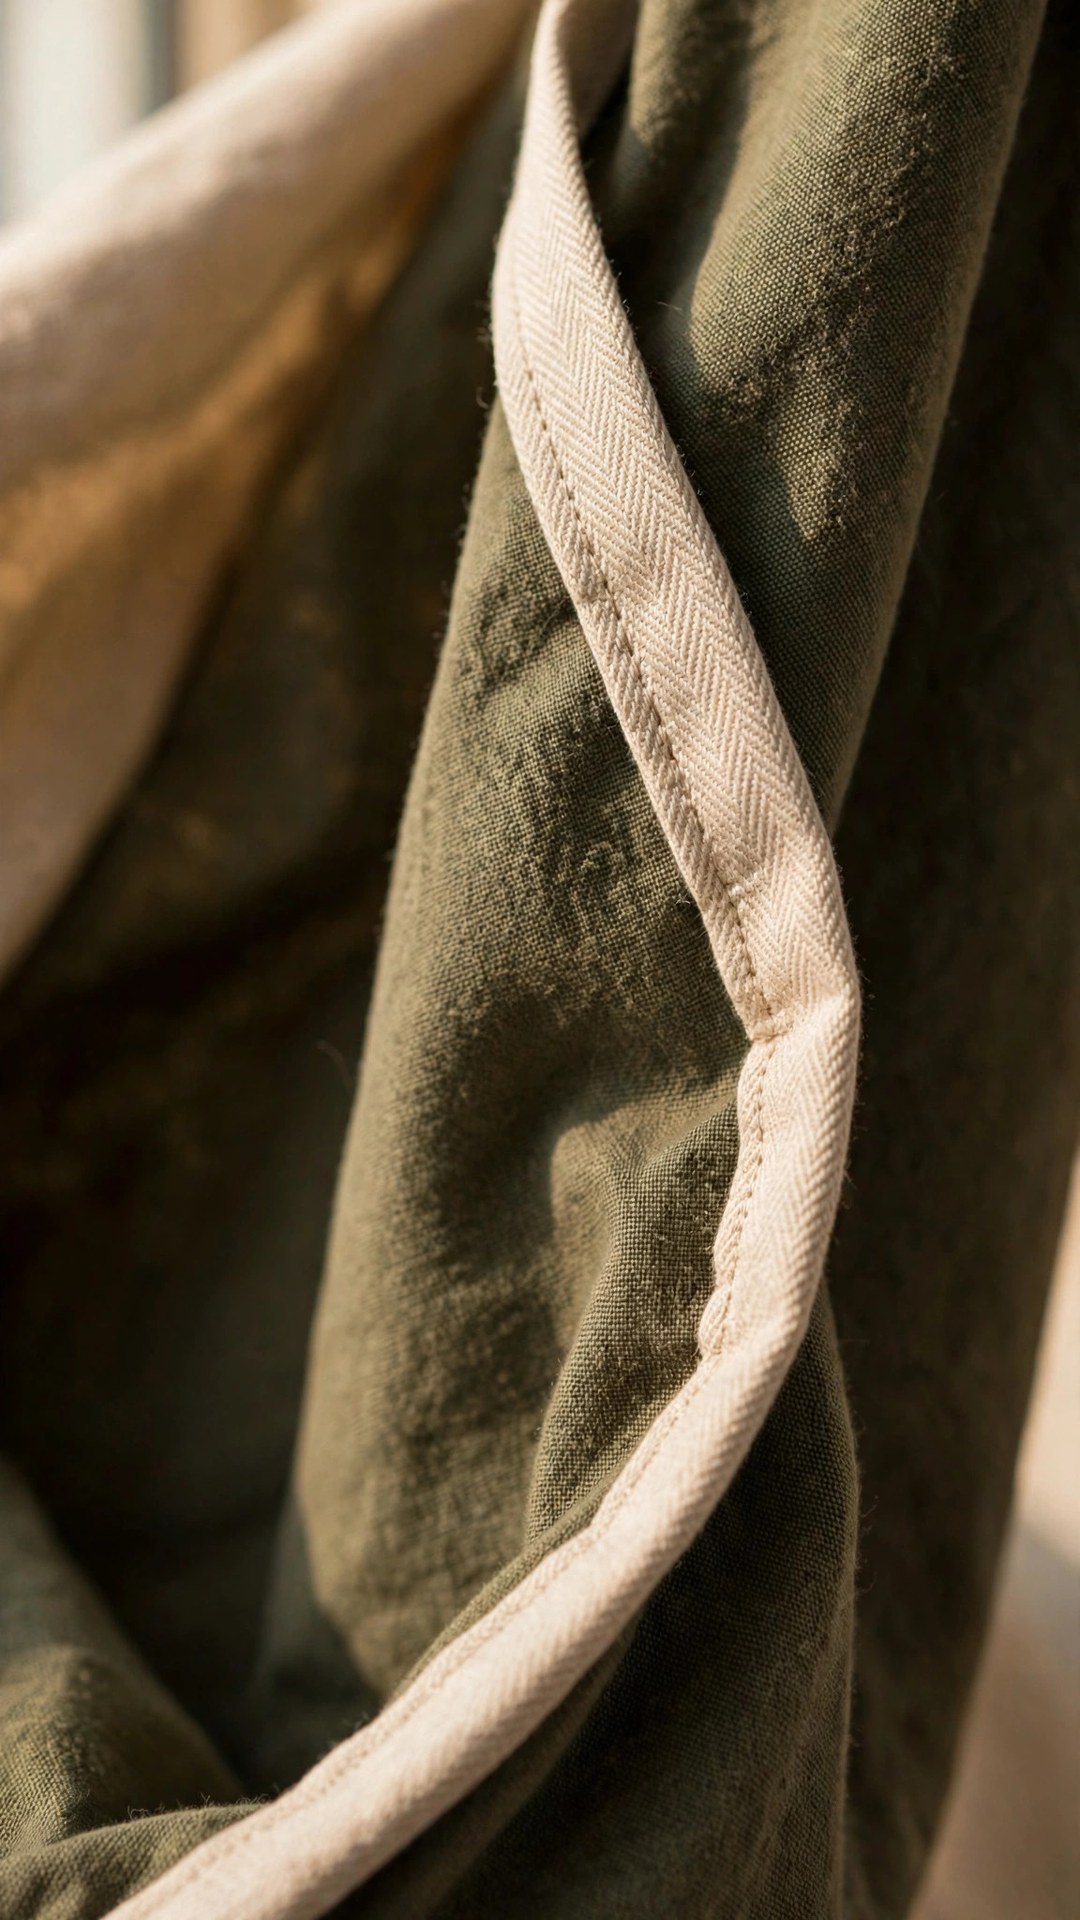
Now fold the binding around the raw edge of the seam allowance to the back, so it wraps the edge completely, and pin it in place. The binding should just cover the first line of stitching on the back, so that when you stitch in the ditch, the needle catches the binding underneath. Stitch in the ditch means stitching in the groove where the binding meets the seam allowance, from the right side of the allowance, so the stitching is almost invisible.
Sew slowly, checking the back as you go to make sure the needle is catching the folded binding. If the binding slips out from under the stitching, stop, re-pin, and try again. Some sewists prefer to hand stitch the binding in place with a slip stitch, which is slower but gives a beautiful, invisible result. Either method works, so choose the one you enjoy, and press the finished allowance open with steam when you are done.
Pressing and Finishing Bound Seams
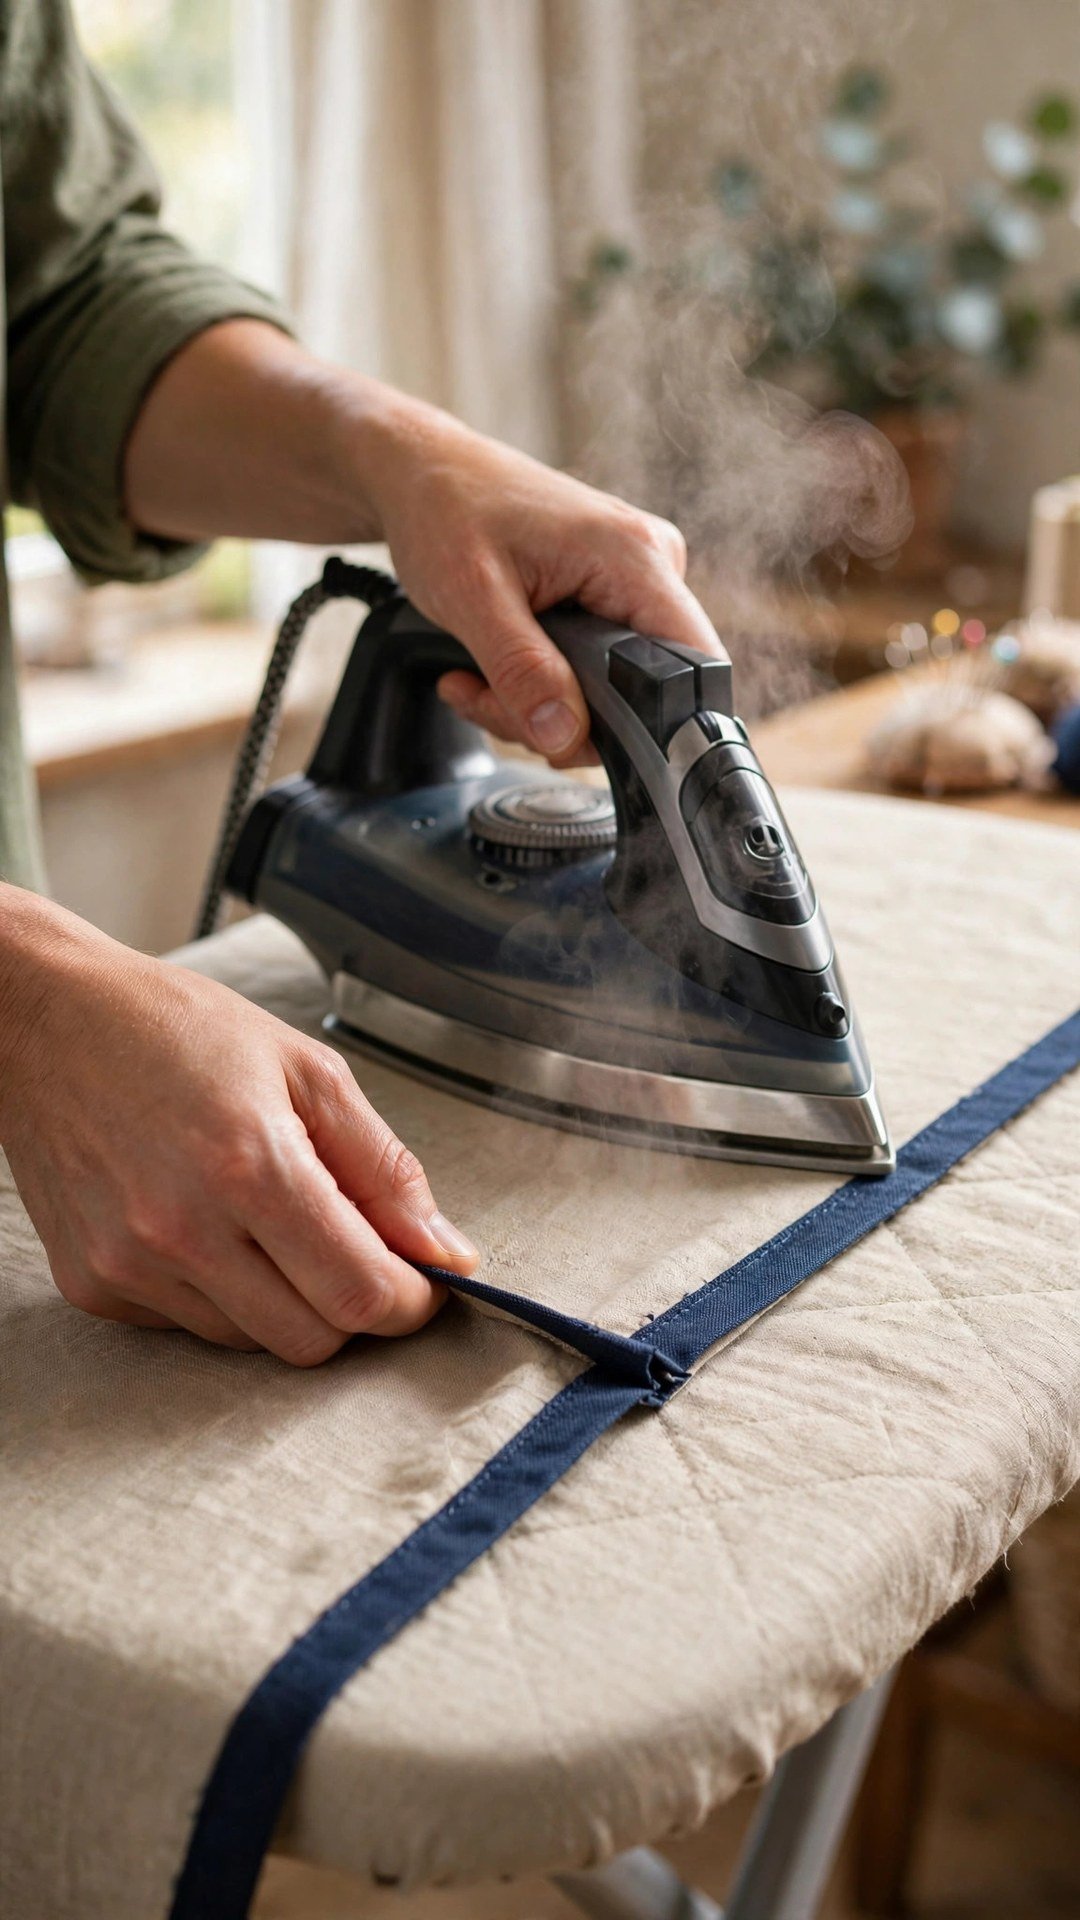
Pressing is what makes a Hong Kong finish look couture rather than homemade. Press each bound seam allowance open, using the tip of the iron and a press cloth, and let the seam cool before you move the garment. The binding should lie flat against the allowance with no ripples, and the seam itself should sit flat and smooth.
If the binding puckers, the bias may have stretched while you sewed it, so press it gently and let the steam relax the fibres. If the seam feels bulky, check that you trimmed the binding seam allowance and that your binding fabric is light enough. A Hong Kong finish adds a little weight to a garment, but it should never feel stiff. Step back, turn the garment inside out, and admire the inside: it should look as considered as the outside, and that is the whole point of the technique. For a lighter alternative on some seams, my guide to sewing a French seam is worth knowing too.
Frequently Asked Questions
What is a Hong Kong seam finish?
It is a couture finish where each raw seam allowance is wrapped separately in bias binding, so the seam can be pressed open and the inside of an unlined garment looks neat and beautiful.
Is a Hong Kong finish difficult?
It is not difficult, just slow. The steps are simple: stitch binding to the edge, wrap it around, and stitch it in place. The skill is in keeping the bias flat and stitching neatly in the ditch.
What fabric should I use for the binding?
Use a lightweight bias cut fabric such as cotton lawn, silk, or lining fabric. It should be lighter than your main fabric so it wraps neatly without adding bulk.
Can I use ready made bias tape?
You can, but ready made tape is often too stiff and too wide for a neat Hong Kong finish. Making your own from lightweight fabric gives a softer, flatter result.
When should I not use a Hong Kong finish?
Avoid it on very sheer fabrics, where the binding would show through, and on very thick fabrics, where the extra layers become bulky. It is best on medium weight unlined jackets, coats, and skirts.
A Hong Kong seam finish is slow sewing, and it is some of the most rewarding sewing there is. Choose a lightweight bias binding, stitch it carefully, wrap it neatly, and press it flat, and the inside of your garment will look as beautiful as the outside. Save it for the garments you love most, the ones you will wear for years, because that is where a couture finish earns its time. Your next unlined jacket will thank you for it, and so will everyone who ever sees the inside. If you are finishing raw edges on a simpler project, my guide to finishing raw edges covers the quicker options.

Written by June Carter
I am June, a sewing enthusiast who loves turning simple fabric into things people actually use. I test every technique and product I write about at my own machine before it lands here.