

Learning how to finish raw edges is one of those unglamorous skills that quietly decides whether your sewing looks homemade in the bad way or handmade in the wonderful way. I still remember turning my first tote bag inside out and finding a fuzzy, fraying mess along every seam. The outside was cute. The inside looked like it was dissolving. A raw edge left alone will fray a little more with every wash until your seam allowance disappears and your seams start to go.
The fix is simpler than most beginners expect. You do not need a serger, you do not need fancy attachments, and you definitely do not need to hand whipstitch every seam like a nineteenth-century seamstress. You need one or two finishing methods matched to your fabric, and this guide walks you through all the good ones, from the humble zigzag to the beautiful French seam.
Why Raw Edges Need Finishing at All
Woven fabric is just threads crossing each other, and cutting releases the threads at the edge. Every trip through the washing machine works those loose threads free, and the fraying creeps inward from the cut edge toward your stitching line. On a loosely woven linen, an unfinished edge can lose a quarter inch in a single wash. On tightly woven quilting cotton it frays slower, but it still frays.
Finishing does two jobs at once: it locks those edge threads in place so the fraying stops, and it makes the inside of your garment look intentional. A neat interior is the difference between a garment you are proud to turn inside out and one you hope nobody ever sees. Choose your finish based on two things: how much your fabric frays, and how visible the inside of the finished item will be. An unlined jacket deserves better than a tote bag lining nobody sees.
The Zigzag Stitch: Your Everyday Workhorse
If you learn exactly one way to finish raw edges, make it the zigzag stitch. Every basic sewing machine has it, it works on wovens and knits, and it takes about thirty seconds per seam. After sewing your seam, trim the seam allowance down a little, set a medium zigzag (around 3 mm wide and 2 to 2.5 mm long), and stitch so the right swing of the needle lands just inside the raw edge, wrapping the threads around it.
For the neatest result, sew each side of the seam allowance separately rather than zigzagging both layers together, and press the seam open or to one side first so everything lies flat. Test on a scrap to dial in the width: too narrow and the fraying pokes through, too wide and the edge ripples. If zigzag settings still feel mysterious, my guide to how to adjust stitch length and width will make those dials click. The zigzag finish is not the prettiest option on this list, but it is the most honest one, and it has saved more beginner projects than any other technique in sewing.

The French Seam for Sheers and Beautiful Insides
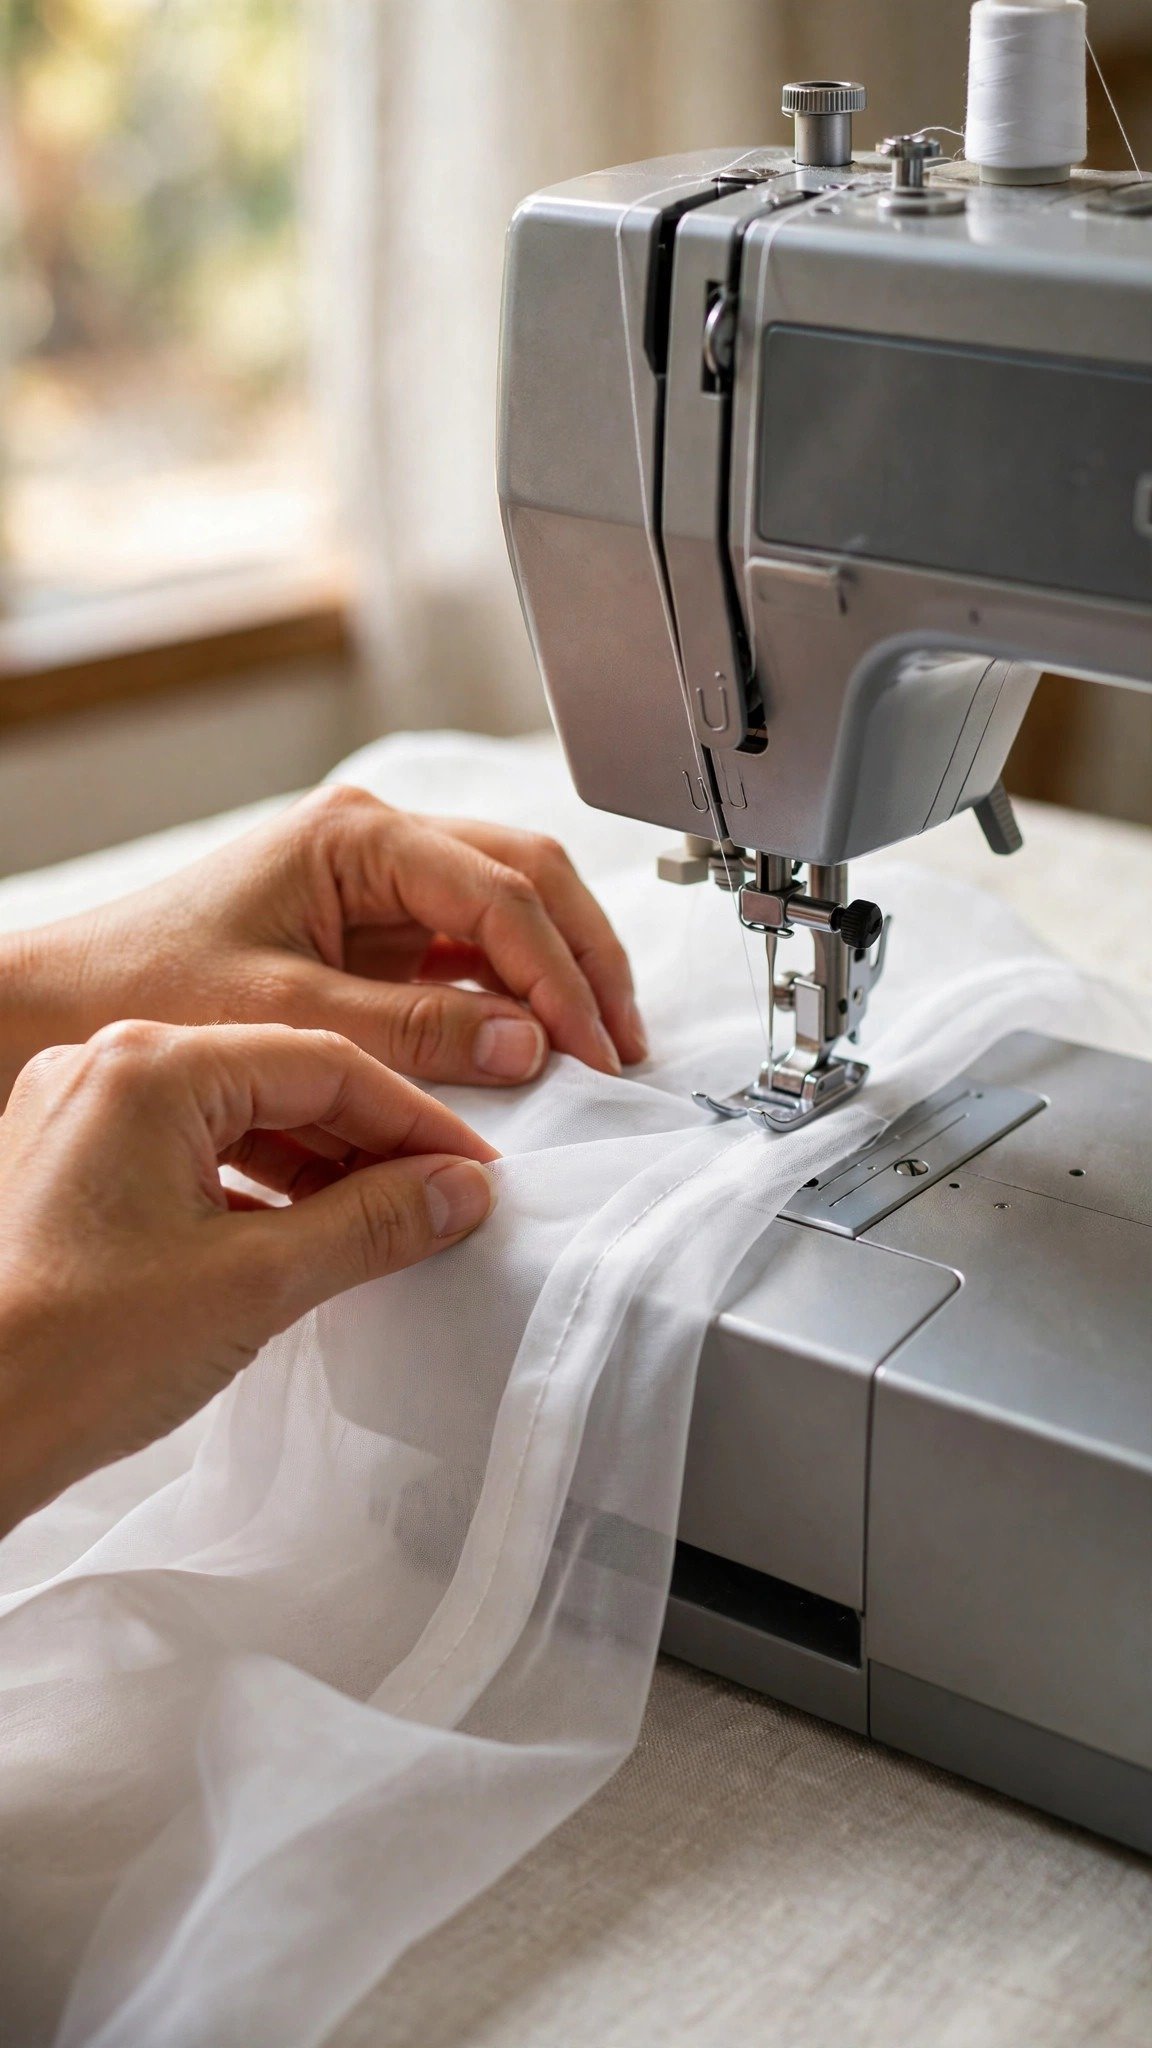
The French seam is the couture answer to raw edges: it encloses them completely inside a tidy little tunnel of fabric, so there is literally nothing left to fray. It is the right choice for sheer and lightweight fabrics like chiffon, voile, and organza, where every other finish would show through as a shadow, and for any unlined garment where the inside is on display.
The method feels backward the first time, so trust the process. Place your fabric pieces wrong sides together and stitch a narrow seam, about 1/4 inch. Trim the seam allowance close to the stitching, press, then flip the pieces so right sides are together, enclosing the raw edges inside. Stitch again at 3/8 inch, trapping everything. Press to one side and admire the cleanest seam in your repertoire. French seams add a little bulk, so skip them on heavy fabrics and tight curves, but on a breezy summer blouse they are pure magic.
How to Finish Raw Edges Without a Serger
You absolutely can get professional-looking edges without a serger. Beyond the zigzag and the French seam, your machine likely offers an overcast stitch, sometimes with a special overcasting foot that has a little bar for the thread to loop around. The overcast stitch wraps the edge much like a serger does, and with the right foot the result is impressively close to the real thing at zero extra cost.
Another excellent no-serger option is the turned-and-stitched finish: press the raw edge under by 1/4 inch, tuck it under again to hide it completely, and stitch close to the inner fold. It works beautifully on straight edges in light to medium cottons and linens, giving a clean hem-like finish to seam allowances. And for heavy-duty seams on denim or canvas, the flat-felled seam, where one allowance is trimmed, the other folded over it, and everything topstitched down, is the strongest finish on this list. It is the seam on your jeans for a reason.
Pinking Shears and Other Quick Fixes
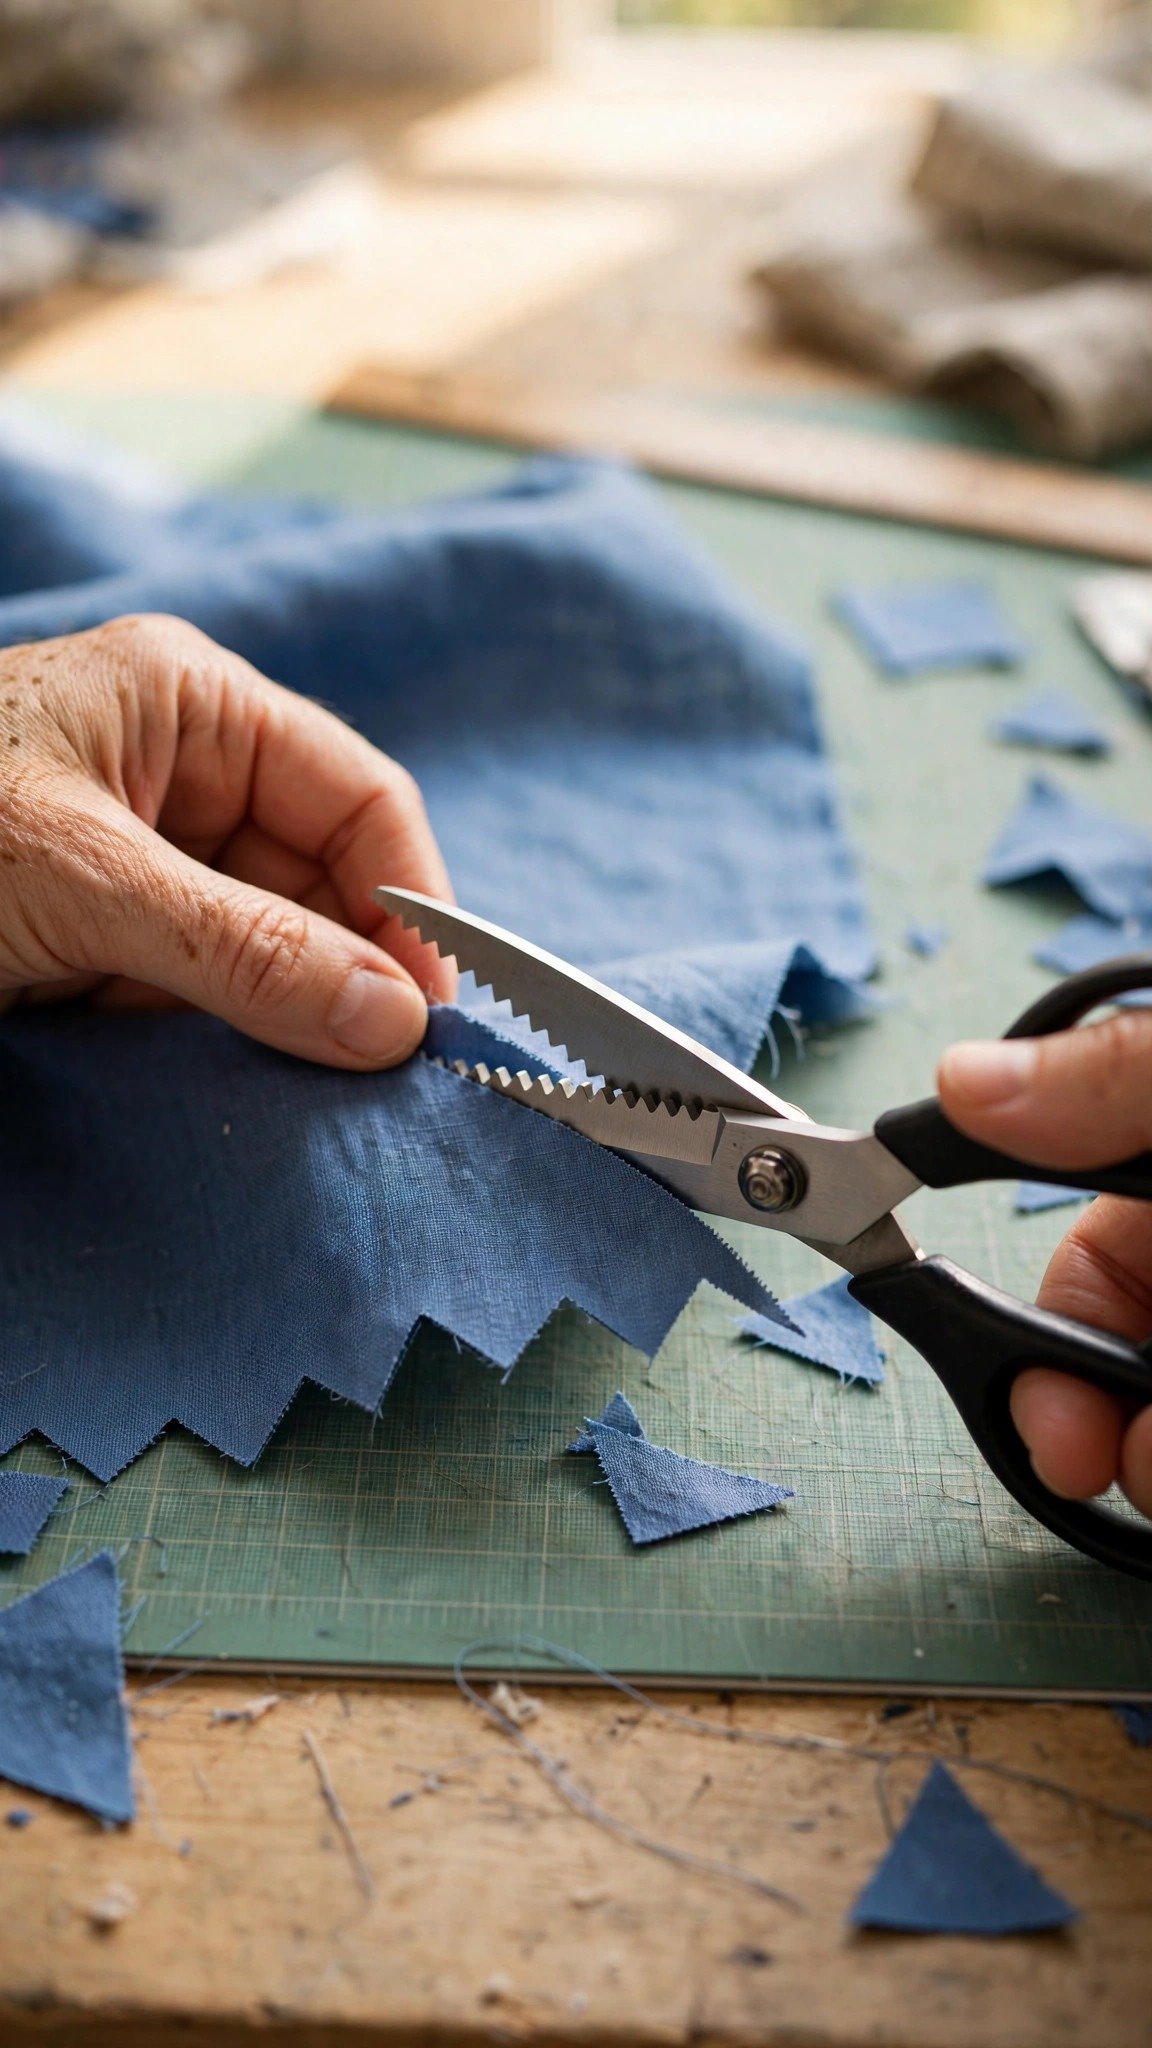
Pinking shears are the zigzag-bladed scissors that cut a sawtooth edge, and they are the fastest finish in existence: just trim the seam allowance and you are done. The zigzag edge interrupts the straight grain line that fraying likes to travel along, which slows unraveling dramatically on firmly woven fabrics. They will not stop a determined frayer like loose linen forever, but for stable cottons they are perfectly respectable.
Keep a couple of caveats in mind. Pinking shears need to be sharp, and they are worthless on knits, which do not fray in the first place. For no-sew emergencies, like a costume needed tomorrow, anti-fray liquid brushed along the edge or a thin line of fabric glue will hold things together temporarily. Treat those as the spare tire of seam finishes: fine to get you home, not a long-term plan.
Serging and Bound Edges: The Heavy-Duty Options
A serger, also called an overlocker, trims and wraps the raw edge in one pass with multiple threads, and it is genuinely the fastest and most durable finish available. If you sew garments regularly, it earns its keep quickly. Threading one is the part everyone fears, so bookmark my how to thread an overlocker walkthrough before your first attempt, and if you are shopping, my rundown of the best sergers for home use compares the options that make sense for a home sewist.
The bound edge, where bias tape wraps the raw edge completely, is the most luxurious finish on this list and my pick for unlined jackets and coats. It is more work than any other method here, but a bound seam allowance in a contrasting print is a genuine delight every time you put the garment on. Hong Kong seams, the couture version using narrow bias strips, do the same job with less bulk on lighter fabrics.
FAQ
What is the easiest way to finish raw edges as a beginner?
The zigzag stitch on your regular machine. No new equipment, no new skills beyond what you already use, and it handles almost every fabric you will meet in your first year of sewing.
Can I finish raw edges without a serger?
Absolutely. Zigzag, overcast stitch, French seams, turned-and-stitched edges, and pinking shears all work without a serger. A serger is faster and more durable, but it has never been a requirement for neat sewing.
Which finish is best for sheer fabrics?
The French seam. It encloses the raw edges completely so nothing shows through the sheer fabric, and the narrow finished seam looks delicate and professional.
Do knit fabrics need their edges finished?
Usually not, since knits do not fray the way wovens do. You can leave knit seam allowances raw or trim them neatly. If the edge curls annoyingly, a light zigzag or a serged edge tames it.

Written by June Carter
I am June, a sewing enthusiast who loves turning simple fabric into things people actually use. I test every technique and product I write about at my own machine before it lands here.