

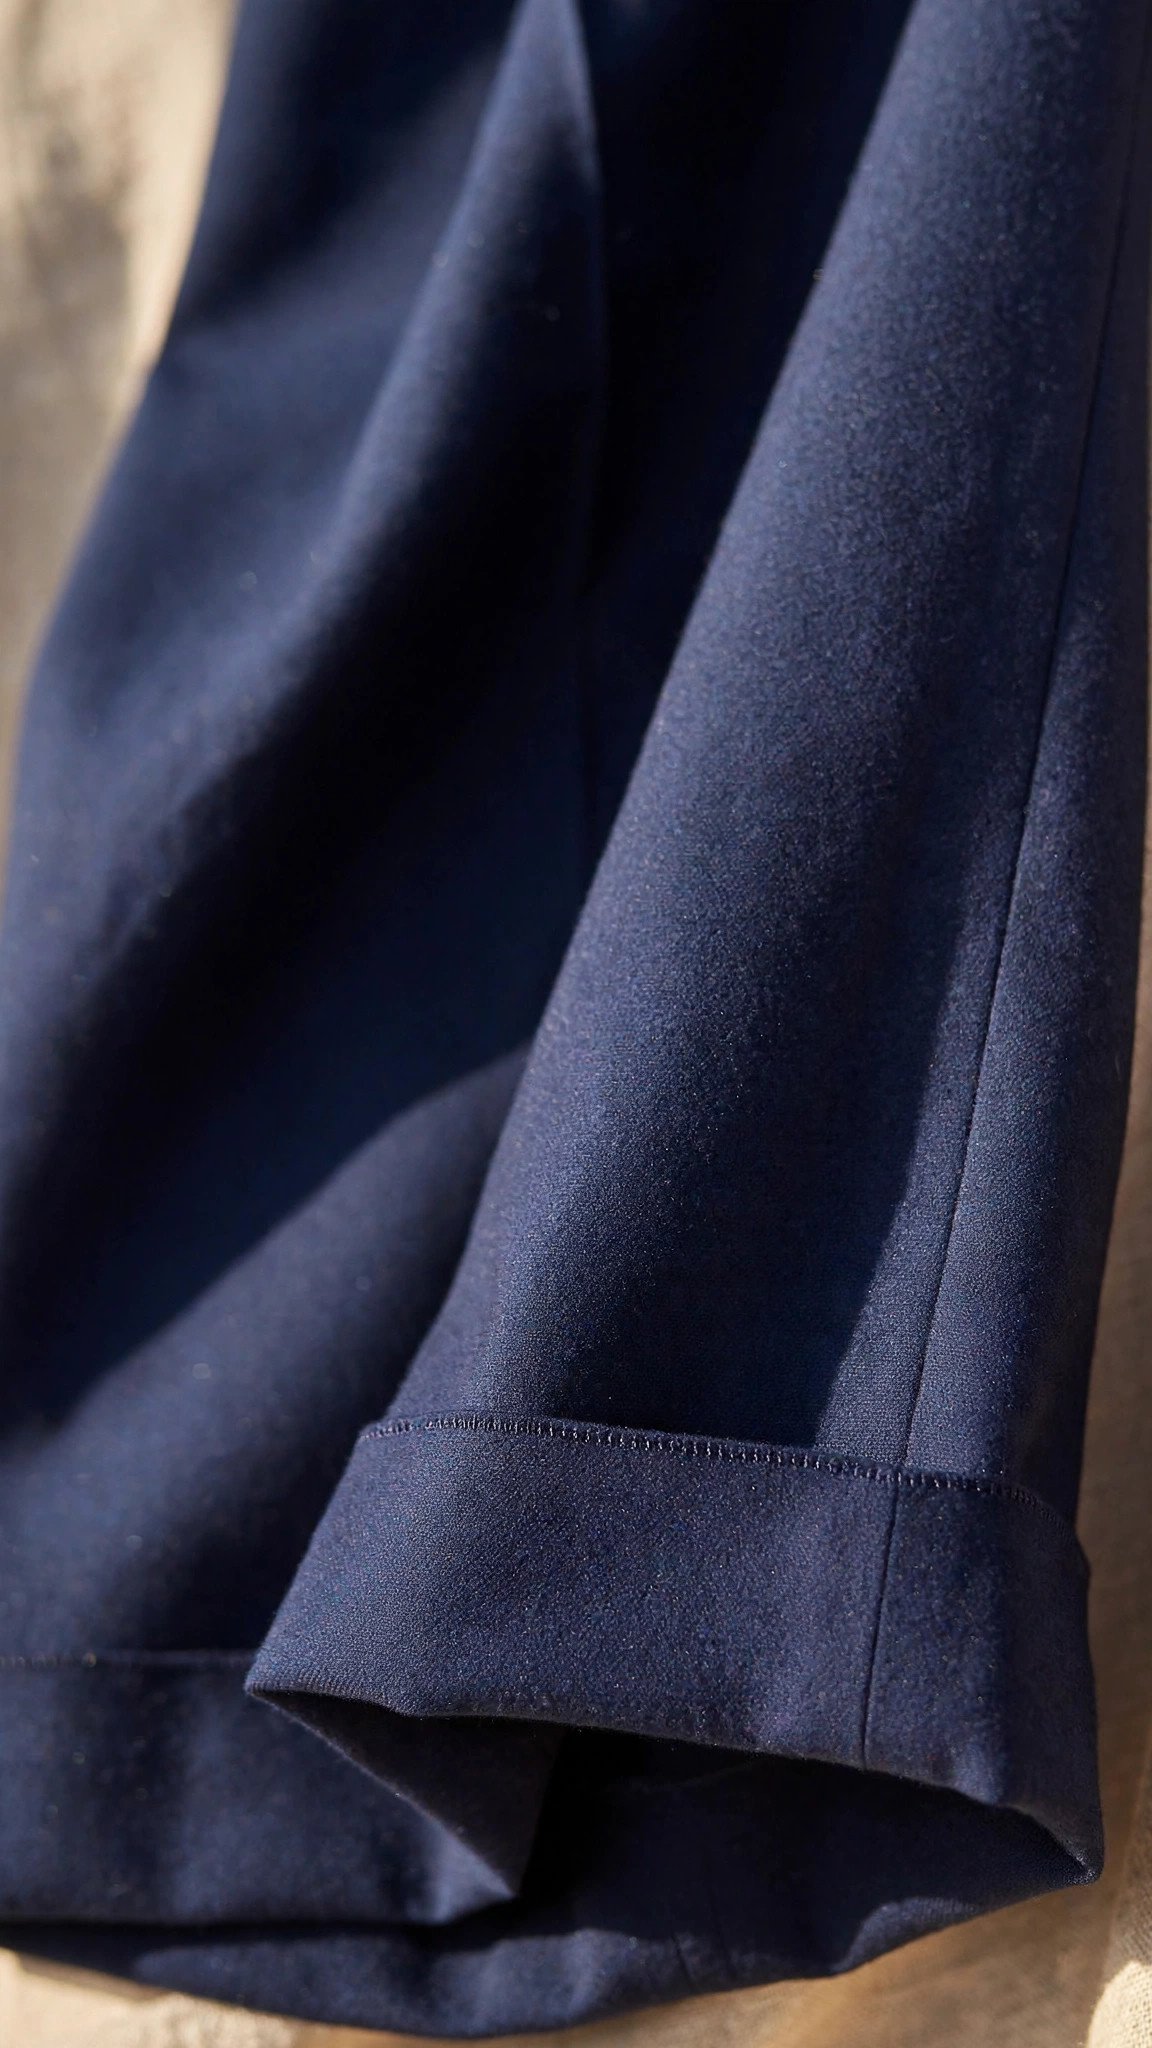
Learning how to sew a blind hem is like learning a magic trick: from the outside, the hem is practically invisible, but inside there is a neat row of clever stitching doing all the work. It is the hem you want on dress pants, skirts, and curtains, anywhere a visible line of topstitching would look too casual.
A blind hem goes by a few names. Invisible hem, blindstitch hem, and the stitch itself is usually called the blind hem stitch on sewing machines. Whatever you call it, the principle is the same: most of the stitching hides inside the hem fold, and only the tiniest bites of thread show on the right side of the fabric. Done well, people have to look closely to find the hem at all.
I reach for the blind hem on two kinds of projects: anything formal where topstitching would cheapen the look, and anything where the hemline is a design feature that should stay quiet. This tutorial covers both the machine method, which is fast, and the hand-sewn method, which is genuinely invisible. Try both and pick your favorite.
What a Blind Hem Actually Is
A blind hem is a hem finished so that the stitching is nearly invisible from the right side. The raw edge of the hem allowance is folded up inside, and the stitching catches the hem fold and the garment with tiny, widely spaced bites. Unfold the hem and you see the stitching clearly; fold it back down and it disappears.
The machine version uses a special blind hem stitch: several straight stitches sewn on the hem allowance, then one wide zigzag that swings left and catches just a thread or two of the folded garment edge. A blind hem foot with a metal guide helps you keep that zigzag bite tiny and consistent. The hand version uses a needle and thread to take the same tiny bites, and it is the most invisible of all.
Blind hems suit medium-weight woven fabrics best: trouser wool, suiting, cotton twill, linen blends. Very sheer fabrics show the hem allowance as a shadow no matter how invisible the stitching is, and very heavy fabrics make the folded layers too bulky to press flat. For those, other finishes are better choices.
How to Sew a Blind Hem by Machine, Step by Step
This is my everyday method for trousers and skirts. Take it slow the first time: the folding feels backwards until you have done it once.
- Finish the raw edge of the hem allowance. Overlock it, zigzag it, or bind it. A blind hem hides the stitching, not the fraying, so the raw edge still needs finishing. I usually serge mine.
- Fold and press the hem to its finished length. Fold the hem allowance up to the marked hemline with the wrong sides together, as if the garment were finished, and press the fold firmly. This pressed crease is your finished hemline.
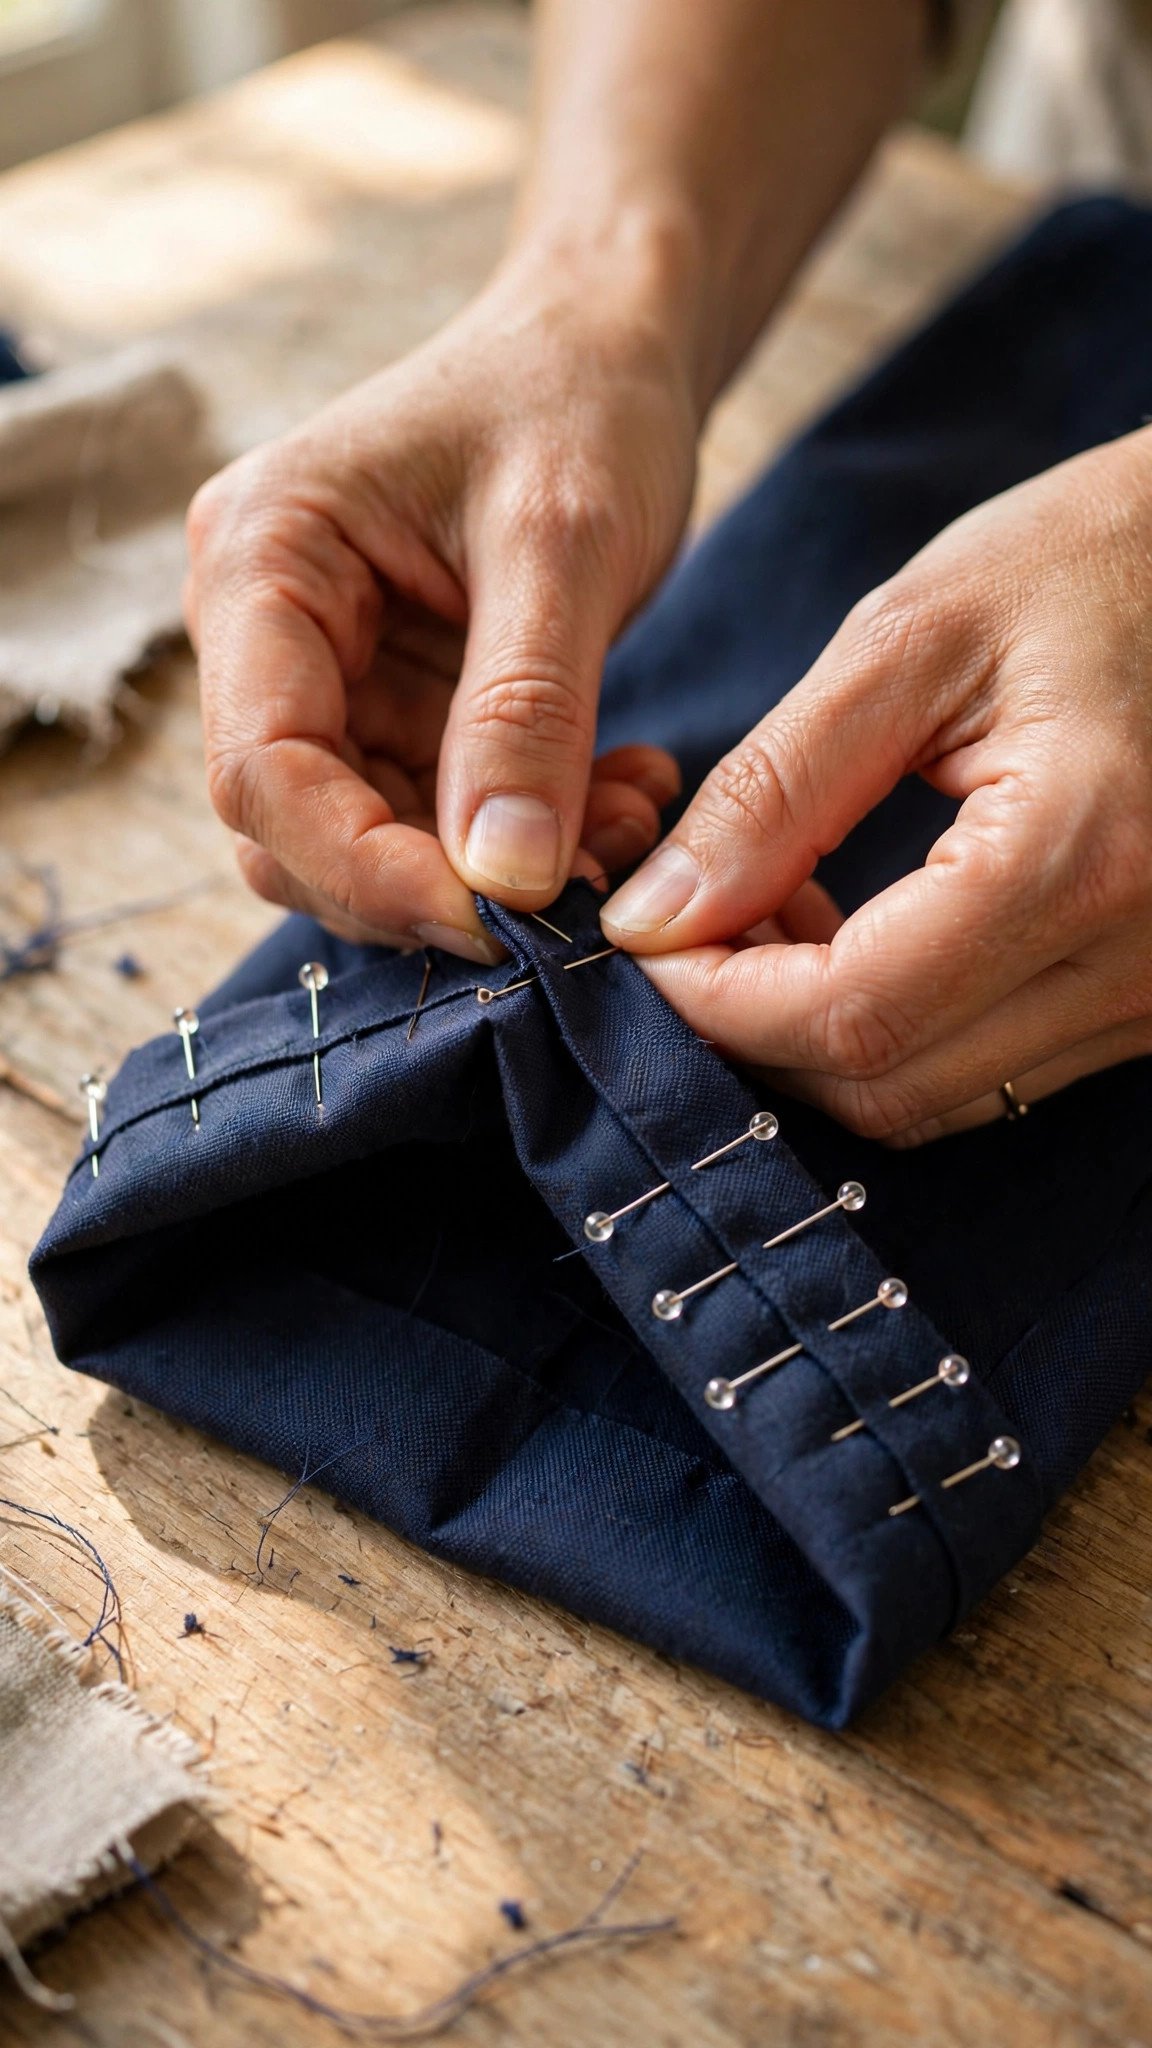
- Fold the hem back on itself. Now unfold that press and refold so the hem allowance lies against the right side of the garment, leaving about a quarter inch of the hem allowance extending past the pressed fold line. Pin or clip it in place. From the side it looks like a Z fold: garment, folded hem, and the little exposed strip where the stitching will go.
- Attach the blind hem foot. Snap on the blind hem foot and select the blind hem stitch on your machine. It is usually marked with a symbol showing straight stitches and one wide zigzag. Set a medium stitch length: my guide to adjusting stitch length and width helps if your machine’s default looks off.
- Position the fabric. Slide the folded edge against the foot’s guide so the straight stitches land on the hem allowance and the wide zigzag just barely swings left to bite the folded garment edge. The zigzag should catch only one or two threads of the fold.
- Sew slowly around the hem. Keep the fold riding against the guide the whole way. If the zigzag bites too deep, you will see long visible stitches on the right side; if it misses the fold entirely, the hem will not be caught at all. Stop and check the first few inches before committing to the whole hemline.
- Unfold and press. Open the hem back out to its finished position and press gently. The stitching that looked obvious during sewing now hides inside, leaving only tiny pinpricks of thread on the right side.
The Blind Hem Foot: Why It Matters
You can sew a blind hem with a regular presser foot, but the blind hem foot makes it dramatically easier. Its metal guide, sometimes a little vertical bar, rides along the folded edge and keeps the fabric positioned so the zigzag takes the same tiny bite every time. Without the guide, keeping that bite consistent around a whole hemline is genuinely difficult.
Most machines shipped with a blind hem foot in the accessory box, so check there before buying anything. If yours did not include one, generic snap-on blind hem feet fit most low-shank machines. The adjustable versions with a sliding guide are worth it: you can fine-tune exactly where the fold sits relative to the needle.
One foot quirk to know: the little metal tongue near the needle slot on many blind hem feet slightly slackens the stitch as it forms, which prevents the hemline from pulling in or puckering. If your blind hem puckers, make sure the fabric is actually riding over that tongue and not beside it.

The Hand-Sewn Blind Hem: Truly Invisible
For the most invisible result, nothing beats hand sewing. I hand hem formal trousers and special-occasion skirts this way, and honestly, I find the rhythm of it relaxing. All you need is a needle, thread matched to your fabric, and patience.
Prepare the hem exactly as for the machine method: finish the raw edge, press the hem to length, and fold it back so a quarter inch of hem allowance extends past the fold. Thread your needle with a single strand about eighteen inches long and knot the end. If you are new to hand stitching, my tutorial on hand-sewing essential stitches covers the needle handling basics.
Work with the garment inside out. Bring the needle up through the top folded edge of the hem allowance so the knot hides inside. Then, directly above where the thread emerged, pick up just one or two threads of the garment fabric with the tip of the needle. Move diagonally about a quarter inch to the side and take a slightly larger stitch through the hem fold. Repeat: tiny bite in the garment, longer stitch in the hem, all the way around.
The golden rule of hand blind hemming is relaxed tension. Pull the thread snug but never tight. Tight stitches pucker the hemline and, worse, they make each stitch pull a visible dimple into the right side of the fabric. Loose, even stitches disappear completely.
Troubleshooting Blind Hems
Stitches show too much on the right side. The zigzag is biting too deep into the fold. Move the guide so the needle catches less fabric, or on the hand version, pick up fewer threads with each bite. Also check that you are catching the fold itself, not the flat garment fabric beside it.
The hem is not caught in places. The zigzag is missing the fold entirely. Reposition so the fold sits slightly further under the needle. On curves, go slower: the fold tends to drift away from the guide on the inside of a curve.
The hemline puckers. Usually tension that is too tight, either machine tension or hand tension. Loosen up, press the hem well before stitching, and let the feed dogs move the fabric without pushing or pulling. If machine puckering persists, check that your straight stitch basics are solid with my tutorial on how to sew a straight stitch.
The hem looks fine but feels stiff. Some fusible hemming or a heavy finish on the raw edge can make the hemline board-like. Switch to a lighter edge finish, or on the hand version, trim the hem allowance a little narrower so there is less folded fabric inside.
When to Choose a Blind Hem
Reach for the blind hem on dress pants, tailored skirts, and formal dresses where a row of topstitching would look out of place. It is also the classic choice for curtains and drapes, where the hem should disappear into the fabric’s drape. On menswear-style trousers, the blind hem is practically the expected finish.
Skip it where a visible hem is part of the design, like jeans or casual skirts with contrast topstitching. Skip it on very sheer fabrics, where the folded hem allowance will show through as a shadow regardless of stitch invisibility, and on very thick fabrics like heavy denim or canvas, where the folded layers refuse to press flat.
My honest opinion: learn the machine method first for speed, then learn the hand method for the projects that deserve it. The machine blind hem handles ninety percent of my hemming, and the hand version is reserved for the garments I want to look truly professional.
FAQ
Do I need a special foot to sew a blind hem?
For the machine method, a blind hem foot makes the job much easier because its guide keeps the zigzag bite consistent. You can manage with a regular foot in a pinch, but check your accessory box first: most machines include one.
Why is my blind hem puckering?
Almost always tension that is too tight, or pushing and pulling the fabric instead of letting the machine feed it. Loosen your hand tension, press the hem thoroughly before stitching, and sew at a moderate speed.
Can I sew a blind hem without a blind hem stitch on my machine?
Yes. Use a narrow zigzag and manually position it so most stitches land on the hem allowance and the zigzag just catches the fold. It takes more concentration than the dedicated stitch, but it works.
Is a hand-sewn blind hem stronger than a machine one?
About the same for normal wear, since both catch only a few threads per bite. The hand version wins on invisibility, the machine version wins on speed. For high-stress hems like work trousers, a visible topstitched hem is actually the stronger choice.

Written by June Carter
I am June, a sewing enthusiast who loves turning simple fabric into things people actually use. I test every technique and product I write about at my own machine before it lands here.