
The hem is the most-seen seam on any pair of trousers. People notice a bad hem the way they notice a crooked picture frame: they cannot always say what is wrong, but they know something is. I learned to hem trousers out of pure cheapness, because paying someone else to do a twenty-minute job offended my sensibilities, and it turned out to be one of the highest-value skills in my sewing life. A well-hemmed pair of trousers looks tailored. A badly hemmed pair looks borrowed. Here is how to hem trousers three ways, and how to mark the length like you mean it.
You will learn the tailor’s method for marking hem length, the invisible blind hem for dress trousers, the clean machine hem for casual pairs, the cuffed hem for a classic finish, the pressing step that makes all of it look professional, and what to do about jeans.
Mark the length like a tailor
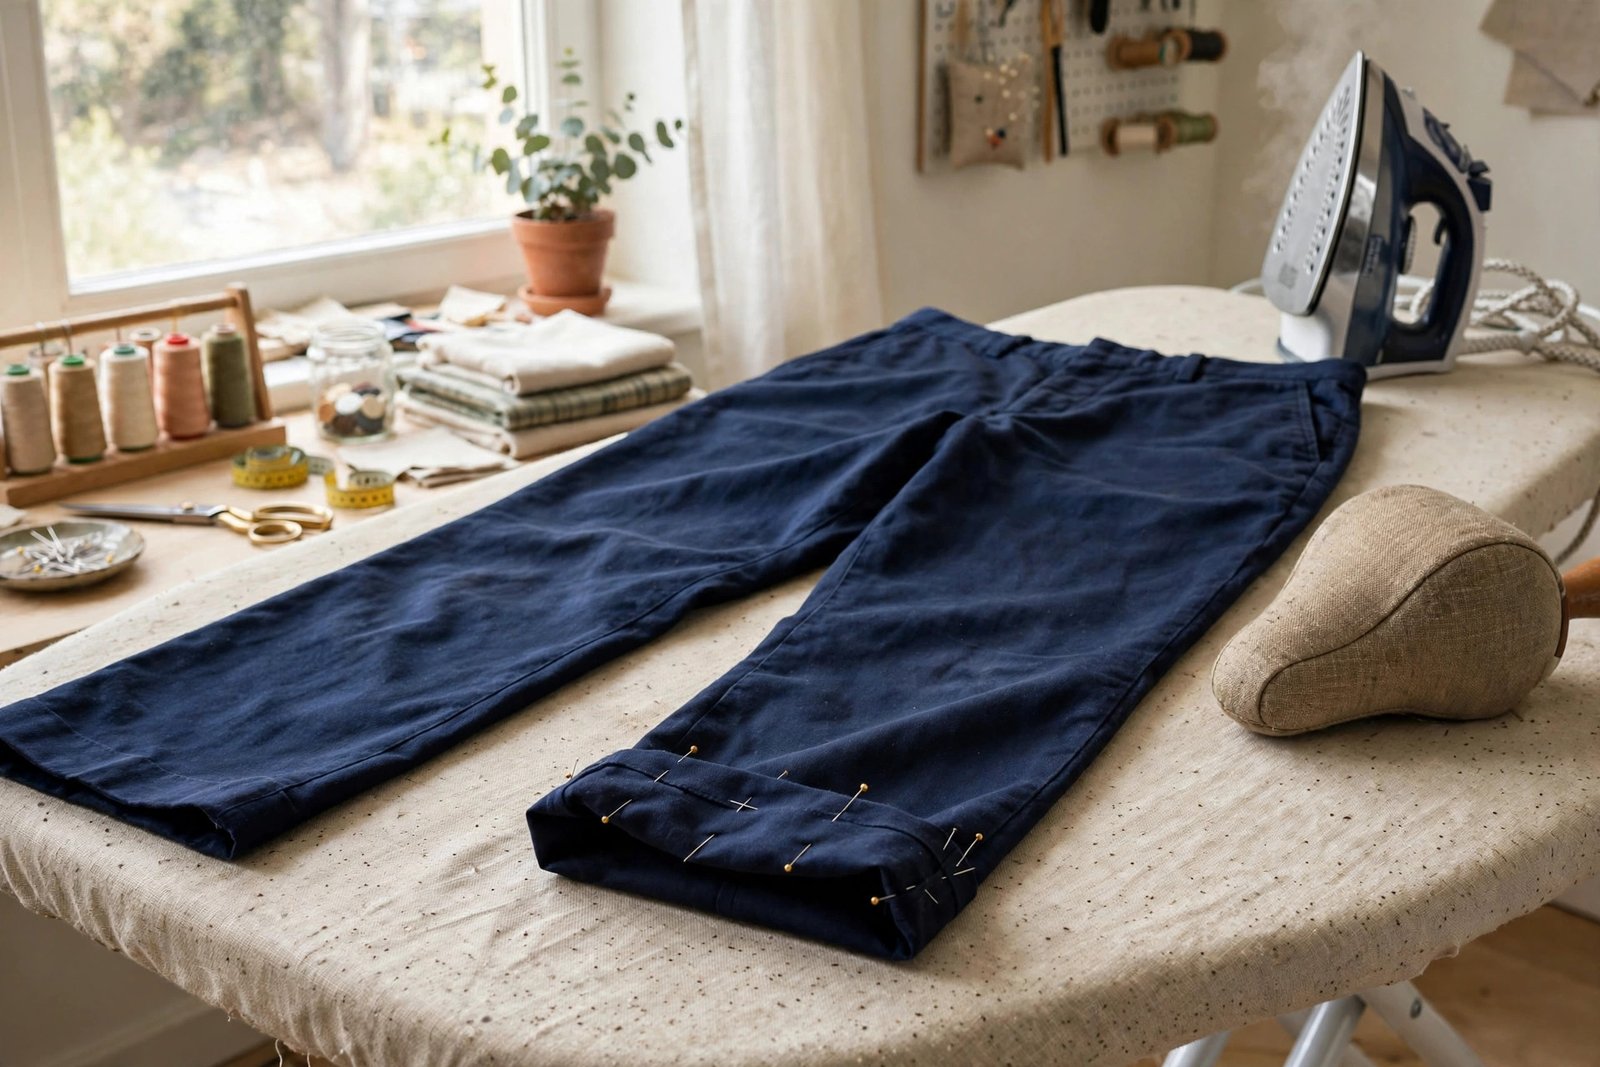
Everything depends on this step, so do not rush it. Put the trousers on with the shoes you will actually wear with them, because heel height changes everything. Stand up straight, the way you stand when nobody is watching, not the ramrod posture you adopt in fitting rooms. Have someone pin the back of each leg at the length you want, or do it yourself in front of a full-length mirror, turning slowly and pinning at the center back seam where you can reach.
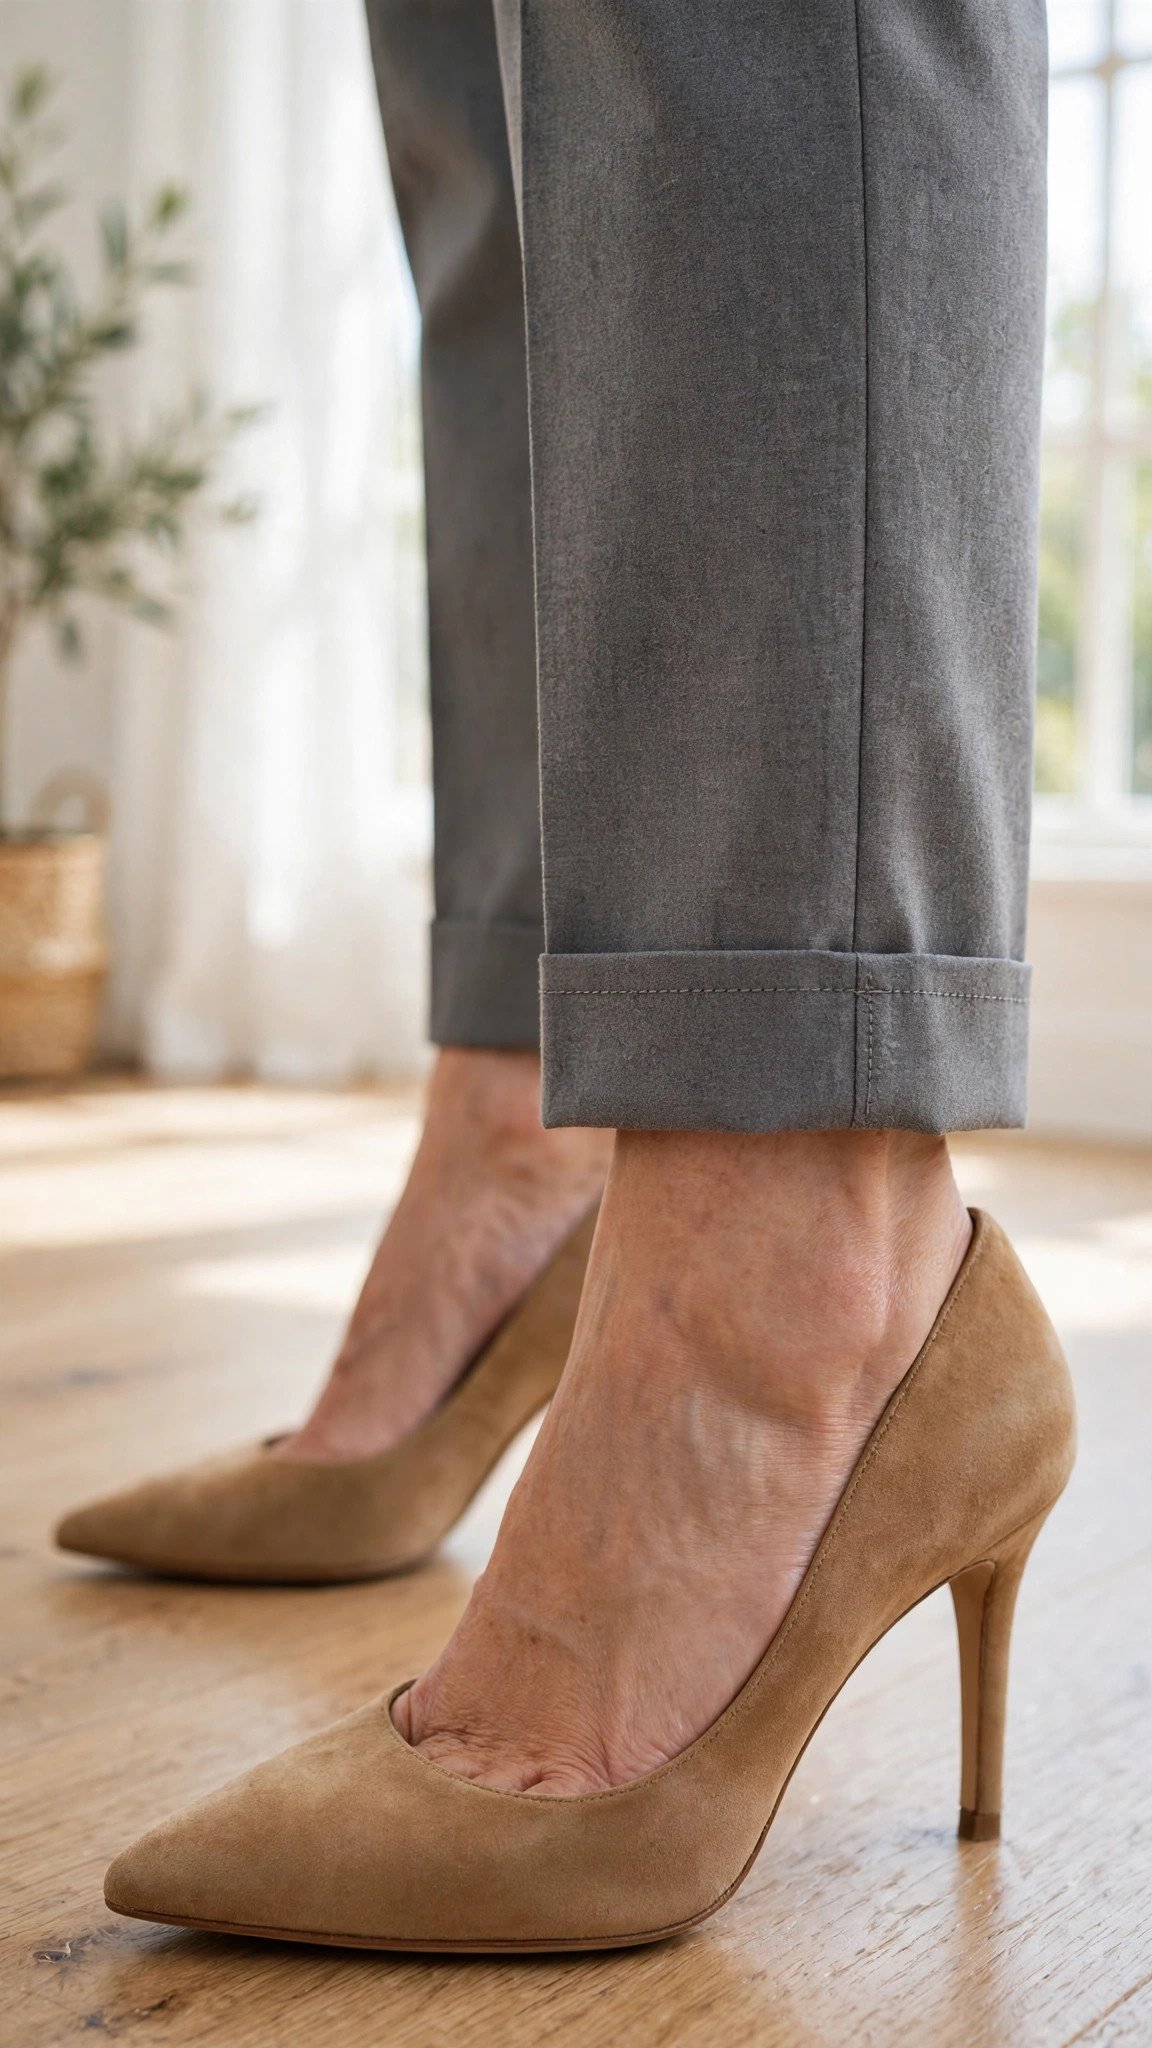
The classic break: the front of the trouser should just kiss the top of the shoe, with a slight fold of fabric at the ankle, while the back covers the heel by about half an inch. No break, where the hem hovers right at the shoe, looks modern and shows ankle. A full break pools fabric and looks sloppy on everyone. Mark your chosen length with pins all the way around, then take the trousers off and measure from the original hem or from the floor to keep both legs even. Legs are rarely identical, so measure each one.
Decide your hem allowance: 1.5 to 2 inches for most trousers gives you a sturdy hem that presses beautifully. Mark the cutting line below your finished length line, trim the excess, and finish the raw edge with a zigzag, an overlock, or pinking shears so it does not fray inside the hem. If you want a refresher on measuring your legs accurately, my guide to taking accurate body measurements covers inseam and outseam properly.
Method 1: The invisible blind hem
The blind hem is the dress-trouser standard: invisible from the outside, secure on the inside. Turn the hem up to your finished length line and press it hard, using a press cloth to protect the fabric. Fold the raw edge back under itself, leaving about a quarter inch of the finished hem showing, and pin generously.
Thread a hand needle with a single strand of thread matched to the trousers, and work the slip stitch: slide the needle inside the hem fold for about a quarter inch, then take the tiniest possible bite of the trouser leg, just one or two threads of fabric, directly across. The thread travels hidden inside the fold, and from the outside you see nothing but the occasional pinprick. Keep your tension relaxed. A blind hem pulled tight puckers, and puckering is visible from across the room.
This method takes about twenty minutes per leg once you find the rhythm, and it is the one to choose for wool trousers, dress pants, and anything where a visible stitching line would cheapen the look. It is also nearly indestructible, because the tiny bites distribute stress instead of concentrating it.

Method 2: The clean machine hem
For chinos, casual cotton trousers, and anything where a visible hem stitching line looks intentional, the machine hem is faster and perfectly respectable. Turn the hem up, press it, and edgestitch or topstitch close to the folded edge from the right side. A straight stitch at your machine’s standard length works, and a slightly longer stitch length, around 3 to 3.5 millimeters, looks more tailored on heavier fabrics.
Match your thread carefully, because this stitching shows. On dark trousers, a thread one shade darker than the fabric disappears better than an exact match, which can glint in the light. Sew slowly over the side seams where the fabric is thickest, and use a denim or heavy-duty needle if the layers fight you. The machine hem takes five minutes a leg and holds up to hard washing, which is why it owns the casual trouser category.
Method 3: The cuffed hem
A cuff is a hem turned up to the outside instead of hidden inside, and it gives trousers a classic, deliberate finish. It suits straight and slightly tapered legs in medium to heavy fabrics: wool flannel, cotton twill, denim. It does not suit very skinny legs, where a cuff looks like a fabric traffic jam at the ankle.
Decide your cuff depth first: 1.5 inches is classic, 2 inches is bolder. Add twice the cuff depth plus a half inch for turnings below your finished length line. Turn the hem up to the inside first and press, then fold it back down to the outside to form the cuff, and press the cuff crease hard. Tack the cuff in place at the inseam and outseam with a few hand stitches, hidden in the seam. Try the trousers on before you commit, because cuff depth changes how the leg hangs and you want to see it with the shoes.
Pressing: the step that makes it look professional
Here is the secret tailors know: the pressing matters as much as the stitching. Press the hem from the inside first, then from the outside with a press cloth, using steam and real pressure. A tailor’s ham, that ham-shaped pressing cushion, lets you press the curved hem without creasing the leg. Let the hem cool completely before you move the trousers, because a warm hem pressed under its own weight keeps the crease you just set.
Then hang the trousers for a day before you judge them. Gravity finishes what the iron started, and a hem that looked slightly eager fresh off the board will settle into itself overnight. This waiting step feels unnecessary and is absolutely not.
What about jeans?
Jeans deserve their own paragraph because of the original hem: that worn, slightly wavy factory hem with the distinctive gold stitching that says these are broken in. If you love the original hem, use the cut-and-reattach trick. Mark your new length, cut the original hem off with a half-inch seam allowance above it, trim the leg to length, then sew the original hem back onto the shortened leg, matching the side seams. Press the seam upward and topstitch it down, and from the outside the jeans look untouched, just shorter.
If the original hem does not matter to you, hem jeans like any casual trouser with Method 2, using a denim needle and going slowly over the flat-felled side seams, which are thick enough to break a lesser needle. Either way, wash the jeans first. Denim shrinks, and hemming unwashed denim is a bet you will lose.
When the legs need more than a hem
Sometimes the problem is not length, it is width. If the legs pool and flap, tapering them before hemming gives a far better result than hemming alone. Turn the trousers inside out, pin the inseam to your desired width from the knee down, tapering to nothing at the knee, and sew the new seam. Trim, finish, press, then hem. A taper plus a fresh hem can make thrifted trousers look custom, and it takes less time than driving to the tailor twice.
Frequently asked questions
How much hem allowance do trousers need? 1.5 to 2 inches for most trousers. Less than an inch makes a flimsy hem that will not press crisply, and more than 2 inches adds bulk inside the leg. Cuffed hems need twice the cuff depth plus a half inch, as described above.
Can I hem trousers without sewing? Hem tape, the fusible kind you iron on, works as a temporary fix and survives gentle washing. It is not a permanent solution: it peels, it stiffens the hem, and it fails on heavy fabrics. Use it for an emergency, then sew the real hem when you have twenty minutes.
One leg always ends up longer. What am I doing wrong? Probably nothing. Most people stand slightly asymmetrically, and one leg is often a touch longer than the other. Mark and measure each leg independently instead of copying one to the other, and the trousers will look even when worn, which is the only even that matters.
Should the hem be even all the way around? Slightly longer in back is the tailored standard, because your heel needs the coverage. Mark the front to kiss the shoe and let the back drop about half an inch lower. A hem marked level while standing often looks high in back once you walk.
How do I hem trousers that are too long and too wide? Taper first, then hem, in that order. Tapering changes where the hem sits and how the fabric falls, so hemming first means re-doing it after the taper. The two alterations together take under an hour and transform the trousers completely.
The twenty-minute tailor
That is the whole skill: mark it with the shoes on, choose your method, press it like you mean it, and let it hang overnight. Trouser hemming is the alteration people pay for most often and need a professional for least often, and now it is yours. Go rescue the too-long trousers in the back of your closet. They have been waiting.

Written by June Carter
I am June, a sewing enthusiast who loves turning simple fabric into things people actually use. I test every technique and product I write about at my own machine before it lands here.