
I have a linen top I love the way you love a song: irrationally, completely, despite its flaws. Its flaw is that the neckline gapes open at the front every time I lean forward, offering the room a view nobody asked for. I wore it anyway for a year, tugging at it like it owed me money, before I finally fixed it in twenty minutes with a dart I should have sewn on day one. A gaping neckline is one of the most common fit complaints in garment sewing, and it is also one of the most fixable. Here is how to correct a gaping neckline, four ways, depending on where the extra fabric lives.
You will learn why necklines gape in the first place, how to diagnose the cause in sixty seconds, four fixes from simplest to most involved, and how to stop it happening on your next garment before you cut.

Why necklines gape
Commercial patterns are drafted for a standard figure, usually a B cup with average shoulder slope, and real bodies deviate from that standard in every direction. If your bust is smaller than the drafted cup, the neckline has more fabric than your chest needs and it stands away from the body. If your shoulders slope more than average, the whole garment slides forward and the back neckline rises while the front gapes. Stretching during sewing is the third culprit: necklines are cut on curves and bias edges, and if you handled the edge without staystitching or support, it grew. Knit necklines gape for a fourth reason, which is that ribbing and bands stretch out with wear if they were not stabilized.
None of these mean you cut the wrong size or sewed badly. They mean the pattern was drafted for someone else’s body, and now you get to be the tailor. That is the job.
Diagnose it before you cut anything
Put the garment on and pinch out the excess. Where you pinch decides the fix. If pinching a small fold at the shoulder seam, near the neckline, makes the gap disappear, the excess lives at the shoulder and Fix 1 is your answer. If the gap sits at center front and pinching a vertical fold there fixes it, you want the dart in Fix 2. If the neckline was fine when new and has grown with washing and wearing, especially on a knit, skip to Fix 3. If the facing rolls out and the whole neckline feels floppy, Fix 4. Sixty seconds of pinching saves you from applying the wrong fix enthusiastically.
Fix 1: Take in the shoulder seams
When the excess sits near the shoulders, the fix is to deepen the shoulder seam at the neckline edge. Turn the garment inside out, put it on, and pin the shoulder seam deeper starting at the neckline, tapering to nothing by the time you reach the shoulder tip. You are typically taking in between a quarter and a half inch at the neckline edge on each shoulder. Sew the new seam line, trim, press, and try it on. Check that both sides match, because nothing says homemade like one shoulder sitting higher than the other.
This fix also slightly raises the whole neckline, which is usually a bonus. It works best on tops and dresses with a defined shoulder seam. On raglan sleeves or dolman shapes with no shoulder seam, move on to Fix 2.
Fix 2: Add a dart at the gap
A neckline dart is a small, honest dart that eats the excess right where it gapes. With the garment on, pinch the gap into a neat fold pointing toward the bust apex, and pin it. Take the garment off, mark the fold, and sew it as a dart: wide at the neckline edge, tapering to nothing about two to three inches down toward the bust. Press it toward the side seam or downward, whichever lies flatter.
A single center-front dart looks intentional, like a design detail, especially on plain fabrics. On busy prints it practically disappears. If the gap is wide, split it into two smaller darts rather than one deep one, because a deep dart puckers and a pair of shallow darts lies smooth. This is my favorite fix for woven tops, and it is the one that finally saved my linen top.

Fix 3: Stabilize with clear elastic
When a knit neckline has stretched and grown, the fabric needs memory. Clear elastic, the transparent stretchy stuff sold on little cards in the notions aisle, sewn into the seam restores it. Open the facing or the band, lay the clear elastic along the neckline seam line, and sew it in with a zigzag or a stretch stitch, easing the neckline back to its original measurement as you go.
The elastic acts like a gentle rubber band inside the seam, pulling the neckline back against the body without stiffness. It is also excellent prevention: sew clear elastic into the shoulder seams and neckline of every new knit top and they will keep their shape through years of washing. If you sew knits regularly, keep clear elastic in your notions drawer the way you keep thread. It is that useful.
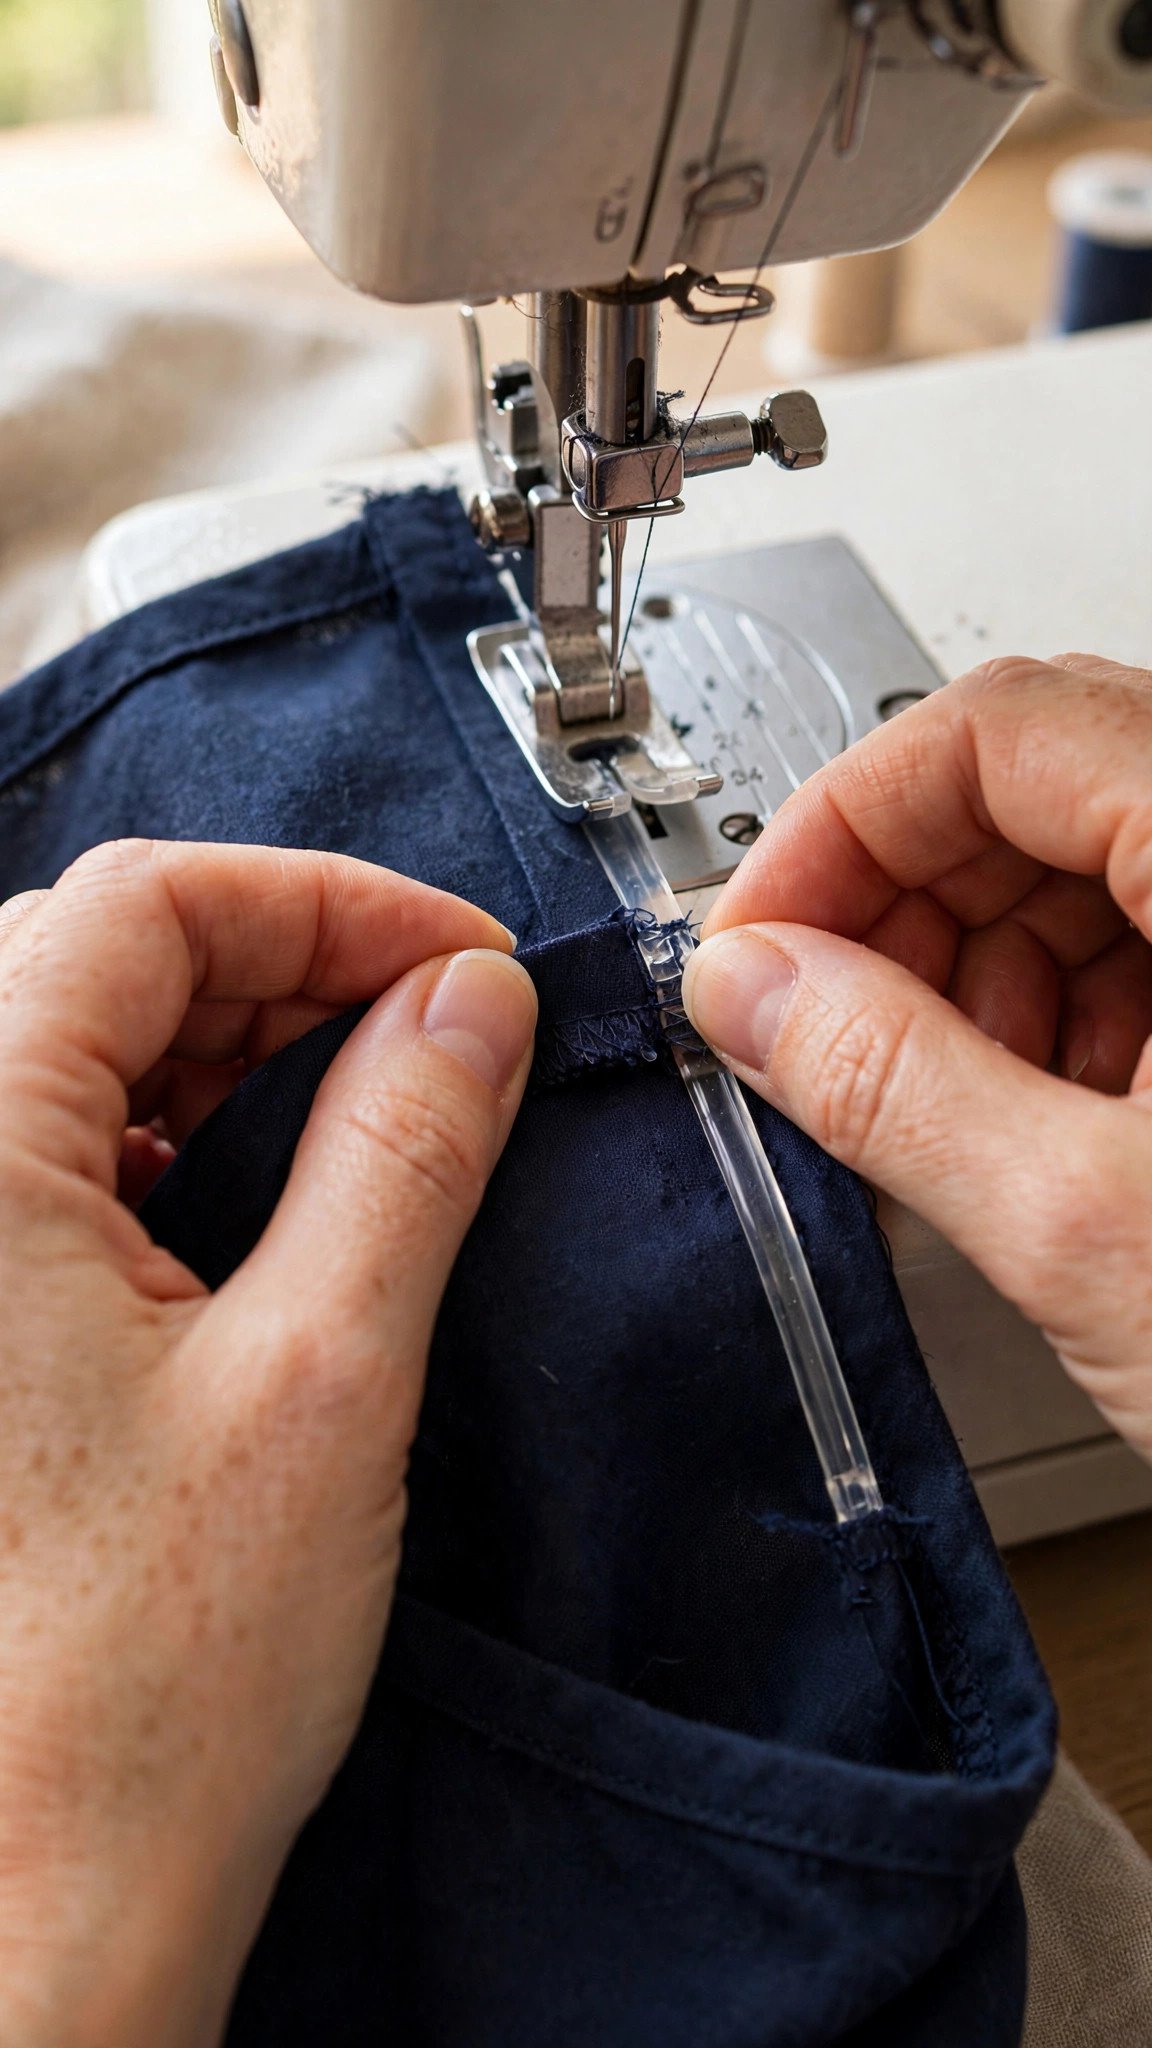
Fix 4: Re-cut the facing with proper interfacing
Sometimes the neckline is not too big, it is just too floppy. A facing that was cut without interfacing, or interfaced with something too light, stretches and rolls, and the neckline follows it outward. The fix is to replace or reinforce the facing. Unpick the facing, cut a new one, and fuse it with lightweight interfacing matched to your fabric weight. When you sew it back on, ease the neckline slightly, holding it in a touch so it sits a whisper smaller than the facing.
This is the most involved fix on the list, but it transforms a garment. A properly interfaced facing is the difference between a neckline that lies flat for the life of the top and one you fight every time you wear it. If you need a refresher on matching interfacing to fabric, my guide to how to choose interfacing by fabric weight walks through it.
Stop it on the next garment
Fixes are good. Prevention is better. Choose your pattern size by your high bust measurement, not your full bust, when the two differ, because the neckline and shoulders fit the high bust and the rest can be adjusted. If you consistently gap, learn the small bust adjustment: it removes the excess from the pattern before you cut, which beats darts after the fact. Staystitch every neckline the moment you cut it, because an unstabilized neckline starts stretching on the cutting table. And sew a muslin of the bodice for fitted garments. Thirty minutes in muslin reveals a gaping neckline when it costs nothing to fix, instead of on the good linen when it costs plenty.
Comparing your body to the garment before cutting helps too. My guide to comparing body and garment measurements shows how to check the finished measurements against your own so the neckline fits before the first seam is sewn.
Frequently asked questions
Will a neckline dart look weird? No, it looks like a design detail. Necklines have featured darts in ready-to-wear for decades. On a print it vanishes, on a solid it reads as intentional seaming, and it beats a gaping neckline in every lighting condition known to humanity.
My knit top gapes even though it fit in the store. What happened? The neckline stretched. Knit bands relax with washing, wearing, and gravity, especially if the neckline was not stabilized when it was made. Fix 3, the clear elastic, restores it, and stabilizing the next one prevents it.
Can a tailor fix a gaping neckline? Yes, and it is one of the cheaper alterations, because every fix above is quick for someone who does it daily. But try Fix 1 or Fix 2 yourself first. They are genuinely beginner-friendly, and the satisfaction of fixing your own fit is real.
How do I keep a store-bought top from gaping? A small strip of fashion tape works for a day. For a permanent fix, sew a tiny dart or snap at the gap, or take in the shoulder seams exactly as described above. Store-bought clothes were fitted on someone else too.
Is a gaping neckline the same as a neckline that is too big? Not quite. Too big means the whole neckline circumference is oversized, and you likely need a smaller size. Gaping means parts of it stand away while the rest fits, which is a shape mismatch, not a size mismatch, and the fixes above address exactly that.
Twenty minutes to a neckline that behaves
That is all any of these fixes take: twenty minutes, a few pins, and the willingness to put the garment on inside out in front of a mirror. Diagnose with the pinch test, pick the fix that matches, and sew it. Then wear the top without tugging at it, which is a small freedom you will notice every single time. My linen top and I are very happy now. Yours can be too.

Written by June Carter
I am June, a sewing enthusiast who loves turning simple fabric into things people actually use. I test every technique and product I write about at my own machine before it lands here.