

Learning how to fix a tight waistband has rescued more trousers in my sewing room than any other alteration, because a waistband that pinches can ruin an otherwise perfect pair. The trousers fit everywhere else, the fabric is lovely, and yet the waist digs in every time you sit down. The good news is that a tight waistband is usually a small fix, not a reason to give the trousers away.
I have fixed waistbands in three main ways over the years, and each one suits a different problem. Sometimes the waistband is simply too small, and it needs a little more length. Sometimes the elastic inside has lost its stretch, and a fresh piece of elastic brings the trousers back to life. And sometimes the fit is fine but the button sits in the wrong place, and moving it by half an inch changes everything.
In this guide I will help you work out which problem you have, then walk you through the fix that suits it best. We will keep the sewing simple, test the fit as we go, and finish with a waistband that looks as neat as the original.
How to Fix a Tight Waistband: Find the Cause First
Before you unpick anything, work out why the waistband feels tight. Put the trousers on, fasten them, and sit down. If the waistband feels fine standing but digs in when you sit, you probably need a little more room, because bodies change shape when they sit. If the waistband feels tight all the time, measure it and compare it with your waist measurement plus a little ease.
Look inside the waistband too. Turn the trousers inside out and check how the waistband is attached, whether there is a seam allowance to let out, and whether the waistband is a separate band or a facing. A separate waistband with a generous seam allowance can often be let out a little, while a waistband cut as part of the trousers may need an extension piece instead. My guide to how to adjust trouser rise will help if the tightness is really about the rise rather than the waist itself.
Finally, check the button and the buttonhole. A button that sits too close to the edge, or a buttonhole that has stretched, can make a waistband feel tighter than it is. Moving the button by half an inch is a five minute fix, and it is always worth trying before you unpick a whole waistband.
Moving the Button and Adding an Extension
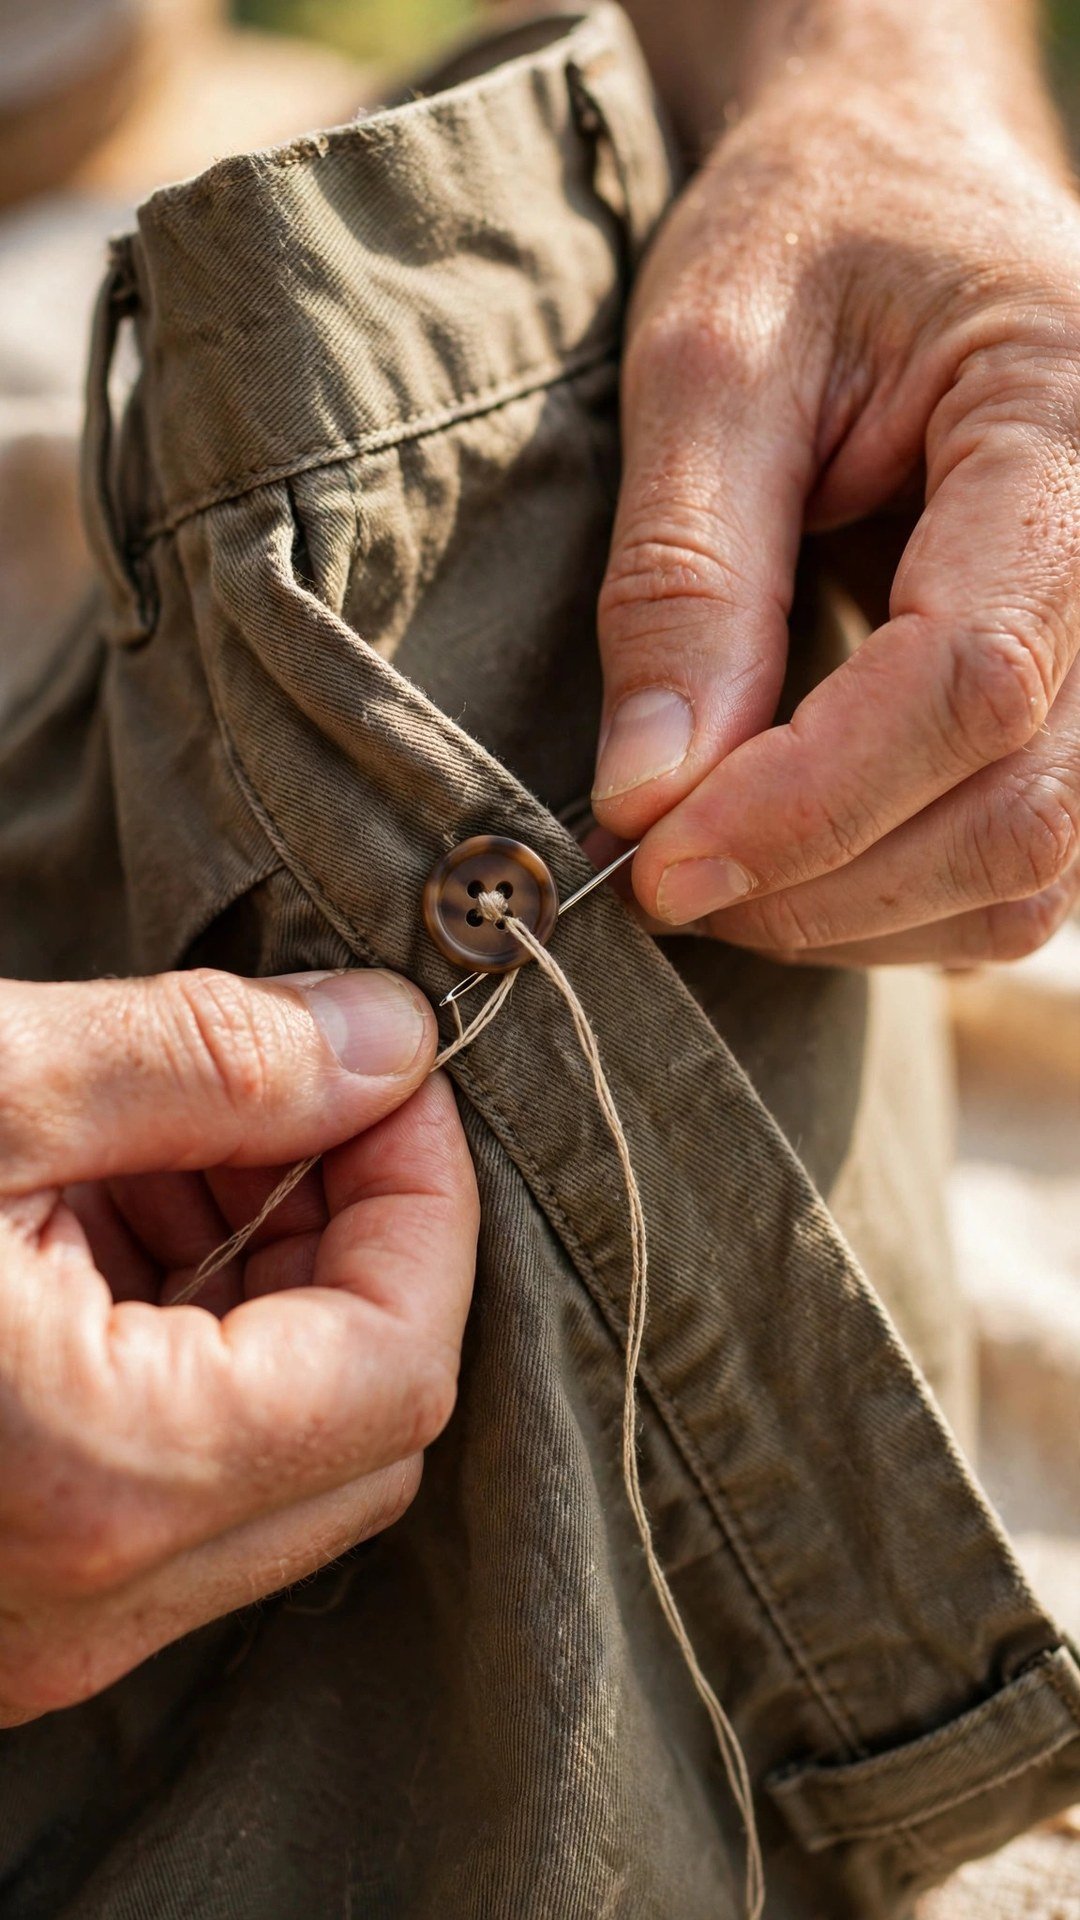
The simplest fix is to move the button. Unpick the button, try the trousers on, and mark where the button needs to sit for a comfortable fit. Sew it on firmly, with a thread shank if the fabric is thick, so the button stands proud of the fabric and the waistband can close without pulling. Test the fit sitting and standing before you call it done.
If moving the button is not enough, add a small waistband extension. This is a short tab of matching fabric, sewn to the end of the waistband, with a buttonhole in it. It gives you an extra inch or so of room, and it looks neat if you use matching fabric and a matching button. Cut the tab, finish its edges, and sew it securely to the waistband end, so it can take the strain of daily wear.
Whichever extension you choose, make sure the waistband still sits level around your body. An extension on one side only can pull the waistband off centre, so check the side seams and the back seam while you wear the trousers, and adjust the other side if the waistband starts to twist.
Replacing Tired Elastic in a Waistband
Replacing elastic is a satisfying fix, because the improvement is immediate. Unpick a small section of the waistband stitching, usually at a side seam or at the centre back, and pull the old elastic out. Measure it, then cut a new piece of elastic the same length, or a little shorter if you want a firmer fit. Choosing the right width matters, and my guide to how to select elastic width explains how to match the elastic to the waistband casing.
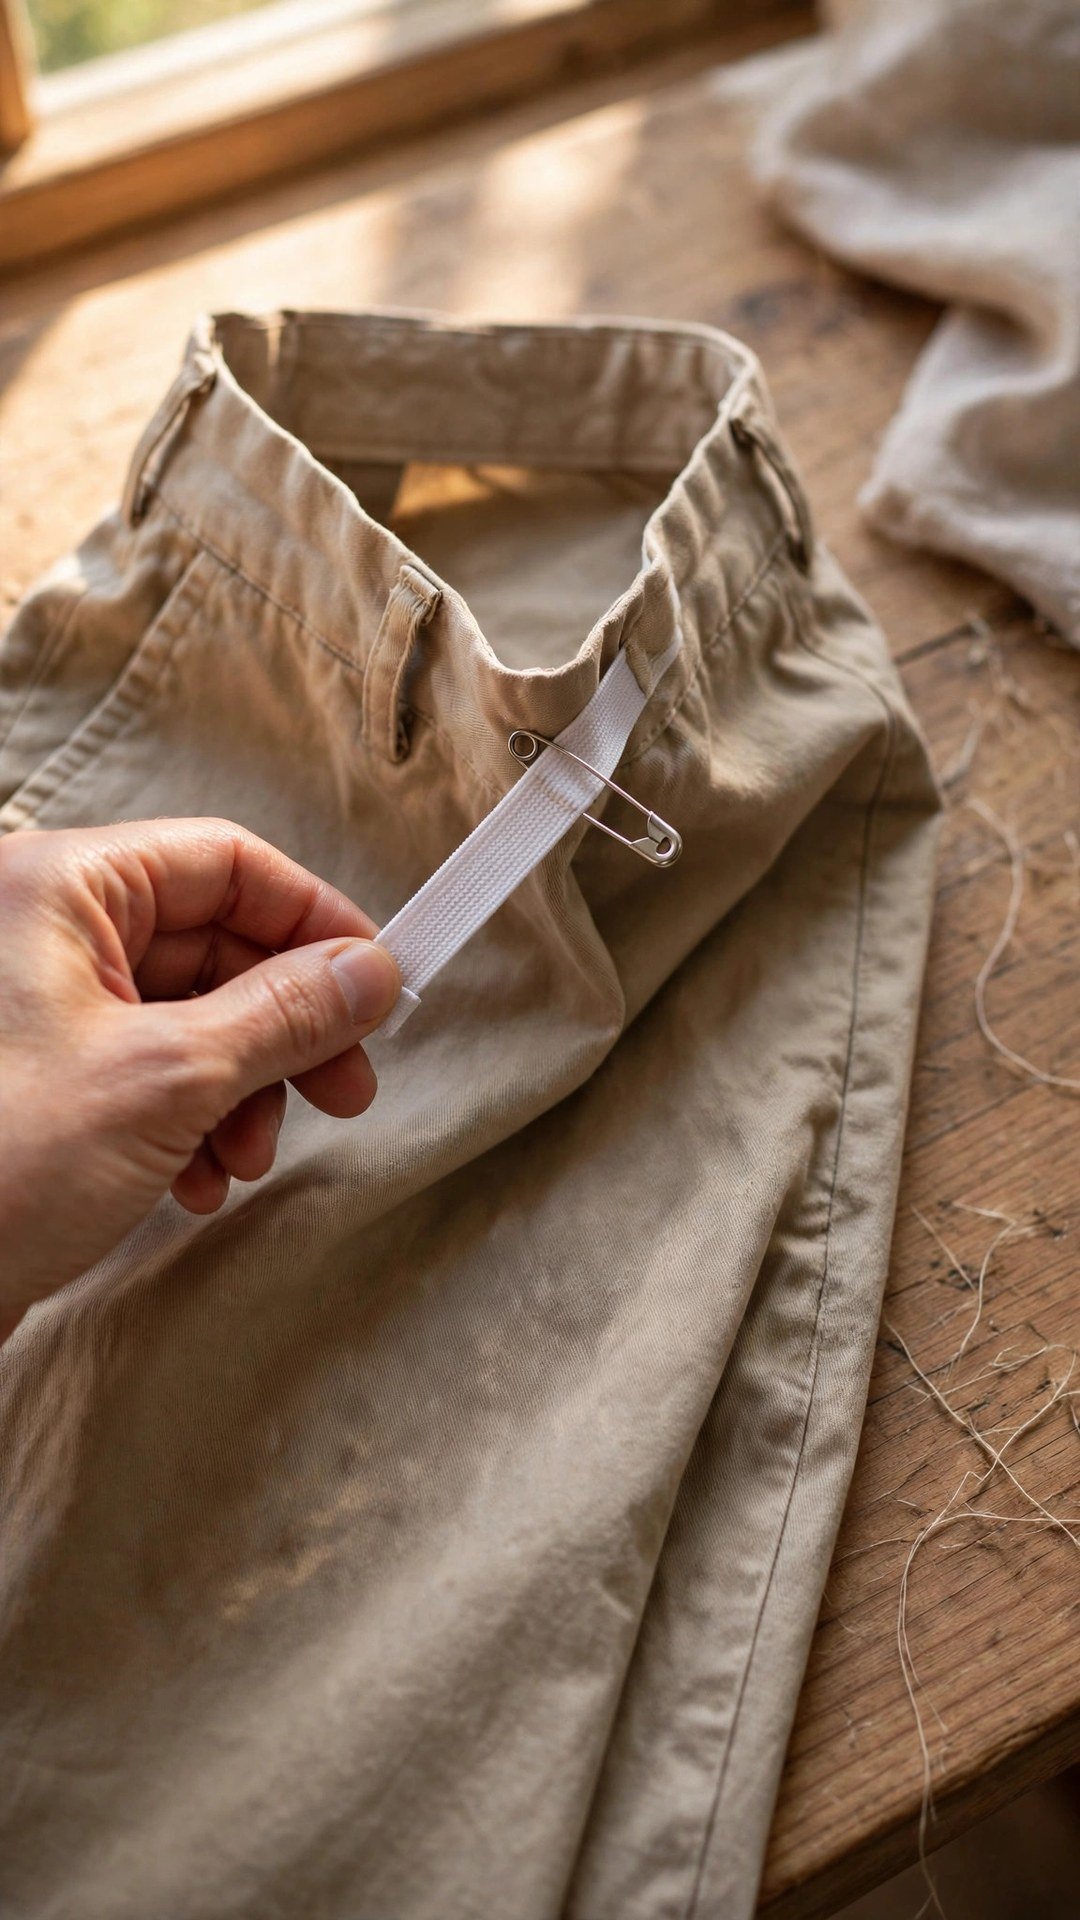
Attach a safety pin to one end of the new elastic and thread it through the waistband casing, taking care not to twist it. Pin the other end in place so it cannot disappear inside, and pull the elastic through slowly. Once it is through, overlap the ends by an inch and stitch them together securely with a zigzag stitch, so the join can stretch without breaking.
Distribute the elastic evenly around the waistband, then try the trousers on. The waistband should sit comfortably without digging in, and the gathers should be even all the way around. If one side gathers more than the other, slide the elastic inside the casing until it evens out, then stitch the casing closed at the opening.
Letting Out a Waistband Seam
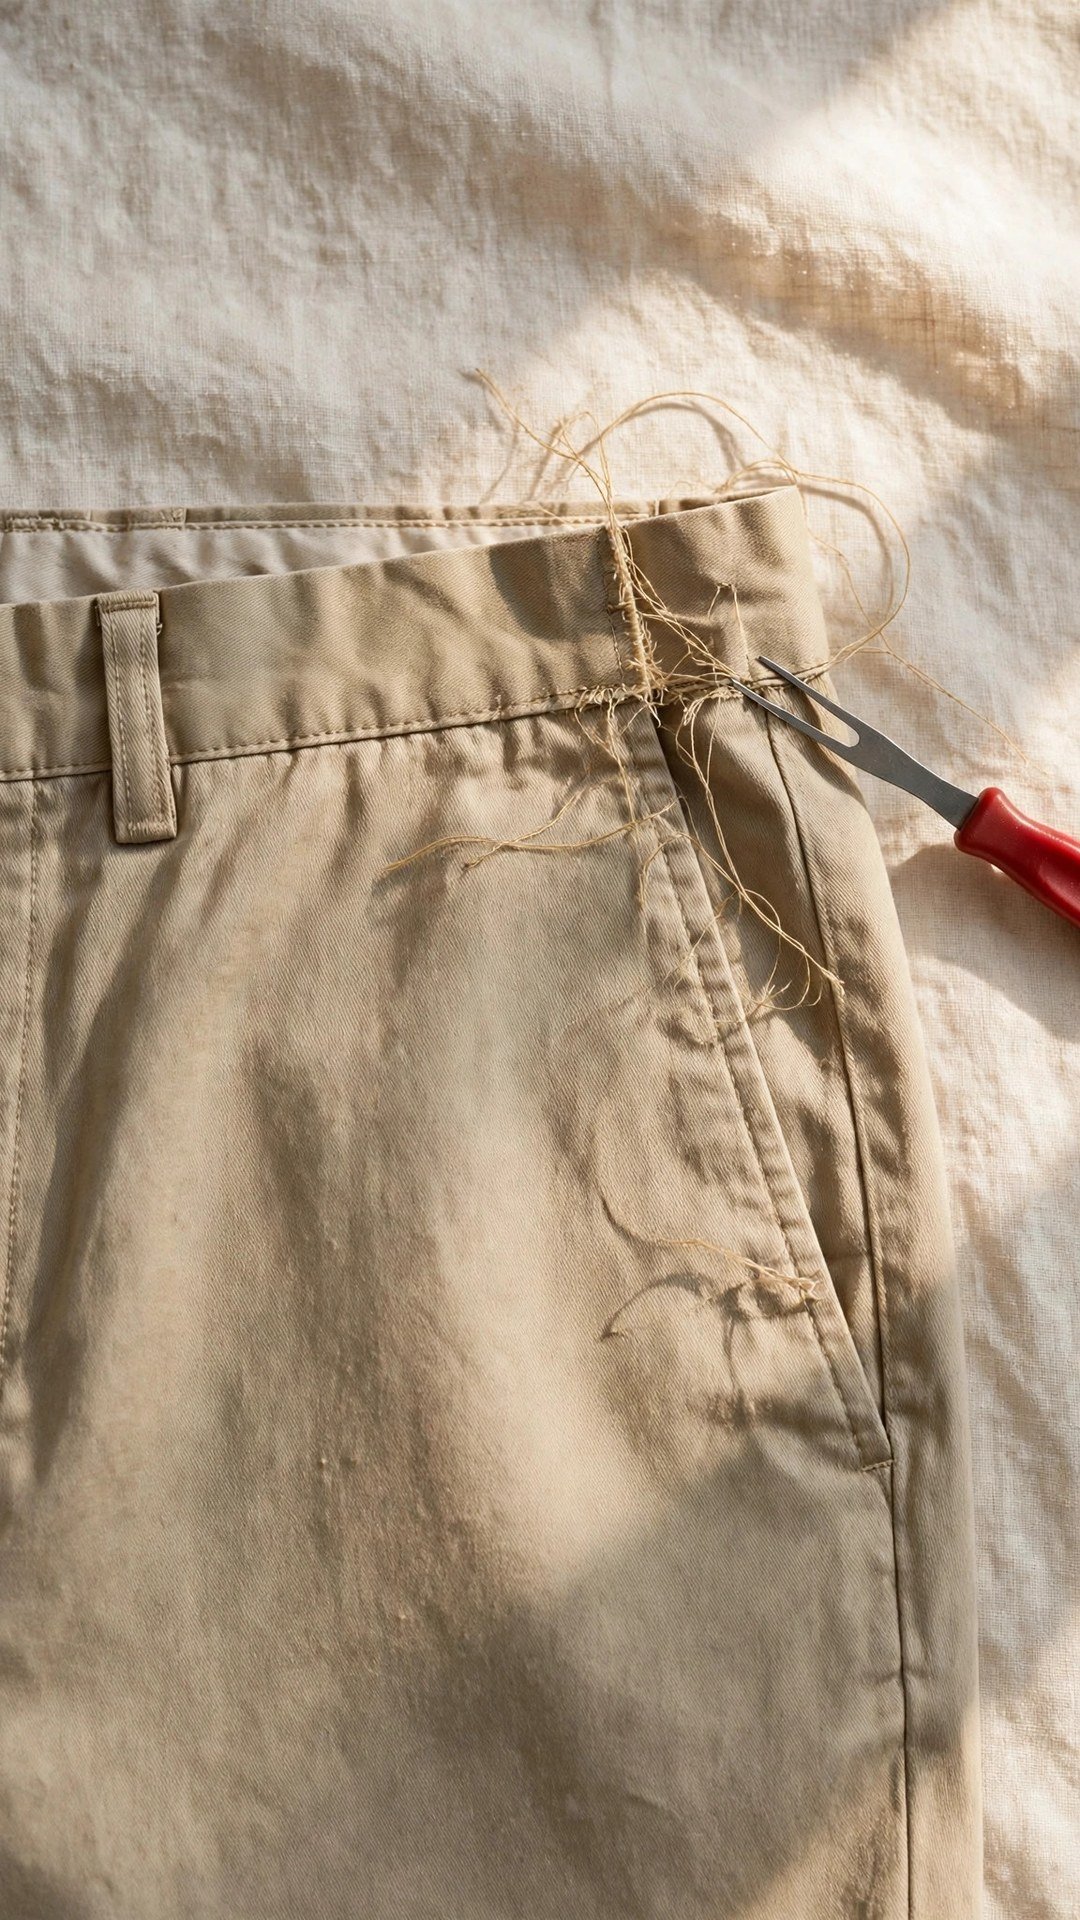
If the waistband is a separate band with a seam allowance, you may be able to let it out. Unpick the waistband from the trousers at the side seams, or at the centre back, and check how much seam allowance is hiding inside. Even a quarter inch on each side seam adds half an inch around the waist, which is often enough to make the trousers comfortable.
Unpick carefully, press the old seam open, and sew a new seam with a narrower allowance. Keep the new stitching even and backstitch at the start and end, because the waistband takes a lot of strain. If the waistband is interfaced, press the interfacing flat too, and check that it has not bubbled or peeled away from the fabric.
Reattach the waistband to the trousers, matching the side seams and the centre back, and press the whole waistband flat. Try the trousers on and check that the waistband sits level and the side seams hang straight. If one side still pulls, check that both side seams were let out by the same amount, because an uneven alteration will twist the waistband.
When a Waistband Needs a Bigger Change
Sometimes a waistband needs more than a small fix, and it is better to rebuild it than to patch it. If the waistband is frayed, the interfacing has failed, or the fabric has worn thin, take the old waistband off completely and cut a fresh one from matching fabric. It sounds like a big job, but a waistband is a simple rectangle, and a new one will look and feel better than a tired original.
Measure your waist, add ease and seam allowances, and cut the new band to that length. Interface it, attach it to the trousers, and finish it neatly. This is also a good moment to fix other small problems, like a waistband that was always too stiff or a closure that never worked well. A fresh waistband is a chance to get it right.
If the trousers are also too tight in the hips, a waistband fix alone will not solve the problem, and you may need to let out the side seams as well. My notes on how to take in a shirt cover the opposite alteration, and the same careful measuring and testing apply when you are letting a garment out rather than taking it in.
Know when to stop, too. If the trousers are several sizes too small, or the fabric is worn out, a waistband fix will only buy you a little comfort for a short time. In that case, enjoy the trousers as a pattern for a fresh pair, and sew the new pair with a waistband that fits from the start.
Frequently Asked Questions
How can I make a tight waistband looser quickly?
Move the button by half an inch, or add a waistband extension tab. Both are quick fixes that add a little room without unpicking the whole waistband, and they are a good first step before a bigger alteration.
Can I fix a tight waistband without sewing?
A shop bought waistband extender adds length without sewing and works well as a temporary fix. For a lasting fix, a sewn button move or a sewn extension tab will stay put in the wash and look neater.
How do I replace elastic in a waistband?
Unpick a small opening in the casing, pull out the old elastic, and thread a new piece through with a safety pin. Overlap the ends, stitch them with a zigzag stitch, distribute the elastic evenly, and stitch the opening closed.
Why does my waistband feel tight only when I sit?
Bodies change shape when they sit, and the waist needs more room in that position. You probably need a little extra ease, so try moving the button or adding a small extension before you rebuild the waistband.
How much can I let out a waistband?
It depends on the seam allowance inside. A quarter inch on each side seam adds half an inch around the waist. Measure the allowance first, and add up the real gain before you start unpicking.
Comfort Is Worth a Little Sewing
A tight waistband is a small problem with a simple fix, and it is worth the effort. Find the cause, choose the fix that suits it, test the fit sitting and standing, and press the waistband flat when you are done. Your trousers will feel comfortable again, and you will have saved a good pair from the back of the wardrobe.

Written by June Carter
I am June, a sewing enthusiast who loves turning simple fabric into things people actually use. I test every technique and product I write about at my own machine before it lands here.