
The short version
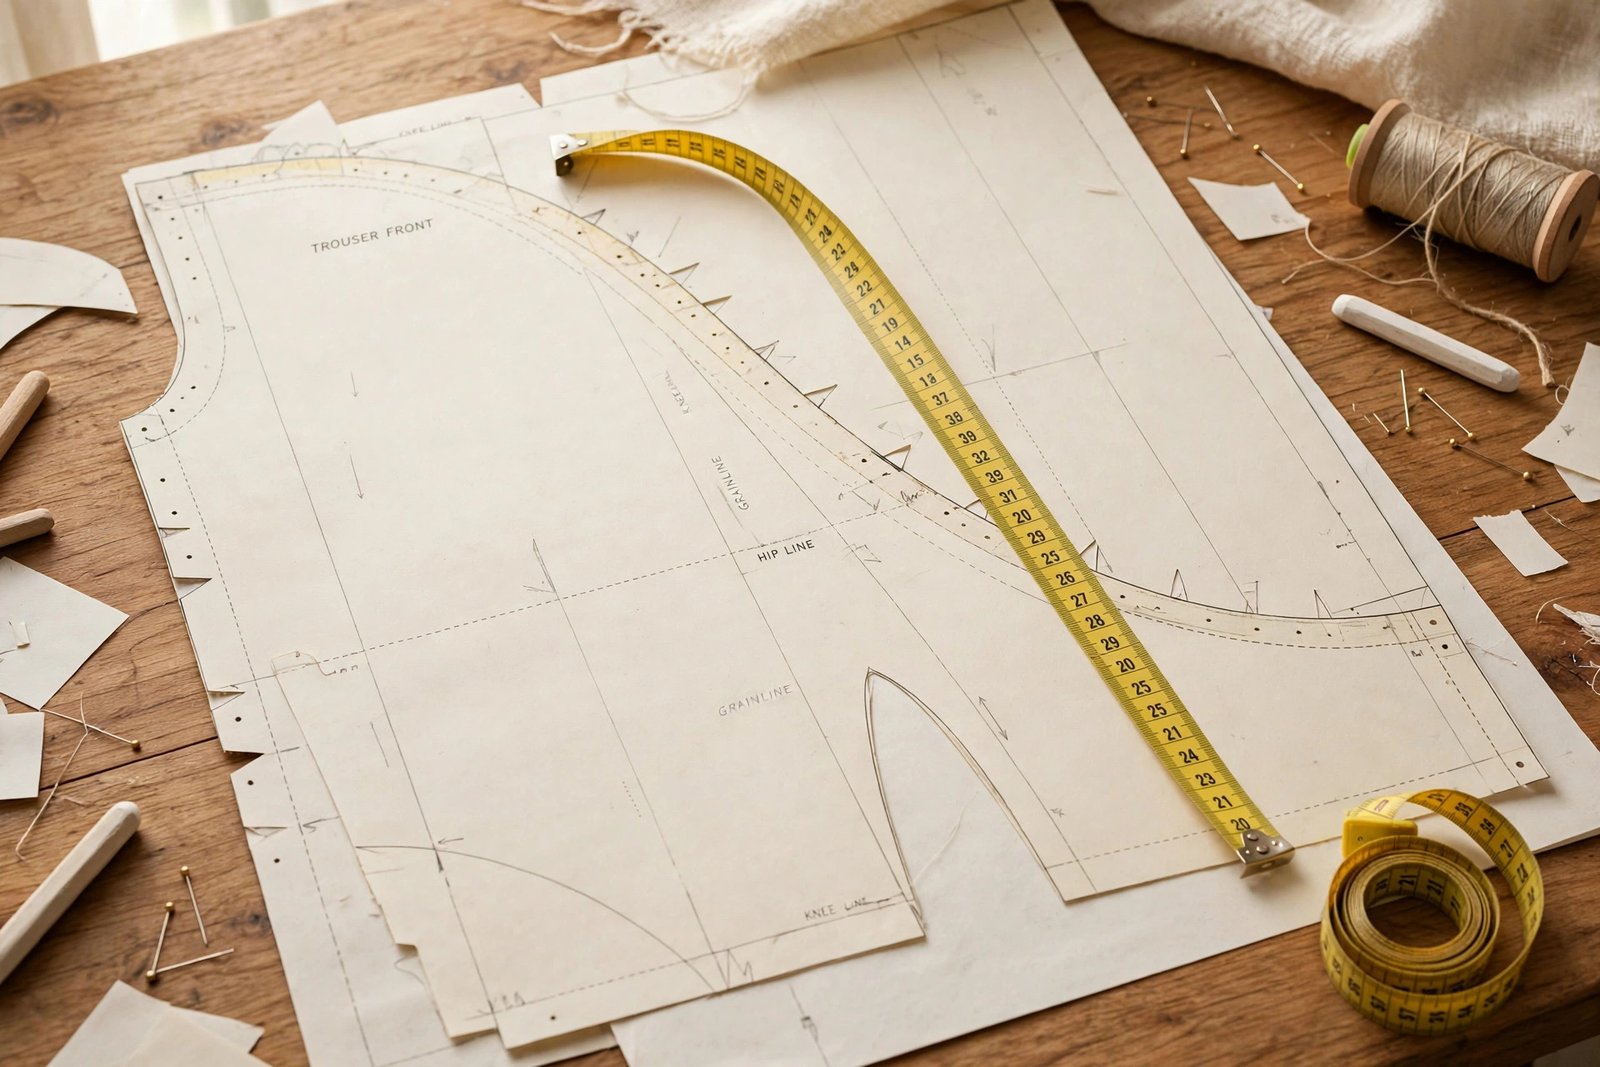
Learning how to adjust trouser rise is the alteration that separates pants you tolerate from pants you actually wear. Rise is the distance from the waistband down to the fork where the inseams meet, and when it is wrong, no amount of taking in the waist will save the fit. Here is the whole method: measure your total crotch length with a string, measure the pattern’s front and back crotch curves the same way, and add or remove the difference with a horizontal slash-and-spread (to lengthen) or a horizontal fold (to shorten), placed between the waist and the crotch. Then sew a muslin and check it on your body before you touch your good fabric.
Most people need between half an inch and an inch of adjustment, and the back almost always needs more than the front. I will show you how to figure out your number, where exactly to cut the pattern, and how to true the lines afterward so the pieces still fit together.
What rise actually is
Rise gets talked about like it is one measurement, but it is really three related ones, and knowing which is which keeps you out of trouble.
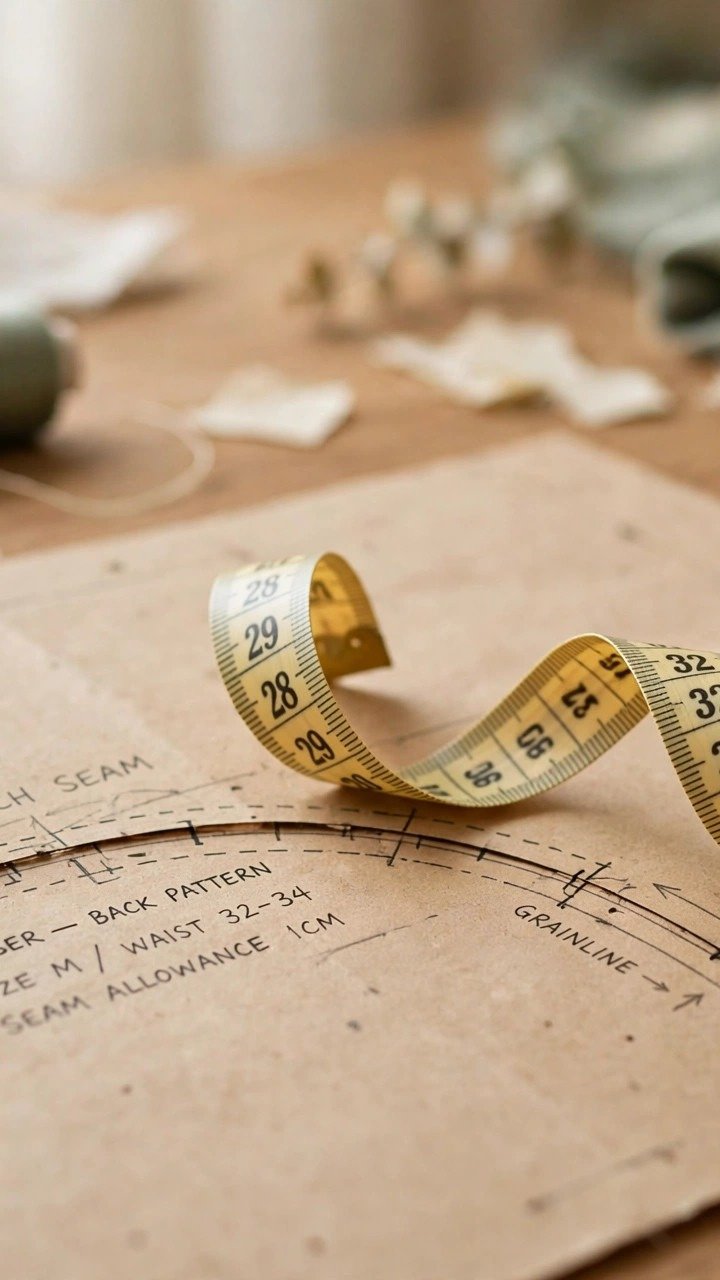
Front rise runs from the center-front waist down to the crotch fork. Back rise runs from the center-back waist down to the same fork, and it is longer, because it has to travel around more of you. Total crotch length is front rise plus back rise, measured as one continuous curve from center-front waist, under, and up to center-back waist. This total is the number that matters most, because it is the one you can measure on both your body and your pattern and compare directly.
There is also a handy formula tailors use: outseam minus inseam equals rise. It is approximate, but it is a good sanity check. If your outseam is 40 inches and your inseam is 30, your rise is about 10 inches, and a pattern drafted for a 12-inch rise is going to feel wrong in ways that have nothing to do with the waist measurement.
Here is why this matters more than waist or hip fitting: the waist and hips are circumferences, and you can fudge a circumference by taking in a seam. Rise is a length over a curved, three-dimensional part of your body. There is no seam to let out that adds crotch length where you need it. Get the rise right and pants feel like they were made for you, because the pattern finally matches the actual geometry of your body.
Measure your body, then measure the pattern
Every good alteration starts with two numbers: yours and the pattern’s. Do not skip the body measurement because you think you know it. Bodies change, and guessing is how you end up adjusting the wrong thing.
Your total crotch length. Tie a string around your natural waist and let it settle, the same trick from taking accurate body measurements. Hold the end of a tape measure at your center-front waist, run it down between your legs, snug but not tight, and up to your center-back waist. Stand naturally, breathe normally, and have someone help if you can. A solo measurement done by craning your neck down will read short every time. Write the number down with the date.
The pattern’s total crotch length. Lay out your front and back pattern pieces. Stand the tape measure on its edge and walk it along the front crotch curve from the waist seamline to the inseam point, then do the same on the back piece. Add the two together, but do not include seam allowances: measure to the stitching lines, not the cutting lines. If your pattern does not print stitching lines, subtract the seam allowance (usually 5/8 inch at the waist) from each end mentally, or just be consistent and compare stitching-line to stitching-line.
Compare. If your body measures 28 inches and the pattern totals 27, you need about an inch of added rise. If your body is 26 and the pattern is 27.5, you need to remove about an inch and a half. Half of that difference typically goes to the front and half to the back as a starting point, but read the next section before you commit, because the front-back split is where the real fitting happens.
Reading the wrinkles: what your pants are telling you
If you have already sewn the pants, or you have a muslin, the fabric will diagnose the problem for you. Wrinkles are honest.
Rise too long: horizontal wrinkles pooling under the seat, excess fabric sagging at the front fork, a general diaper-like fullness. The pants feel like they are sliding down even though the waist fits. On the pattern, this means your crotch length is shorter than what is drafted.
Rise too short: the classic wedgie. The pants pull up into you when you sit, horizontal stress lines radiate from the crotch fork (fitting books call the upward ones “smile lines”), and the waistband dives in front when you move. Uncomfortable to wear, and no fun to fit, but very fixable on paper.
Front vs. back: this is the part most tutorials skip. Look at where the wrinkles live. Drag lines under the seat mean the back rise is too long. Pulling at the front fork means the front rise is too short. Most bodies need the adjustment split unevenly, often with more added to or removed from the back, because the back crotch curve does more work. When in doubt, put two-thirds of the change in the back and one-third in the front, then refine in the muslin.
Threads magazine has an excellent step-by-step pants fitting process with clear photos of exactly these wrinkle patterns, and it is worth studying alongside this article until you can read wrinkles at a glance.
Lengthening the rise: slash and spread
When your crotch length is longer than the pattern’s, you add length with the classic slash-and-spread. Work on both the front and back pieces.
Step 1: Draw the slash line. On the pattern piece, draw a horizontal line across the full width, positioned about halfway between the waistline and the crotch fork. Roughly 3 to 4 inches below the waist on most patterns. It must be perpendicular to the grainline, which you can check against the printed grainline arrow. This placement matters: adding length here lengthens the rise without distorting the hip curve or the leg.
Step 2: Cut along the line. Cut the pattern piece apart on the line, from one side seam to the other. Yes, actually cut your pattern. This is what tissue paper is for, and why we trace patterns we love instead of cutting the original.
Step 3: Spread to add your amount. Slide the lower piece down by the amount you need on this piece (say, 3/4 inch on the back and 1/4 inch on the front, for an inch total), keeping the grainlines aligned. Tape a strip of tissue or medical paper behind the gap to hold the spread. I use plain white tissue from the gift-wrap aisle; it is cheaper than pattern tissue and works identically.
Step 4: True the side seams. Spreading opens a little jog in the side seam and inseam lines. Lay a ruler or hip curve along the seam and redraw it as one smooth line from waist to hem. If you skip this, the pieces will not sew together cleanly, and you will blame the sewing when it was the pattern.
One caution: do not add more than about 1.5 inches total in a single round. Big changes distort the pocket placement and the waistband curve. If you need more than that, do it in two rounds with a muslin fitting between them.
Shortening the rise: fold it out
When the pattern’s crotch length is longer than yours, you remove the excess with a horizontal fold, which is just slash-and-spread in reverse.
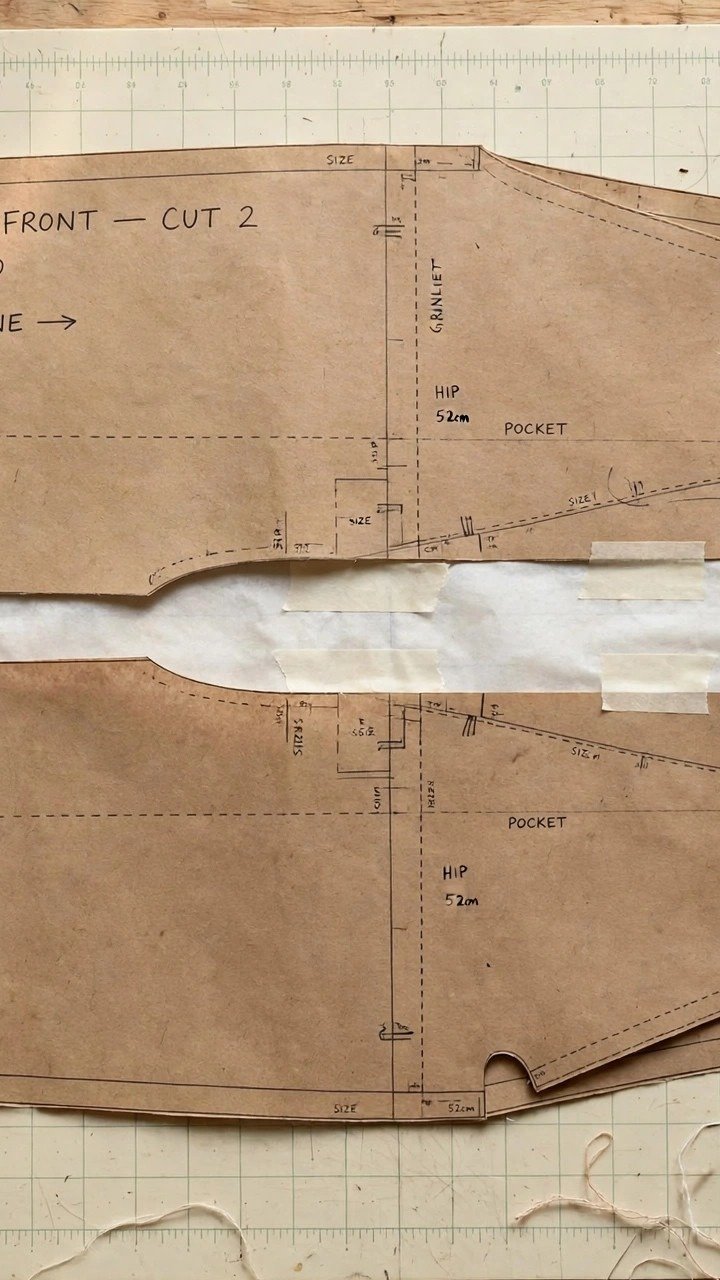
Step 1: Draw two horizontal lines across the piece, the same 3 to 4 inches below the waist, spaced apart by half the amount you want to remove. To remove one inch total from the back, draw the lines half an inch apart. The fold takes up double the spacing, which is why you halve it.
Step 2: Fold and pin. Bring the two lines together, folding the excess underneath, and pin or tape the fold flat. The pattern piece is now shorter by exactly your target amount.
Step 3: True everything. Just like lengthening, the fold creates jogs in the side seam and inseam. Redraw them smooth. Also check that the fold does not swallow a pocket marking or a notch; if it does, transfer the marking to its new position below the fold. This is where knowing your pattern symbols pays off, because a notch in the wrong place will misalign your seams later.
Step 4: Check the waistband. Shortening the rise this way does not change the waist circumference, but it does move the waistline’s position relative to pockets and flies. If your pattern has a separate waistband piece, compare its length to the new waistline seam before you cut. Five seconds with a tape measure here saves a waistband that does not fit.
True the lines, then prove it in muslin
Paper alterations are theory. A muslin is the experiment. Do not skip it for pants, ever. Pants fitting has too many variables to get right on paper alone, and muslin is cheap.
True every affected line. After any slash or fold, walk through each piece and check: side seams smooth, inseams smooth, front and back inseam lengths equal (measure them; they must match or the legs will twist), grainlines still straight. A French curve or even a dinner plate helps redraw the crotch curve smoothly.
Sew a quick muslin. Cut the altered pieces in muslin or any cheap woven, and baste them together with a long straight stitch at 4 mm so it is easy to rip. No waistband, no fly, no hems. You are checking one thing: does the rise feel right when you sit, stand, and walk?
Fit and refine. Put the muslin on, sit down, climb stairs in your head. Pinch out or mark any remaining excess, or mark where it still pulls. Transfer those changes back to the paper pattern. Most people nail it in one muslin; stubborn cases take two. Either way, you are fitting ten-dollar muslin, not forty-dollar wool.

Frequently asked questions
How much rise can I add or remove at once?
Up to about 1 to 1.5 inches total in one round. Beyond that, do it in stages with muslin fittings between, because large changes start moving pockets and reshaping the waistband curve.
Will adjusting the rise change the waist measurement?
A horizontal slash or fold between the waist and crotch does not change the waist circumference. But it does change where the waistband sits relative to the pockets and fly, so always re-measure the waistband against the altered waistline seam.
Should the front and back get the same adjustment?
Rarely. Start with a two-thirds back, one-third front split for lengthening, and adjust from the muslin. Backs do more work going around your seat, so they usually need the bigger share.
Can I fix the rise on pants I already sewed?
Small fixes, yes: letting out or taking in the crotch seam, or re-sewing the waistband lower. But a rise that is more than about half an inch off really needs the paper alteration before cutting. Finished pants do not have spare fabric where rise adjustments need it.
Do I need to adjust the rise for stretch fabrics?
Less so. Stretch forgives a multitude of fitting sins, which is why ponte pants feel easy and woven trousers feel like a science project. For non-stretch wovens, the rise alteration is non-negotiable.
Pants that fit are worth the paper surgery
Cutting up a pattern feels violent the first time. It is not. It is the moment you stop sewing the pattern company’s body and start sewing yours. Measure honestly, slash decisively, true carefully, and always prove it in muslin. Do that, and the next pair of trousers you make will fit in a way ready-to-wear never has, which is the entire point of sewing your own clothes.

Written by June Carter
I am June, a sewing enthusiast who loves turning simple fabric into things people actually use. I test every technique and product I write about at my own machine before it lands here.