

If you have ever wondered how to add lace insertion to a blouse, a skirt, or a pillowcase so it looks like it grew there instead of being glued on as an afterthought, I have good news. Lace insertion is one of those heirloom techniques that looks far more difficult than it is. The whole method comes down to this: stitch the lace to the fabric, cut the fabric away behind it, and stitch again. That is the entire magic trick, and once you do it once, you will start seeing places for lace everywhere.
I am a firm believer that a single band of lace can rescue a plain garment. A simple cotton blouse with one lace insertion down the front looks boutique. The same blouse without it looks like a muslin. This tutorial covers the classic method on solid fabric, plus how to insert lace into an existing seam, how to pick the right lace, and how to avoid the puckering that makes beginners give up too soon.
First, Make Sure You Have Insertion Lace, Not Edging Lace
This is the mistake I see most often, so let us clear it up first. Not all lace is insertion lace. Edging lace has one straight edge and one scalloped or shaped edge, and it is meant to finish a hem or a neckline. Insertion lace has two straight, finished edges, and it is designed to sit between two pieces of fabric or inside a single piece, becoming part of the cloth itself.
When you shop, look at both long edges of the lace. If both edges are straight and finished, you have insertion lace and you are good to go. If one edge is scalloped, that is edging lace, and it will fight you every step of this tutorial. Insertion lace usually comes in cotton, cotton blends, and polyester, in widths from under an inch to several inches wide. For your first project, pick a medium width in a stable cotton. It behaves beautifully and forgives small wobbles.
Choosing Lace and Fabric That Play Well Together
Lace insertion looks best when the lace and the fabric are partners, not rivals. Match fiber types where you can: cotton lace on cotton fabric, so both shrink and wash the same way. Prewash your fabric and your lace before you start, because there is nothing sadder than a perfectly inserted lace band puckering after the first wash while the fabric stays put.
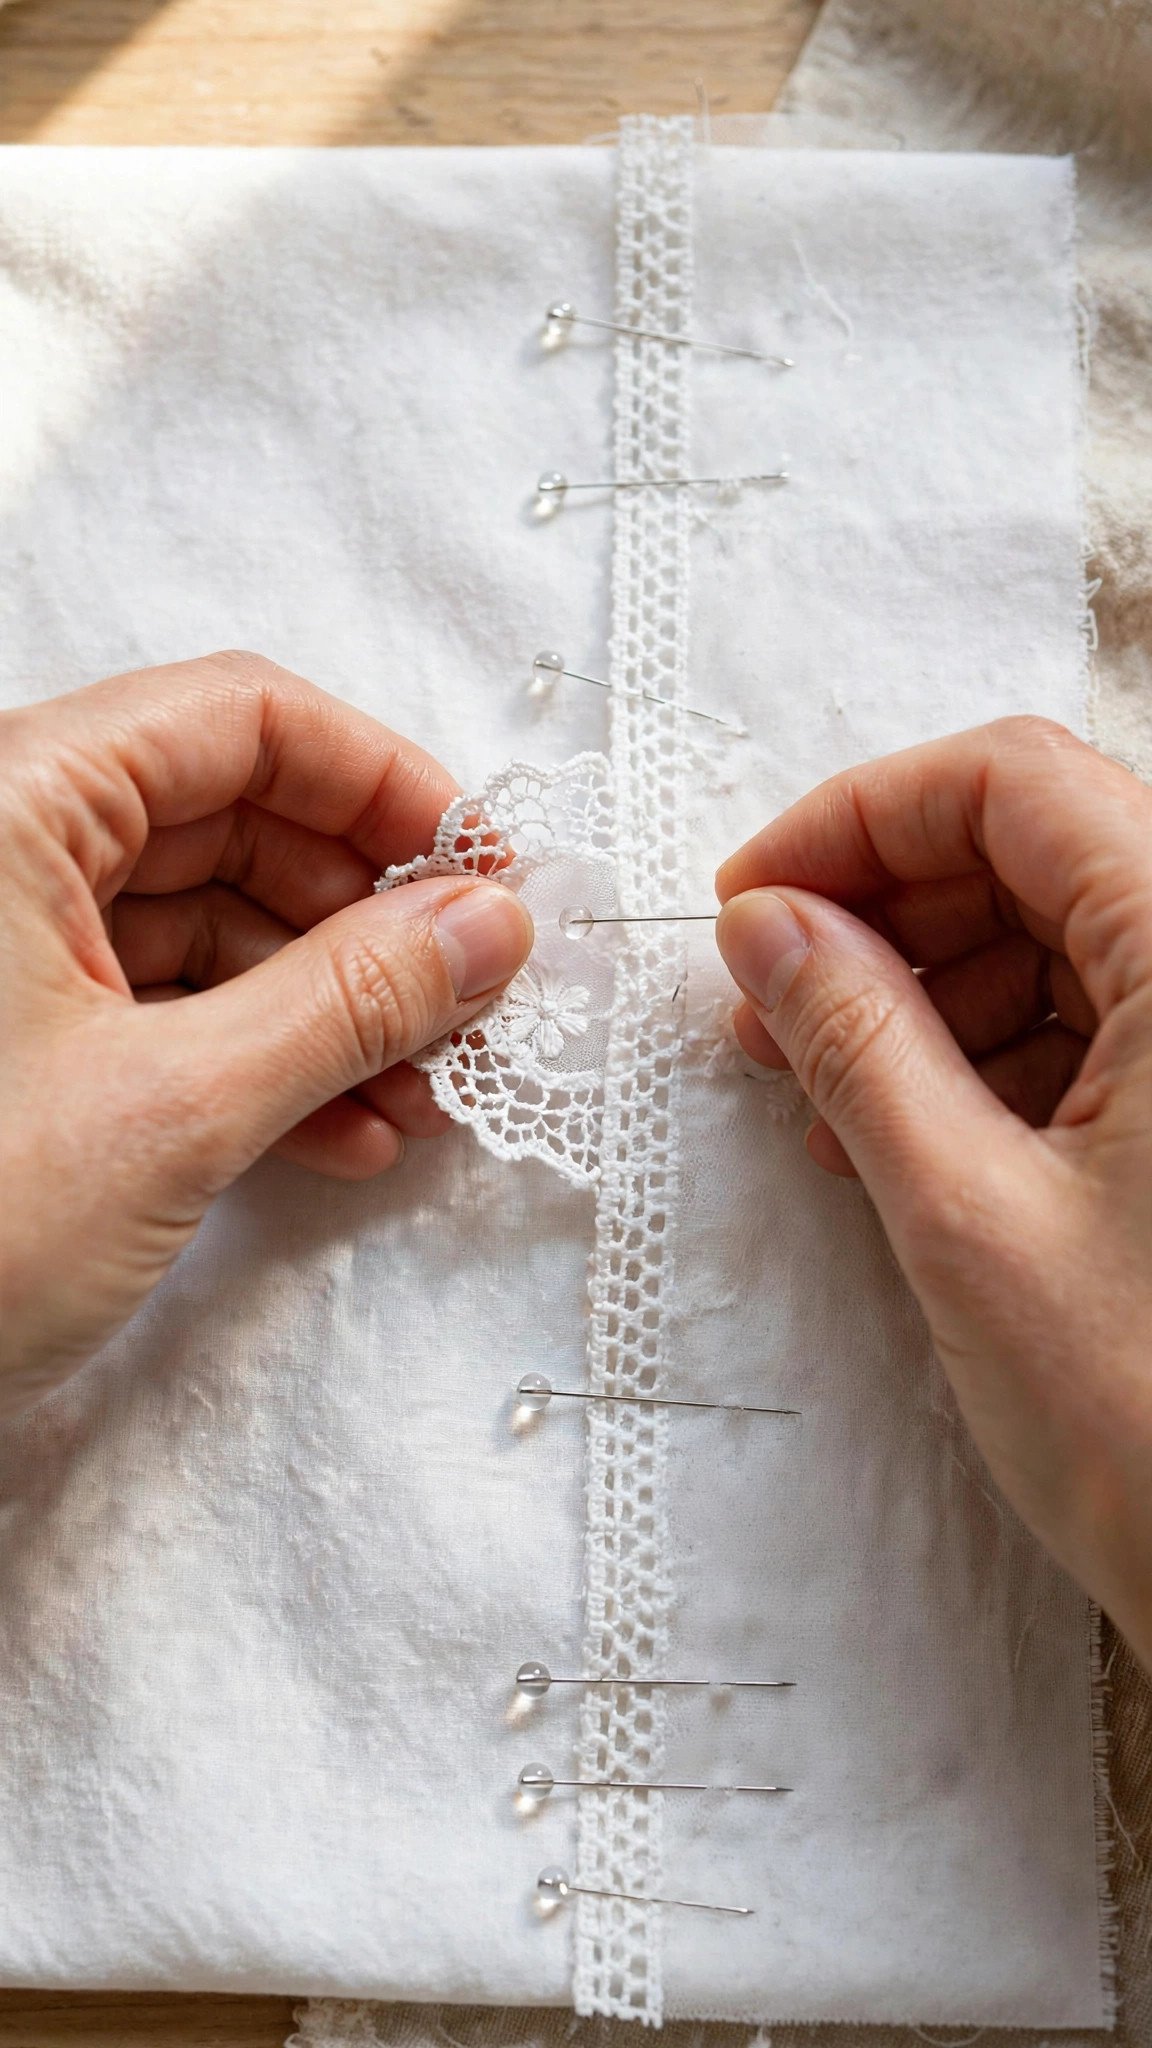
Thread choice matters more here than in ordinary seaming. Use a fine, good-quality thread matched to the lace, not the fabric, since the stitching sits on the lace edges. For choosing the best thread for your machine, a 50-weight cotton or all-purpose polyester in the lace color will nearly disappear. If you are still building your stitch vocabulary, my guide to essential hand stitches is handy for the basting step, because a quick hand baste keeps lace from creeping better than pins alone.
How to Add Lace Insertion to Solid Fabric
Here is the classic method, step by step. Lay your fabric right side up and place the lace right side up on top of it, exactly where you want the finished insertion to sit. Pin or hand baste along both edges of the lace. I baste, because pins can shift the lace a thread or two off your line, and with lace, a thread or two shows.
Set your machine to a straight stitch at a normal length, around 2.0 to 2.5 millimeters. Stitch along both edges of the lace, about a sixteenth of an inch inside each edge, keeping the fabric flat and letting the feed dogs move the work. Stitch both sides in the same direction, from the same end, because sewing one side up and the other side down can twist the lace slightly out of line.
Now flip the work to the wrong side. Carefully cut through the fabric only, right between the two lines of stitching, stopping short of the ends. Do not cut the lace. Fold the cut fabric edges back away from the lace along the stitching lines and press them flat. You will see the lace revealed like a little window, which is exactly the moment this technique starts feeling like magic.
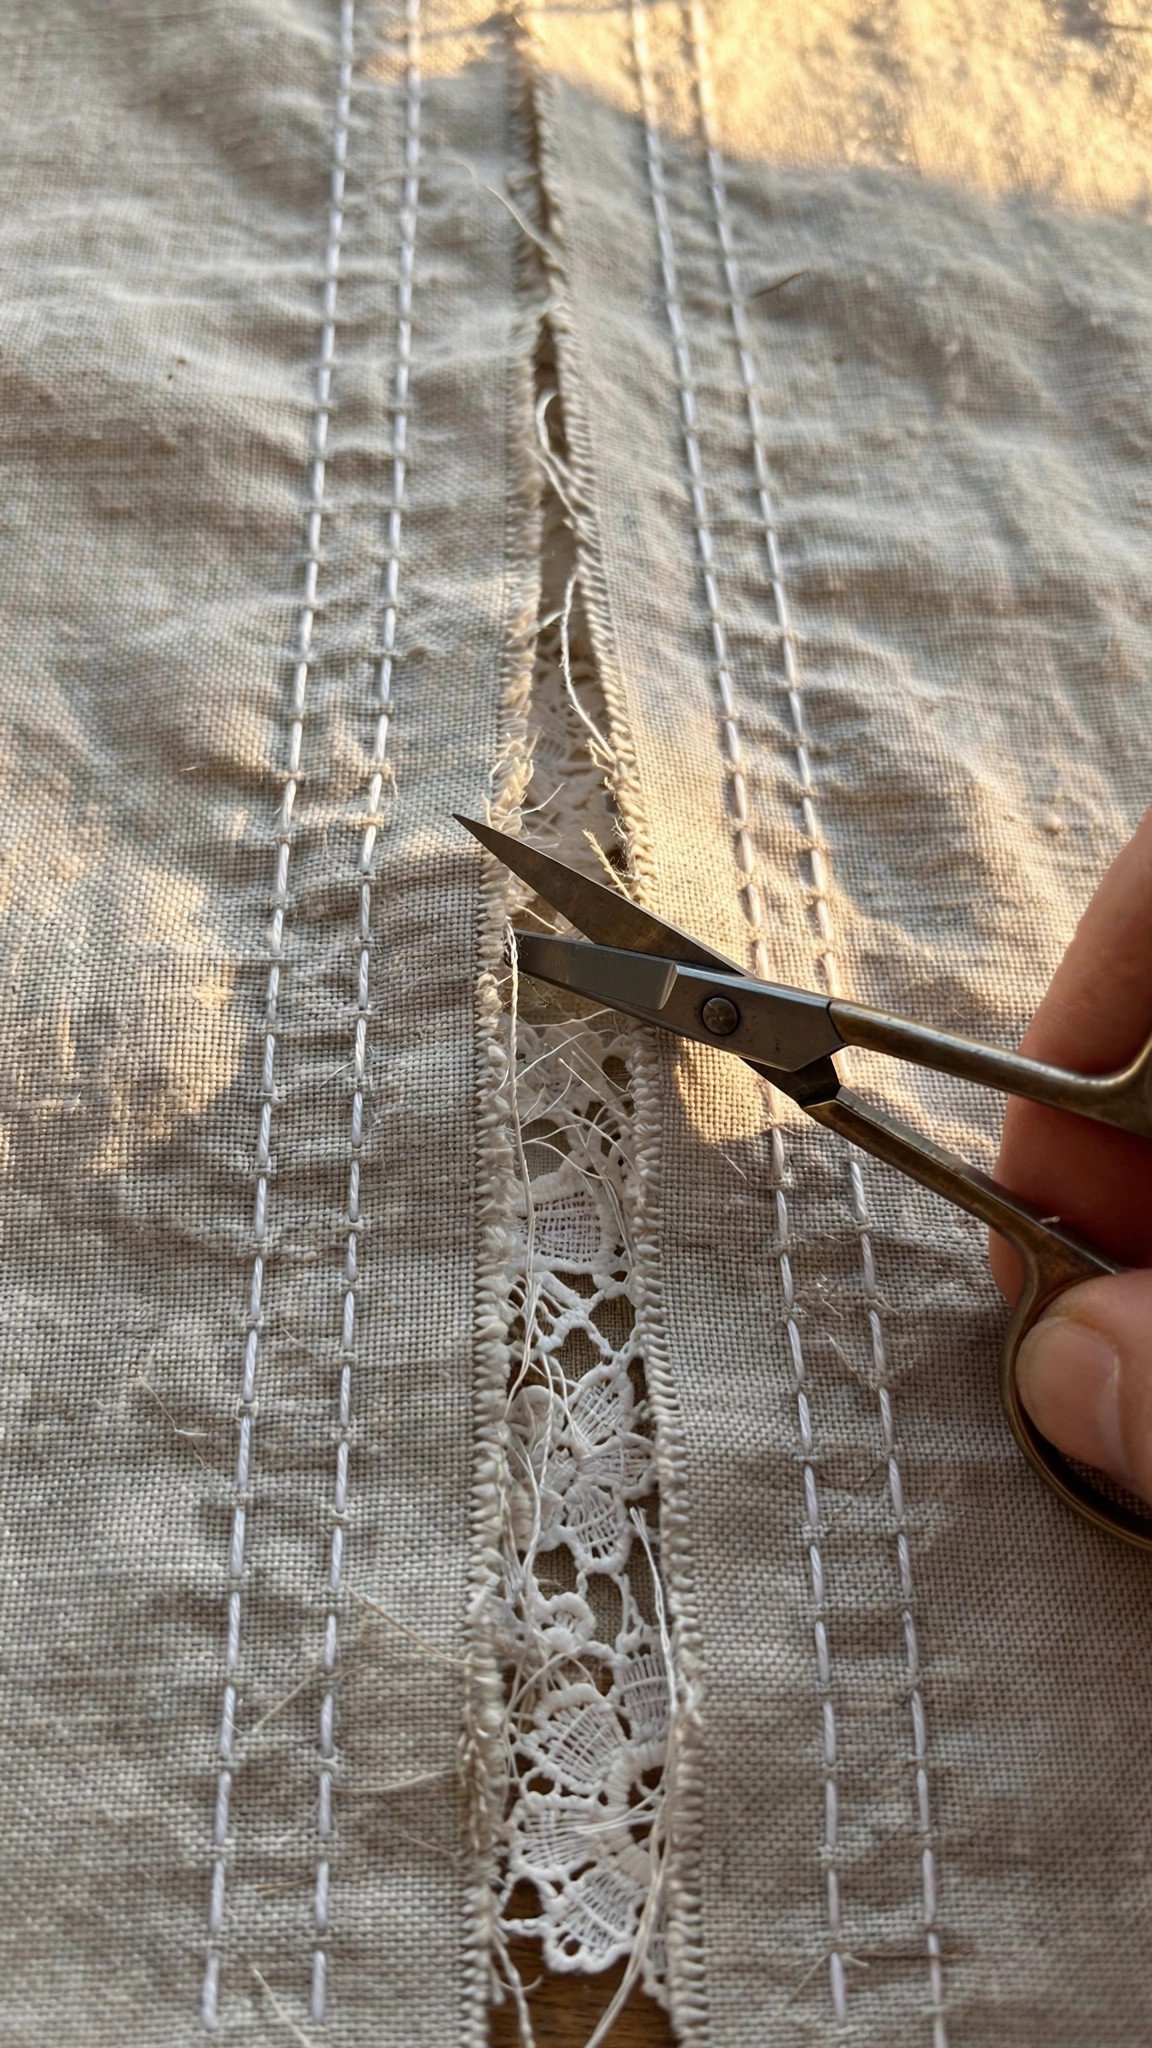
The Second Row of Stitching That Makes It Last
Turn the work back to the right side. Now stitch again along both edges of the lace, very close to the edge, catching the folded fabric underneath. This second row is what locks everything down permanently and gives insertion its crisp, finished look. On woven fabrics that fray, use a narrow zigzag for this second row instead of a straight stitch. The zigzag catches the raw folded edge underneath and stops it from fraying out over time, which is the difference between an insertion that lasts years and one that gets fuzzy after a few washes.
Flip to the wrong side one last time and trim the folded fabric allowances close to the second stitching lines, leaving narrow allowances of about an eighth of an inch. Press the whole insertion flat from the right side with the lace facing up. If your machine skills are still developing, a quick review of adjusting your stitch length and width will help you dial in that narrow zigzag with confidence.
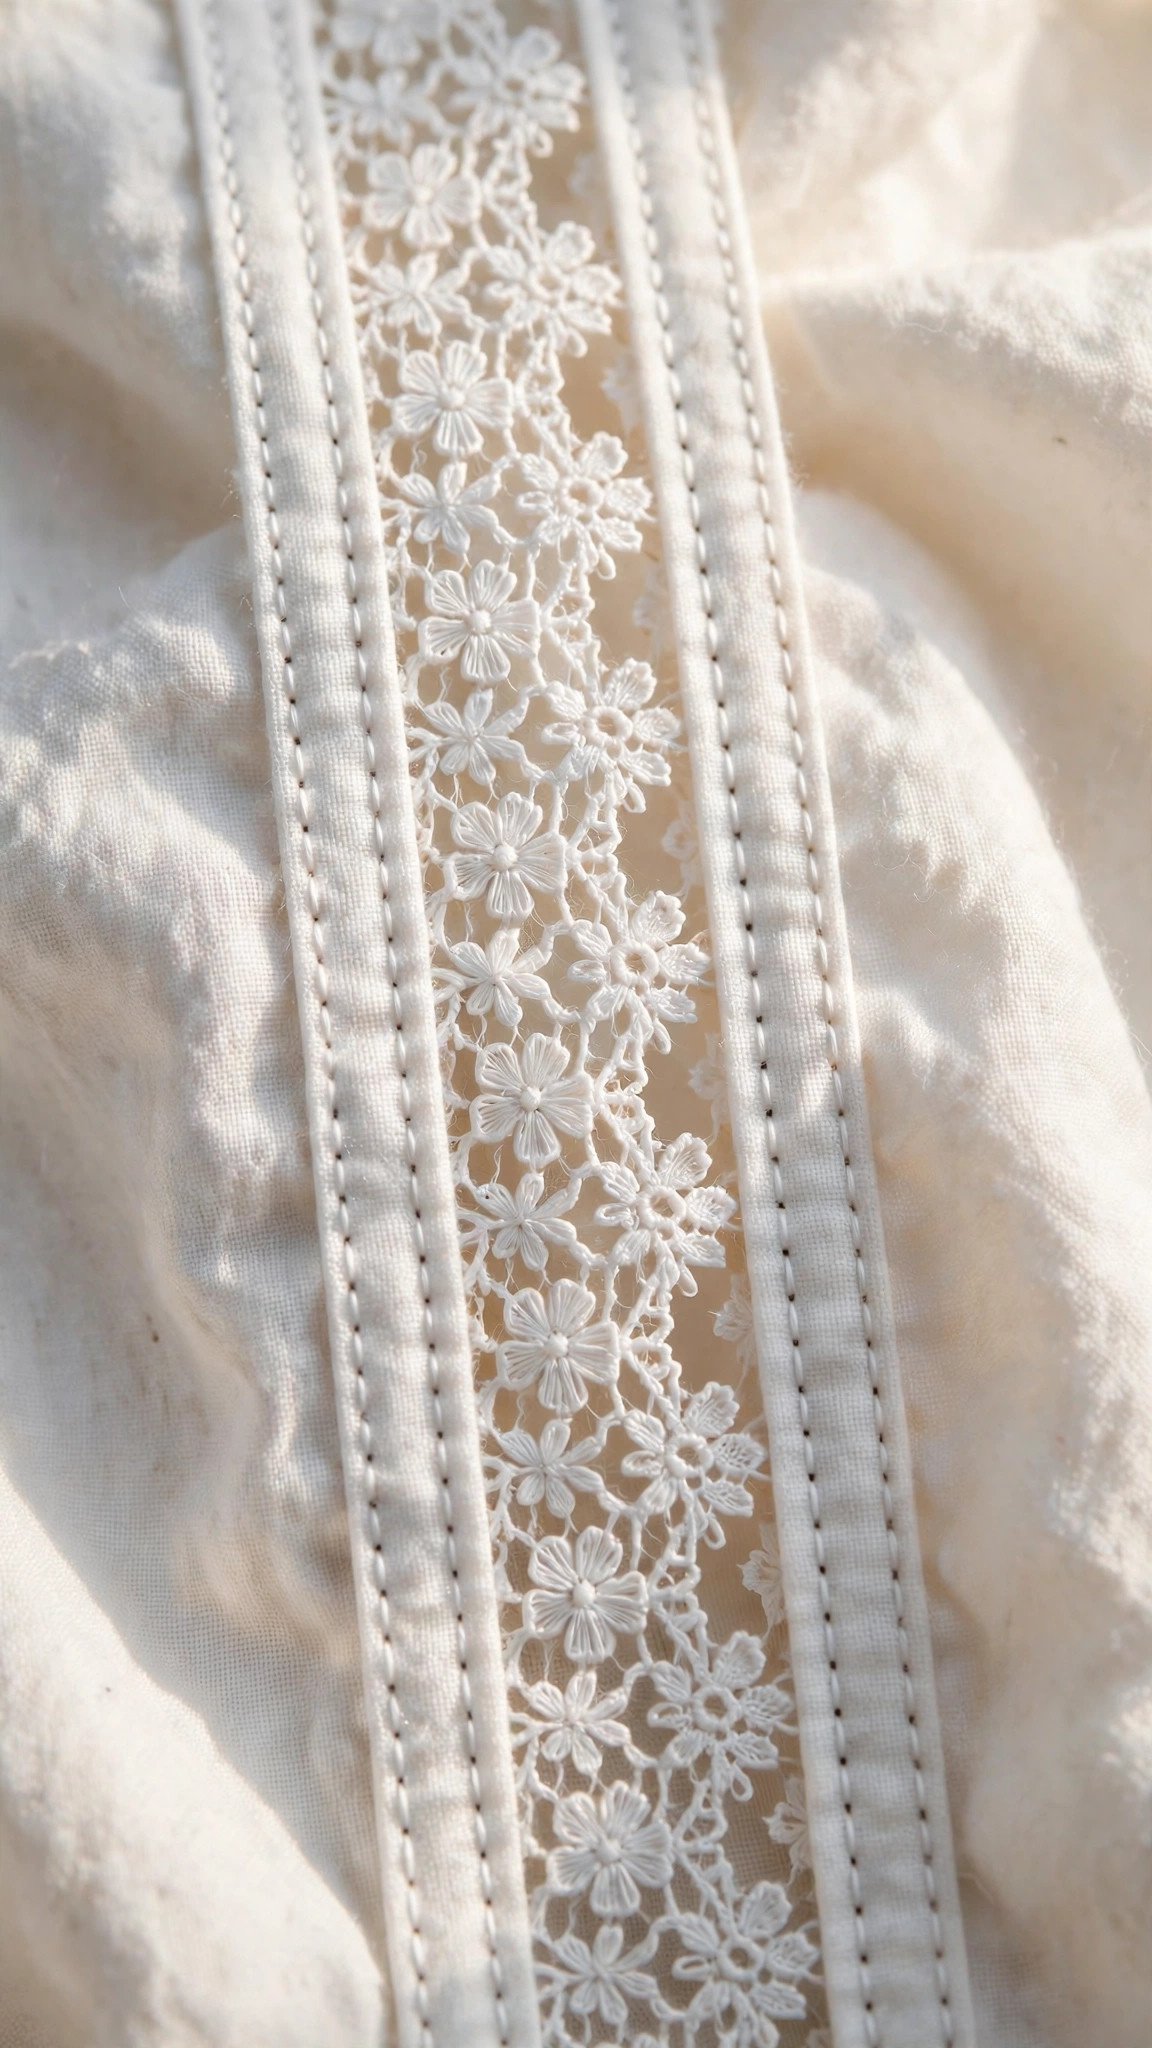
Adding Lace Into an Existing Seam Instead
Sometimes you do not want lace floating in the middle of solid fabric. You want it running along a seam line, like down a princess seam or across a yoke. The method adapts easily. Sew the seam first with long basting stitches, press it open, and trim the allowances to about a quarter inch. Then treat the basted seam line like the center of your insertion: center the lace over it on the right side, stitch both lace edges, remove the basting, and trim the seam allowances close behind.
The trick here is keeping the seam allowances from getting caught under your needle when you stitch the lace. Press them firmly to one side, away from the first lace edge you plan to stitch, and keep them flat with your fingers as you sew. This variation is gorgeous on blouses and little girls’ dresses, where a lace-edged seam reads as intentional design rather than decoration stuck on top.
Fixing Puckers, Gathers, and Wandering Lines
Puckering is the number one complaint with lace insertion, and it almost always comes from the lace being eased or stretched while the fabric stays flat, or the reverse. The lace and the fabric must feed together with zero tension difference. Baste first, sew slowly, and never pull from behind the foot. If the lace is longer than the fabric section, ease it in evenly or choose a shorter piece rather than gathering it in.
Wandering stitch lines usually mean you were watching the needle instead of the lace edge. Pick a point on your presser foot or throat plate to use as a guide and keep the lace edge aligned to it. And if one side of your insertion looks perfect and the other looks drunk, you probably stitched the two sides in opposite directions. Unpick the bad side, and redo it traveling the same direction as the good one. Lace is forgiving of a careful redo.
FAQ
Can I insert lace with a serger instead of a sewing machine?
Yes, and it is a lovely method for joining lace to fabric edges. Split your fabric where you want the insertion, then serge the lace to each raw edge with the knives disengaged so nothing gets trimmed. Press the seams toward the fabric. It gives a clean, flat join, though the classic stitched method gives you more control on delicate laces.
What stitch length should I use for lace insertion?
A normal straight stitch length of 2.0 to 2.5 millimeters works for the first rows. For the second securing row on fraying wovens, switch to a narrow zigzag, about 1.5 millimeters wide and 1.5 millimeters long, stitched right on the lace edge. Test on a scrap sandwich of your exact lace and fabric first.
Can I add lace insertion to knit fabric?
You can, with two adjustments. Use a stretch lace or stabilize the knit with a light fusible interfacing where the lace will sit, and use a narrow zigzag or stretch stitch for all rows so the seams move with the fabric. Without stabilization, the knit will ripple around the lace and never press flat.
How do I keep the lace perfectly straight while stitching?
Hand baste it first instead of relying on pins, mark a guideline on the fabric with a washable marker, and stitch both edges in the same direction. A strip of washable basting tape under the lace also works beautifully and dissolves in the first wash.

Written by June Carter
I am June, a sewing enthusiast who loves turning simple fabric into things people actually use. I test every technique and product I write about at my own machine before it lands here.