
Learning how to fix a twisting hem saved one of my favorite skirts from the donate pile, and I am still a little proud of that rescue. The hem had developed a slow corkscrew twist after a few washes: one section flipped up, another rolled under, and no amount of tugging it straight while wearing it made it behave. I had assumed the skirt was ruined. It was not. A twisting hem is almost always a construction problem with a construction solution, and most of the time you can fix it without starting over.
A hem twists when the fabric edge and the garment body disagree about where they want to sit. That disagreement usually comes from cutting off grain, stretching a curved edge while sewing, or skipping the pressing and stabilizing steps that keep a hem honest. Here is how to diagnose your twist, fix the garment you already made, and sew hems that stay put next time.
Why Hems Twist in the First Place
The number one culprit is the grainline. Fabric wants to hang straight along its grain, and if you cut the garment off grain, the hem will torque itself into a twist as it hangs, and washing makes it worse. The second culprit is stretch. Curved hems, bias edges, and knit fabrics all stretch under the presser foot, and if you sew a stretched edge to an unstretched garment, the hem ripples and rolls the moment you let go.
The third culprit is skipped preparation. A hem that was never pressed into its fold before stitching has no memory of where it belongs, so it wanders. And the fourth is mismatched handling: pulling the fabric as you sew, using the wrong stitch for the fabric, or hemming a knit with a straight stitch that pops and puckers. When your hem twists, run through this list like a detective. The cause tells you the cure.

Start With the Grainline
Every hem fix starts before the scissors come out. Cutting on grain is the single most effective twist prevention in sewing, because a hem cut on grain hangs straight by physics, not by luck. Check the grainline arrow on your pattern piece, align it with the lengthwise threads of your fabric, and double check that the fabric itself is not skewed from the bolt. If the crosswise threads do not run square to the selvage, straighten the fabric first by pulling it on the bias or giving it a press.
This matters most on skirts, dresses, and anything with a long hemline, where a small grain error multiplies across the full width. My guide to cutting fabric on grain walks through the whole check, and it is five minutes that prevents hours of hem grief. A hem that starts on grain is a hem you will rarely have to fix.
How to Fix a Twisting Hem on a Finished Garment
Now the rescue itself. Start by hanging the garment for a day so the fabric settles, then look at the twist with fresh eyes. If the whole hem was sewn while the edge was stretched, the honest fix is to unpick the hem stitching, let the fabric relax, and resew it properly. I know unpicking is nobody’s favorite job, but a twisted hem sewn over a twisted hem just locks the problem in.
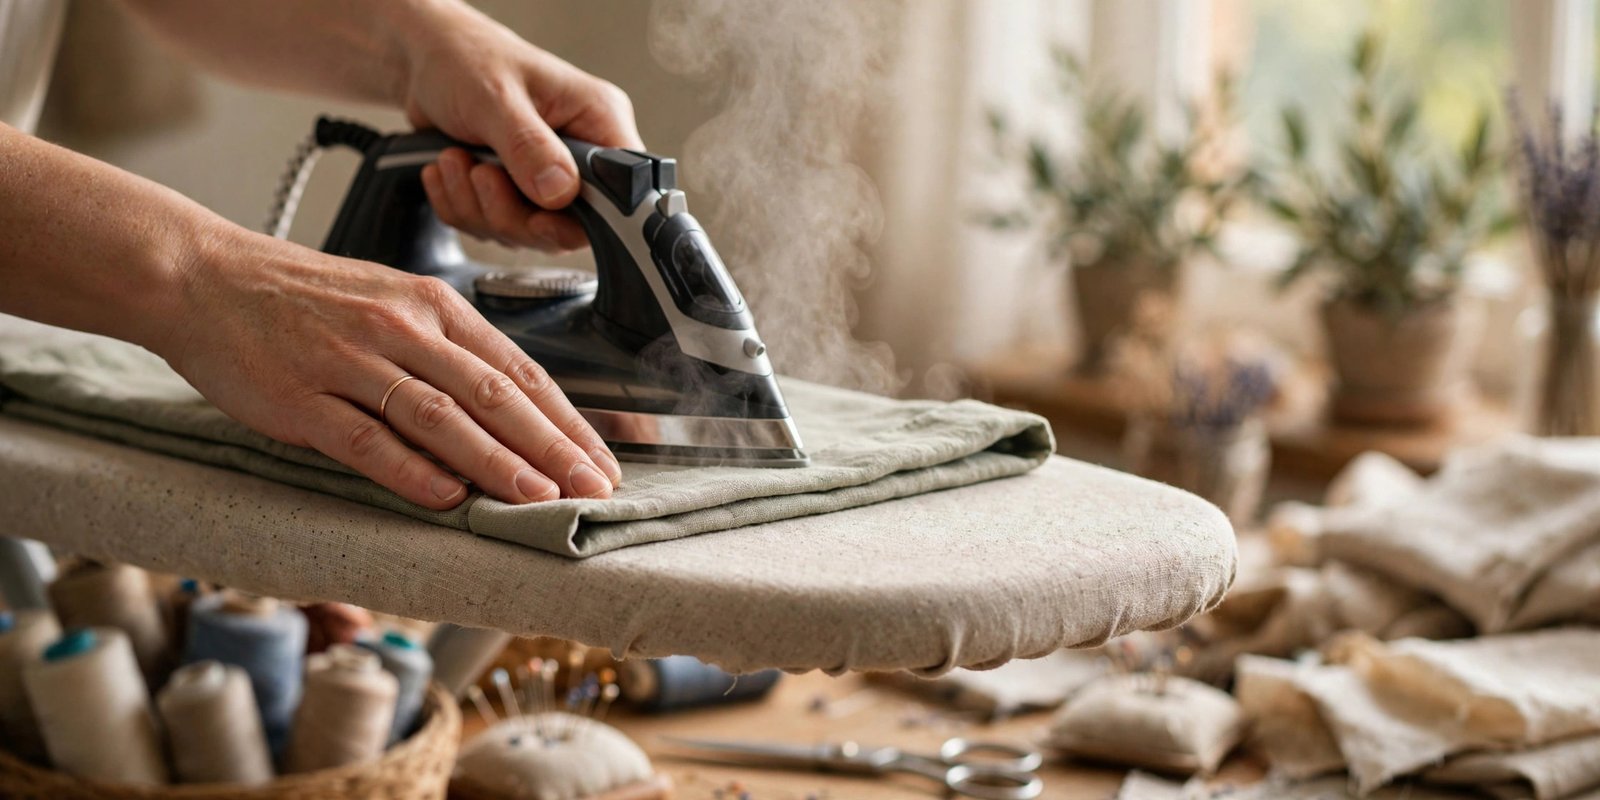
Once the hem is open, press the old fold lines flat with steam and check whether the raw edge is still on grain. If one section of the edge has stretched longer than its neighbors, you can gently ease it back with steam, shrinking the stretched fibers by pressing them with the iron while they are relaxed, never pulling. Trim the edge even if it has grown wavy, re-press the fold using a hem gauge so the depth is consistent all the way around, pin generously, and stitch slowly without stretching. For a knit hem that curls as well as twists, a strip of lightweight fusible knit interfacing inside the fold gives the edge the backbone it was missing.
After restitching, press the hem again and hang the garment overnight before you judge the result. Fabric has memory, and it sometimes needs a day to accept its new shape. When I rescued my skirt this way, the twist was gone by morning and it has stayed gone through many washes since.
Stay Stitch Curves Before They Misbehave
Curved hems deserve special treatment because a curve is really a tiny section of bias, and bias stretches if you breathe on it. The professional habit is to stay stitch the hemline before doing anything else: sew a line of regular stitching just inside the seam allowance all the way around the curve. This single line stabilizes the edge and stops it from stretching while you press, pin, and sew the actual hem.
Stay stitching is also the secret to necklines that do not gape and armholes that keep their shape, so it is a skill worth building early. On a circle skirt or any deeply curved hem, I stay stitch, then press the fold, working in small sections and letting the iron do the shaping rather than forcing the fabric. If you are new to machine stitching in general, a refresher on sewing a straight stitch will make the stay stitching line neat and even.

Press, Pin, and Measure Before You Sew
The unglamorous truth is that most twisted hems were never given a proper fold. Press the hem allowance up first, using steam and a pressing cloth, and press it into a crisp, even fold before a single pin goes in. Then measure the hem depth with a sewing gauge as you pin, checking every few inches. Hems twist partly because the fold depth wanders, a little deeper here and shallower there, which changes how the edge sits.
Pin generously, placing pins perpendicular to the fold so they are easy to remove as you sew, and never stretch the edge while pinning. On slippery fabrics, wonder tape or a light fusible web holds the fold without a single pin and washes away later. Then sew slowly, supporting the weight of the garment so it is not dragging the hem through the machine. A walking foot helps enormously here because it feeds the folded layers evenly instead of letting the top layer creep.

Pick the Right Hem for Curves and Knits
Matching the hem technique to the edge shape prevents most twists before they start. For deeply curved hems like circle skirts, a narrow hem is your friend: turn up a scant quarter inch twice and stitch, because a narrow fold has far less excess fabric to fight you than a deep one. For a deeper hem on a curve, gather the excess fullness with a line of basting, ease it in evenly, and press from the wrong side before stitching.
For knits, skip the straight stitch entirely and use a stretch stitch or twin needle so the hem can move with the fabric instead of popping. A strip of fusible knit interfacing or clear elastic inside a knit hem stops both curling and twisting. And for hand-finished hems, a blind catch stitch gives an invisible result with natural give, which my roundup of essential hand stitches covers step by step. Finally, remember that fabric can twist after it is sewn if it shrinks unevenly, so prewashing cotton and linen before you cut keeps the hem you pressed on day one looking the same on day one hundred.
FAQ
Why does my hem twist after washing?
Usually the hem was sewn while the edge was stretched, or the garment was cut off grain. Washing relaxes the fibers and the hidden tension releases as a twist. Unpick, let the fabric relax, press it back into shape, and resew without stretching.
Can I fix a twisting hem without unpicking it?
Sometimes. A thorough steam press can relax a mild twist, especially on natural fibers. But if the edge was sewn in stretched, pressing is temporary and the twist returns. Unpicking and resewing is the lasting fix.
What is stay stitching and does it really help hems?
Stay stitching is a line of regular stitching sewn just inside the seam allowance to stabilize an edge. It is one of the best defenses against twisting on curved hems, necklines, and bias edges.
How do I hem a circle skirt without it twisting?
Cut on grain, stay stitch the hemline, and use a narrow hem, turning up a small amount twice. Work in sections, press as you go, and never pull the curve while sewing.

Written by June Carter
I am June, a sewing enthusiast who loves turning simple fabric into things people actually use. I test every technique and product I write about at my own machine before it lands here.