

If you have ever wondered how to sew slippery satin without ending up with puckered seams, shifting layers, and a small puddle of frustration on your sewing table, pull up a chair. I have a love-hate relationship with satin, and after many years I can tell you the truth: satin is not difficult, it is just particular. It asks for a sharp needle, a little patience, and about five small adjustments that most tutorials skip. Get those right and sewing satin feels less like wrestling an eel and more like a pleasant afternoon.
Here is my honest opinion up front. Most people do not have a satin problem; they have a setup problem. They try to sew satin with the same needle, foot, tension, and speed they use for quilting cotton, and then they blame the fabric. Satin is a weave, not a fiber, which means it can be silk, polyester, or acetate, and every type behaves like a glossy river under your presser foot. Once you accept that and set your machine up for a river instead of a road, everything changes.
Why Satin Fights You (and What It Actually Needs)
Satin gets its shine from long floats of thread sitting on the surface of the fabric, and those same long floats make it slippery, delicate, and prone to snagging. Three things go wrong most often. First, the layers shift while you cut and sew, because nothing grips. Second, the seams pucker, because the fabric feeds unevenly and the tension is usually too tight. Third, the raw edges fray if you look at them sideways, which means your seam finishes need to be part of the plan, not an afterthought.
None of this is a reason to avoid satin. It just means you prepare differently. Every technique in this article is one I use myself when I sew with satin, whether it is a silky blouse, a lining, or an evening skirt. None of them require special machines or expensive gadgets. A few fine pins, a fresh needle, and tissue paper from the gift-wrap drawer will take you most of the way.
How to Sew Slippery Satin Without Puckering
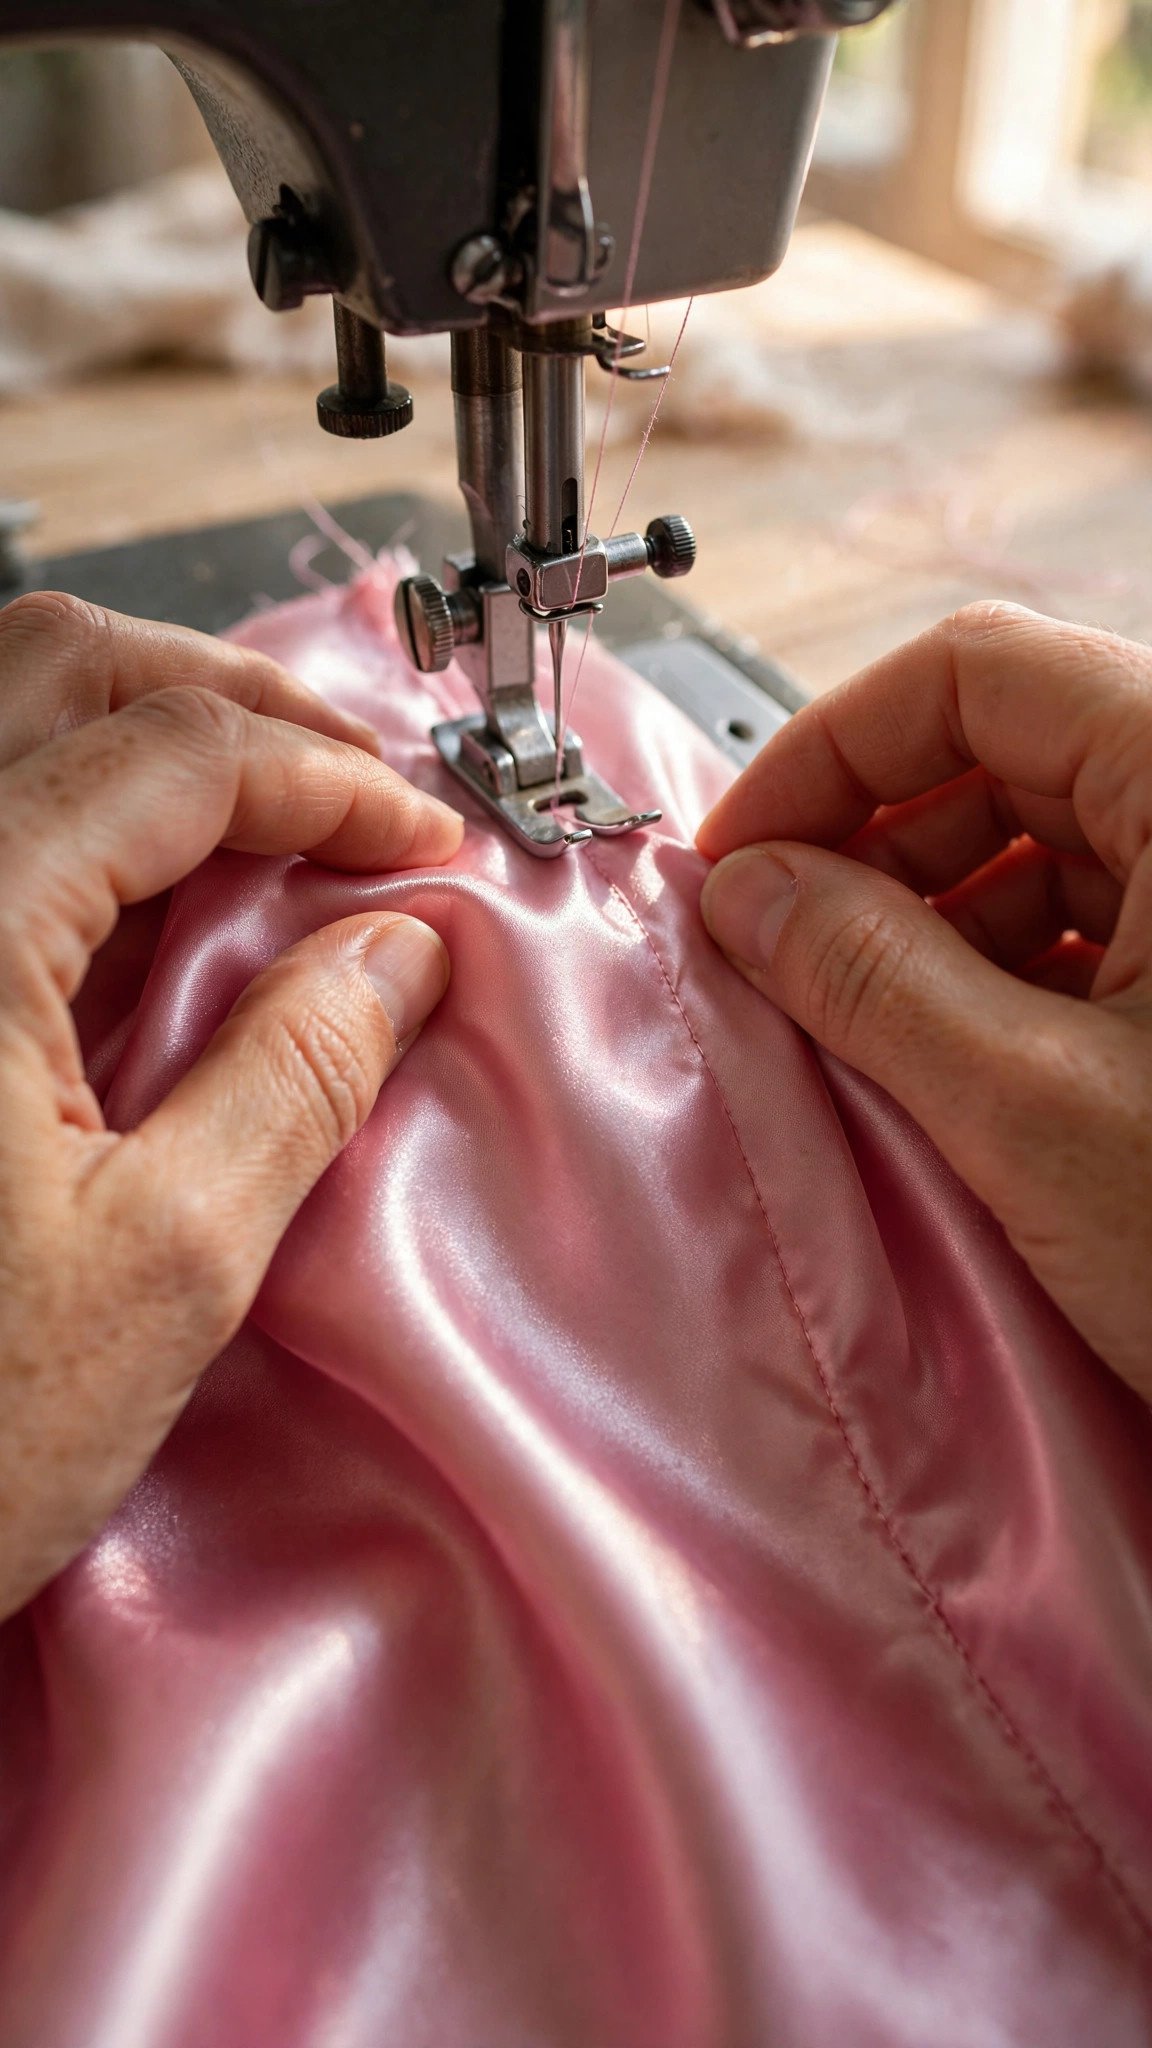
Puckering is the number one satin complaint I hear, and it is almost always a combination of two things: stitch length that is too short and tension that is too tight. Start by lengthening your straight stitch to about 2.5 to 3 millimeters. Short stitches bite into satin and gather it; longer stitches glide. My tutorial on how to adjust stitch length and width shows where that dial or menu lives on most machines.
Next, lower your upper thread tension slightly and test on a scrap. Satin puckers when the thread pulls the fabric tighter than the fabric wants to be pulled, and that sweet spot is usually a little lower than your machine’s default. Sew a test seam on two layers of your actual satin, press it, and look at it from an angle in good light. If the seam lies flat and smooth, you have found it. If it still ripples, loosen the tension one more notch and test again.
The third anti-puckering move is your presser foot. A walking foot is my single favorite satin tool, because it feeds the top layer of fabric at the same speed as the feed dogs move the bottom layer. Without it, the top layer lags, the bottom layer stretches, and the seam puckers. If you do not own a walking foot, a Teflon or roller foot is a good second choice, and reducing your presser foot pressure also helps. Sew slowly. Speed is the enemy of control on satin, and a steady slow pace gives you time to guide the layers without stretching them.
Cutting Satin Without the Shifting Nightmare
Cutting is where most satin projects go sideways before a single stitch is sewn. Satin slides on the table, slides on itself, and slides out from under your pattern pieces. My favorite trick is the cheapest one in this article: lay a sheet of tissue paper under your fabric and pin the pattern through both. The tissue paper grips the satin just enough to keep it still, and you simply tear it away after cutting. This works beautifully on the bias too, which is worth remembering since satin cut on the bias drapes like a dream.
Cut only one layer at a time. I know it doubles the work, and I do it anyway, because the bottom layer of a folded piece of satin will creep during cutting and your two pattern pieces will come out different sizes. Use pattern weights instead of pins to hold things down where you can, and if you do pin, keep the pins inside the seam allowance so any tiny holes they make stay hidden. My guide on how to cut fabric on grain covers grainlines in detail, and it matters double for satin: pieces cut with the grain running different directions will catch the light differently and look like two different fabrics.
Use your sharpest scissors or a rotary cutter with a fresh blade, and cut slowly. A dull blade pushes satin instead of cutting it, which stretches the edge and leaves you with wavy seam lines before you begin. After cutting, let the pieces rest on the table for a few minutes before you pick them up. Satin relaxes slightly after cutting, and pieces that rest first sew up truer.
Pinning, Clipping, and Holding Slippery Layers Together
Regular pins leave visible holes in satin, so this is the place to be fussy. Use extra-fine silk pins with glass heads, and place them only inside the seam allowance where the holes will never show. Even better, use wonder clips for long straight seams. Clips hold without piercing the fabric at all, and on satin that is a genuine advantage. If you are new to them, my rundown of the 8 essential tools for working with fabric explains when clips beat pins and vice versa.
For seams that really want to wander, hand basting is worth the ten minutes it takes. A long running stitch down the seam line holds both layers exactly where you want them while you machine stitch, and then you pull the basting out. I baste every satin seam longer than about eight inches, every curved seam, and every place where two slippery layers meet at an angle. It feels old-fashioned and it works like nothing else.
Wash-away wonder tape is another excellent option for holding satin layers, especially along hems and zipper lines. It is a double-sided tape that dissolves in water, and it keeps edges perfectly aligned without a single pin. Just keep it inside the seam allowance and test it on a scrap first, since some satins are more sensitive to adhesive residue than others.

Choosing the Right Needle and Thread
This section is short because the answer is simple: use a brand-new sharp needle, and I mean new out of the packet, not the one you have been sewing with for three projects. A Microtex or sharp needle in size 70/10 or 80/12 glides through satin without snagging the surface threads. A universal needle has a slightly rounded point that can push satin threads aside and leave visible pulls, and a dull needle of any kind will snag. Change the needle the moment you start a satin project. My guide on how to choose a sewing machine needle explains the numbering if the sizes confuse you.
For thread, choose a fine, lightweight polyester thread in a color that matches your satin. Polyester has a little give, which helps seams stay smooth on a fabric that moves, and a fine thread keeps bulk out of your seam allowances. Heavy topstitching thread is the wrong call here; it will sit on top of the satin and look lumpy. Wind a fresh bobbin too, because an almost-empty bobbin running low on thread can change your tension mid-seam, which is the last thing you need on a fabric this sensitive.
Pressing and Finishing Seams on Satin
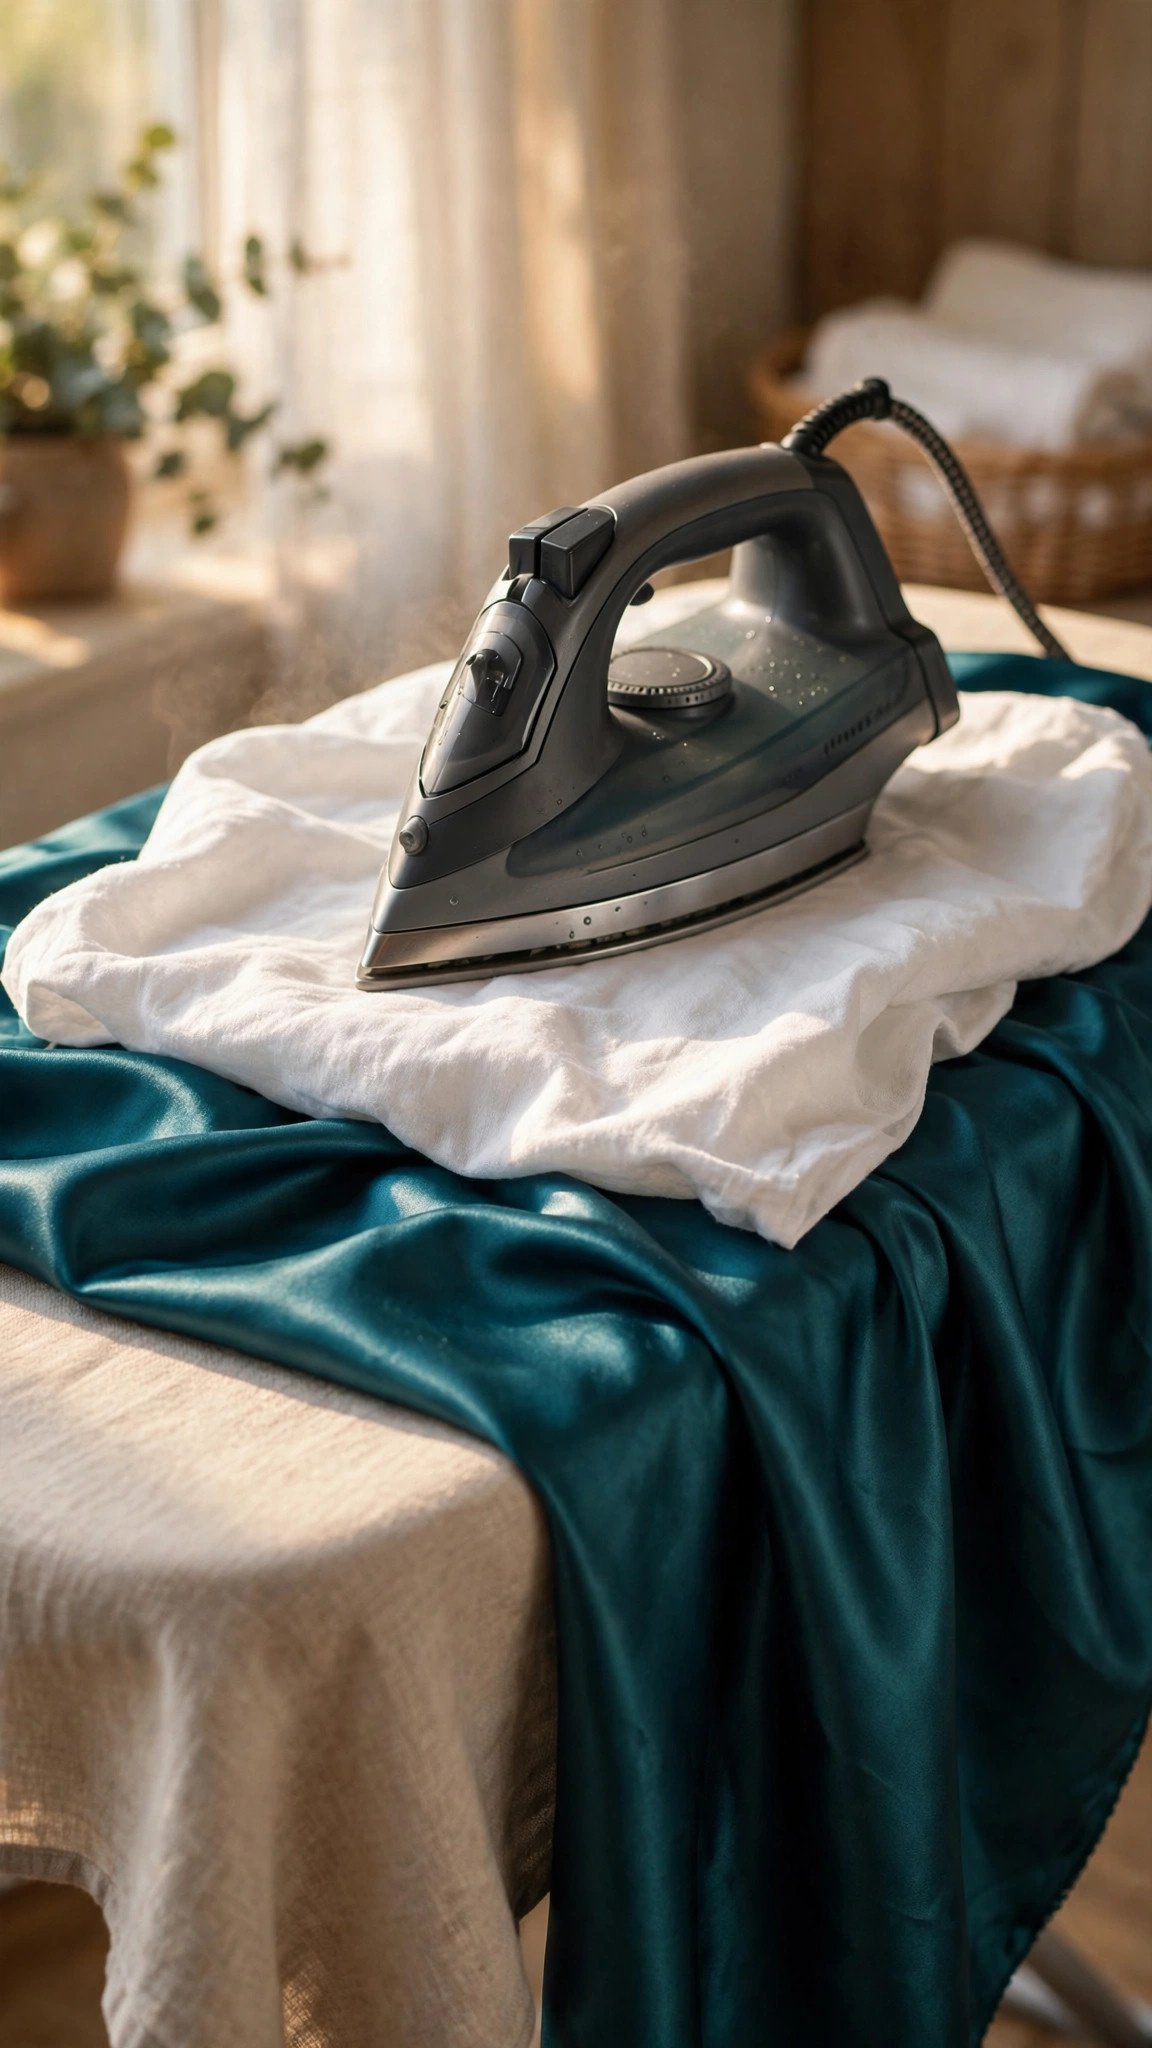
Pressing satin requires a light hand and a press cloth, always. A hot iron pressed directly onto satin can leave a permanent shine mark or even melt polyester satin, and neither of those can be undone. Set your iron to a low or medium heat with no steam, or just a whisper of steam, place a clean cotton press cloth over the seam, and press gently. Press seams open or to one side according to your pattern, and never slide the iron back and forth: lift and press, lift and press.
Because satin frays so readily, your seam finish deserves real thought. French seams are my top recommendation for satin garments, because they enclose every raw edge completely and look as beautiful inside as outside. A serged or overlocked edge is a faster alternative, and a Hong Kong finish with bias binding looks stunning on unlined jackets. What I would avoid is leaving raw edges unfinished or trusting a single line of zigzag on a fabric that frays this eagerly. Finish your edges, and your satin garment will outlive your interest in it.
FAQ
What needle is best for sewing satin?
A new Microtex or sharp needle in size 70/10 or 80/12. The fine, sharp point pierces the slippery weave cleanly instead of snagging it, and starting with a fresh needle prevents the pulls and runs that a dull needle causes.
Why does my satin pucker when I sew it?
Puckering usually comes from stitch length that is too short, thread tension that is too tight, or the top fabric layer feeding slower than the bottom one. Lengthen the stitch to 2.5 to 3 millimeters, lower the tension slightly, test on a scrap, and use a walking foot if you have one.
How do I stop satin from shifting while cutting?
Place tissue paper underneath the fabric and cut through both layers, use pattern weights instead of pins, and cut only one layer at a time. Sharp scissors or a fresh rotary blade and a slow hand make the rest easy.
Can I use pins on satin?
Yes, but use extra-fine pins and keep them inside the seam allowance so any holes stay hidden. Wonder clips, hand basting, and wash-away tape are even kinder to satin and worth using on long or curved seams.

Written by June Carter
I am June, a sewing enthusiast who loves turning simple fabric into things people actually use. I test every technique and product I write about at my own machine before it lands here.