
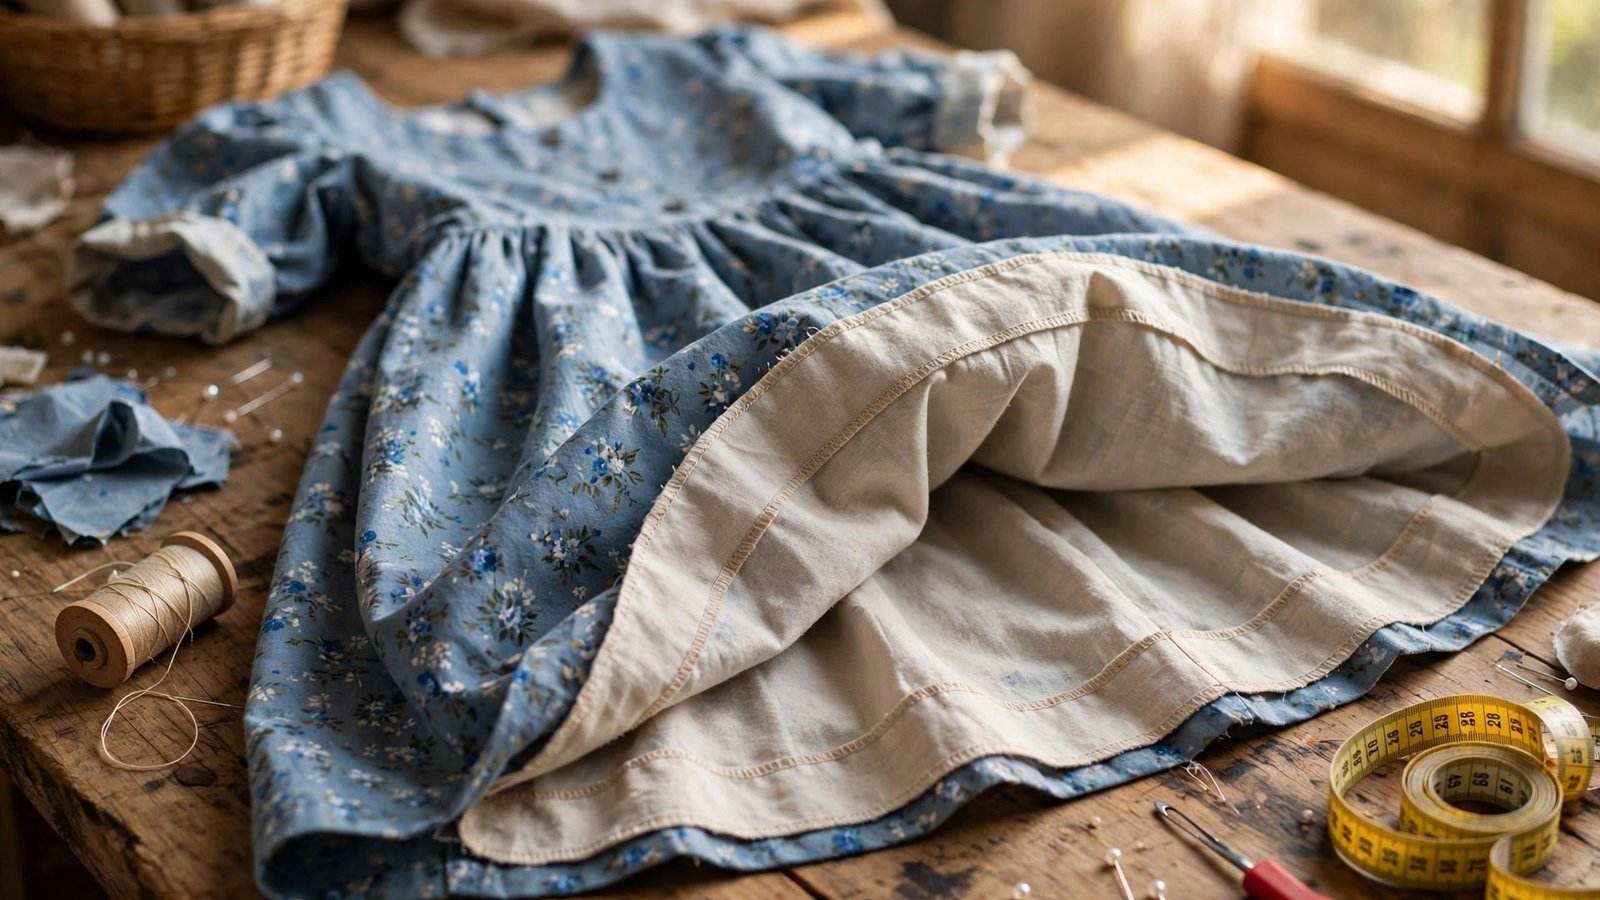
Learning how to let out a seam where possible has saved more garments in my sewing room than any other fitting trick I know. A favourite dress that feels snug across the hips, a jacket that pulls at the bust, or trousers that pinch at the waist can often be rescued with a few careful stitches. Before you buy a replacement, it is always worth checking whether the seams already hold the extra room you need.
I learned this in front of my mirror, wearing a skirt I loved and realising the side seams were doing all the work. Once I understood that most seams are sewn with extra fabric folded inside, I stopped seeing a tight garment as a lost cause. That shift in thinking is the heart of this guide, and it works on shop bought clothes just as well as on things you sewed yourself.
Here I will show you how to check whether a seam can be let out, how much room you can realistically gain, and how to press the new seam so the alteration looks like it was always meant to be there. We will go slowly, test as we go, and keep the original stitching safe until we are sure the new fit is right.
First, Check Whether the Seam Has Room to Give
Turn the garment inside out and look at the seam allowance, the folded strip between the stitching line and the raw edge. If that strip is wide, often around five eighths of an inch or more, you have room to work with. If the seam has been trimmed close or overlocked right up to the stitching, there may be nothing to let out, and forcing it will only weaken the seam.
Feel the fabric as you inspect it, because some fabrics forgive this change and others do not. A stable woven cotton, linen, or wool will usually press flat after the seam moves, and the old stitching line will fade with steam and time. A fabric with a strong crease memory, like a crisp poplin, may show a faint line where the old seam sat, so hold it up to the light and look before you decide.
My rule is simple: check every seam that could give you room, not just the obvious one. Side seams are the usual candidates, but centre back seams, princess seams, and underarm seams can all add a little. Add up the gains across two or four seams and a small change on each one can make a real difference. My guide to how to take accurate body measurements will help you decide exactly where that room needs to go.
How Much Room Can You Really Gain?
Be honest about the maths, because letting out a seam is a small alteration, not a resizing. If each side seam has a five eighths inch allowance and you sew the new seam at a quarter inch, you gain three eighths of an inch per seam. Across two side seams that is three quarters of an inch in total, which is often just enough to take a garment from snug to comfortable.
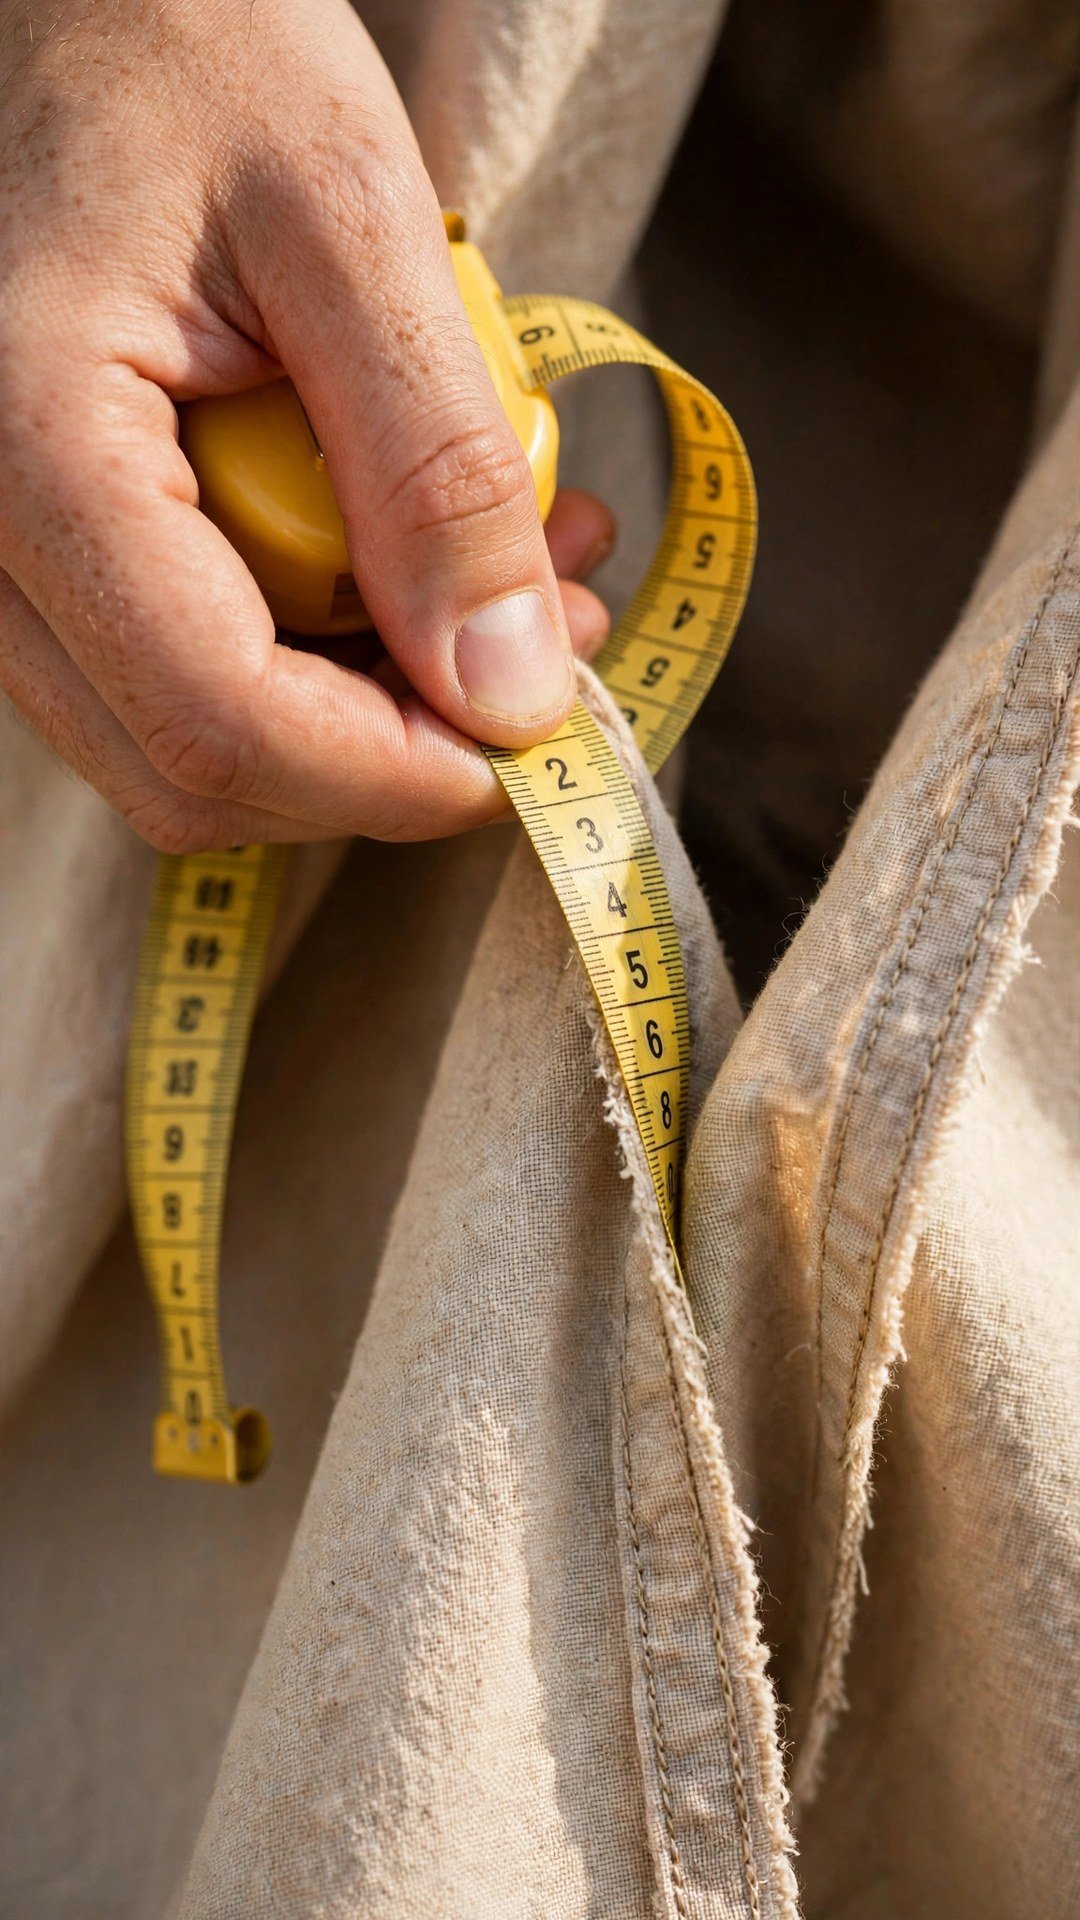
I always measure the allowance with a ruler before I promise myself a result. Open the seam allowance flat, measure from the stitching line to the raw edge, and write the number down. Then choose your new seam allowance, leaving at least a quarter inch of fabric beyond the new stitching so the seam stays strong and does not fray apart.
Try the garment on and pin the new fit before you sew anything. I pin from the inside, with the garment on, and I ask a family member to help with the back if I can. Walk, sit, and reach your arms up while you wear it pinned, because a garment that feels fine standing still can pull badly when you move.

Unpicking the Old Seam Without Damaging the Fabric
Good unpicking is slow work, and it is worth doing properly. I use a sharp seam ripper and I work from the inside, sliding the tip under every third or fourth stitch on the bobbin side and lifting gently. Never tug the fabric apart while stitches still hold it, because that is how you tear a hole in a seam you were trying to save.
If the original stitching was serged, take extra care. Cut the overlocking threads first, one loop at a time, then unpick the straight stitching underneath. A pair of small, sharp scissors can help, and good light matters more than speed. Keep a lint roller nearby, because unpicking leaves a surprising amount of thread fluff behind.
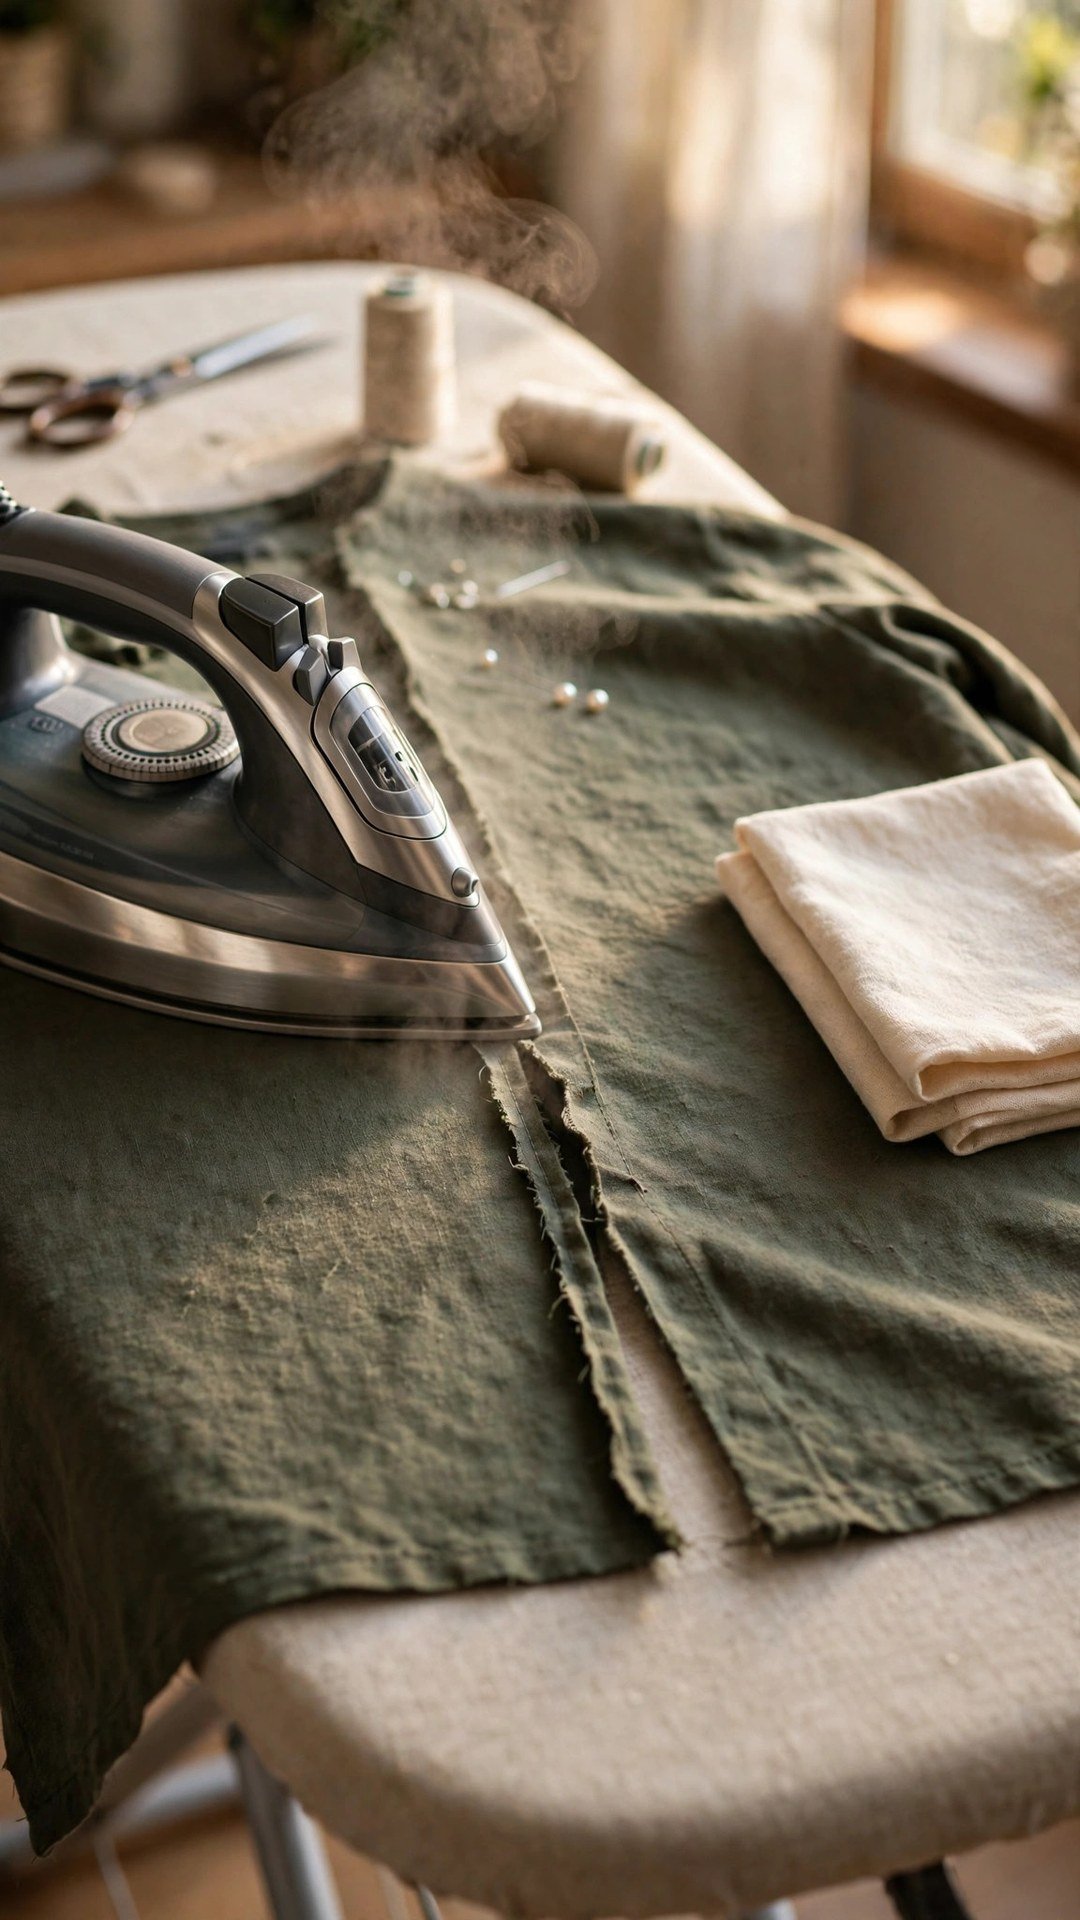
Once the seam is open, remove every loose thread and press the old seam allowance flat. Use steam if the fabric allows it, and press from the wrong side first, then from the right side with a pressing cloth. The old stitching holes will often close up as the fibres relax under steam, especially in wool and linen. When a seam keeps popping open after wear, my notes on how to repair a seam that pops open explain why that happens and how to make the repair last.
Sewing and Pressing the New Seam
With the fitting pinned and the old seam pressed open, mark your new stitching line clearly. I use chalk or a washable marker on the wrong side so nothing shows on the outside. Sew slowly and evenly, keeping the same seam allowance all the way along, and backstitch at the start and end so the new seam cannot creep open.
Pressing is what makes this alteration invisible. Press the new seam open or to one side, matching the way the original seam was pressed, and use steam and a pressing cloth to coax the old fold out of the fabric. I press in short sections and lift the iron rather than sliding it, because sliding can stretch a freshly sewn seam out of shape.
Finish the raw edges of the new seam allowance so they do not fray in the wash. A zigzag stitch, an overlocked edge, or pinking shears will all work, and the right choice depends on the fabric. Finally, try the garment on again and check the whole silhouette, not just the spot you fixed, because an uneven alteration is easy to miss and easy to correct now.
When Letting Out a Seam Will Not Work
Sometimes the honest answer is that a seam cannot be let out, and knowing when to stop is part of good sewing. If the seam allowance has been trimmed to a scant eighth of an inch, there is simply no fabric to give. If the fabric is leather, vinyl, or a coated cloth, the old needle holes will stay visible forever, and moving the seam will leave a dotted line across the garment.
A garment that is several sizes too small is also beyond this fix. Letting out seams can give you an inch or two around the body, but it cannot rebuild a bodice or lengthen a sleeve that was never long enough. My guide to how to understand wearing ease explains how to judge whether a garment is meant to fit close or loose in the first place.
If the old stitching line refuses to press out, try a longer steam press or a damp pressing cloth, but test any trick on a hidden spot first. On a dark fabric a faint line is often invisible once worn, and on a print it usually disappears entirely. There is no shame in deciding a garment is better as a pattern for a fresh version in a larger size.
Frequently Asked Questions
How do I know if a seam can be let out?
Turn the garment inside out and measure the seam allowance from the stitching line to the raw edge. If you have at least five eighths of an inch, you can usually gain room by sewing a narrower seam.
Will the old stitching line show after I let out a seam?
It can show faintly at first, especially on plain light fabrics. Steam pressing from the wrong side, then the right side with a pressing cloth, usually softens the line, and it fades further after washing.
How much bigger can a garment get by letting out the seams?
Expect a modest gain, often three quarters of an inch to one and a half inches around the body when you let out two to four seams. It is a fitting refinement, not a full size change.
Can I let out a seam on a shop bought garment?
Yes, and shop bought garments often have generous seam allowances. Check the inside seams first, and be gentle with serged edges, which need careful unpicking so you do not cut the fabric itself.
What if only one side seam has enough allowance?
Let out what you can on the generous side, then look for room in other seams like the centre back or princess seams. Keep the changes balanced and try the garment on after each small adjustment.
Let It Out Slowly, Press It Well
Letting out a seam is one of those quiet sewing skills that turns a garment you had given up on into one you reach for again. Check the allowance, pin the fit, unpick gently, and press with care, and the alteration will disappear into the garment.

Written by June Carter
I am June, a sewing enthusiast who loves turning simple fabric into things people actually use. I test every technique and product I write about at my own machine before it lands here.