

Learning how to fit pants for a curvy figure changed the way I sew trousers, because a curvy figure usually needs a different waist and hip size in the same pair of pants. My waist is smaller than my hips, so trousers that fit my hips always gaped at the back waist, and trousers that fit my waist pulled tight across the hips.
The answer is not to buy a bigger size and hope for the best. It is to choose a pattern by your hip measurement, then adjust the waist, the rise, and the curve of the seat to match your body. A few small changes, made in the right places, can turn a pair of trousers that almost fits into a pair that fits beautifully.
In this guide I will show you how to measure for trousers, how to grade between sizes, how to fix a gaping waistband, and how to adjust the rise and the crotch curve. We will test in a muslin, fit sitting and standing, and finish with trousers you actually want to wear.
How to Fit Pants for a Curvy Figure: Measure First
Start with honest measurements, taken over the underwear you will wear with the trousers. Measure your waist at its narrowest point, your hips at their fullest, and your rise from the waist to the crotch, sitting and standing. Write all three numbers down, because trouser fitting is about the relationship between them.
Choose your pattern size by your hip measurement first, because it is easier to take in a waist than to let out hips that are too tight. If your waist is two sizes smaller than your hips, that is normal for a curvy figure, and grading between sizes will bridge the gap. My guide to how to take accurate body measurements explains how to take each measurement accurately.
Compare your measurements with the finished garment measurements on the pattern, not just the body measurements in the size chart. Finished measurements include wearing ease, and they tell you how the trousers will actually feel. If the finished waist is much larger than your waist, you will need to grade the waist down.
Grading Between Waist and Hip Sizes
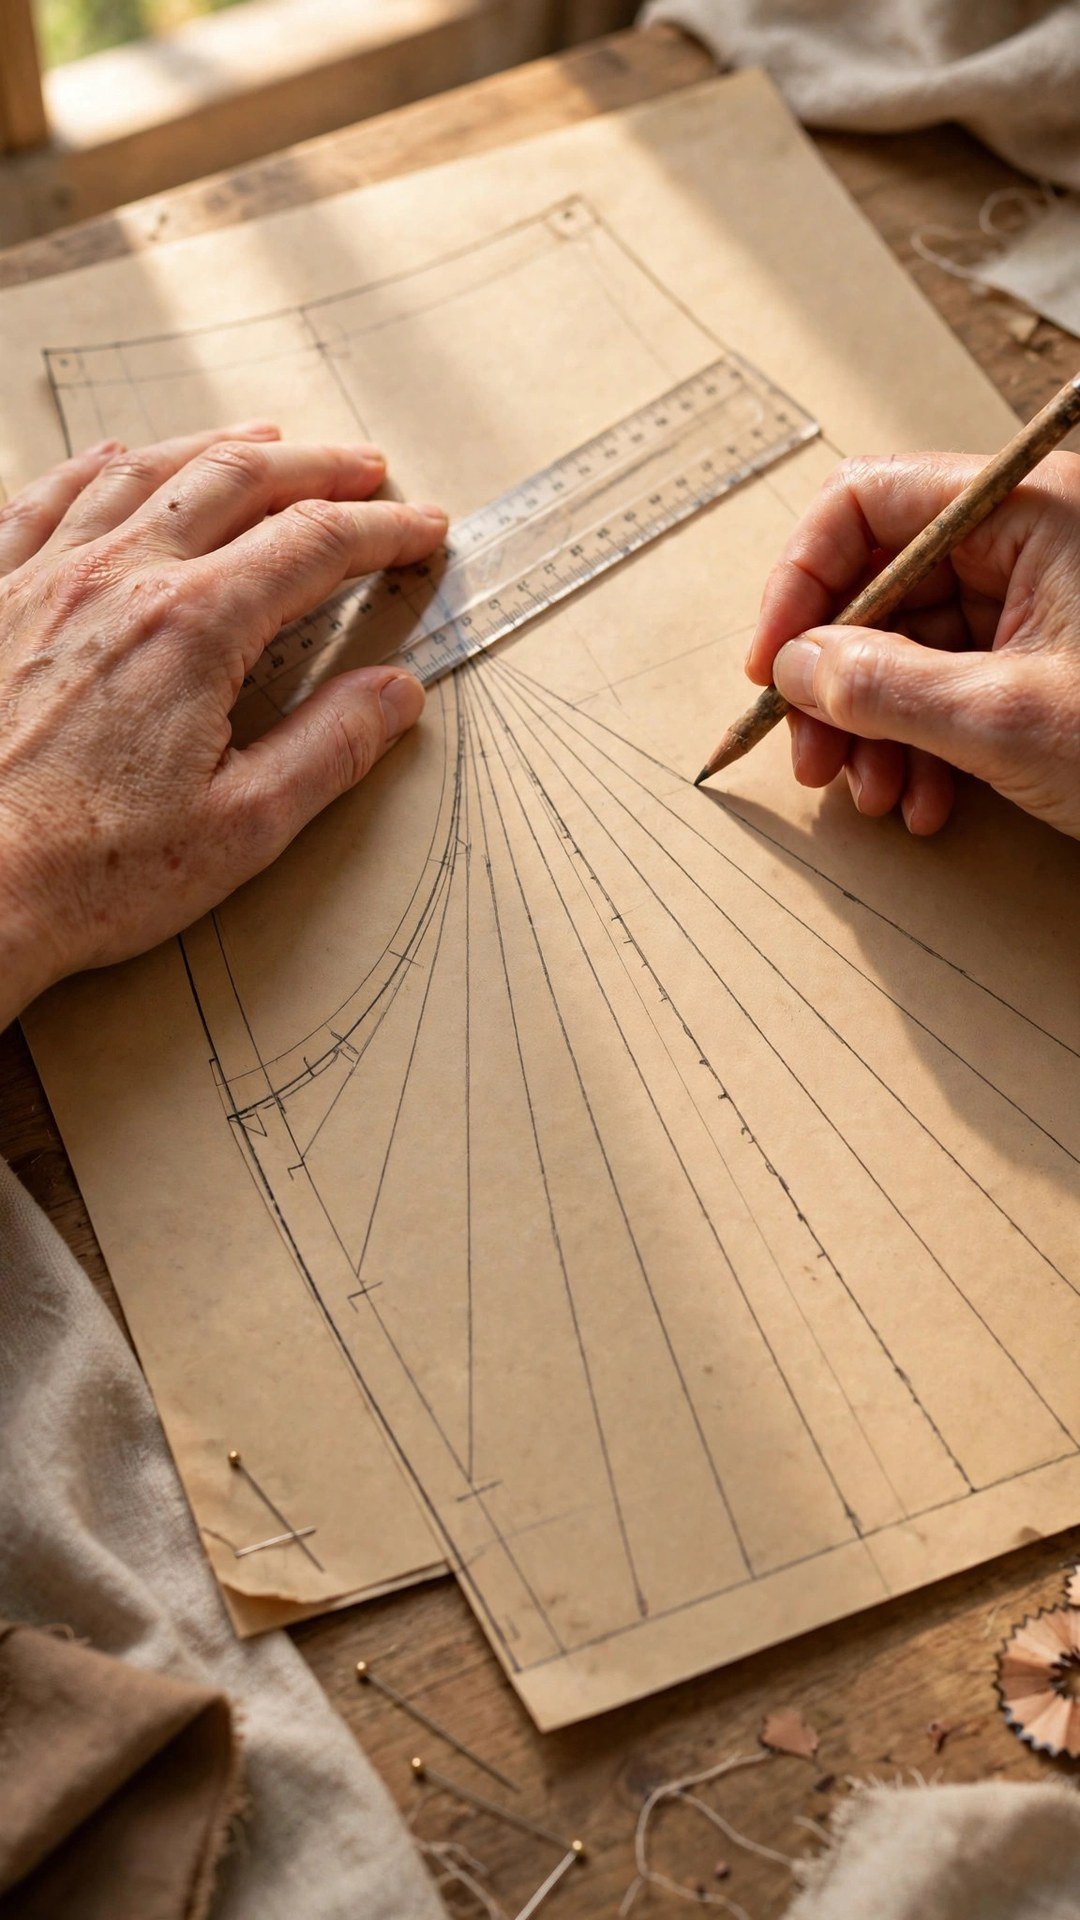
Grading between sizes means drawing a smooth line from one size at the waist to another size at the hip. On the pattern, find the waist size that matches your waist and the hip size that matches your hips. Draw a line that blends from one to the other along the side seam, keeping the curve smooth and gradual.
Grade both the front and back pieces, and grade the waistband to match. If you grade the trousers but not the waistband, the waistband will not fit the new waist measurement, and it will pucker or gap. Trace the waistband from the graded pattern pieces, or adjust it by the same amount.
My guide to how to grade between sizes on a pattern walks through the blending technique step by step. Practise on paper first, and check your new side seam against a ruler to make sure it is smooth. A smooth grading line is the difference between trousers that look made for you and trousers that look altered.
Fixing a Gaping Back Waist
A gaping back waist is the classic curvy figure problem, and it has a simple fix. The waistband stands away from the body at the centre back because the waist curve is too shallow for your shape. Take in the centre back seam of the waistband, or add small darts at the back waist, to pull the waistband closer without changing the hip fit.
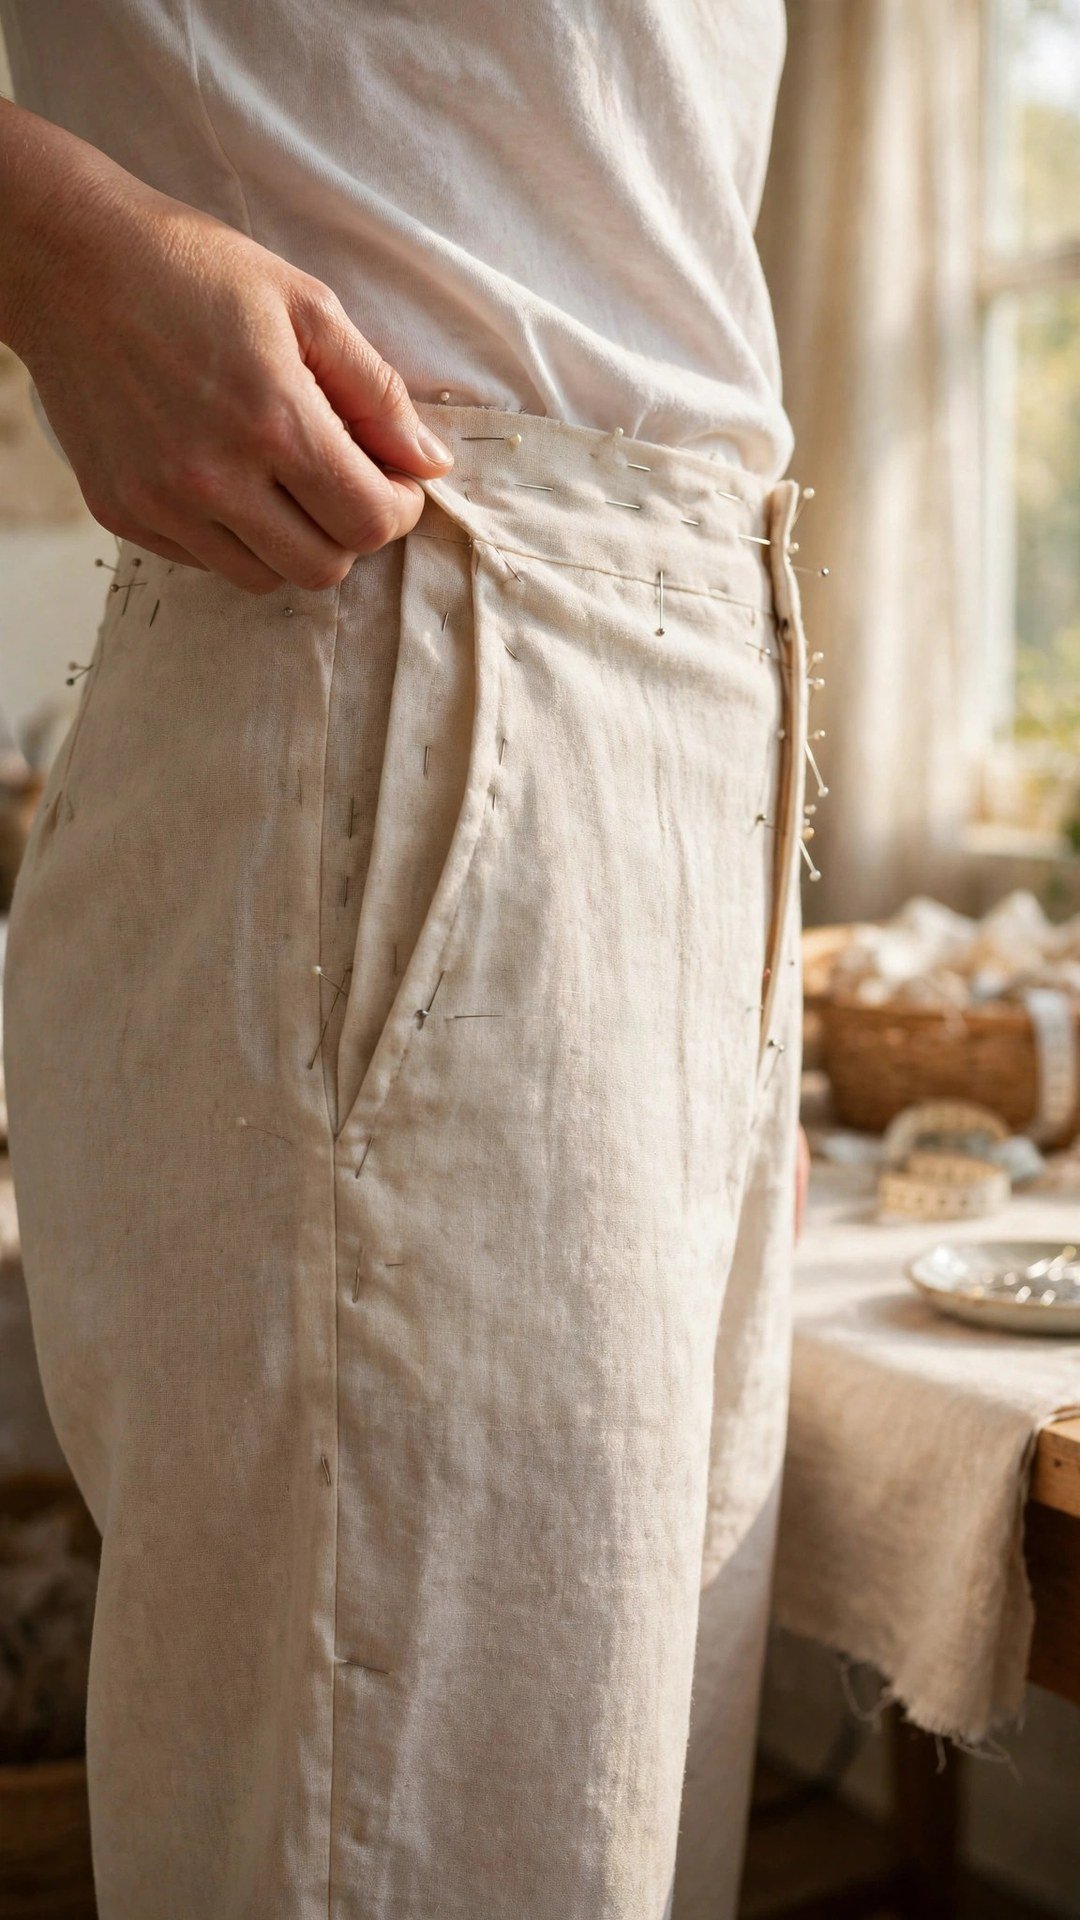
Try the trousers on and pin the excess at the centre back, then sit down and check that the waistband still feels comfortable. A dart that is too deep will dig in when you sit, so take in a little at a time and test as you go. Two small darts often work better than one deep one, because they distribute the shaping more evenly.
If the gaping is severe, you may need to reshape the waist curve itself. On the pattern, deepen the curve at the centre back waist, so the waistband follows the curve of your body more closely. This is a small change on paper, but it makes a big difference in how the trousers sit.
Adjusting the Rise and Crotch Curve
The rise is the distance from the waist to the crotch, and it matters more for comfort than most people realise. A rise that is too short will pull and feel tight when you sit, while a rise that is too long will bunch at the front. Measure your rise sitting down, because that is when you need the most room.
If you need more rise, lengthen the pattern at the rise line, which is usually marked on the pattern pieces. Add the same amount to the front and back, and true the crotch curve afterwards so it stays smooth. My notes on how to adjust trouser rise explain this adjustment in detail.
The crotch curve also needs attention on a curvy figure. A curve that is too shallow can pull across the front, while a curve that is too deep can bunch at the back. Try the muslin on, look at where the fabric pulls or bunches, and adjust the curve in small steps. A smooth crotch curve is what makes trousers comfortable to sit in all day.
Test in a Muslin and Fit Sitting Down
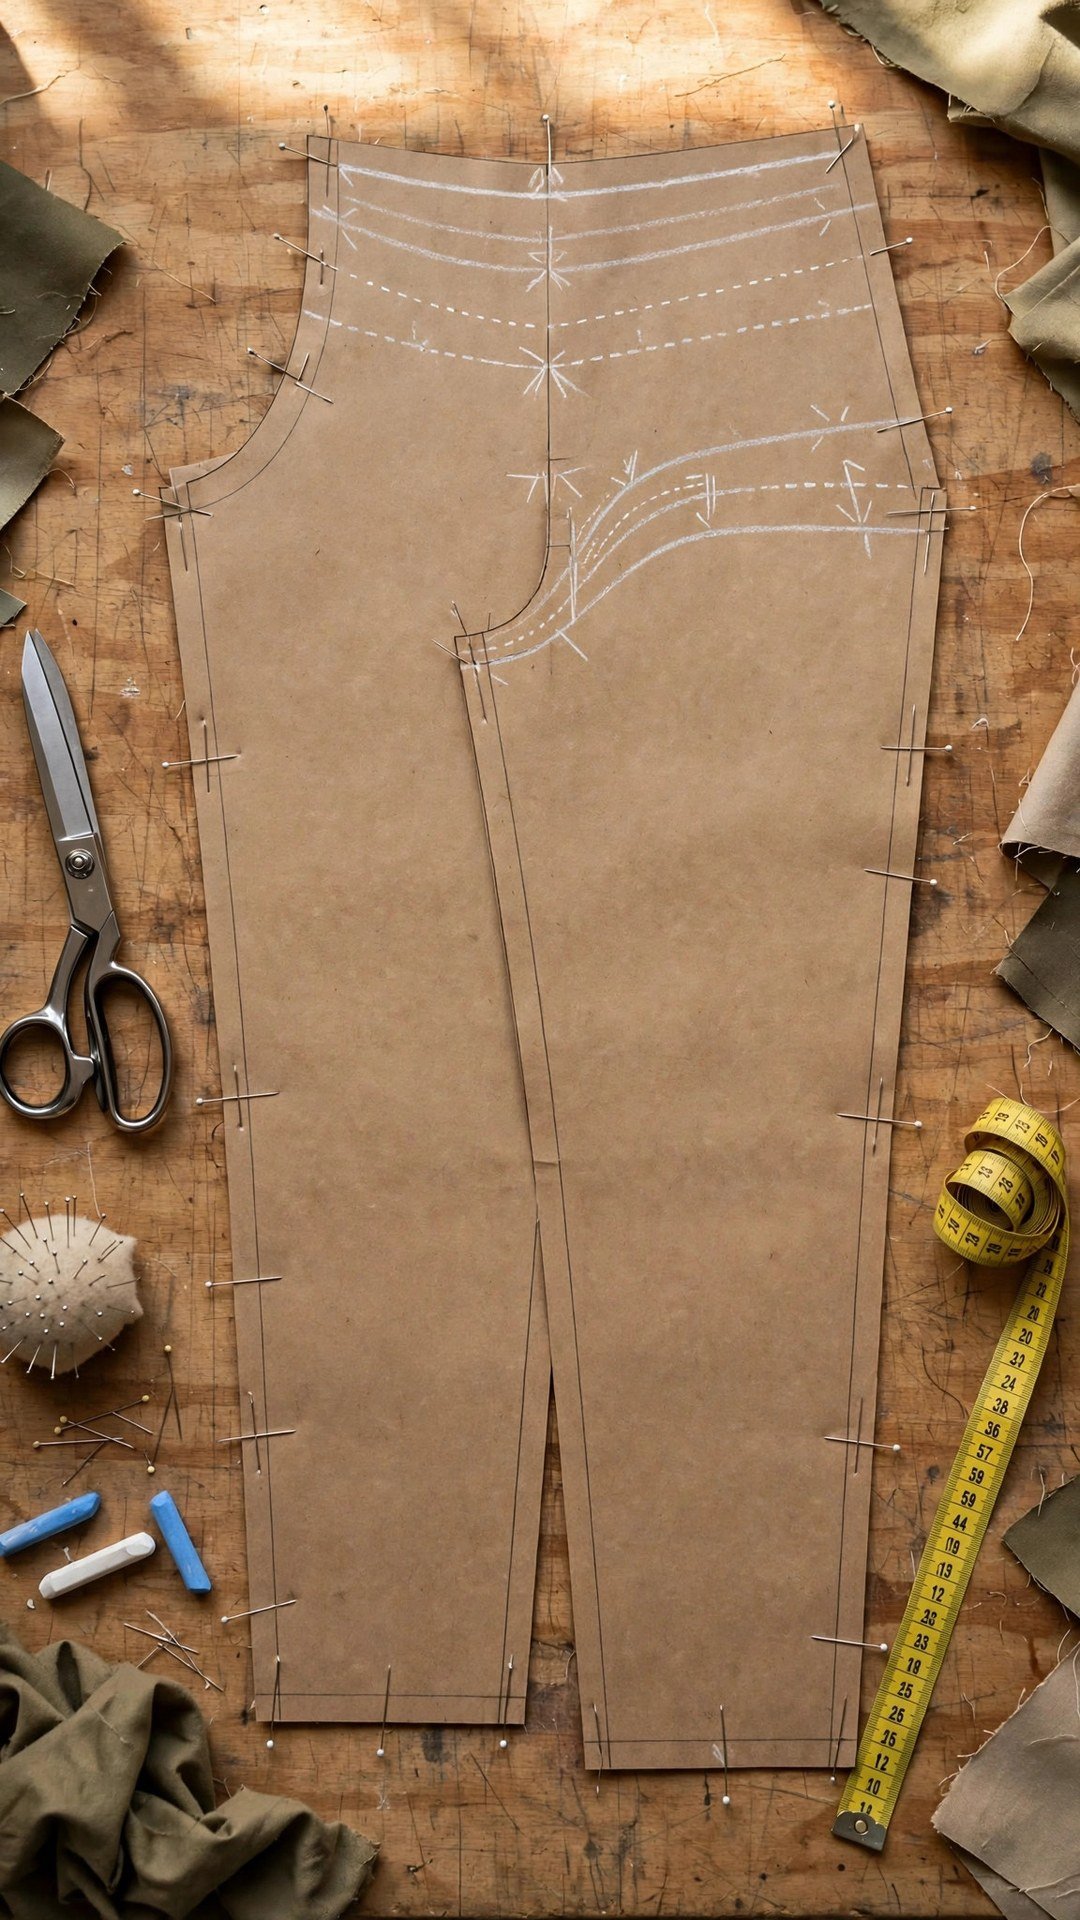
Always test trouser fitting in a muslin before you cut your good fabric. Sew the muslin with the waistband and a zipper or a pinned closure, so it behaves like the finished trousers. Try it on, walk around, sit down, and stand up again. Trousers that fit standing up can feel very different when you sit.
Look for diagonal wrinkles, which point to the problem. Wrinkles that point toward the crotch usually mean the rise is too short or the crotch curve needs more room. Wrinkles across the hips usually mean the hips are too tight. Horizontal wrinkles at the waist usually mean the waistband is too loose.
Mark your changes directly on the muslin, then transfer them to the paper pattern. That way your pattern is correct for the next pair, and you never have to repeat the same fitting work twice. A well fitted trouser pattern is a treasure, and it is worth the time it takes to get it right. For a fuller bust, the same grading idea applies, and my guide to how to make a full bust adjustment shows how to grade for a different curve.
Frequently Asked Questions
What size should I choose for curvy pants?
Choose by your hip measurement first, because it is easier to take in a waist than to let out tight hips. Then grade the waist down to your waist size, blending smoothly along the side seam.
How do I stop trousers gaping at the back waist?
Take in the centre back seam of the waistband, or add small darts at the back waist. Pin the excess while wearing the trousers, test sitting down, and take in a little at a time.
Why do my trousers pull when I sit down?
The rise is probably too short, or the crotch curve needs more room. Measure your rise sitting down, lengthen the pattern at the rise line, and test the change in a muslin.
Should I fit pants standing or sitting?
Both. Fit standing first for the overall look, then sit down and check the waistband, the rise, and the hips. Trousers need to be comfortable in both positions.
Can I fix ready made trousers for a curvy figure?
Yes. Take in the back waist with darts, let out the side seams if there is allowance, or add a small waistband extension. Start with the smallest fix and test the fit before you do more.
Sew Trousers That Fit Your Shape
Fitting pants for a curvy figure is mostly about honouring the difference between your waist and your hips, and sewing for both. Measure honestly, grade between sizes, fix the back waist, adjust the rise, and test in a muslin. Your trousers will fit, they will feel comfortable sitting and standing, and you will finally have a pair you reach for every day.

Written by June Carter
I am June, a sewing enthusiast who loves turning simple fabric into things people actually use. I test every technique and product I write about at my own machine before it lands here.