

Learning how to fit a bodice without a muslin saves time, fabric, and patience, and for many simple bodices it works very well. A muslin is still the gold standard for a fitted jacket or a complex dress, but for a straightforward top or a loose bodice, tissue fitting and careful measuring can get you to a good fit without sewing a whole test garment first.
I fit most of my simple tops this way now, because I would rather spend my sewing time on the real garment than on a toile I will never wear. The trick is to be honest about your measurements, to tissue fit the pattern on your body before you cut, and to choose a forgiving fabric for the first version. A bodice with a little ease and a simple shape is a good candidate; a tightly fitted, boned bodice is not.
This guide walks through taking the measurements that matter, choosing a size, tissue fitting the pattern, fixing the most common bodice problems on paper, and sewing a wearable test version you can actually use. It is not a shortcut that skips fitting, it is a faster way to fit, and it works when you do each step properly.
Take the Measurements That Actually Matter
A bodice fit lives or dies on a handful of measurements, so take them carefully. You need your high bust, full bust, waist, and hip, plus your back waist length and shoulder width. Take them over the undergarments you will wear with the finished top, standing relaxed, with the tape level and snug but not tight. Ask someone to help with the back waist length, because it is almost impossible to measure accurately on yourself.
Write the numbers down and compare them with the finished garment measurements on the pattern envelope, not just the body measurements chart. Finished garment measurements include wearing ease, and they tell you how the garment will actually fit. If your full bust and waist fall into different sizes, choose the size by your high bust for a fitted bodice, then adjust the waist, because that gives the best shoulder and neckline fit. My guide to taking accurate body measurements covers the technique in detail, and it is worth reading before you measure.
Tissue Fit the Pattern on Your Body
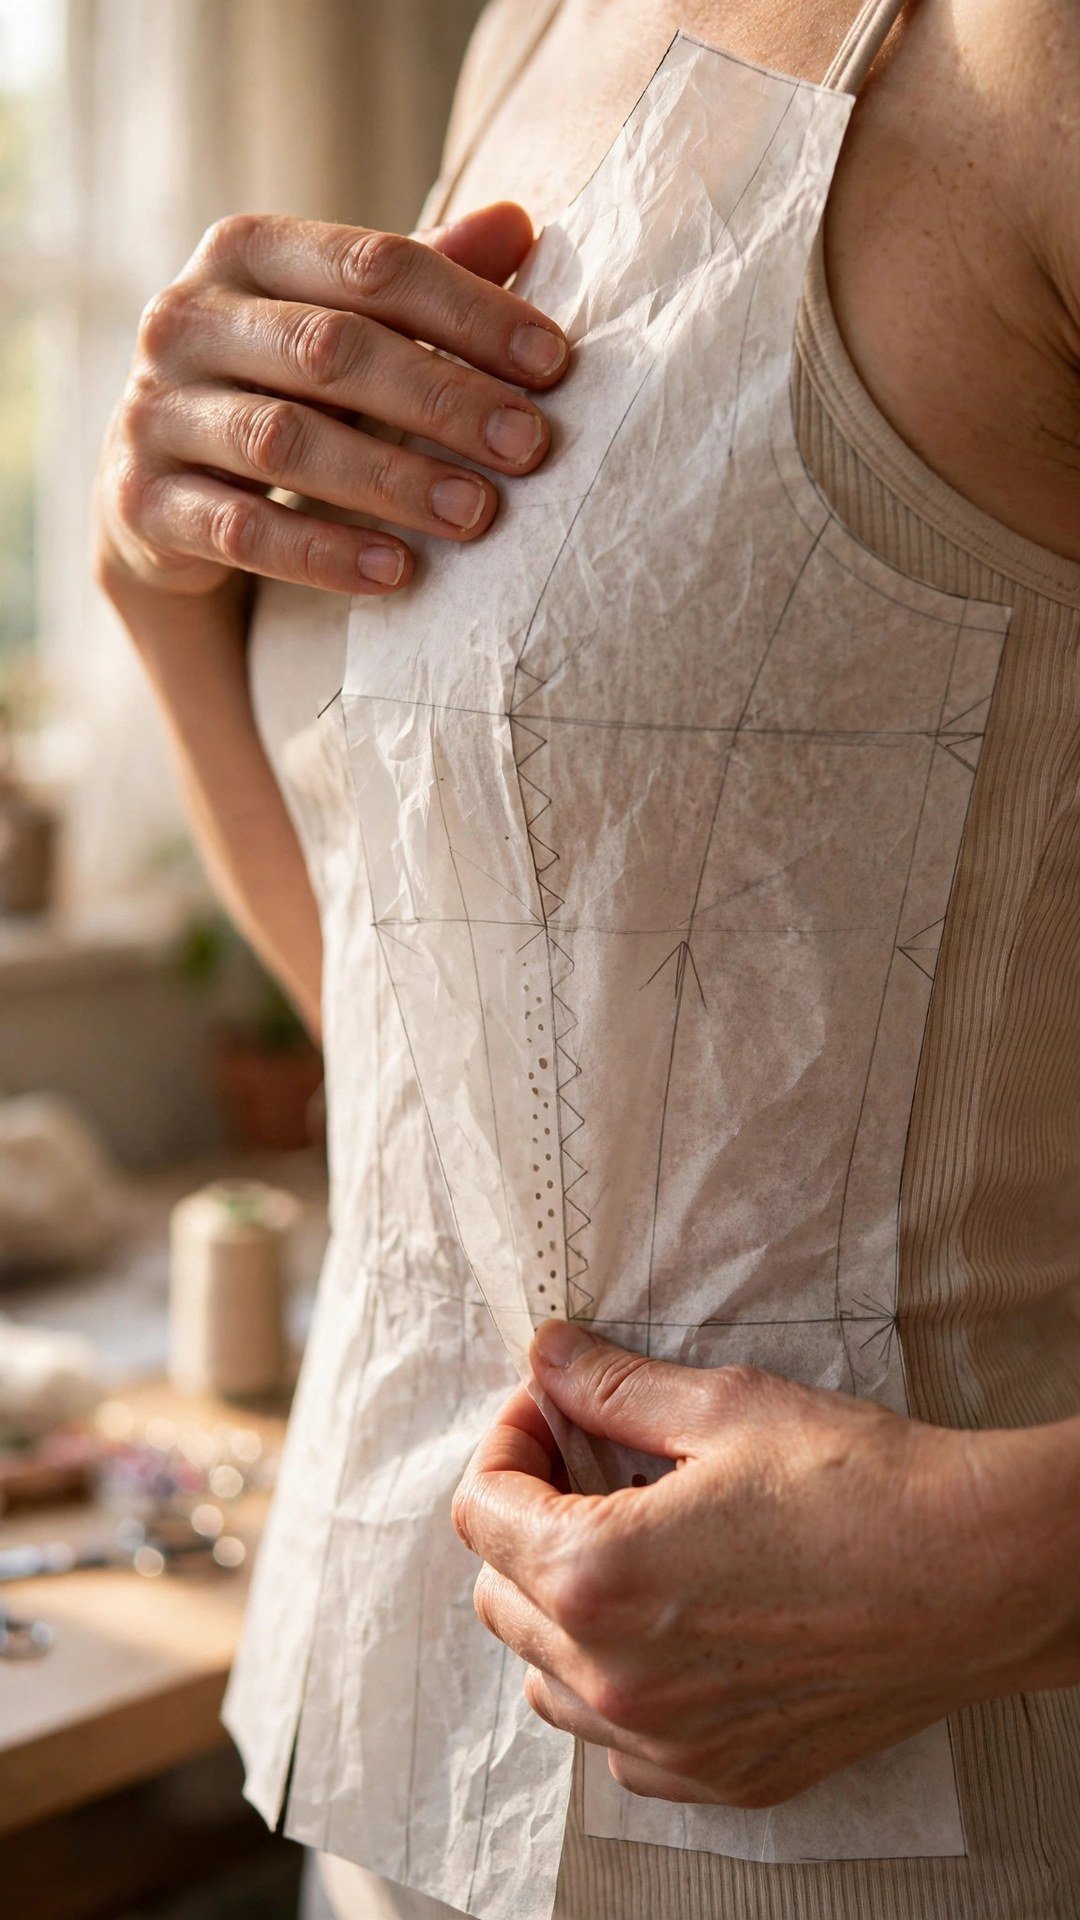
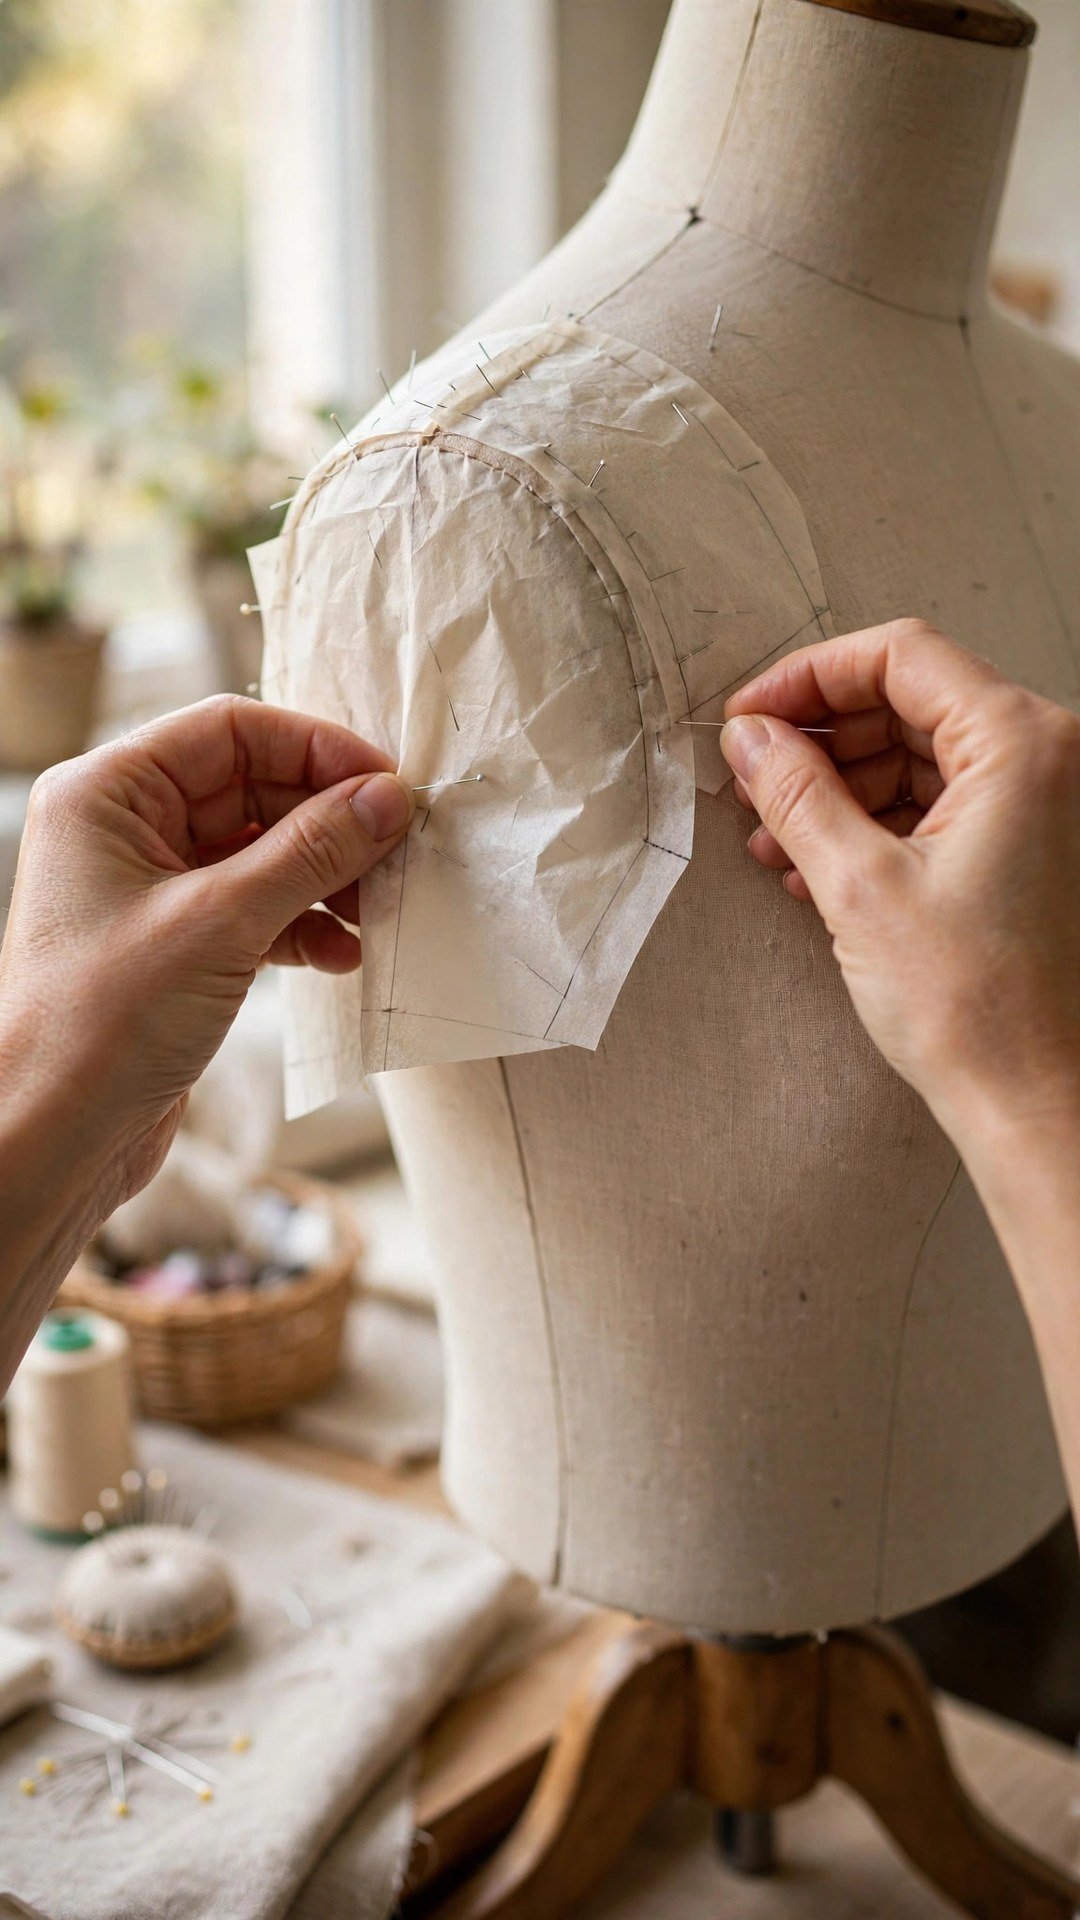
Tissue fitting means pinning the paper pattern together and holding it against your body, and it is surprisingly revealing. Cut out the pattern in your chosen size, pin the darts closed, and pin the front and back together at the shoulder and side seams. Hold the tissue bodice against your body, or pin it to a dress form adjusted to your measurements, and look at where it pulls, gaps, or hangs.
Check the shoulder seam first: it should sit on top of your shoulder, not slipping forward or back. Check the bust point: the dart point should aim at your bust point, not above or below it. Check the waist: the waistline of the pattern should sit at your natural waist. Mark any changes directly on the tissue with a pencil, and if the tissue tears, tape it and keep going. Tissue is fragile, so handle it gently and pin it rather than trying it on like fabric.
Fix the Common Bodice Problems on Paper
Most bodice problems have simple paper fixes. A gaping neckline usually means the shoulders are too wide or the bust dart is too short, so narrow the shoulder or lengthen the dart. A bodice that pulls across the bust needs more room, so do a small full bust adjustment, which adds width and length over the bust without changing the shoulders. My guide to a full bust adjustment walks through that step by step.
A waist that is too tight or too loose is fixed by taking in or letting out the side seams, tapering the change smoothly to nothing at the bust and hip. A bodice that is too long or too short in the back is fixed at the lengthen and shorten line, or by adjusting the shoulder seam. Make one change at a time, and recheck the tissue after each change, because bodice pieces affect each other and a fix in one place can create a problem in another.

Choose a Forgiving Fabric for the First Version
When you skip the muslin, your fabric choice becomes part of the fitting strategy. Choose a fabric with a little drape and a little forgiveness, such as a soft cotton, a rayon blend, or a linen with some give. Avoid stiff, unforgiving fabrics and very slippery fabrics for your first version, because they show every fitting error and are hard to adjust on the body.
Cut the real garment with generous seam allowances where you think you may need to adjust, especially at the side seams, and baste the bodice together before you sew the final seams. Basting lets you try the garment on, check the fit in fabric, and adjust before you commit. If the fit is good, sew the seams properly; if it needs tweaking, you have only basting stitches to remove.
Sew a Wearable Test You Can Actually Use
A wearable test, sometimes called a wearable muslin, is a real garment sewn in a cheaper fabric, and it is the smartest version of fitting without a toile. Sew the bodice in an inexpensive cotton in a colour you like, finish it properly, and wear it. You will learn more from wearing a top for a day than from staring at it on a dress form for an hour, because sitting, reaching, and moving reveal fit problems that standing still hides.
If the wearable test fits well, you have a new top and a proven pattern. If it needs changes, transfer them to the pattern exactly as you would from a muslin, using my guide to making and fitting a muslin for the transfer method. Either way, you have not wasted your time, because the test garment is wearable. That is the real advantage of fitting without a muslin: every step forward is also a step toward a finished garment.
Frequently Asked Questions
Can I really fit a bodice without a muslin?
Yes, for simple bodices with some ease. Tissue fitting, careful measuring, and a wearable test in inexpensive fabric can get you a good fit. For tightly fitted or complex bodices, a muslin is still the safer choice.
What size should I choose if I am between sizes?
Choose by your high bust for a fitted bodice, then adjust the waist and hip. High bust gives the best shoulder and neckline fit, and the waist and hip are easier to adjust than the shoulders.
How do I tissue fit a pattern?
Pin the darts closed and the shoulder and side seams together, then hold the tissue against your body or a dress form. Check the shoulder, bust point, and waistline, and mark changes on the tissue with a pencil.
What if the bodice gaps at the neckline?
Gaping usually means the shoulders are too wide or the bust dart needs lengthening. Narrow the shoulder seam slightly, or lengthen the dart so it points closer to the bust point.
When should I still make a muslin?
Make one for a fitted jacket, a boned bodice, a wedding dress, or any garment in expensive fabric where a mistake would be costly. A muslin is also wise when you are combining several major fit adjustments at once.
Fitting a bodice without a muslin is not about skipping the fitting, it is about fitting smarter. Measure carefully, tissue fit the pattern, fix the obvious problems on paper, and sew a wearable test in a forgiving fabric. Your next bodice will fit better, your sewing time will go further, and you will have a pattern you trust for the next project too. If your bust and waist fall into different sizes, my guide to grading between sizes on a pattern shows how to blend them smoothly on paper.

Written by June Carter
I am June, a sewing enthusiast who loves turning simple fabric into things people actually use. I test every technique and product I write about at my own machine before it lands here.