

If you have ever wondered how to sew a bench cushion that actually looks like it belongs in your home, welcome. This is one of my favorite beginner-friendly projects because it is big, satisfying, and genuinely useful, and nobody can tell whether your stitches were perfect once you are sitting on it.
A bench cushion is basically a fabric envelope with some kind of padding inside: foam, fiberfill, or a mix of both. The version in this tutorial has a clean boxed shape, optional piping for a professional edge, and simple fabric ties so it stays put on the bench. You can sew the whole thing with a basic sewing machine, and the skills transfer to chair cushions, floor pillows, and window seat pads later.
My honest take: the secret to a bench cushion that looks good is not fancy sewing. It is accurate measuring and a firm foam insert. Get those two things right and even slightly wobbly stitching disappears inside the finished cushion.
Measure Your Bench Like You Mean It
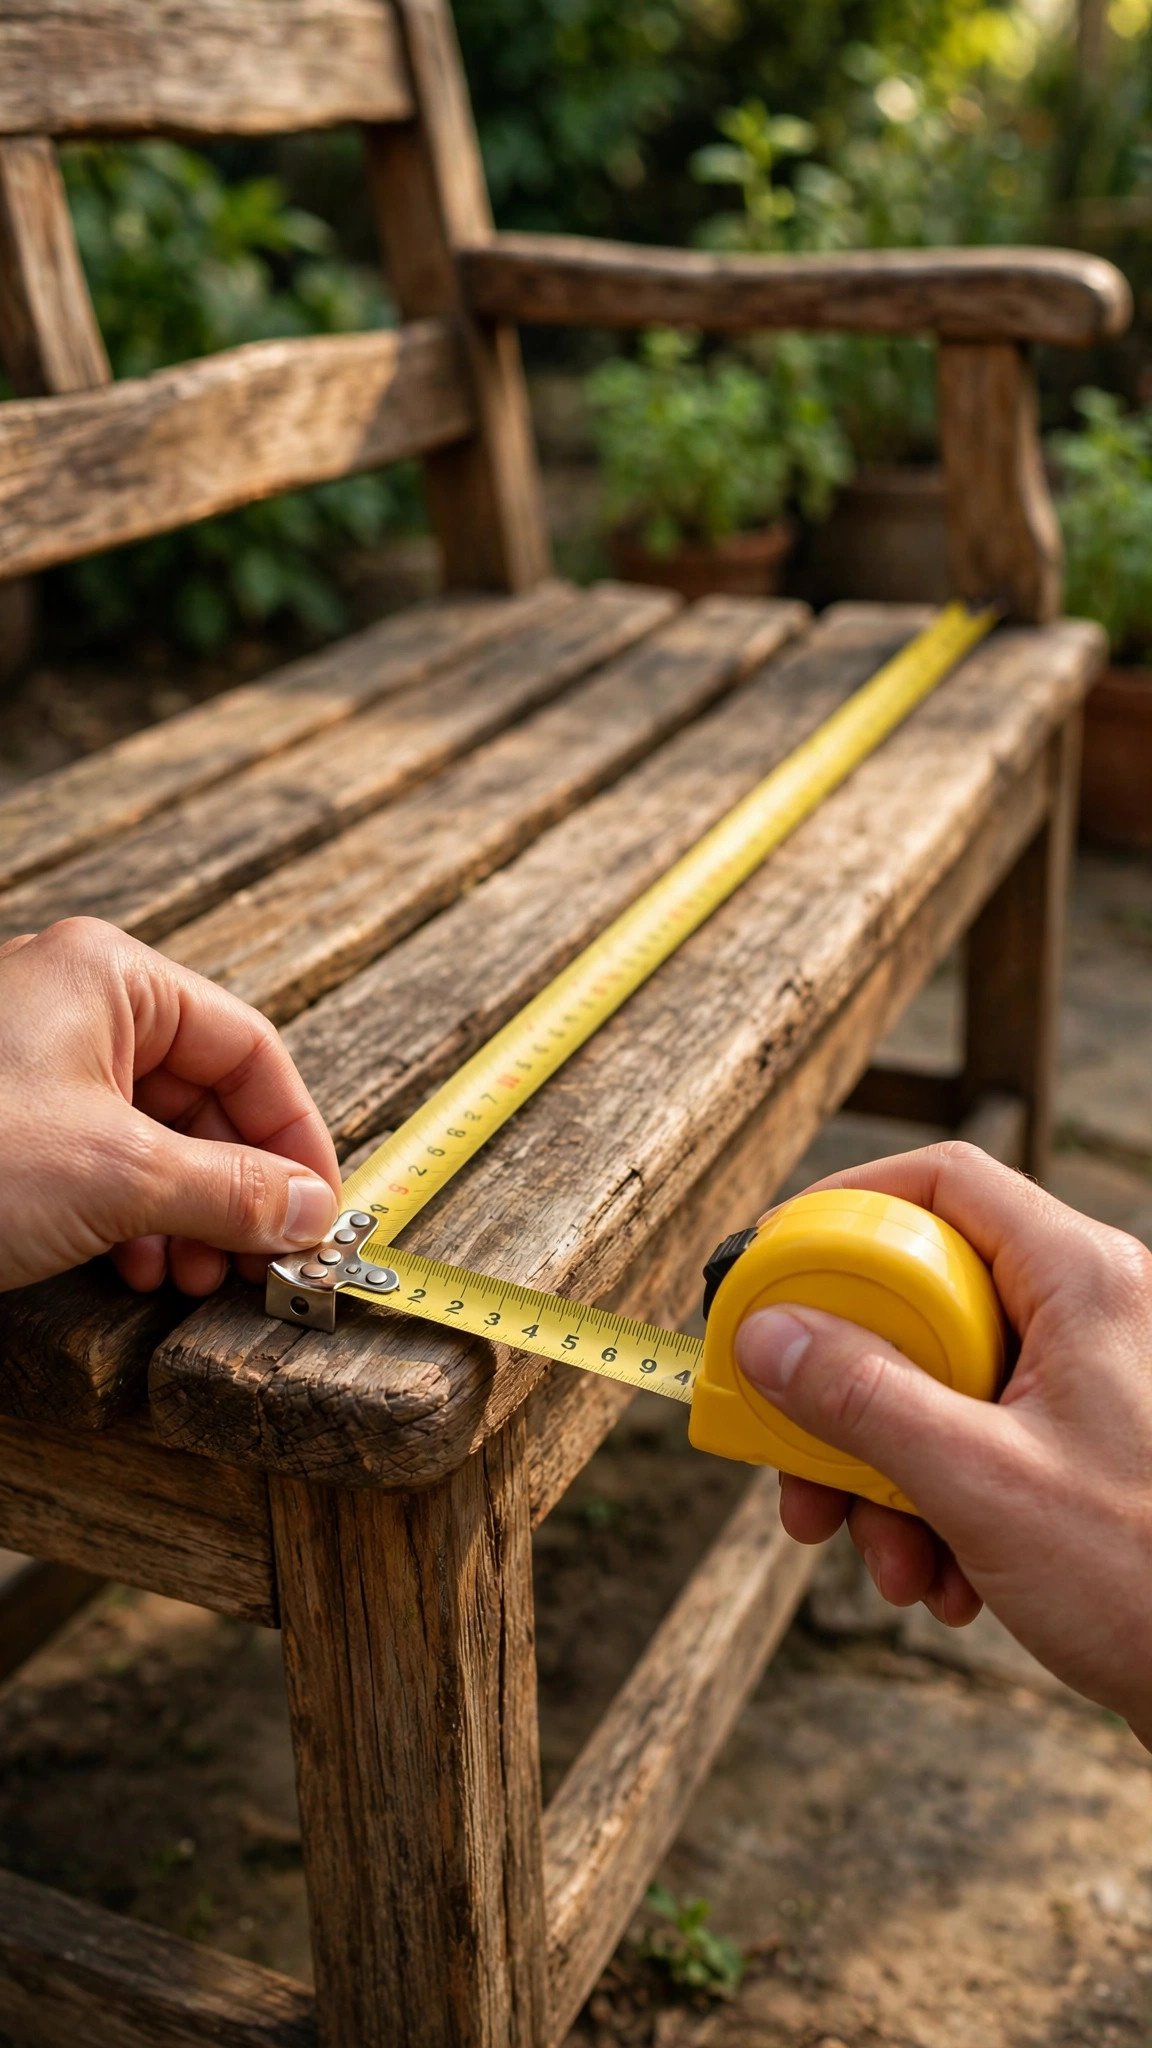
Everything starts with measuring the bench. Measure the length and width of the seat area where the cushion will sit, and decide how thick you want the cushion to be. A bench cushion is usually between two and four inches thick. Thicker looks plush but raises your sitting height, so sit on a stack of folded towels first and see what feels right.
Measure twice, at both ends of the bench, because benches are rarely perfectly square. If one end measures differently from the other, use the smaller measurement, since a cushion that is slightly small still looks tidy while a cushion that is too big bunches up. Note the dimensions on paper, including the thickness, and add seam allowance when you cut: a half inch on every side is my standard for cushions.
Do not forget to account for the thickness in the side pieces. A boxed cushion has a top, a bottom, and a side strip that wraps around. The side strip needs to be as tall as your cushion thickness plus two seam allowances. If you are making a simple two-piece cushion instead, add the full thickness divided in half to each of the top and bottom pieces so the padding has room to breathe.
How to Sew a Bench Cushion: The Full Method
Here is my complete method for a classic boxed bench cushion with piping and ties. If you are making your first cushion, read through everything once, then sew.
- Cut the top and bottom pieces. Cut two rectangles from your fabric using your bench dimensions plus a half inch seam allowance on all sides. If your fabric has a directional pattern, make sure both pieces run the same way.
- Cut the side strip. Measure the perimeter of the cushion and cut a strip that long plus two inches for the joining seam, and as tall as the cushion thickness plus one inch for the two seam allowances. You will likely need to piece the strip from two or more lengths; join them with a straight seam first.
- Cut the ties. Cut four strips, each about two inches wide and twenty inches long. Fold each strip in half lengthwise, right sides together, stitch along the long edge and one short end, turn right side out, and press. These will anchor the cushion to the bench.
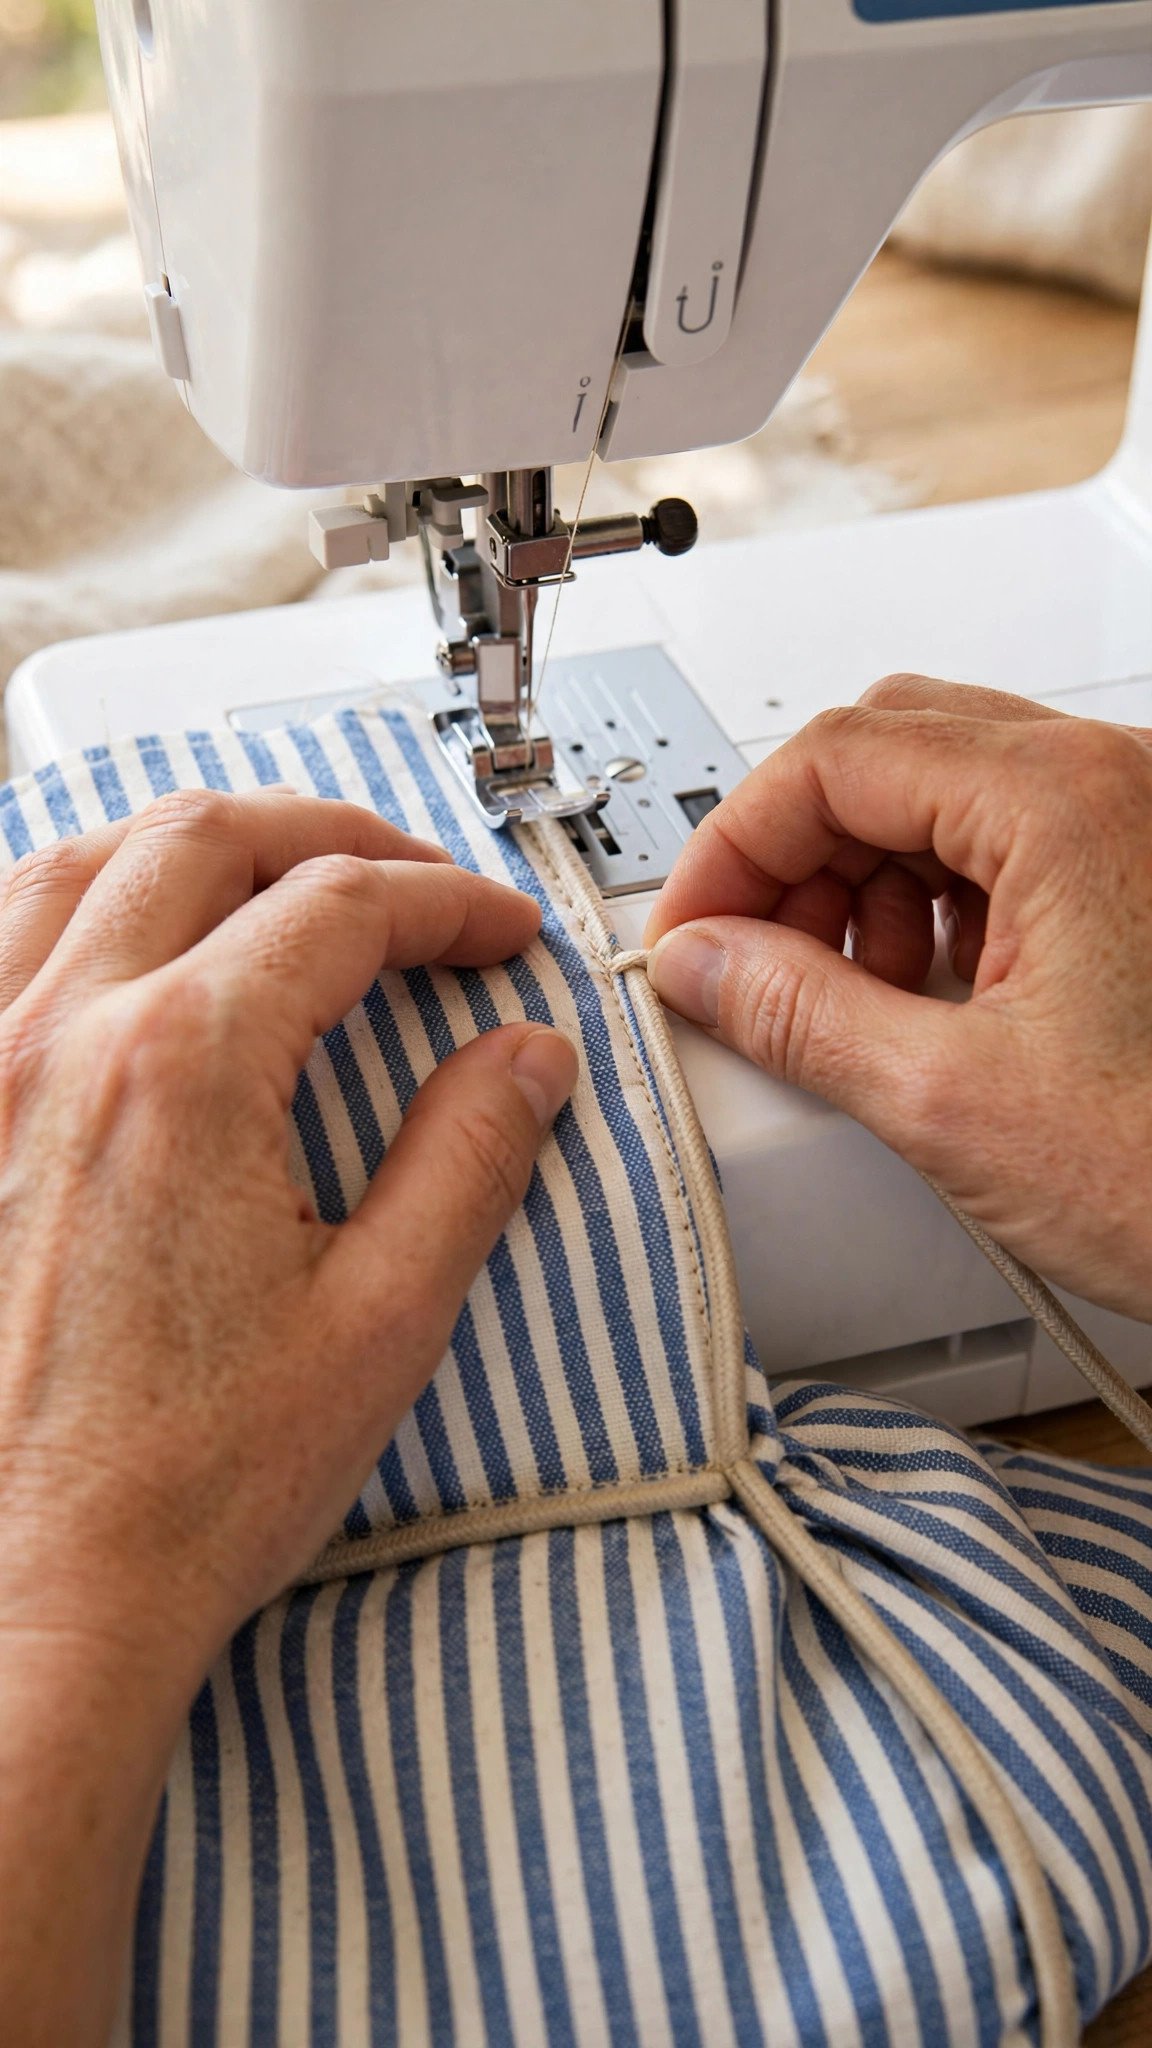
- Make and attach the piping. Wrap your piping cord in a bias strip of fabric, stitching close to the cord with a zipper foot to make your own piping, or use ready-made piping. Pin the piping around the edge of the top piece, raw edges together, and baste it in place. Repeat for the bottom piece.
- Pin the ties to the side strip. Mark four positions on the side strip where the ties will sit, usually a few inches in from each corner, and pin a folded tie at each mark with the raw ends extending past the raw edge of the strip. The ties get sandwiched into the seam.
- Join the side strip into a loop. With right sides together, sew the short ends of the side strip together to form a loop that matches the cushion perimeter. Press that seam open.
- Pin the top to the side strip. With right sides together, pin the side strip around the top piece, matching corners first and easing the rest. If your cushion has rounded corners, clip the side strip seam allowance at the corners so it turns smoothly. For help with curve clipping, my guide to pinning and clipping fabric is worth a look.
- Stitch the top seam. Using a half inch seam allowance and a zipper foot, stitch the side strip to the top, riding close to the piping cord. Stitch slowly around corners and keep your seam allowance consistent: my tutorial on how to sew a straight stitch has tips for keeping long seams straight.
- Pin and stitch the bottom, leaving an opening. Pin the bottom piece to the other edge of the side strip the same way, but leave a twelve-inch opening along one of the long sides. This is how the foam goes in.
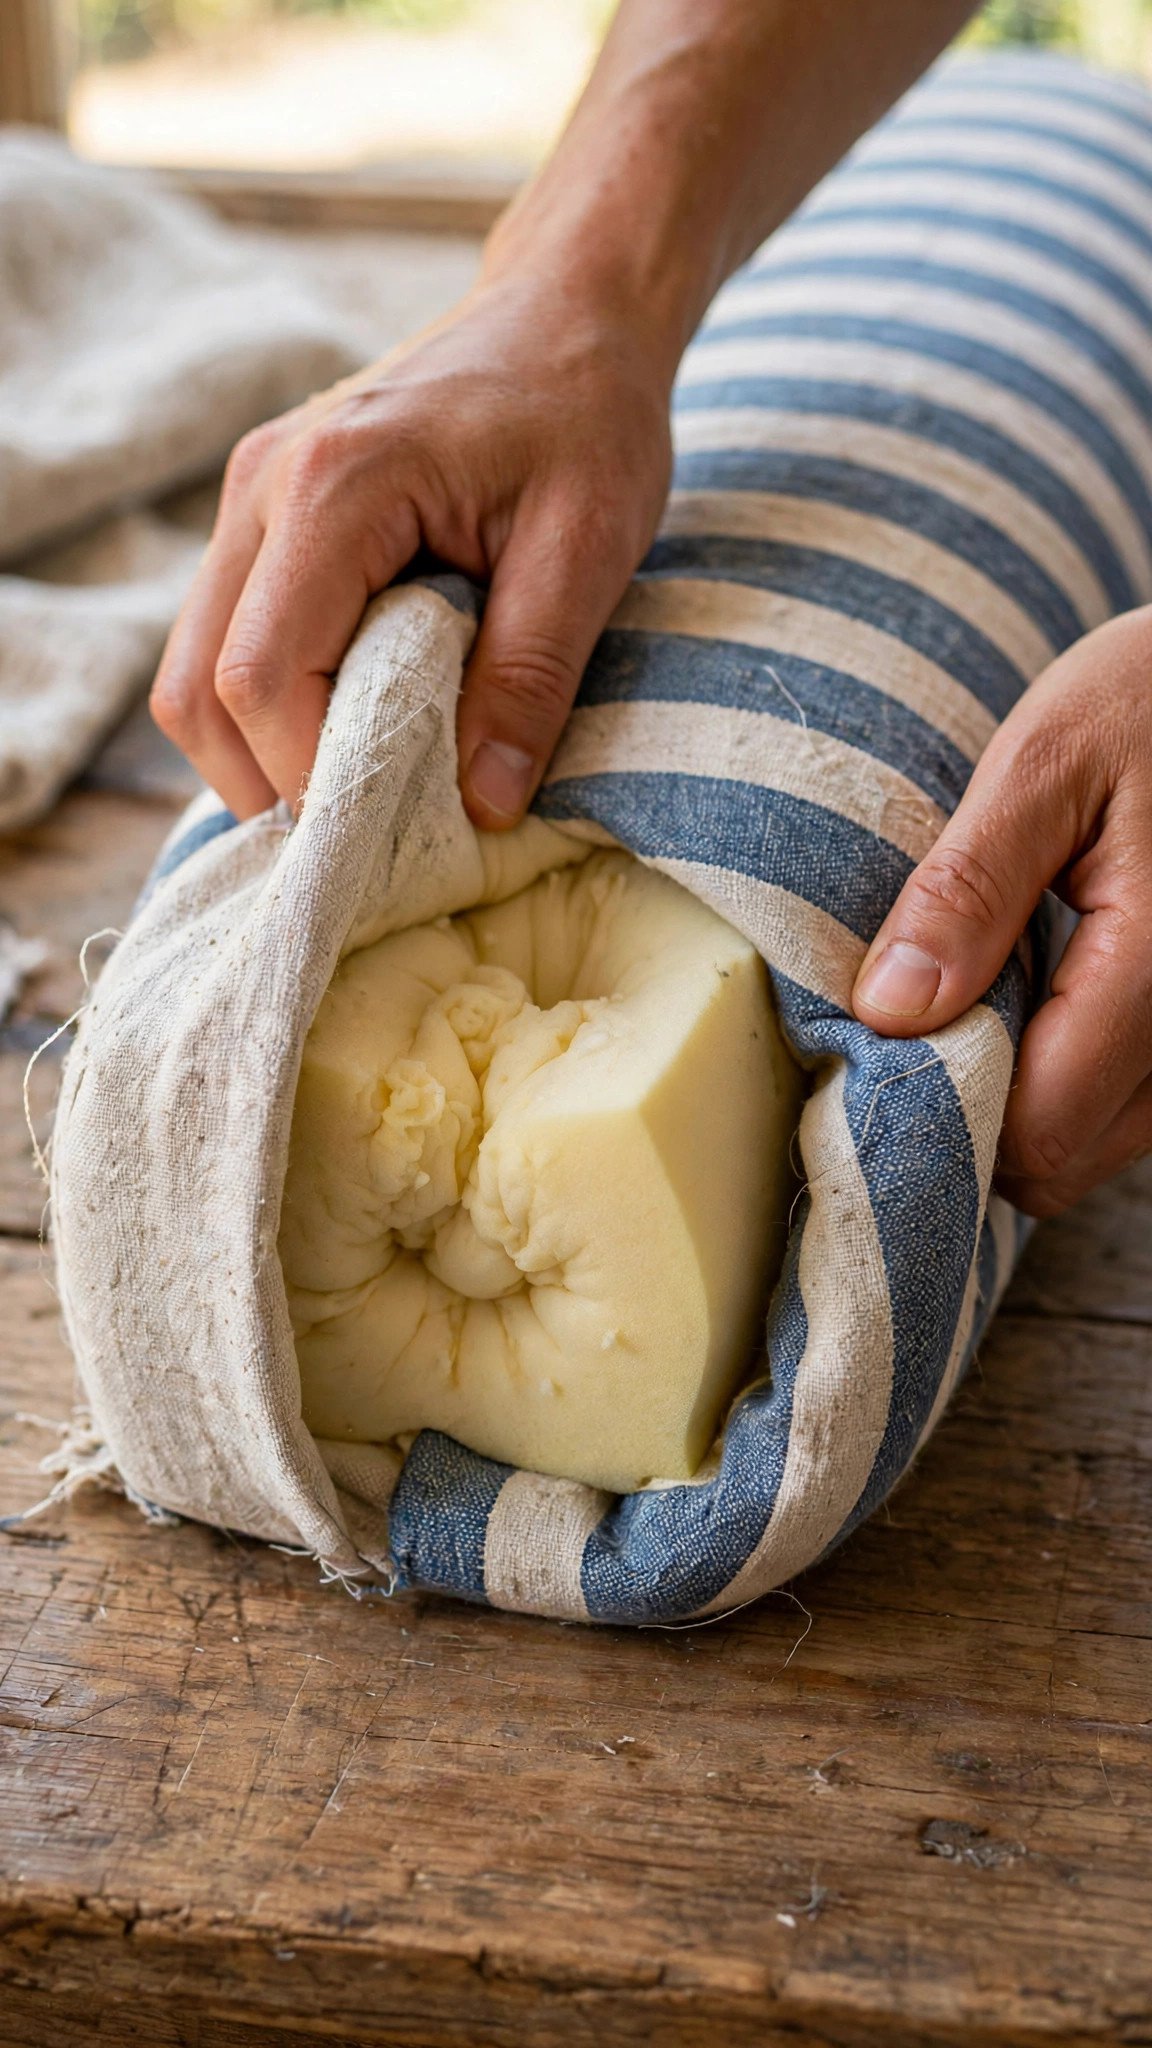
- Turn the cover right side out and insert the foam. Clip the corners, turn the cover right side out, and press the seams gently. Roll or compress the foam slightly to slide it through the opening, then unfold it inside the cover and smooth out the corners.
- Close the opening by hand. Fold the seam allowances of the opening to the inside and close it with a hand slip stitch. Take small, even stitches so the closing seam blends with the machine stitching.
Choosing Fabric That Survives Real Life
A bench cushion takes daily abuse: sitting, sliding, spilled drinks, cat claws. This is not the project for delicate quilting cotton. Reach for upholstery fabric, home decor canvas, or a sturdy duck cloth. These fabrics are woven tightly, resist abrasion, and most of them are washable, which matters more than you think once the cushion is in use.
Pattern choice is practical too. A busy pattern hides stains and wear far better than a solid light color, and a stripe or geometric print makes crooked stitching nearly invisible. If you fall in love with a solid anyway, choose a mid-tone. For more on matching fabric to a project, my post on the best fabric for beginner sewing projects breaks down what different fabrics are good at.
Wash and dry your fabric before you cut, exactly as you will wash the finished cushion. Upholstery-weight fabrics can shrink enough to make a snug cover too tight, and there is nothing sadder than a cushion cover that fit the foam perfectly yesterday and does not fit today. My tutorial on how to prewash cotton and linen covers the method.
Foam, Fiberfill, or Both: Picking Your Padding
The padding decides how the cushion feels and how long it keeps its shape. High-density upholstery foam, around two to three inches thick, is my top pick for bench cushions because it holds its shape under weight and springs back when you stand up. Wrap the foam in a layer of polyester batting before it goes in the cover: the batting rounds off the edges, fills out the corners, and makes the whole cushion look professionally upholstered.
Pure fiberfill stuffing is the budget route and it works, but be generous with it. A cushion stuffed loosely with fiberfill goes flat within weeks, so pack it far fuller than feels reasonable. For a bench cushion you sit on daily, though, foam plus a batting wrap will outlast loose fiberfill by years, and it is worth the difference.
Cut the foam slightly larger than the finished cushion measurements, about a half inch bigger in each direction. A snug foam fill is what gives the cover that plump, tailored look. If the foam fights you going in, wrap it in a plastic bag, slide it through the opening, and pull the bag out from the other side.
Piping and Ties: The Details That Make It Look Professional
Piping is that corded edge you see on store-bought cushions, and it is much easier to make than it looks. You wrap cord in a fabric strip and stitch it into the seam, and suddenly every seam has a crisp, defined edge that screams custom upholstery. If piping feels like too much for a first project, skip it: the cushion will still look great, just softer at the edges.
Ties are the practical detail. Four fabric ties, two on each side, loop around the bench legs or through slats and tie in a bow. Without ties, a bench cushion slowly migrates to the floor every time someone sits down. Position the ties so they land on something solid to tie to, and make them long enough for a comfortable bow.
If you want a removable cover for washing, a zipper is the upgrade. Install an invisible or regular zipper in the bottom seam instead of hand-closing the opening, and the whole cover comes off for the washing machine. A zipper adds one afternoon of fiddling but pays off for years in a kitchen or mudroom.
FAQ
How thick should a bench cushion be?
Two to three inches of high-density foam is the sweet spot for most benches: comfortable to sit on without raising you awkwardly high. Four inches works for a deep window seat you lounge on, but measure your sitting height first.
Can I sew a bench cushion without piping?
Absolutely. Piping is a style upgrade, not a structural requirement. A plain boxed cushion or even a simple two-piece cushion without a side strip still looks good, especially in a patterned fabric.
What is the best fabric for a bench cushion?
Upholstery fabric or home decor canvas: tightly woven, abrasion-resistant, and usually washable. Avoid lightweight quilting cotton for a cushion that gets daily use, since it wears through much faster.
How do I keep the cushion from sliding off the bench?
Sew fabric ties into the side seams and knot them around the bench legs or slats. For a bench with no good tie points, a non-slip rug pad cut to size and placed under the cushion works surprisingly well.

Written by June Carter
I am June, a sewing enthusiast who loves turning simple fabric into things people actually use. I test every technique and product I write about at my own machine before it lands here.