
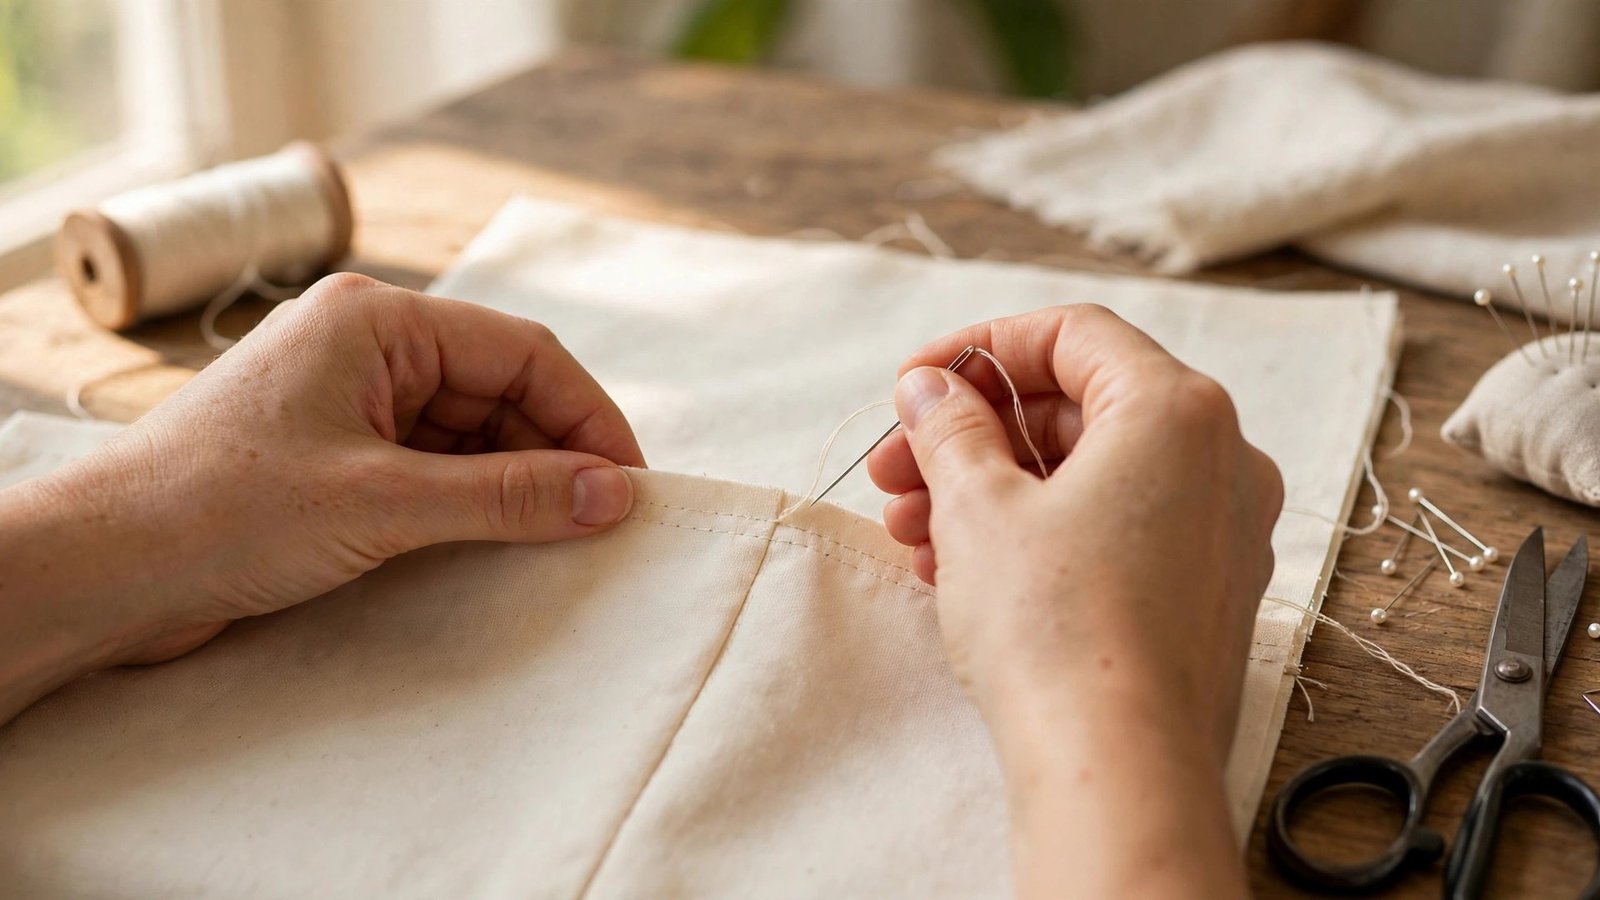
If you want to learn how to sew your first straight seam by hand, you are starting in exactly the right place. A straight seam is the foundation of almost everything in sewing, and learning it by hand first teaches you what a good stitch feels like before a machine ever enters the picture. There is no machine to thread, no foot pedal to control, and no noise, just a needle, some thread, and two pieces of fabric. It is slow, it is calm, and it is the best way I know to build confidence.
My grandmother taught me my first straight seam on a scrap of cotton when I was small, and I still remember the satisfaction of pulling the thread through and watching two loose pieces become one joined piece. That feeling has never really left me. Hand sewing a straight seam is also genuinely useful, not just a practice exercise. It is how you repair a split seam, close a small gap, tack a hem in place, and join pieces when you are away from your machine. Learn it well now, and you will use it for the rest of your sewing life.
In this guide I will walk you through everything you need: the needle and thread to choose, how to knot the thread and start, the running stitch and the backstitch, and how to keep your stitches even. You do not need any special equipment, and you do not need to be neat on your first try. You just need to start, and to keep going until the rhythm clicks.
What You Need for Your First Straight Seam by Hand
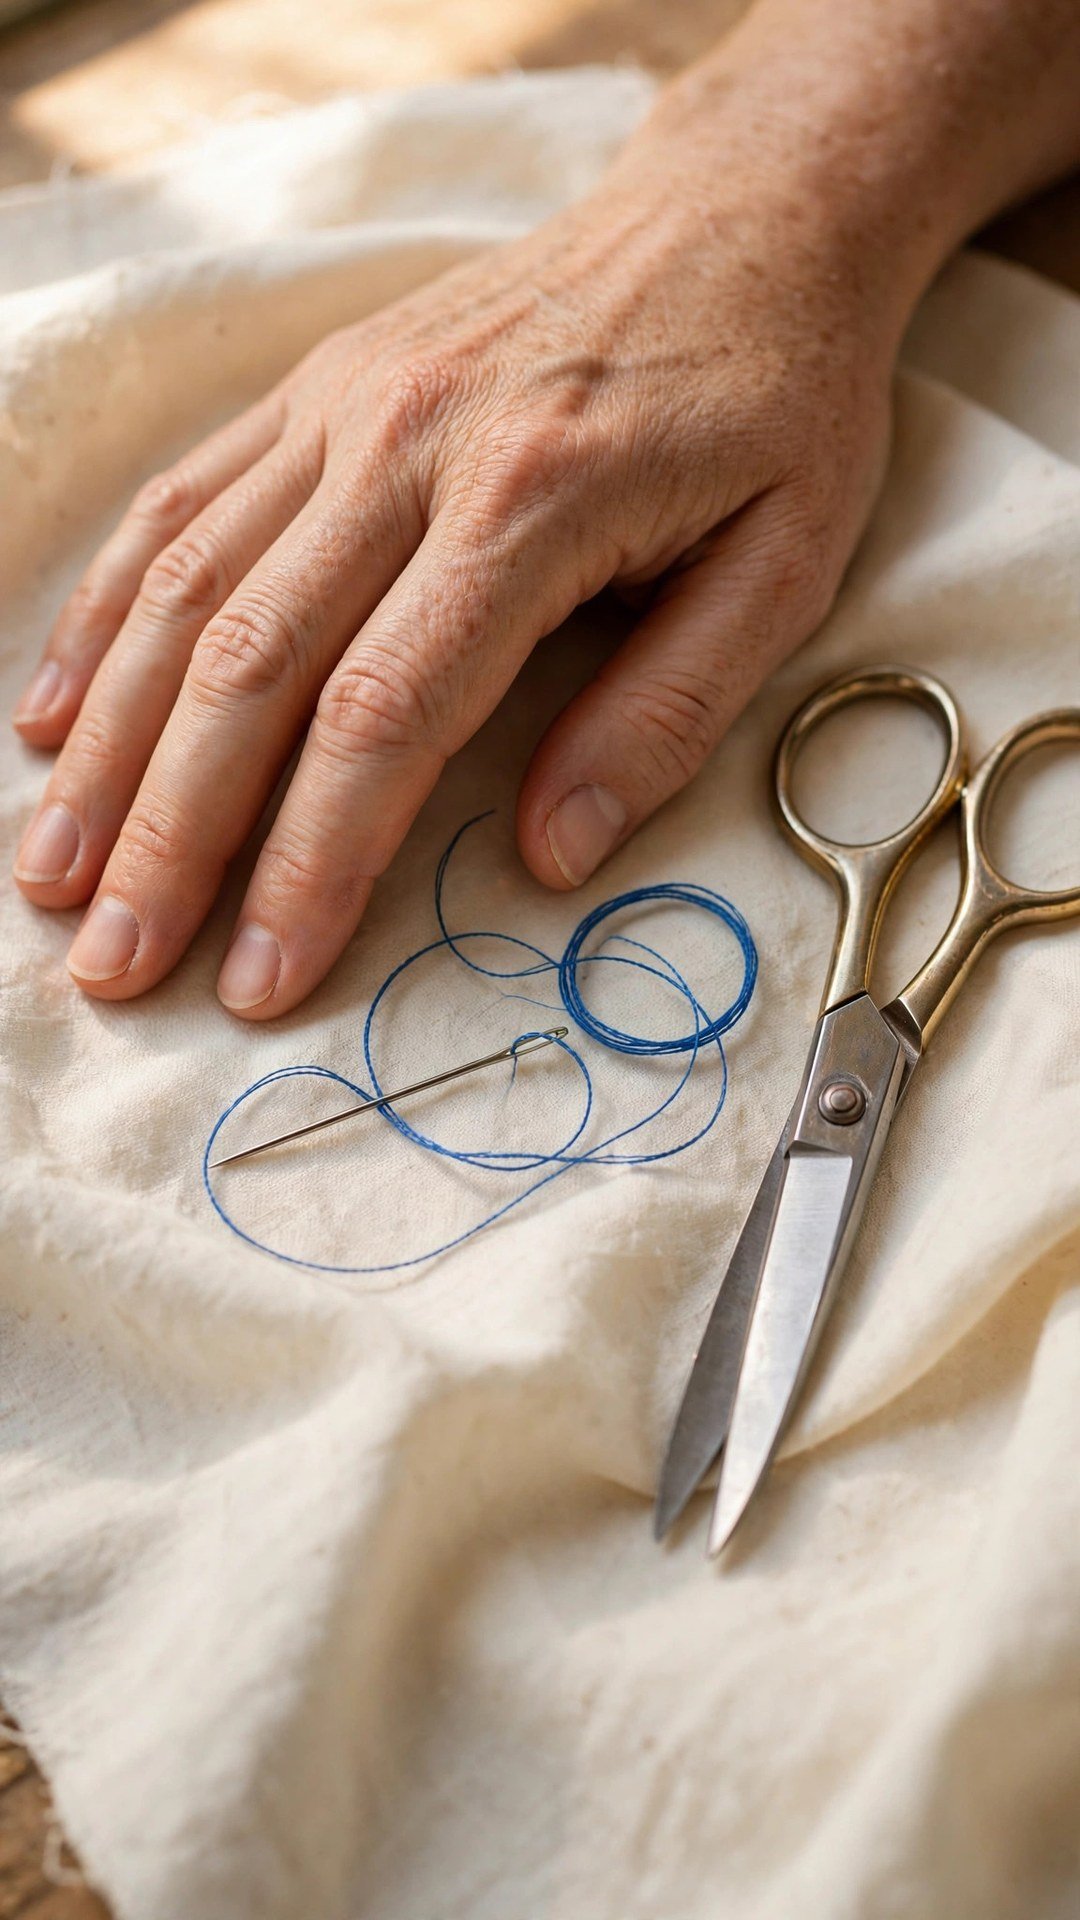
You need very little: a hand sewing needle, thread, two pieces of fabric, scissors, and a few pins. A sharp needle in a medium size is ideal for a beginner, because a very fine needle is hard to thread and a very thick needle leaves visible holes in the fabric. Use a cotton or polyester thread in a color that contrasts with your fabric, so you can see your stitches clearly while you learn. That contrast is your teacher, and it will show you exactly where your stitches are even and where they wander.
For fabric, choose a stable woven cotton, like quilting cotton or a plain cotton sheeting. Avoid slippery fabrics, stretchy knits, and very thick fabric for your first seam, because they all add difficulty you do not need yet. Cut two rectangles about six inches long and four inches wide, and press them flat. Place them right sides together, with the edges lined up, and pin along the edge you plan to sew. The pins hold the layers still while your hands learn the stitch, and they stop the bottom layer from creeping ahead of the top one. If you want a fuller list of the stitches that follow from this one, my guide to hand sew essential stitches covers the set I use most.
How to Sew Your First Straight Seam by Hand Step by Step
Start by threading your needle with about eighteen inches of thread. Longer thread tangles, and shorter thread means rethreading every few minutes, so eighteen inches is the sweet spot. Pull the thread through the eye, even the ends, and tie a small knot at the end, or take a couple of tiny stitches in the same spot to anchor the thread. Place your two pinned fabric pieces in front of you with the pinned edge closest to you, and bring the needle up through both layers from underneath, about a quarter inch from the edge, near the start of the seam.
Now sew a running stitch: push the needle down through both layers a short distance ahead, then bring it back up a little further along, and repeat. Aim for stitches about an eighth of an inch long, with even gaps between them, and try to keep the same distance from the fabric edge all the way along. Do not pull the thread tight enough to pucker the fabric, just snug enough that the layers sit together. When you reach the end, take two or three tiny stitches in the same place to lock the thread, then trim it close. Open the fabric out and press the seam flat. You have just sewn your first straight seam, and it will hold.
Backstitch: The Stronger Seam for Real Projects
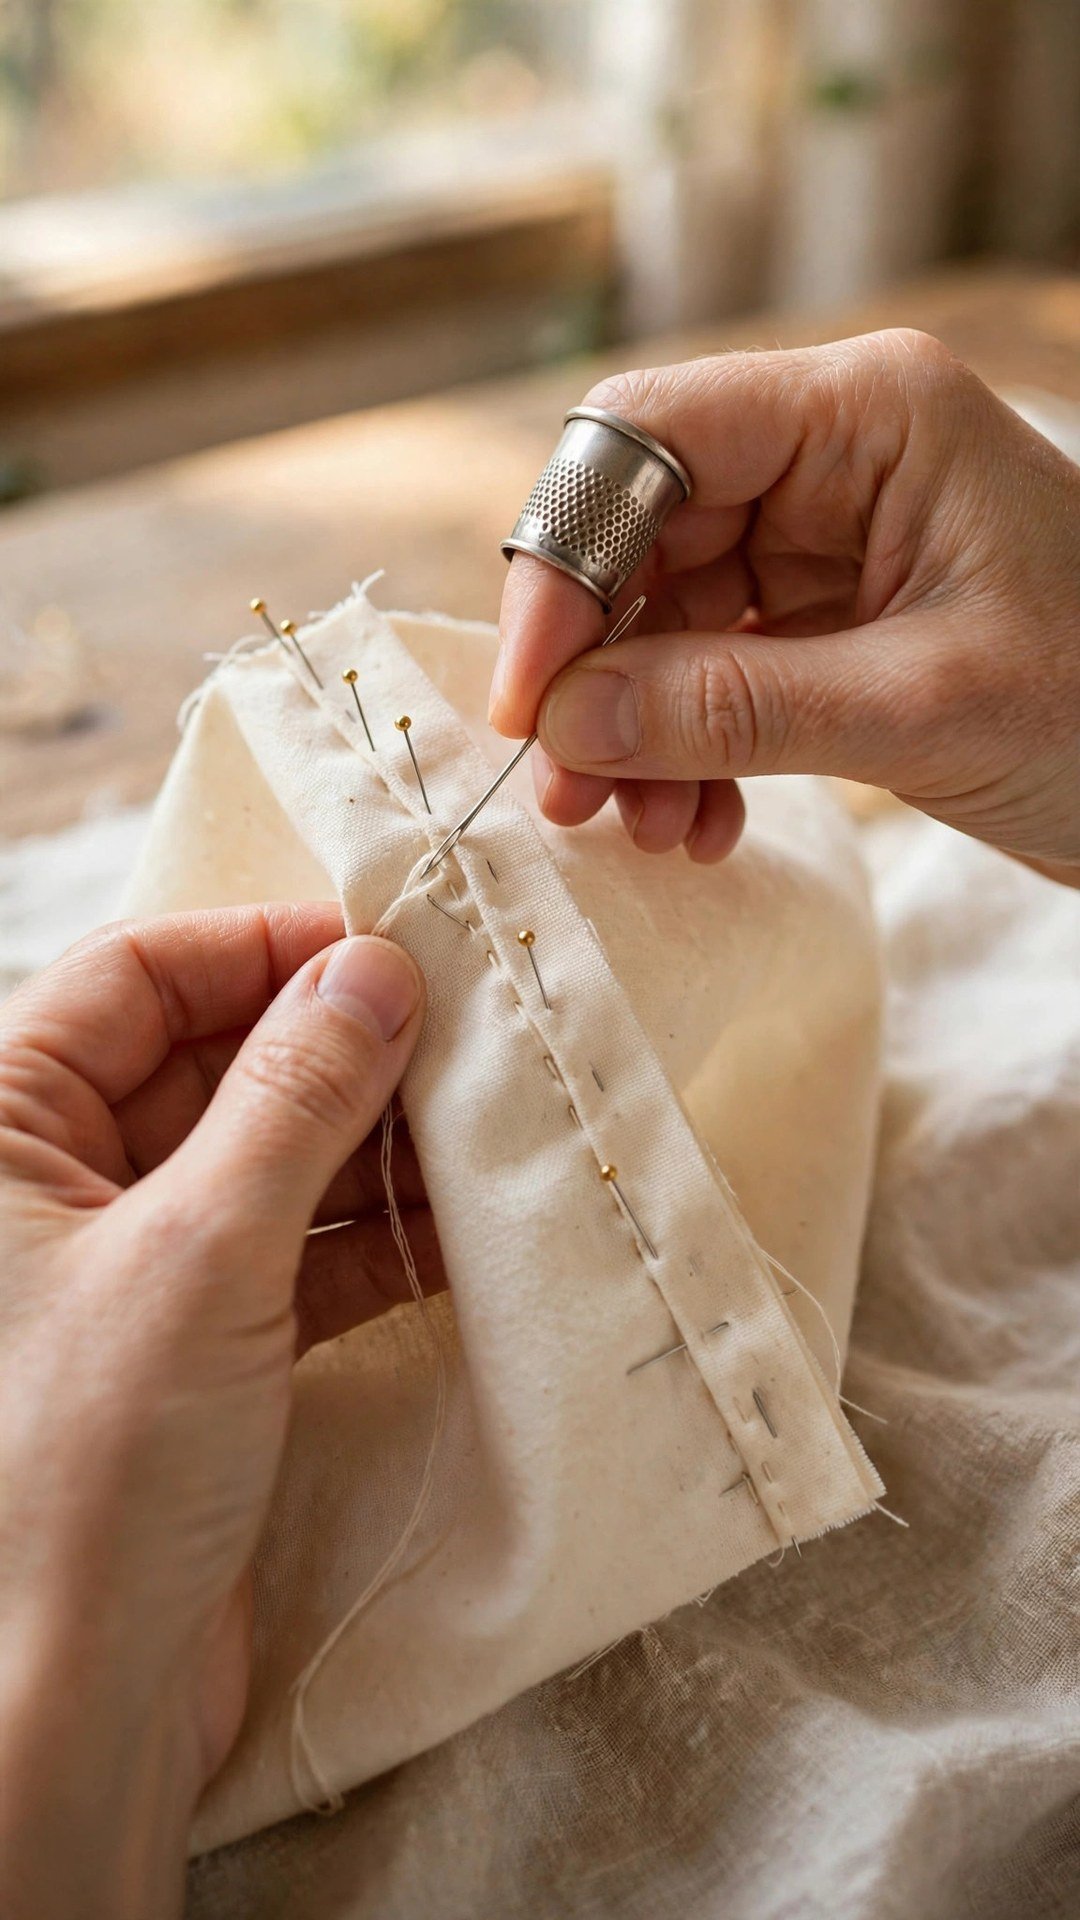
The running stitch is lovely for practice and for temporary seams, but for a seam that needs to hold under stress, you want the backstitch. It is only slightly slower, and it is much stronger, because every stitch overlaps the one before it. Bring the needle up through both layers, then push it down a short distance behind where it came up, so the stitch goes backwards. Then bring the needle up ahead of the last stitch, leaving a gap the length of one stitch, and push it down again into the end of the previous stitch. Repeat along the seam, and you will build a solid line that looks like machine stitching on the top side.
The trick is keeping the stitch length consistent. Short stitches are stronger and neater, so aim for about an eighth of an inch, and check the back of the seam as you go. The back should show a continuous line of overlapping stitches with no gaps. If your stitches start to wander, slow down and watch the fabric edge, not the needle. A good habit is to mark your seam line with chalk or a row of pins before you start, so your eye has a guide to follow. The same even stitch control carries over when you move to the machine, which is why practicing it by hand first pays off, as I explain in how to practice stitch control.
Keeping Your Stitches Even and Your Seam Straight
Even stitches come from rhythm, not from talent, and rhythm comes from practice. Hold the fabric lightly, not in a tight fist, and let the needle do the work. Work in good light, sit comfortably, and sew in short sessions rather than one long tense stretch. If your stitches start out uneven, that is normal. The first inch is always the hardest, and by the third inch most beginners find a steady pace. Take the stitches out and try again if you want to, or leave them and start a fresh seam. Both are fine, and both teach you something.
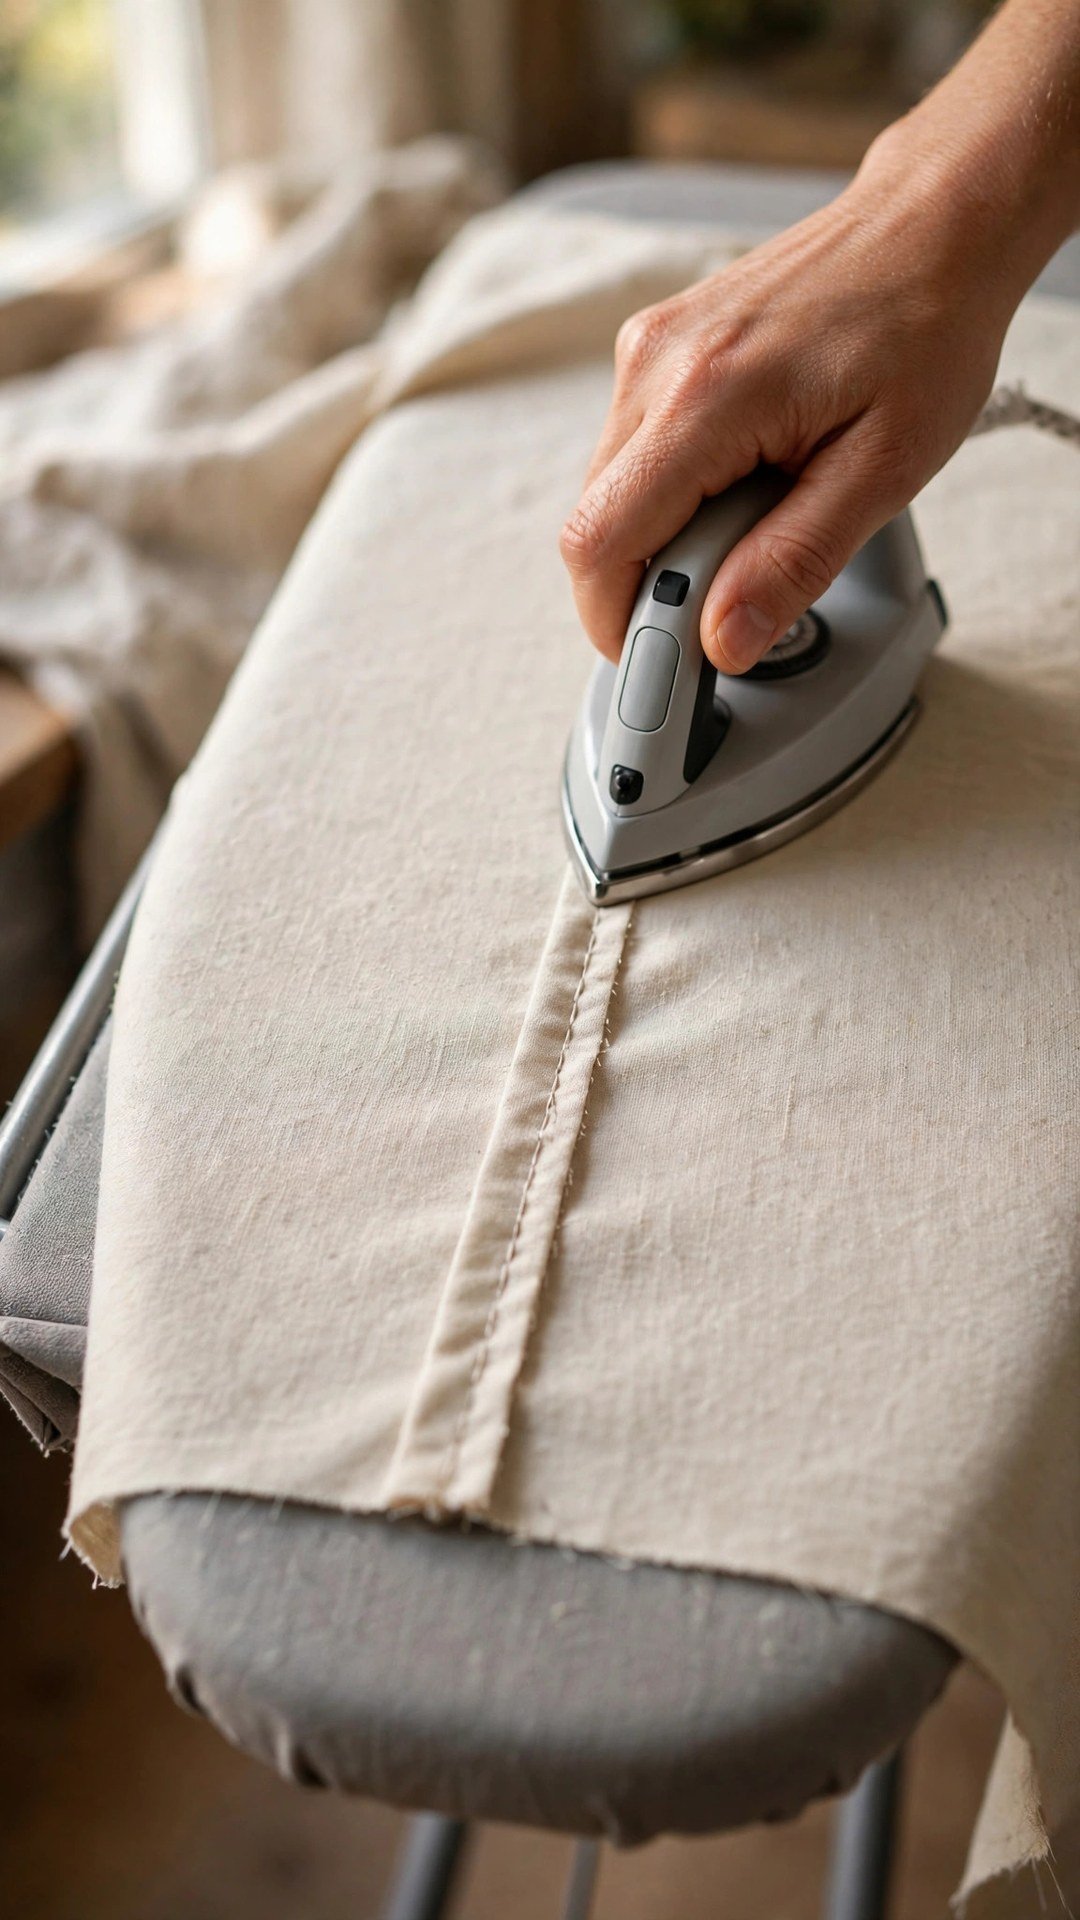
A few small habits make a big difference. Use a thimble on the middle finger of your pushing hand if the needle is hard to push through, and keep your thread short so it does not twist and knot. Check the seam allowance often by measuring from the fabric edge, and press the seam after you finish, because pressing sets the stitches and makes even a beginner seam look tidy. And remember that the back of the seam matters too. Turn the fabric over now and then and look at the underside. If the underside looks messy, slow down and make each stitch deliberate, rather than rushing to the end. My guide to how to sew a straight stitch shows how the same principles apply on the machine when you are ready.
Frequently Asked Questions
What stitch should I use for my first straight seam by hand?
Start with the running stitch, which is the simplest stitch there is: in and out in a straight line. Once you are comfortable, learn the backstitch for seams that need to be strong, like garment seams and bags.
How long should my hand stitches be?
Aim for about an eighth of an inch per stitch, with even gaps. Shorter stitches are stronger and look neater, but they take longer. Longer stitches are faster but weaker and more visible, so keep them short while you learn.
How do I stop the thread from tangling?
Use a thread length of about eighteen inches, let the needle hang and untwist every few stitches, and do not pull the thread through too fast. Thread that is too long twists on itself and knots, so short is always better.
Do I need a thimble to hand sew?
Not to start, but a thimble helps once you sew thicker fabric or longer seams. It protects your finger and lets you push the needle through with steady pressure. Try one and see if it suits your hand.
Can I hand sew a whole garment?
Yes, people have done it for centuries, and many sewists still hand sew parts of garments. It takes longer than machine sewing, but a hand sewn garment is a real achievement, and the seams are often stronger than you expect.
Your First Seam Is the Hardest One
Your first straight seam by hand will not be perfect, and it does not need to be. What matters is that you threaded the needle, made the stitches, and joined two pieces of fabric into one. Do it again tomorrow, and the stitches will be a little more even. Do it a few more times, and you will have a skill that never leaves you.

Written by June Carter
I am June, a sewing enthusiast who loves turning simple fabric into things people actually use. I test every technique and product I write about at my own machine before it lands here.