

If you want to learn how to sew a gathered skirt, let me be the first to congratulate you on an excellent choice. The gathered skirt is, in my opinion, the single best first garment project a beginner can take on, because it teaches you almost every foundational skill you will use for the rest of your sewing life: measuring, cutting rectangles, setting stitch length, gathering, attaching a waistband, and hemming. And at the end of one afternoon you get something you can actually wear. Not a practice square. A real, twirly skirt.
I have sewn more gathered skirts than I can count, for myself, for friends, for friends of friends who offered to pay me in fabric. Every single one follows the same recipe, and once you understand the logic behind it, you will wonder why it ever seemed intimidating. There are only two rectangles and a waistband standing between you and a finished garment, and today I am going to walk you through all of it, including the mistakes I made so you do not have to.
Why the Gathered Skirt Is the Perfect First Garment
Most beginner garment projects fail for one of two reasons: they ask you to fit curves (sleeves, darts, bodices) or they require precision you have not developed yet (zippers, buttonholes). The gathered skirt skips both. There are no darts, no zipper, no fitted anything. The entire shape of the skirt comes from pulling two straight rows of stitches, which means the machine does the shaping for you.
It is also extremely forgiving. If your waist measurement is slightly off, the gathers absorb the difference. If your stitching is a little wobbly, nobody will ever see it because it hides inside the waistband. And because the whole thing is made from rectangles, there is no pattern to buy, print, or assemble. You measure your body, you cut two rectangles, and you sew. This is why I always recommend it in my guide to how to choose a first sewing project for anyone who wants to sew something wearable as their very first project.
One honest opinion before we start: do not begin with slippery fabric. I know the silky prints in the shop are calling your name, but satin and challis will fight you at every step. Start with a stable cotton, quilting cotton, or a light linen, and save the slippery stuff for skirt number three. Your future self will thank you.

What You Will Need
The supply list is refreshingly short. You need fabric (we will do the math in the next section), matching thread, elastic for the waistband, and your usual sewing kit: scissors or a rotary cutter, pins, a seam ripper, and a measuring tape. If you are not sure which fabrics are kind to beginners, my roundup of the best fabric for beginner sewing projects walks through the good, the bad, and the deceptively tricky.
For the elastic, look for a width between 3/4 inch and 1 1/4 inches. Wider elastic is more comfortable and looks more polished in the finished waistband, while very narrow elastic can roll and twist inside the casing. Buy elastic that matches your waist measurement exactly, or cut it to your waist measurement minus an inch or two so it sits snugly without digging in. The best test is to wrap it around your waist and sit down: if it pinches when you sit, it is too short.
Your thread matters more than you think on a gathered skirt. You will be pulling hard on the bobbin threads to create the gathers, so a cheap thread that snaps under pressure will make you miserable. Use a decent quality all-purpose polyester or cotton-wrapped polyester thread in a color that blends with your fabric.
How Much Fabric to Cut
Here is the simple formula. First, take your waist measurement accurately, because everything else builds on this number. My guide on how to take accurate body measurements shows exactly where to place the tape so you get a number you can trust. Write it down. Now multiply your waist measurement by 1.5 for a softly gathered skirt or by 2 for a full, dramatic gather. Most of my everyday skirts use 1.75 times the waist, which I find is the sweet spot: twirly without being bulky.
That total width gets split across two rectangles, a front and a back. So for each rectangle, the width is half of your fullness total plus one inch for the two side seams (half an inch seam allowance on each side). The length of each rectangle is your desired finished length plus about 2 inches: half an inch for the waistband seam at the top and 1.5 inches for the hem at the bottom.
Now you need to fit those rectangles onto the actual width of your fabric. Standard quilting cotton is about 44 inches wide, and for most adults one skirt rectangle will not fit across that width, which means you will need to buy two skirt lengths of fabric. If you are unsure about converting your measurements into a yardage number you can hand to the cutting counter, my tutorial on how to calculate fabric yardage makes the arithmetic painless. Cut both rectangles, and you are ready to sew.
How to Sew a Gathered Skirt: Step by Step
Sew the side seams first. Place your two rectangles right sides together, pin the long side edges, and stitch with a half-inch seam allowance. Finish the raw edges of those seams however you like, a zigzag, pinking shears, or a serger, and press them toward the back of the skirt. You now have one big tube of fabric. It is not much to look at yet, but it is a skirt in its larval form.
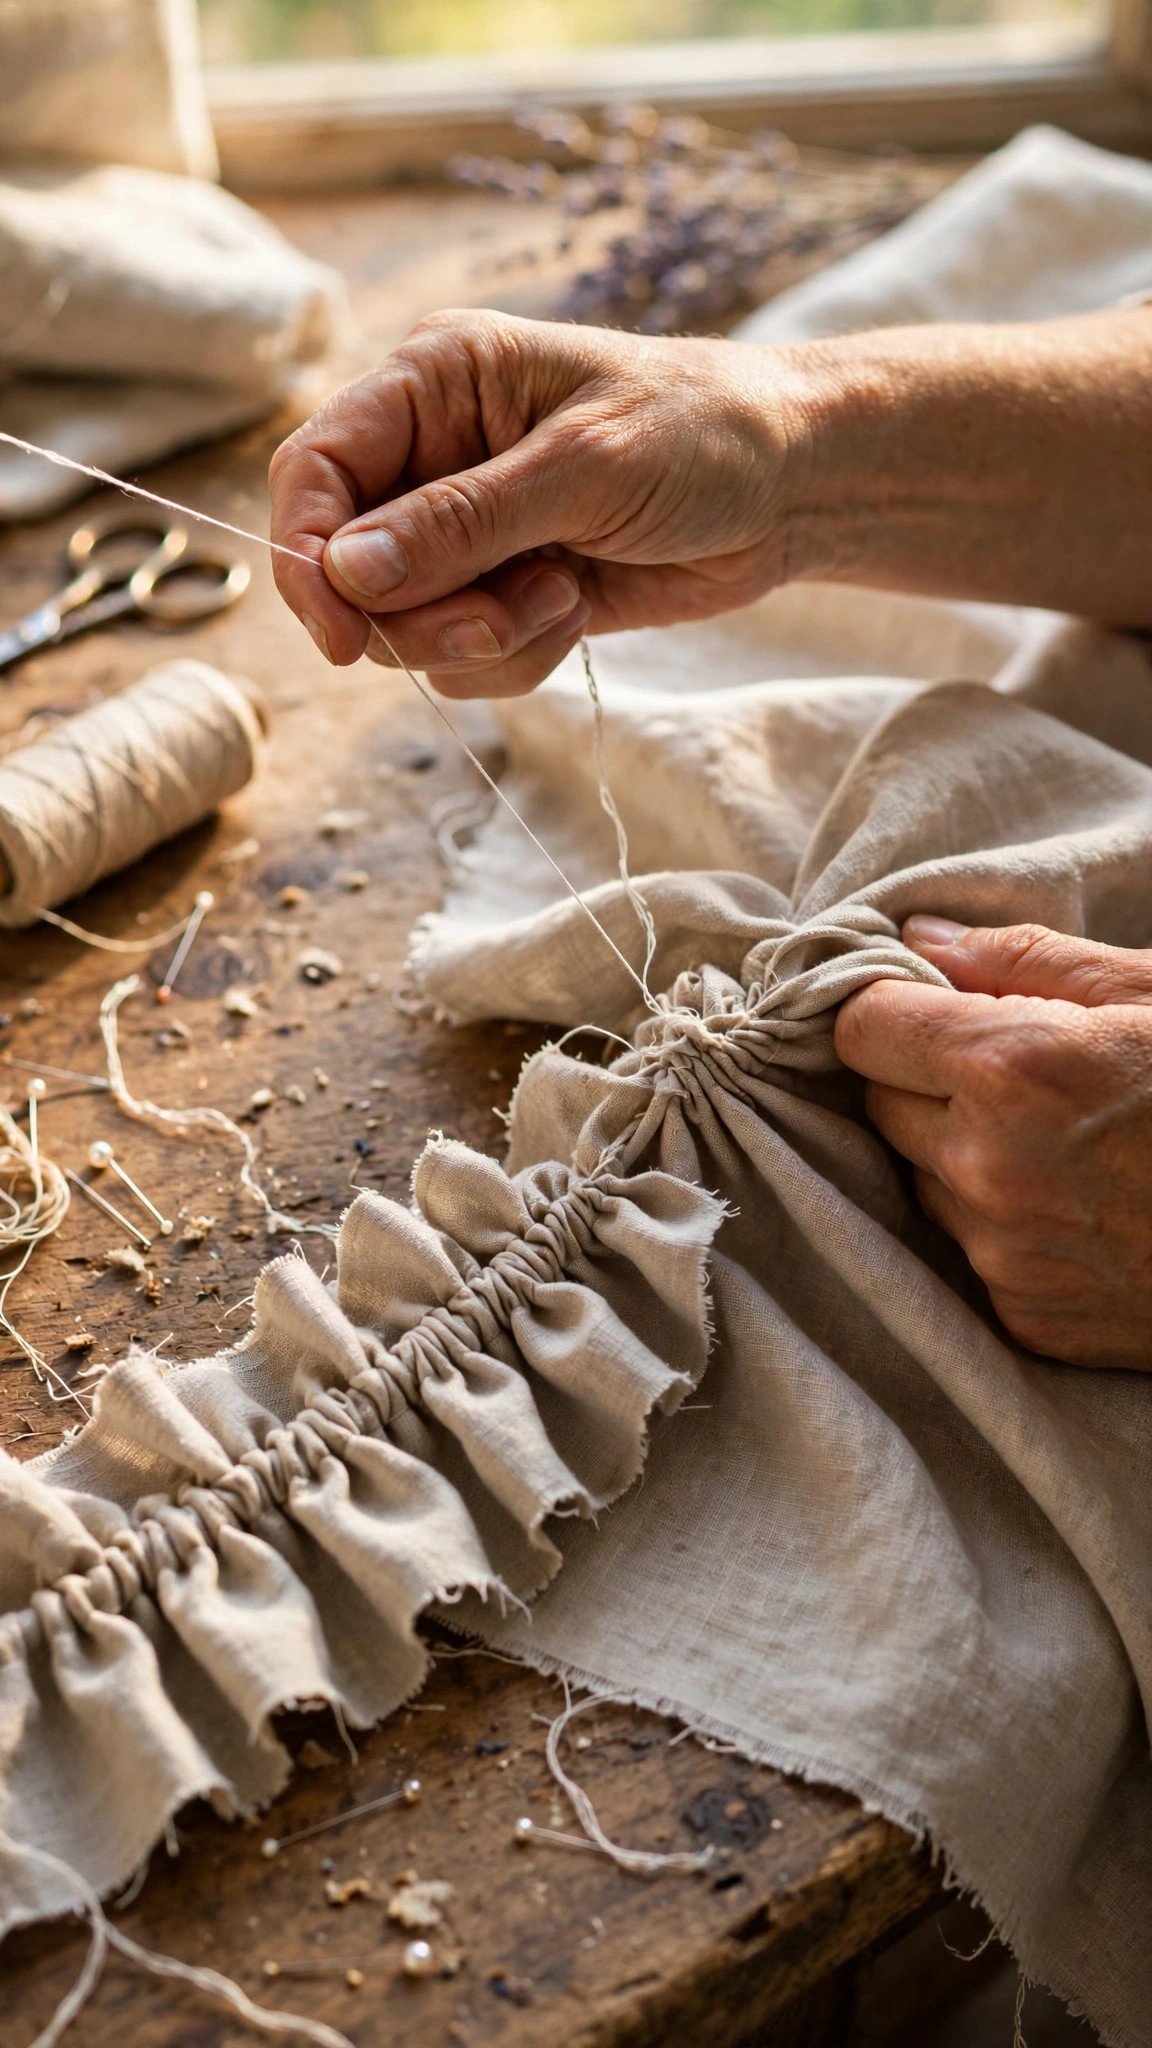
Next comes the gathering, and this is the part everyone worries about, so let me demystify it. Set your machine to the longest stitch length it has, and sew two parallel rows of basting stitches around the entire top edge of the skirt. Sew the first row a quarter inch from the raw edge and the second row about half an inch from the edge, so both rows sit inside your seam allowance. Do not backstitch at either end. Leave long thread tails, six inches or so, at both the beginning and the end.
Here is the crucial detail: you will pull on the bobbin threads only. The bobbin threads are the ones on the underside of the fabric. Anchor the two bobbin threads at one end by wrapping them around a pin so they cannot slide through, then go to the other end and gently pull both bobbin threads together, sliding the fabric along the threads. Work from both ends toward the middle, smoothing the gathers as you go, until the top edge of the skirt measures the same as your waistband. Distribute the gathers evenly by spreading the ruffles with your fingers and giving the gathered edge a light press with the iron to tame it.
If a gathering thread snaps, and it will happen at least once in your sewing life, do not panic and do not try to continue pulling from a broken thread. Rip out the snapped row, sew a fresh row of basting stitches in its place, and start again. Working from both ends instead of pulling everything from one side is the single best habit for preventing snapped threads.
Attaching the Waistband
I am going to teach you the simplest reliable waistband first: an elastic casing. Cut a rectangle of fabric as long as your waist measurement plus seam allowance and about 4 inches tall. Sew its short ends together to make a loop, then fold it in half lengthwise, wrong sides together, and press. This folded loop is your waistband, and the elastic will live inside the fold.
Quarter everything. This is my golden rule for attaching any waistband to a gathered skirt. Mark the quarters of your waistband with pins: side seams first, then fold to find the exact front and back centers. Do the same on the gathered skirt: mark the side seams, the center front, and the center back. Then match those four pins together, right sides of fabric facing each other, and pin generously in between. Matching quarters before you start sewing is what guarantees the gathers come out even all the way around instead of bunched up on one side.
Stitch the waistband to the skirt with a half-inch seam allowance, sewing with the gathered side up so you can watch the gathers and keep them lying flat as they feed under the presser foot. The gathering rows should sit inside the seam allowance, hidden forever once the waistband is on. Remove the visible basting threads after stitching; this is when you will be glad you used a contrasting color for them, because they are easy to spot and pull out.
Feed your elastic through the casing, overlap the ends by an inch, and stitch them together in a sturdy box with an X through it. Close the casing, stitch the waistband opening shut, and press everything toward the skirt. Try the skirt on and check the elastic: it should feel snug enough to stay up but loose enough to forget you are wearing it.

Fixing Uneven Gathers and Other Small Disasters
Even with careful quartering, gathers sometimes come out lopsided. The fix is simple and does not require starting over. Open up a small section of the waistband stitching, redistribute the gathers by hand until they look even, repin, and restitch just that section. I have done this on nearly every skirt I have ever made, and nobody has ever been able to tell.
If your gathers look flat and lifeless instead of fluffy, you probably did not use enough fullness. A skirt cut at only 1.25 times the waist gathers into something that looks more like slight ease than a ruffle. Next time, bump up to 1.75 or 2 times the waist and the difference will be dramatic.
Puckered waistband stitching is almost always a tension or feed issue. The bulk of the gathered fabric feeds more slowly than the flat waistband fabric, so the waistband layer gets pushed ahead and puckers. Sewing with the gathered layer on top, as I described above, lets you control it. You can also lengthen your stitch slightly and hold both layers gently taut behind and in front of the presser foot as you sew, guiding rather than pulling.
Finally, a note on hemming, since a wavy hem can ruin an otherwise lovely skirt. Press your hem allowance first, then stitch. Pressing folds the fabric into place so the iron does the holding work and your pins only need to do light duty. A 1.5-inch hem pressed and topstitched gives a gathered skirt a lovely weight and swing at the hemline, which is part of what makes it look so good when you move.
FAQ
How much fabric do I need for a gathered skirt?
Multiply your waist measurement by 1.5 to 2 for the total skirt width, then divide that into two rectangles. In practice, most adults need two lengths of 44-inch-wide fabric: one length for each skirt rectangle, plus a small piece for the waistband.
How do I gather fabric without the thread breaking?
Sew two rows of long basting stitches, pull only the bobbin threads, and work from both ends toward the middle. Using a good quality thread and leaving long tails makes snapping far less likely, and pulling evenly matters more than pulling hard.
What stitch length should I use for gathering stitches?
Set your machine to its longest straight stitch, which is usually around 4 to 5 millimeters. Long stitches slide through the fabric easily when you pull the bobbin threads, while short stitches grip too tightly and snap.
Can I add pockets to a gathered skirt?
Yes, and you should. Sew in-seam pockets into the side seams before you gather the top edge. It adds one small step at the beginning and turns an everyday skirt into the kind you reach for every morning.

Written by June Carter
I am June, a sewing enthusiast who loves turning simple fabric into things people actually use. I test every technique and product I write about at my own machine before it lands here.