
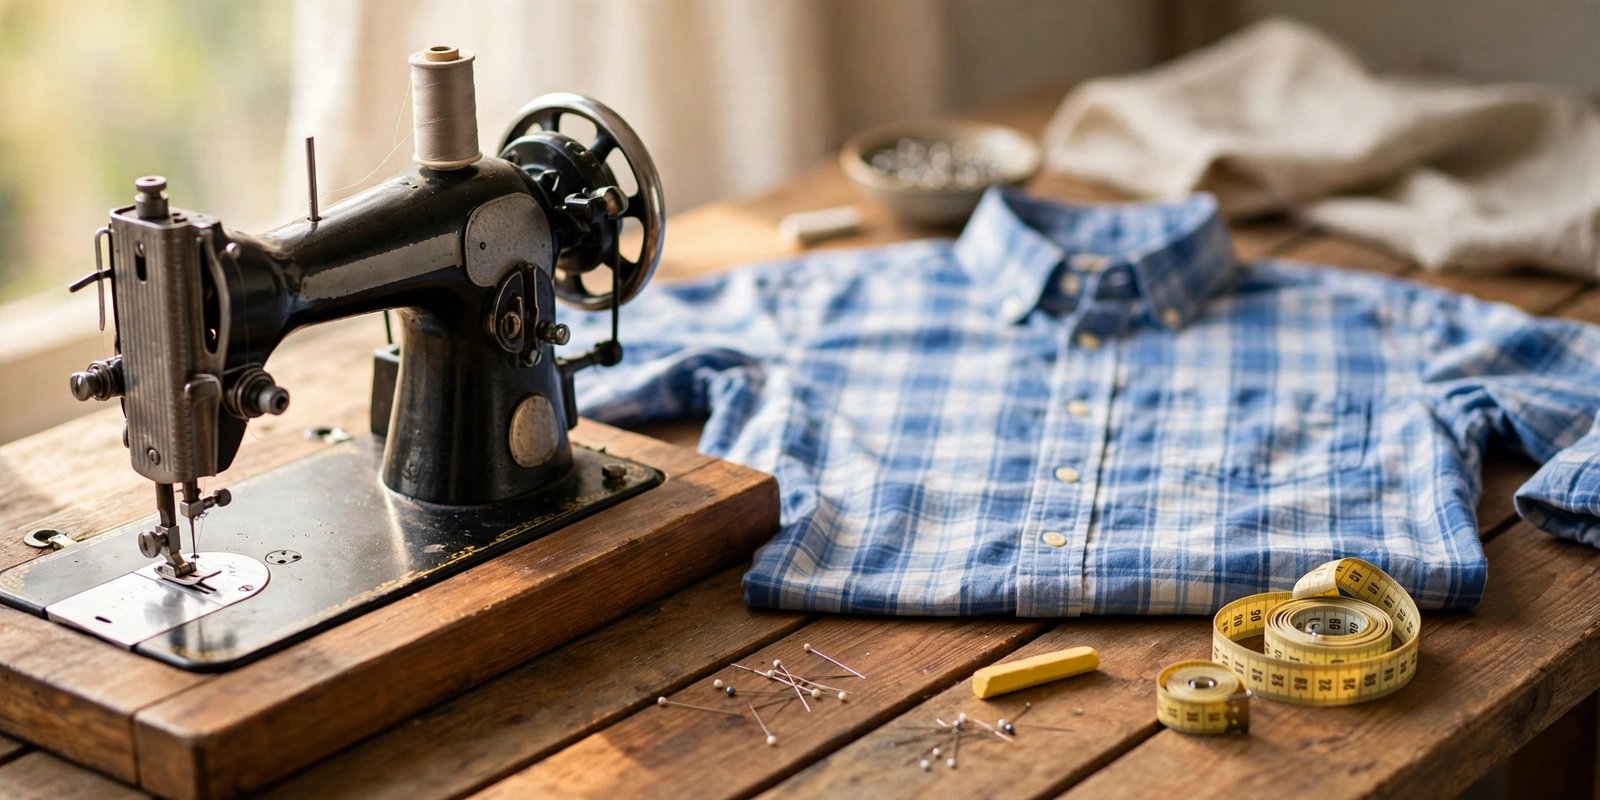
Learning how to take in a shirt is the alteration that gives you the most wear out of your wardrobe for the least effort. A shirt that swims at the waist but fits in the shoulders is not a lost cause; it is a thirty minute project away from becoming your favorite shirt. I have rescued thrifted blouses, baggy tees, and button downs that were perfect everywhere except the sides.
The method I trust is the inside-out pin method. You wear the shirt inside out, pin away the excess, sew along your pinned line, try it on again, and only then trim the extra fabric. That fitting checkpoint before you cut is everything. It means there is always a way back if you get ambitious with the pins, which is exactly the kind of safety net beginners need.
In this guide I will show you how to take in a shirt at the side seams, how much to take in at the bust, waist, and hips, and how to finish the new seams so they look like they were always there. Grab some pins and let’s fix that fit.
How to Take In a Shirt the Safe Way
The golden rule of taking in a shirt is simple: sew first, cut second. Many tutorials tell you to cut the shirt down to size and then sew, but that leaves no room for error. My way keeps all your options open. You pin the new seam line, stitch it, try the shirt on, and only trim the excess once you love the fit. If it is too tight, you just unpick and re-pin a little wider.
This works for woven button downs, blouses, and knit t-shirts alike, with one adjustment: knits need a stitch that stretches. Use a narrow zigzag or a stretch stitch on a t-shirt so the new seam moves with the fabric, and a regular straight stitch on wovens. Taking accurate body measurements before you start helps you pin with confidence instead of guessing.
What You Need Before You Start
Gather your tools before the shirt comes off the hanger: a sewing machine, thread that matches, sharp scissors, pins, a washable fabric marker or tailor’s chalk, a measuring tape, and an iron. A seam ripper is worth having nearby too, not because you will fail, but because unpicking a pinned fitting line is faster than re-pinning from scratch.
Wash and press the shirt first. Fabric relaxes in the wash, and pinning a wrinkled shirt gives you false readings. If you have a shirt that already fits the way you like, keep it handy as a guide: laying a well-fitting shirt over the baggy one and comparing the side seams is the fastest way to see exactly how much needs to come in.
Try It On and Mark the New Seam Line
Turn the shirt inside out and put it on. This feels odd the first time, but it puts the seam allowances where you can work with them. Stand in front of a mirror and pinch the excess fabric at the sides, taking in equal amounts on both sides. Most shirts need shaping at three points: the bust, about an inch below the armpit; the waist, at its narrowest; and the hips, near the hem. Note how much you are pinching at each point, because the new seam line should curve gently through all three rather than jumping straight from one to the next.
With the shirt still on, place pins vertically along the pinched fold to hold your new seam line, starting at the point that needs the most taken in and working outward toward the existing seams. Then carefully take the shirt off, lay it flat, and use your fabric marker to connect the pins into a smooth chalk line. Checking your seam allowance as you draw keeps the new line consistent, and remember that the line should taper into the existing seam at the underarm and at the hem so it blends invisibly.

Pin the New Side Seams
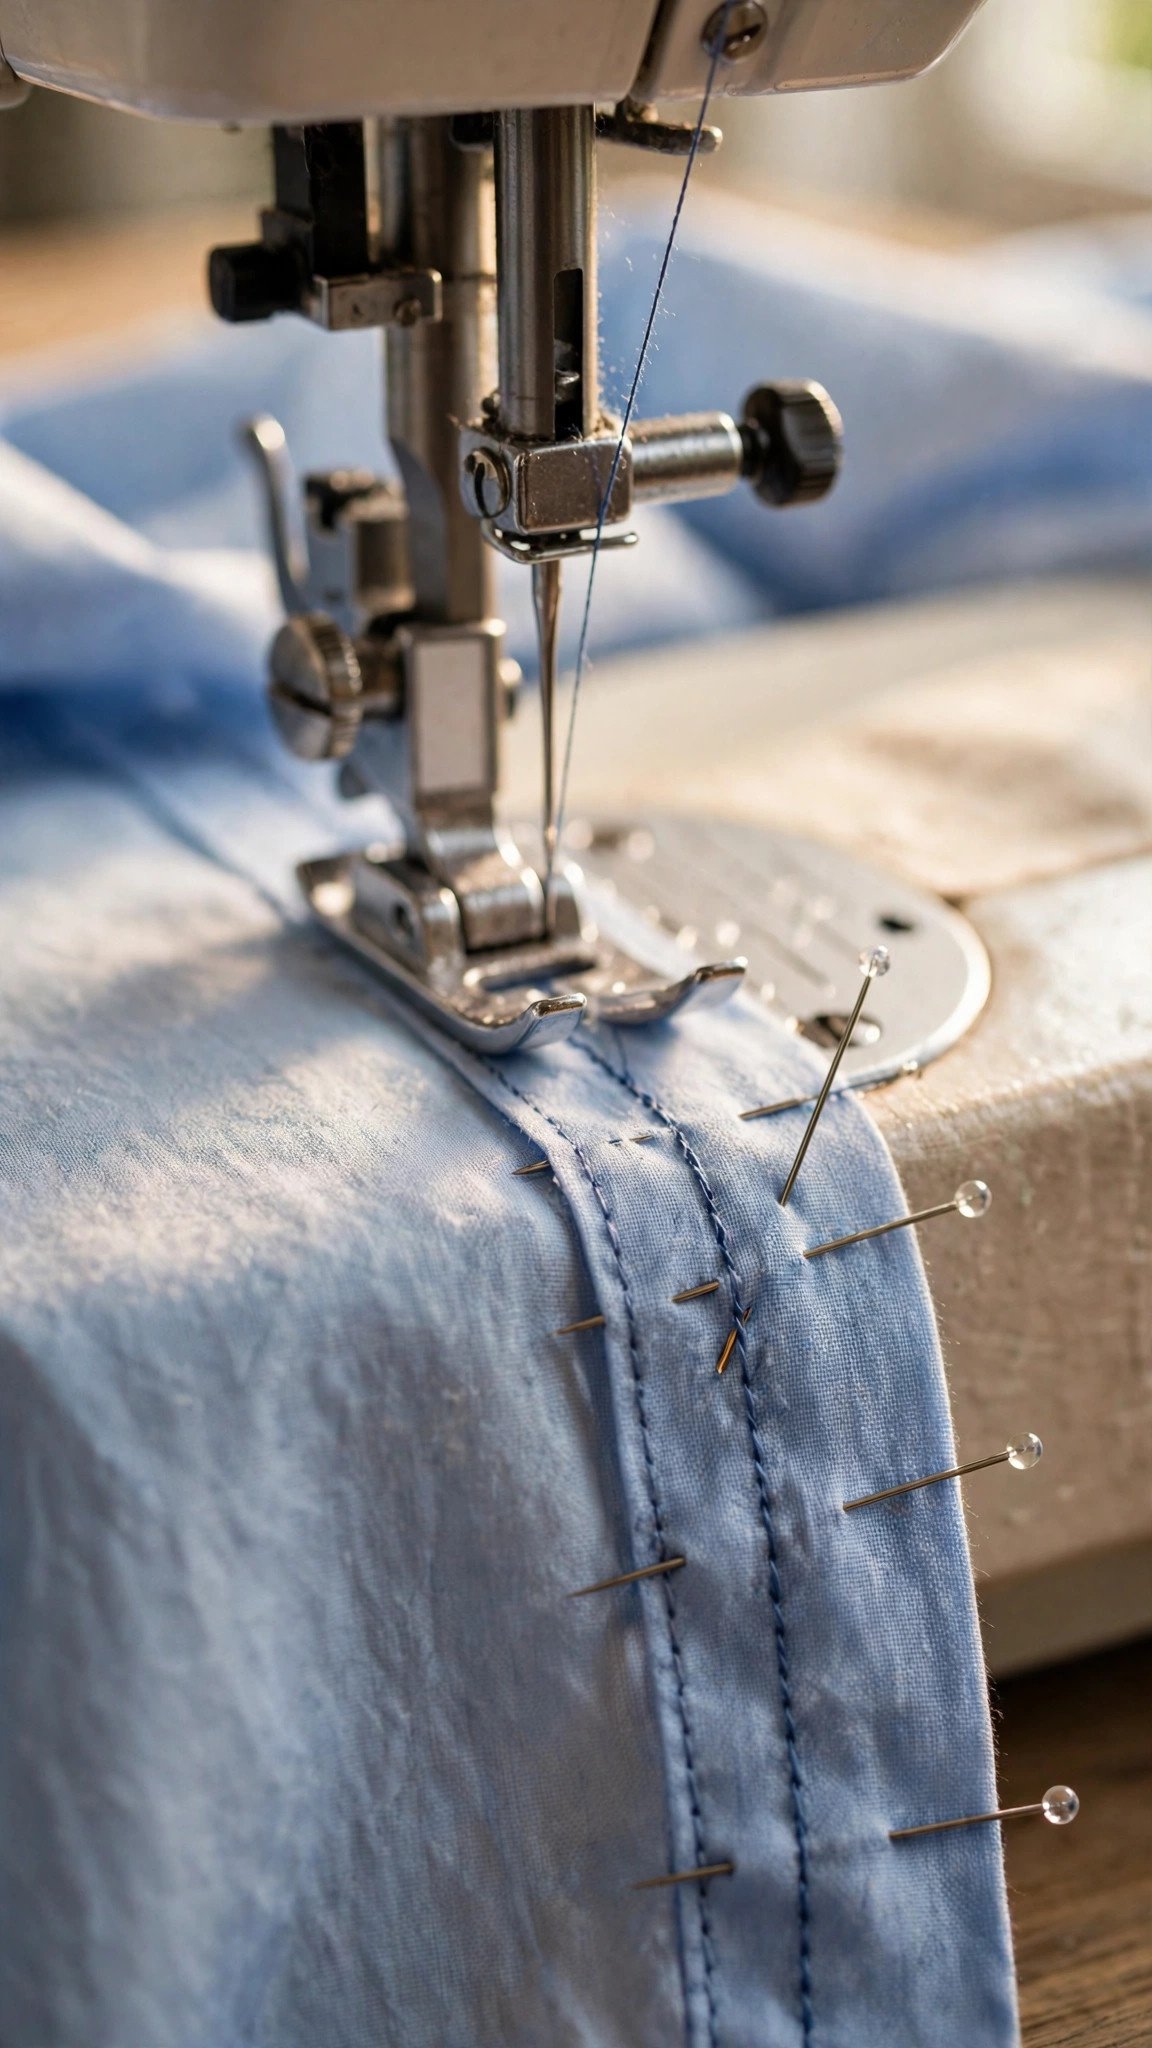
With your chalk line drawn, pin along it properly for sewing. Place pins perpendicular to the line every couple of inches, with the heads pointing outward so they are easy to pull as you sew. Pinning the fabric this way keeps the layers from shifting under the presser foot, which is what causes one side to come out slightly different from the other. Fold the shirt in half and compare the two sides to make sure your lines mirror each other before you sew a single stitch.
One caution: do not cut anything yet. I know the excess fabric flapping around is tempting, but the whole safety of this method depends on sewing first. If your new seam line runs very close to the original seam, you can even baste it by hand first and try the shirt on once more. Ten extra minutes of pinning beats an evening of regret.

Sew the New Seams
Set your machine for the fabric: a straight stitch around 2.5mm for wovens, a narrow zigzag for knits. Start sewing at the underarm, stitching just inside your chalk line, and follow the curve down through the waist and hips to the hem. Sew slowly over the pins, removing each one just before it reaches the needle. Sewing a straight stitch sounds basic, but a slow, steady pace with the fabric guided rather than pushed is what keeps the new seam smooth.
Backstitch at the start and end so the seam cannot unravel in the wash. When both sides are sewn, try the shirt on right side out. Move around in it: sit down, raise your arms, breathe. If it pulls anywhere, let that section out a little. If it is still roomy, take it in a touch more. Only when you are genuinely happy with the fit should you move on to trimming.
Trim, Finish, and Press
Now you can trim the excess. Cut the seam allowance down to about half an inch outside your new stitching line, tapering the cut so it meets the original seam allowance at the underarm and hem. Finish the raw edge so it does not fray: a zigzag stitch, an overlock stitch, or pinking shears all work. On knit t-shirts, you can often leave the trimmed edge of a serged seam as is.
Press the new seam allowances toward the back of the shirt. Pressing is the step that makes an alteration look professional instead of homemade, so do not skip it. Give the whole shirt a final press, and admire the shirt that finally fits the way the shoulders always promised it would.
FAQ
How much can I take in a shirt?
Taking in one to two inches per side, which is two to four inches total, works beautifully. More than that starts to distort the armholes and the shirt’s proportions. If a shirt needs more than that, it is usually better to size down.
Can I take in a shirt without a sewing machine?
Yes, with patience. Hand stitch the new seam line with a backstitch, which is strong enough for side seams. It takes longer, but the fitting logic is exactly the same: pin, try on, stitch, then trim.
Should I take in the sleeves too?
If the body is the only problem, leave the sleeves alone. If the sleeves are also baggy, continue your new seam line from the underarm into the sleeve in one smooth curve, tapering back to the original seam near the cuff. Try it on before trimming, just like the body.
Will taking in the sides work on a t-shirt?
Absolutely. Use a zigzag or stretch stitch so the seam stretches with the knit, and avoid pulling the fabric as you sew. The inside-out pin method works exactly the same on knits as on wovens.

Written by June Carter
I am June, a sewing enthusiast who loves turning simple fabric into things people actually use. I test every technique and product I write about at my own machine before it lands here.