
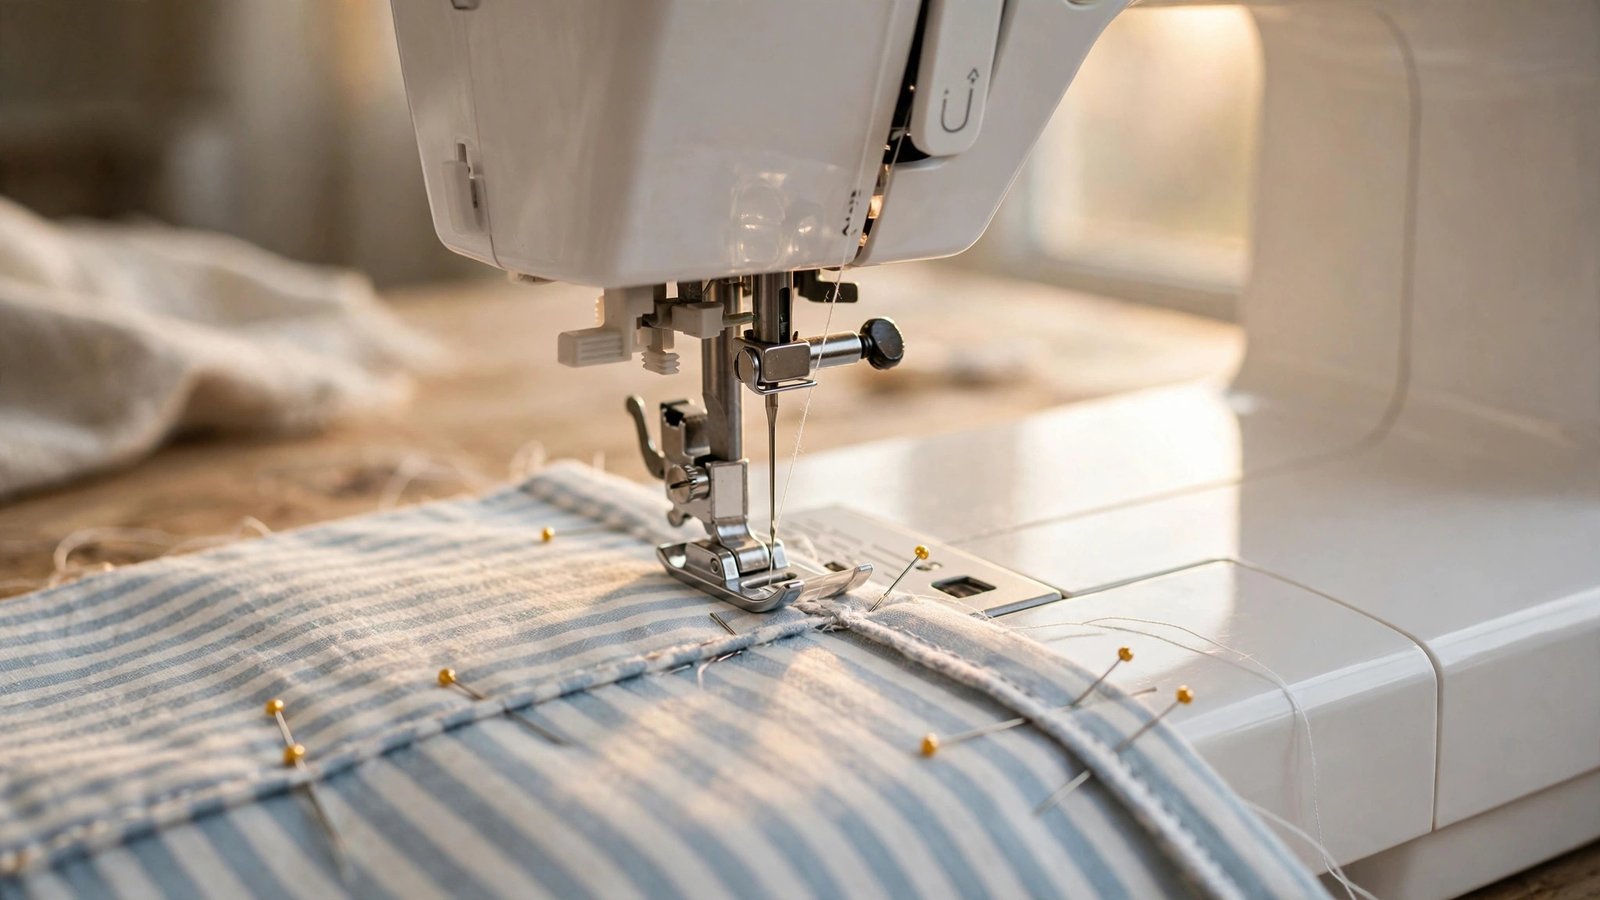
There is a special kind of heartbreak in opening up a freshly sewn seam and finding that the crossing seams missed each other by an eighth of an inch. I have strong feelings about this, because learning how to match seam intersections is one of those skills that separates “nice try” sewing from genuinely professional-looking work. Whether it is the waist seam meeting the side seam on a dress, or stripes crossing on a quilt block, a crisp intersection makes the whole project look intentional.
The good news: intersections are not about having a steady hand. They are about preparation. Pressing, nesting, pinning, and sewing slowly will get you a perfect match almost every time, and this guide walks through each step in the order I do them at my own machine.
Why Intersections Drift Apart
Seams cross, layers shift, and the feed dogs do not care about your plans. The main culprits behind missed intersections are unpressed seams that cannot sit flat, pins placed beside the match point instead of through it, and sewing too fast over the bump where the layers stack up. Each one is fixable, and together the fixes are nearly foolproof.
Another quiet culprit is inconsistent seam allowances. If your first seams wander even slightly, the intersection points will not land where the pattern promised. Keeping a steady seam allowance from the very first stitch is the foundation everything else rests on.
Press First: The Foundation of Every Match
I press every seam before I try to match it, and I mean every seam. An unpressed seam is a puffy, springy thing that will not sit still under the presser foot. Press the seam allowances flat first to set the stitches, then press them to one side or open according to your project. For most garment intersections, pressing both seams toward the same direction on their own pieces, then nesting them in opposite directions at the join, gives the crispest result.
Pressing direction is a strategy, not a habit. When two pressed seams meet from opposite sides, the seam allowances butt against each other and lock in place. When both go the same way, they stack into a lumpy pile that slides around. Plan your pressing as you sew each piece, thinking one step ahead about where the intersections will land.
Nesting Seams: Let Them Lock Together
Nesting is my favorite technique in all of sewing, because it feels like a magic trick. Place the two pieces right sides together, then slide the pressed seam allowances toward each other until you feel them click into place. That little lock is the seam allowances butting together, and it holds the intersection exactly where it belongs without any pins at all.
The lock only works if both seams were pressed crisply and in opposite directions. Half-pressed seams will not nest, so do not skip the iron. Once you feel the pieces seat together, keep gentle finger pressure on the intersection right up until the needle goes in. I often sew from one intersection to the next this way, checking each match as I go, because catching a drift early beats ripping out a whole seam.

How to Match Seam Intersections With Pins
When nesting alone is not enough, usually on thick or slippery fabrics, pinning through the exact crossing point is the answer. Look straight down at the two pieces and push a pin vertically through the stitch line of the top piece, checking that it exits through the stitch line of the bottom piece. This is the critical detail: the pin must go through the seam lines, not just somewhere near them.
With that center pin holding the match, add a pin on each side of the intersection, close to the center, to keep the layers from rotating. Then remove the center pin before you sew over it, or leave it in and pull it out just before the presser foot arrives. Never sew over pins if you can avoid it; a broken needle at an intersection is a bad day.
For intersections that absolutely must be perfect, hand baste instead of pinning. A few long hand stitches right along the seam line hold everything exactly in place, and basting pulls out in seconds. It feels slow, but it is faster than seam ripping a drifted intersection twice.

Sew Slowly Over the Bump
The moment of truth is the few stitches where the needle crosses the stacked-up seam allowances. Slow down well before you reach the intersection. I drop my speed to a crawl and let the feed dogs do the work, never pulling the fabric from behind. Pulling is how intersections get dragged out of alignment at the last second.
A slightly shorter stitch length gives you more control over bulky crossings, and stopping with the needle down lets you pivot or adjust without losing your place. If your machine has a speed limiter, this is the moment to use it. My guide to adjusting stitch length and width covers the settings I reach for when precision matters most.
Sew the seam with a steady, even pace, and check the match from the right side as soon as you finish. If it drifted, unpick just that section now. Pressing a bad intersection sets the mistake in place and makes it twice as hard to fix.

Taming Bulky Intersections
Some intersections stack up four, six, or even eight layers of fabric, and no amount of pinning fixes physics. The answer is grading: trim each layer of the seam allowance to a slightly different width so the bulk steps down gradually instead of forming a cliff. On very thick crossings, clip into the seam allowance up to the stitching to release tension, or press the seams open instead of to one side.
A tailor’s clapper or a firm press with steam flattens bulky intersections beautifully after sewing. Press the finished seam flat first to set it, then press to the final direction. And here is a practical tip: when you know a bulky intersection is coming, sew a careful straight stitch leading into it, because wobbly stitching plus bulk is a combination that never looks good.
FAQ
Should I press seams open or to one side for matching?
For nesting, press to one side in opposite directions so the allowances lock together. Press open when the intersection is very bulky or when the pattern instructs it, and pin through the stitch lines instead of nesting.
Why do my intersections match when pinning but shift when sewing?
Almost always speed or pulling. Slow down before the crossing, let the feed dogs move the fabric, and keep a finger lightly on the intersection until the needle passes through it. A walking foot also helps on slippery fabrics.
Can I match intersections without pins?
Yes, that is exactly what nesting does. Crisp pressing in opposite directions lets the seam allowances lock together and hold the match on their own. I still add pins for thick fabrics or critical points, but simple intersections often need nothing more than a good press.
How do I mark where seams should cross?
Transfer the pattern’s match points with chalk, a water-soluble marker, or a small snip in the seam allowance. On patchwork, mark a dot where the quarter-inch seam lines intersect at each corner and start and stop your stitching exactly at the dots.

Written by June Carter
I am June, a sewing enthusiast who loves turning simple fabric into things people actually use. I test every technique and product I write about at my own machine before it lands here.