

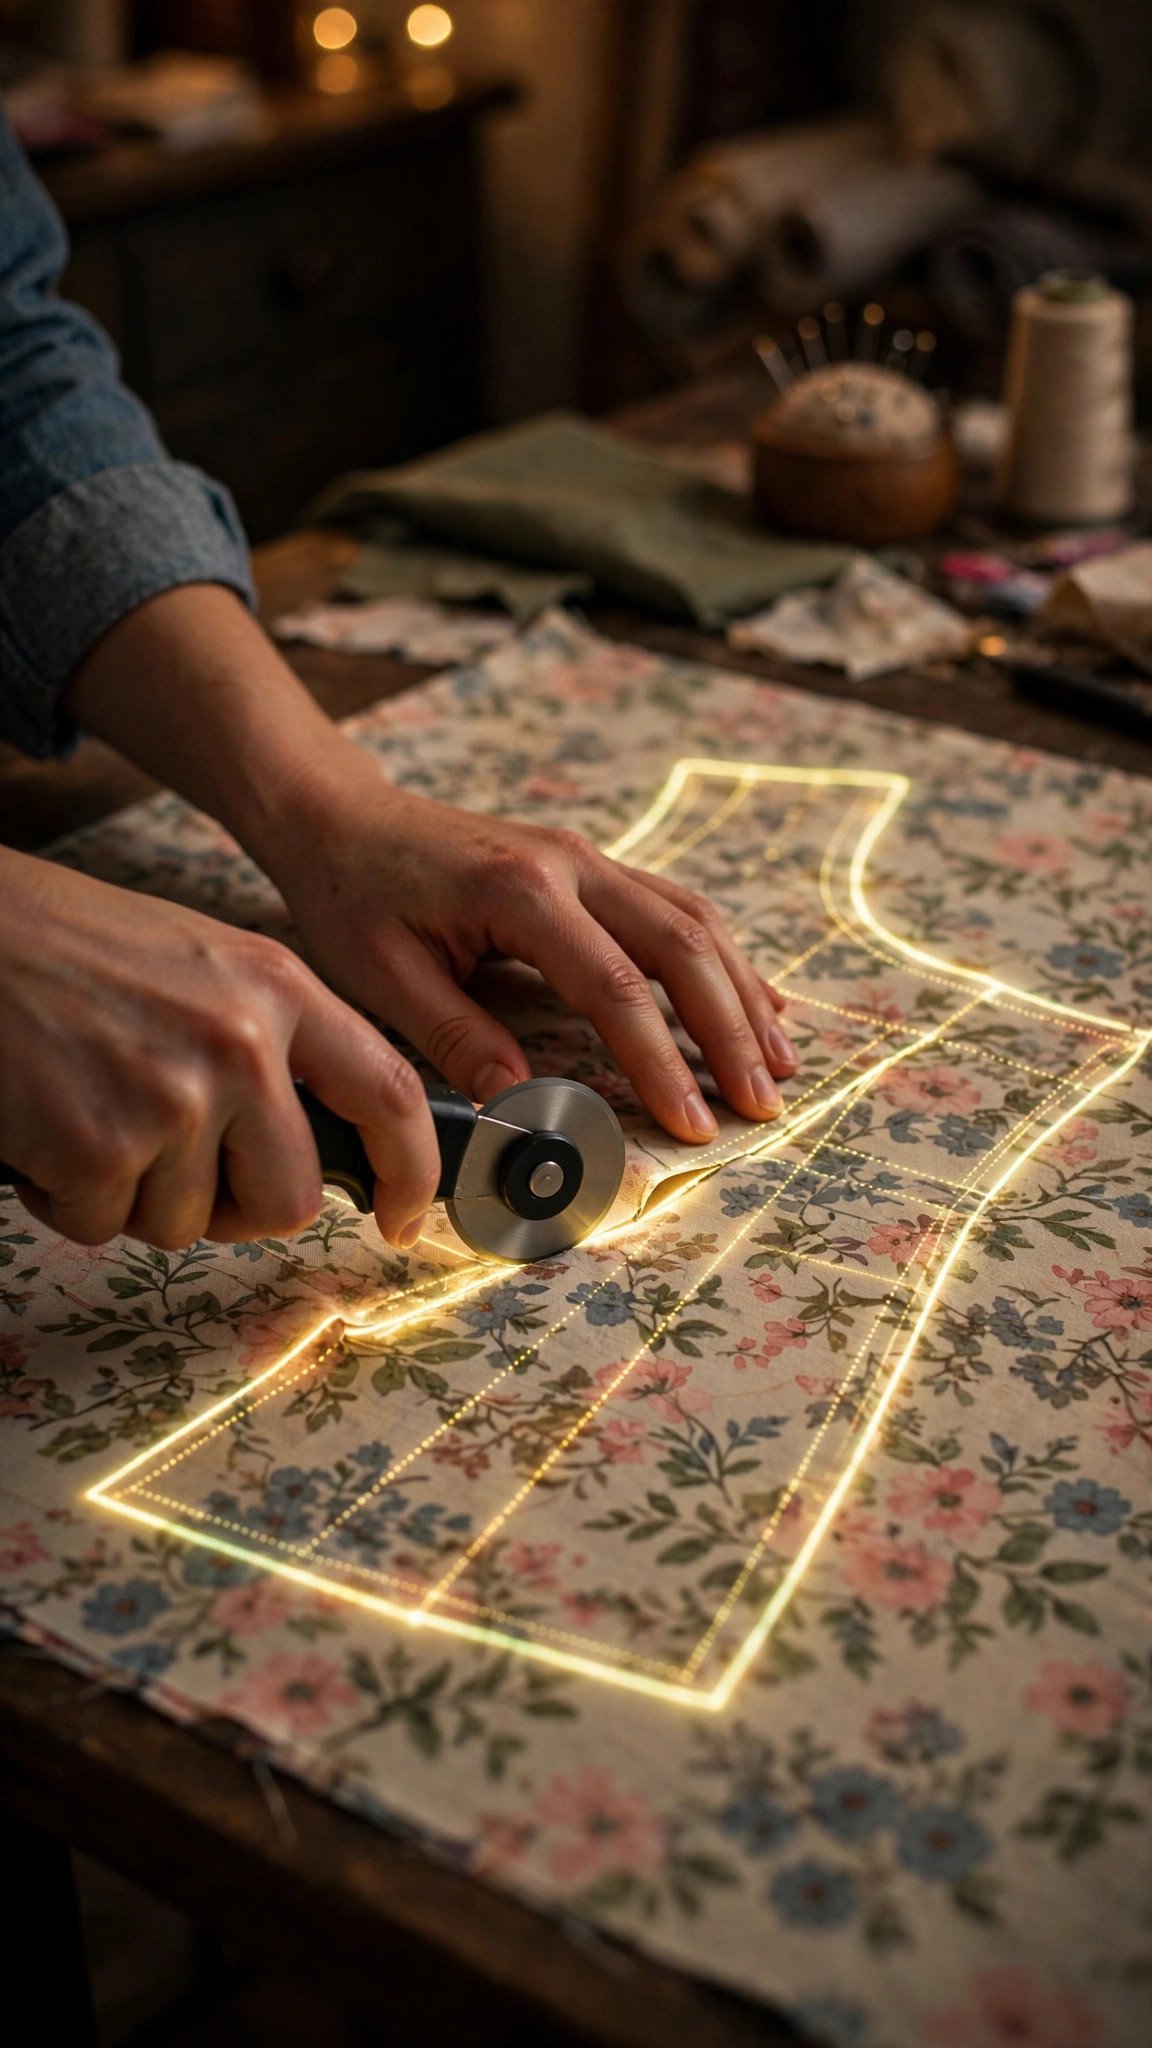
If you have ever spent an entire evening taping together printed pattern pages, learning how to use projector patterns will feel like a magic trick. A projector beams the pattern straight onto your fabric, and you cut along the glowing lines. No printing, no taping, no paper at all.
Projector sewing is not some futuristic fantasy. It is simply a digital projector mounted above your cutting table, displaying your pattern file at true size. The setup takes an afternoon, calibration takes a few minutes, and every pattern after that cuts in a fraction of the time.
How to Use Projector Patterns: The Complete Walkthrough
The whole workflow fits in one sentence: mount the projector, calibrate it to true size, prepare your projector file, lay out your fabric, project, and cut. Here is each step in detail, in the order you will actually do them.
What Projector Sewing Actually Is
In projector sewing, you skip paper patterns entirely. You open a digital pattern file on your computer, the projector displays the pattern piece outlines onto the fabric on your cutting table, and you cut directly along the projected lines with a rotary cutter or scissors. Most pattern companies now include a dedicated projector file with their PDFs, formatted for a clean projected image.
The payoff is real: no paper, no ink, no taping sessions, and no storing bulky pattern envelopes. My honest take is that projector sewing shines brightest if you cut a lot of patterns. If you sew only a couple of garments a year, the setup may be more effort than it saves. But for regular sewists, it is genuinely life changing.
Setting Up and Mounting Your Projector
There are three common setups. A mini projector mounted directly above the cutting table is the most popular: it needs a ceiling height of around forty inches or more and a throw ratio of 1.2 or under. A short throw projector mounts on the wall or ceiling offset from the table and works with lower ceilings. An ultra short throw projector sits right on the table or a nearby shelf and needs almost no distance at all.
Whatever you choose, mount it solidly and level your cutting surface. Measure the distance from the projector lens to the table, because that throw distance determines how wide your projected image will be. A wobbly mount means a drifting image, so take the time to get this right once and you will not think about it again.

Calibrating So Your Pattern Prints at True Size
Calibration is the one step you cannot skip. An uncalibrated projector might show your pattern at 98 percent or 103 percent of true size, and a garment cut two percent off is a garment that does not fit. Fortunately, calibration takes only a few minutes.
Project your calibration grid onto your cutting mat and line it up with the mat’s grid lines. Then measure the test square, usually a one inch or two inch square included in the pattern file, with a ruler. Adjust the zoom and focus until the square measures exactly right, and check the corners for distortion. Write down your zoom setting so you can return to it, and recheck the scale at the start of each cutting session. If the projector or the cutting table has moved, calibrate again.

Preparing Your Projector File
Download the file labeled projector from your pattern, not the tiled print-at-home version. Open it in a PDF reader such as Adobe Acrobat and use the layers panel to show only your size. Hide every other size layer so the projected image is clean and uncluttered. Choose your size from your accurate body measurements, the same as you would for a paper pattern.
If you are projecting onto dark fabric, change the line color to white or another bright color so the lines stay visible. In Acrobat you can do this through the accessibility options. Also make sure the text and markers layer is turned on, since piece names and grainlines are easy to lose in a glowing projection.
Projecting, Cutting, and Marking
Now the fun part. Lay your fabric in a single layer on the cutting table and square its edges to the mat lines. Slippery fabrics benefit from pattern weights to keep everything still. Project the pattern, align any fold line with your fabric fold, and double check that the grainline arrow runs with the fabric grain.
Cut directly along the projected lines with a rotary cutter, then transfer your notches and markings with tailor’s chalk or a tracing wheel before you move anything. If the pattern has more pieces than fit in one projection, cut what you can, then reposition the fabric for the next layout. Before you cut, confirm whether your file includes seam allowance, and refresh yourself on the sewing pattern symbols so every marking makes sense.
One honest caveat: complex fit alterations are still easier on paper. If you need major shoulder or armhole changes, project onto paper first, make your alterations there, and then use the altered paper as your pattern. Simple tweaks, though, you can do right on the projection.
FAQ
Do I need a special projector for sewing?
No. Any digital projector works, though mini and short throw models suit sewing rooms best because they need less distance. A brighter projector helps if your sewing room has a lot of daylight.
Can I use regular tiled PDF patterns with a projector?
You can, but tiled files are awkward to navigate when projected. Projector files are laid out for exactly this use, so always download the projector version when the pattern company offers one. If you prefer paper, my guide to assembling tiled pattern pages covers the print route.
What if my projected lines are blurry?
Adjust the focus first, then check the keystone correction and the projector distance. Blurry corners usually mean the projector is not level with the table. Recalibrate after any adjustment.
Can I still alter patterns when I sew with a projector?
Yes. Simple length and width tweaks can be done on the projected image. For complex fit alterations, project onto paper, alter the paper, and cut from that instead.

Written by June Carter
I am June, a sewing enthusiast who loves turning simple fabric into things people actually use. I test every technique and product I write about at my own machine before it lands here.