

I used to think learning how to sew a dress lining was an advanced skill reserved for sewists who own dress forms and say “couture finish” without flinching. Then I made a sleeveless summer dress from a fabric that went faintly see-through in bright sunlight, and a lining suddenly felt less like a luxury and more like a necessity. That dress taught me the real lesson: a good lining hides raw edges, adds body to flimsy fabric, stops cling against the skin, and makes the inside of your garment look as tidy as the outside.
The good news is that lining a dress is not actually hard. You are essentially sewing a second, simpler dress and joining it to the first one at the neckline, armholes, and sometimes the waist. Once you understand the order of operations, which I walk through below, you can line almost any dress pattern. This is my full method, the same one I use for everything from breezy summer shifts to more structured occasion dresses.
Why a Lining Is Worth the Extra Fabric
A lining does four jobs at once, and honestly, the comfort one is the reason I keep doing it. The lining sits between your skin and the fashion fabric, so scratchy seams, itchy fibers, and sticky synthetics never touch you directly. If you have ever worn an unlined dress and spent the whole day tugging it away from your tights, you know exactly what I mean.
Structurally, a lining gives lightweight fabrics the body they need to drape nicely instead of collapsing. It also encloses every raw edge inside the garment, which means less fraying over time and a much longer-lived dress. For any fabric that is even slightly sheer, the lining restores modesty without changing how the dress looks from the outside. I consider it non-negotiable for light-colored fabrics.
One more practical perk: a lined dress almost never needs its seam allowances finished separately. All those raw edges get sandwiched between the shell and the lining, so you can skip serging or zigzagging most seams. If you are still getting comfortable with your machine, my guide to threading a sewing machine correctly will save you a lot of frustration before you start.
Choosing the Right Lining Fabric
The lining should be lighter in weight than your fashion fabric and slippery enough that the dress glides over your body instead of gripping it. My default picks are bemberg or cupro for anything special, rayon or viscose challis for everyday dresses, and a lightweight cotton lawn or voile when I want something breathable and easy to press. Slippery polyester linings exist, but I reach for them only when a project needs extra structure, because they do not breathe well and they feel clammy in warm weather.
Match the lining color to the dress, or go one shade lighter. A bright white lining under a pastel dress can glow through as a harsh layer at the neckline, so I choose a tone that quietly disappears. For dark dresses, a black or navy lining keeps everything invisible from the outside.
Always prewash your lining fabric exactly the way you prewash your fashion fabric. A lining that shrinks after the first wash will pull and pucker the whole dress, and there is no easy fix once it is sewn in. My prewashing guide for cotton and linen covers the wash, dry, and press routine I use for almost every lining fabric before I cut a single piece.
Cutting and Preparing Your Lining Pieces
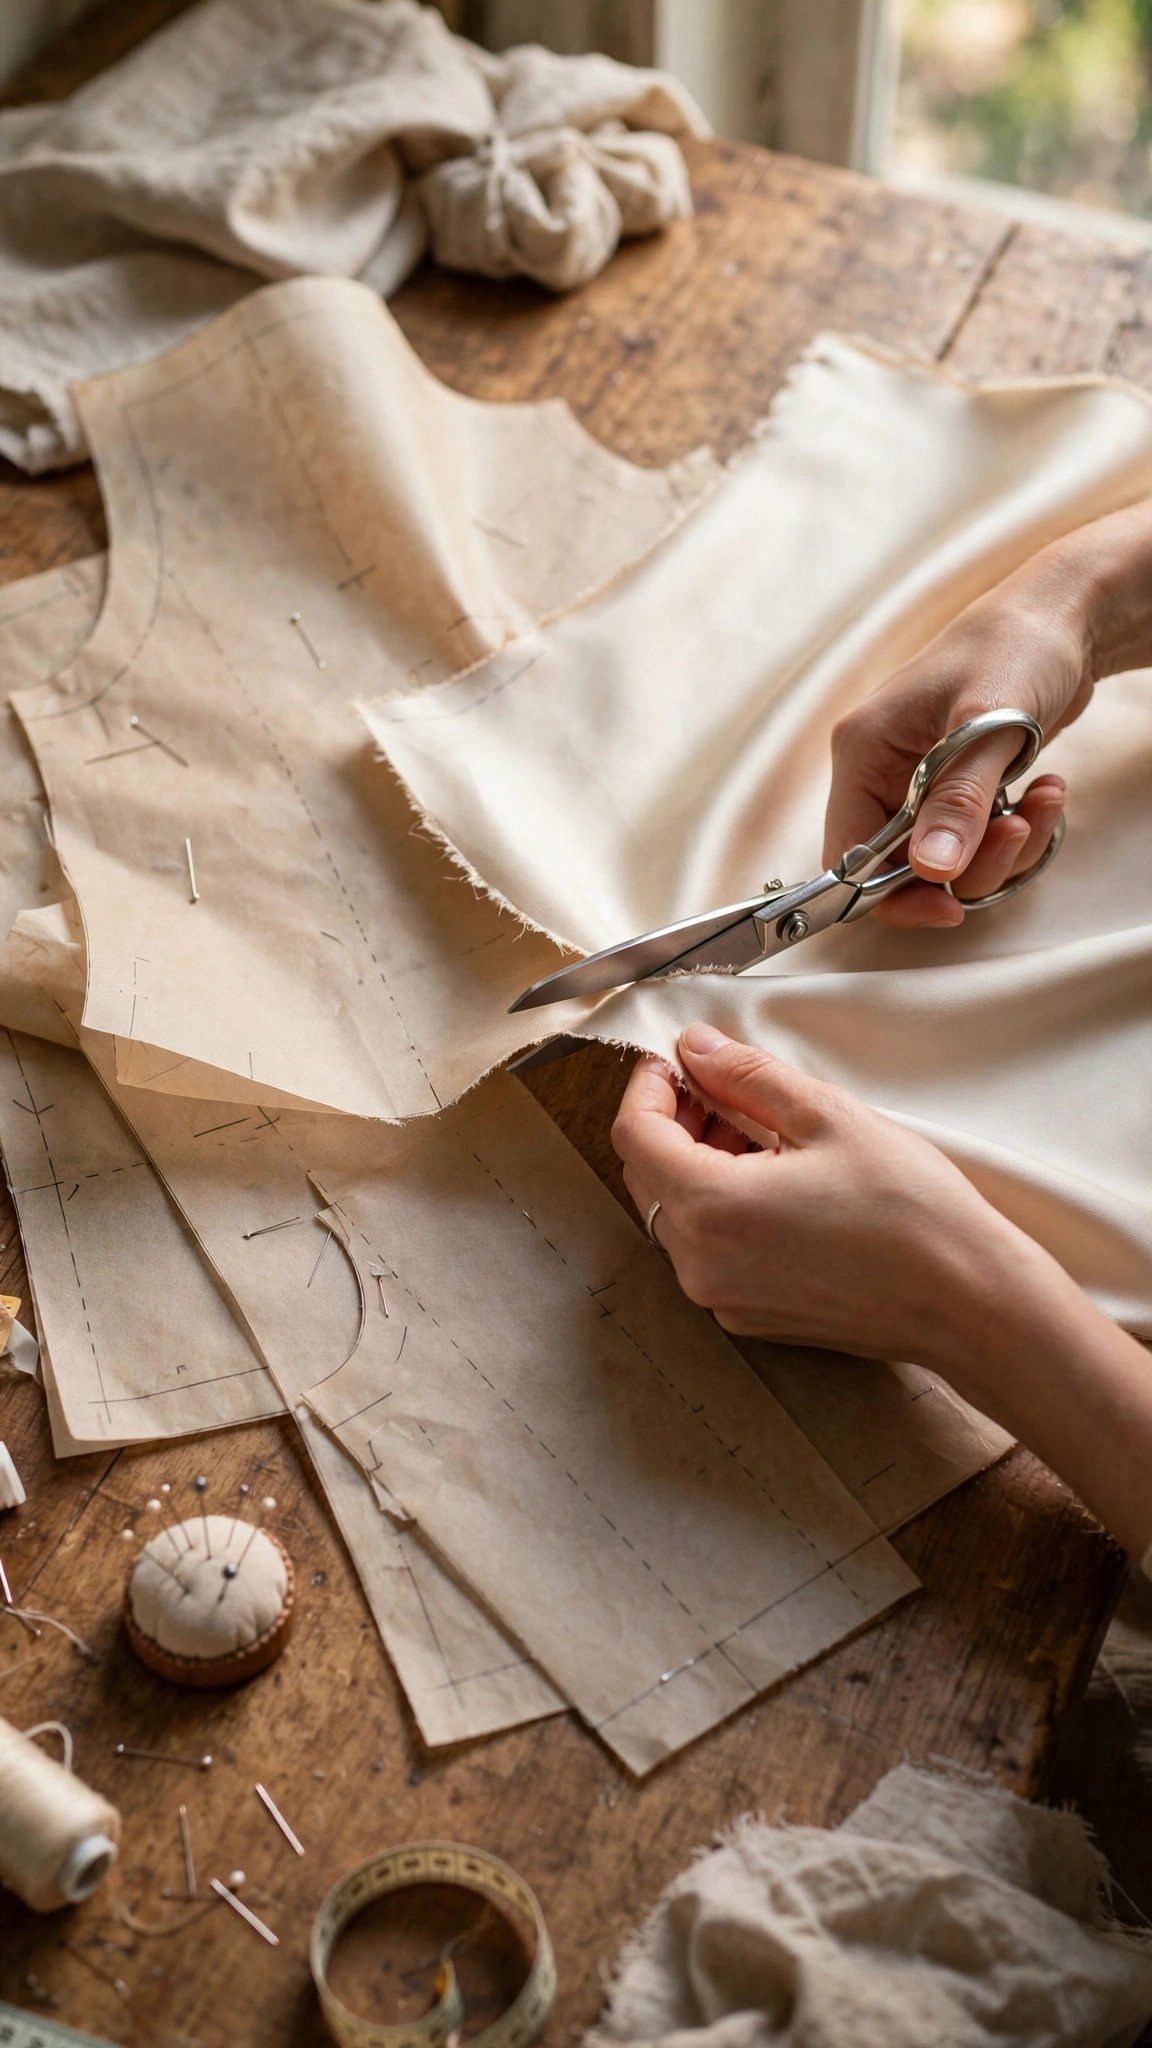
For most dresses, you cut the lining from the same pattern pieces as the shell, with two common exceptions: you skip the facings, because the lining replaces them, and you usually leave the sleeves unlined. Lay out the lining fabric on grain just as carefully as the fashion fabric, because a lining cut off grain will twist the whole dress out of shape.
Transfer all the important markings: darts, notches, and the waistline. I sew the lining darts exactly like the shell darts and press them in the same direction, so the two layers nest together without bulk. If the pattern has a center back zipper, cut the lining back pieces the same way and mark the zipper placement clearly on both layers.
One detail beginners miss: cut the lining hem about an inch shorter than the dress hem. A lining that peeks out below the hemline looks unfinished, and a slightly shorter lining keeps the layers from fighting each other when you move. I mark the lining hemline on the pattern tissue before cutting so I do not have to remember it mid-project.
How to Sew a Dress Lining Step by Step
Here is the exact sequence I follow. The shell and the lining are each sewn as far as possible on their own, and then joined at the edges. Work slowly at the joining stage, because this is where accuracy shows.
- Sew the shell first. Complete the dress bodice and skirt, including darts and side seams, but leave the neckline, armholes, and zipper area unfinished. Press everything well.
- Sew the lining the same way. Join the lining bodice and skirt pieces with the same seam allowances, press the seams, and finish the lining’s center back edges where the zipper will go.
- Insert the zipper into the shell. I put the zipper in before attaching the lining, because working around a finished lining is fiddly. Get the zipper sitting perfectly first.
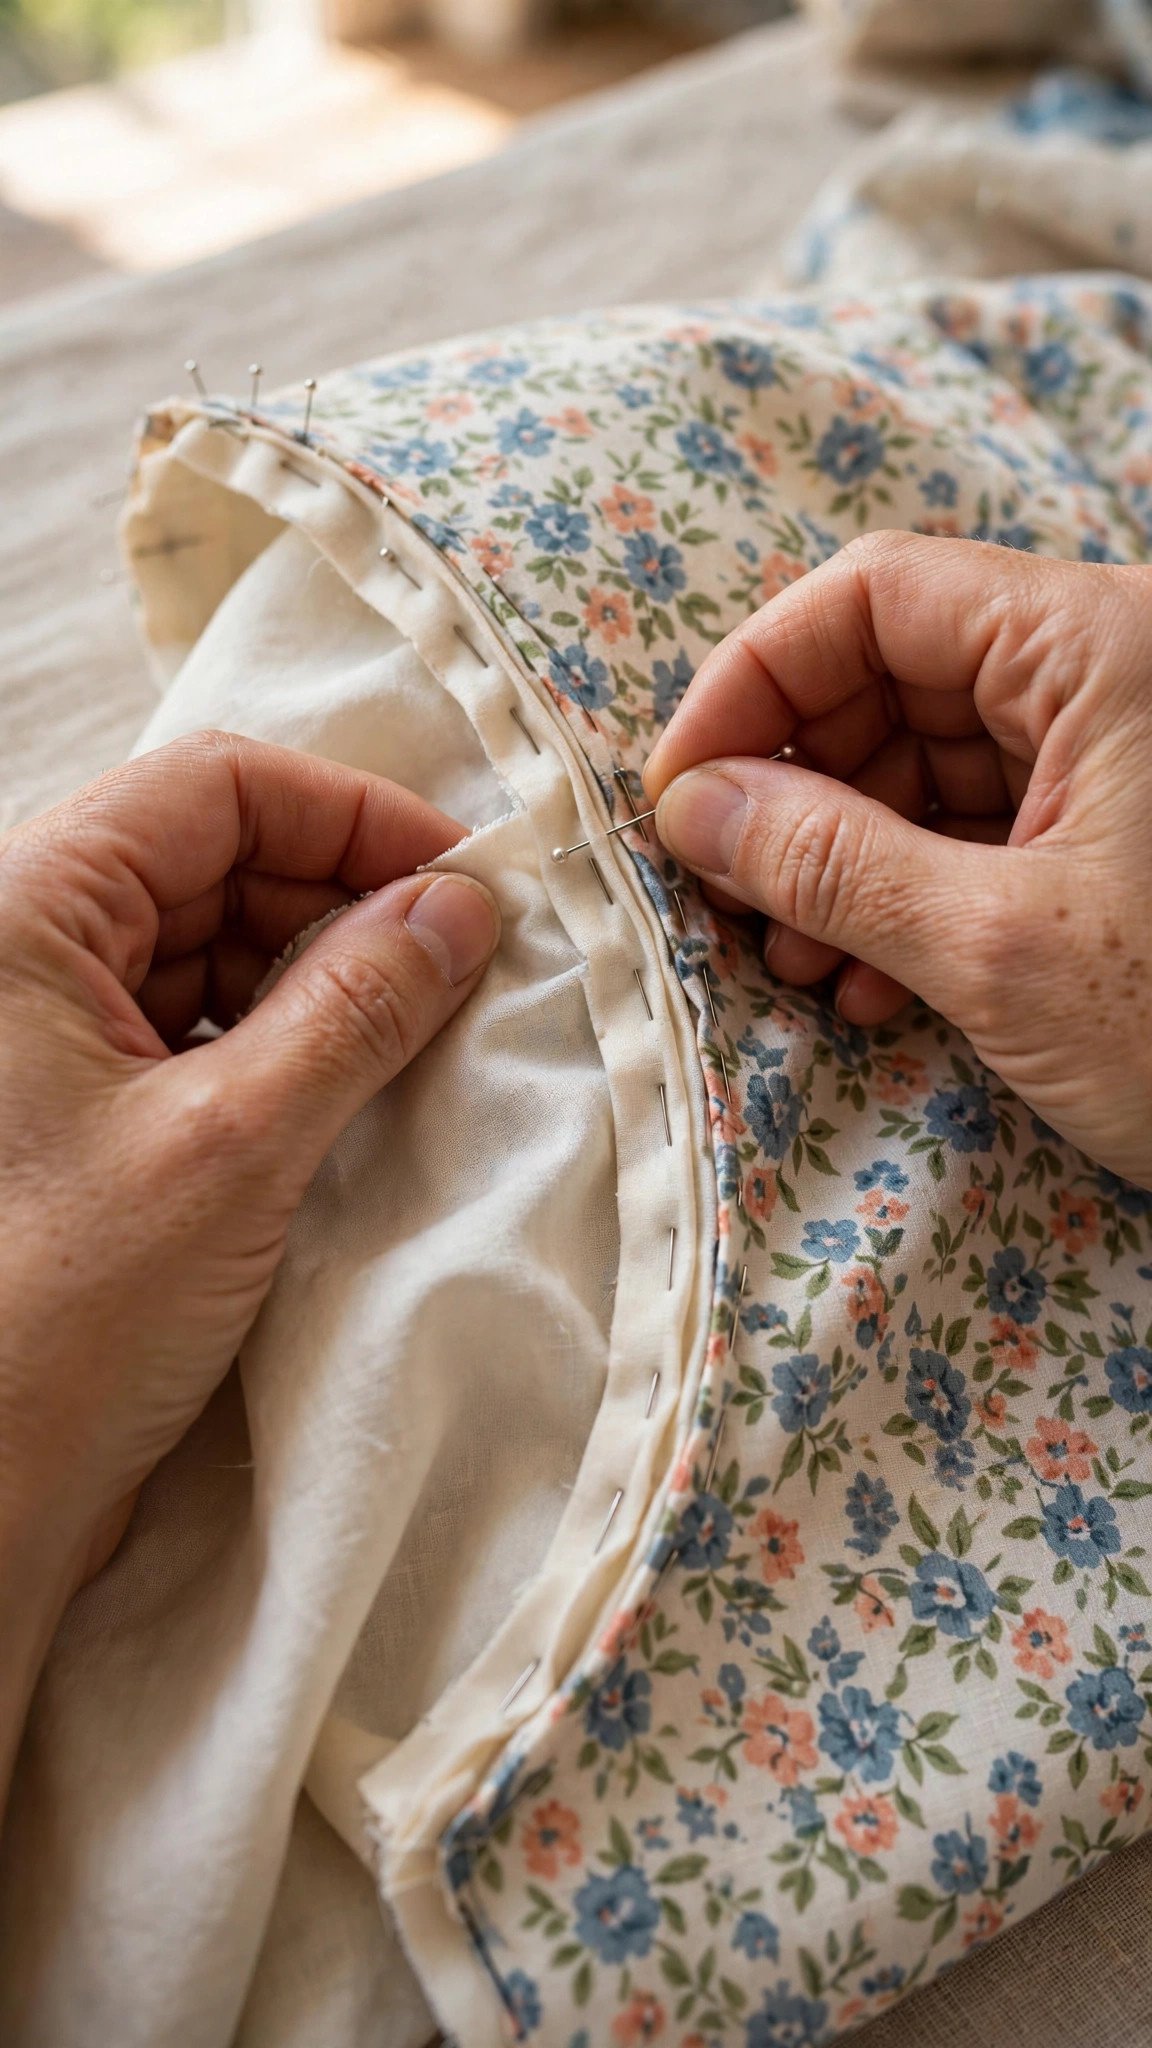
- Join lining to shell, right sides together. Turn the dress wrong side out and the lining right side out, then slip the lining inside the dress so the right sides face each other. Pin the neckline first, matching shoulder seams and center front, then pin the armholes.
- Stitch the neckline and armholes. Sew at the pattern’s seam allowance, pivoting carefully at curves. Clip and trim the seam allowances on curves so they lie flat when turned.
- Turn and press. Pull the lining to the inside, then press the neckline and armholes so the seam rolls just slightly toward the lining side.
- Attach the lining to the zipper tape. Hand stitch or machine stitch the lining’s center back edges to the zipper tape, folding the lining edge under so no raw edge shows. This is the neatest way to finish a zippered back.
- Secure the lining at the waist. If the dress has a waist seam, catch the lining to the waist seam allowance with a few hand stitches so it does not ride up during wear.
Getting the fit right before you attach the lining saves heartbreak later, so I always do a final try-on of the shell first. If you have not measured in a while, my guide to taking accurate body measurements takes five minutes and prevents most fitting surprises.
Understitching: The Step That Makes It Look Professional
If you take one technique away from this guide, make it understitching. After you sew the lining to the shell at the neckline or armhole, press both seam allowances toward the lining, then stitch them to the lining about an eighth of an inch from the seam line. This one row of stitching stops the lining from rolling to the outside, which is the telltale sign of an amateur-looking neckline.
Understitching works because it anchors the seam allowances to the lining side, so they stay there through wearing and washing. On curves, clip the seam allowance first so it spreads flat, then understitch slowly with a slightly shorter stitch length for control.
The common mistake is stitching too far from the seam line or catching the shell fabric in the understitching. Keep the shell folded well out of the way and guide the lining flat under the needle. When it is done right, the understitching is completely invisible from the outside of the dress.

Hemming the Lining and Final Press
Hem the lining separately from the dress, and keep it about an inch shorter. I usually finish the lining hem with a narrow machine hem or a simple turned hem, since nobody sees it but you. The rule that matters: the lining hem must never show below the dress hemline, not when you stand, sit, or walk.
Give the finished dress a thorough final press, working from the lining side where possible to avoid shine marks on the fashion fabric. Check the neckline, armholes, and zipper area one last time. The lining should sit smoothly inside with no twisting, and no raw edges should be visible anywhere. Try the dress on and move around in it, and if the lining rides up, add a few more hand tacks at the waist seam.
FAQ
Do I have to line the sleeves too?
No. Most home sewists leave sleeves unlined, and it looks completely fine. Sleeve linings add bulk at the armhole and make an already fiddly step harder. I only line sleeves on tailored jackets, never on everyday dresses.
Can I line a dress that has no lining pattern pieces?
Yes, and this is the most common situation. Just use the shell pattern pieces, skip the facings, and cut the lining an inch shorter at the hem. Transfer the darts and notches the same way you would for the shell.
What is the easiest lining fabric for a beginner?
A lightweight cotton lawn or voile. It presses beautifully, does not slip around while you sew, and behaves almost exactly like the fashion fabrics beginners already know. Save the slippery rayons for your second or third lined project.
Why does my lining show at the neckline?
Almost always because the neckline was not understitched, or the lining was cut exactly the same size as the shell at the neck edge. Understitch the seam allowances to the lining and trim the lining’s allowance slightly narrower than the shell’s, and the problem disappears.

Written by June Carter
I am June, a sewing enthusiast who loves turning simple fabric into things people actually use. I test every technique and product I write about at my own machine before it lands here.