
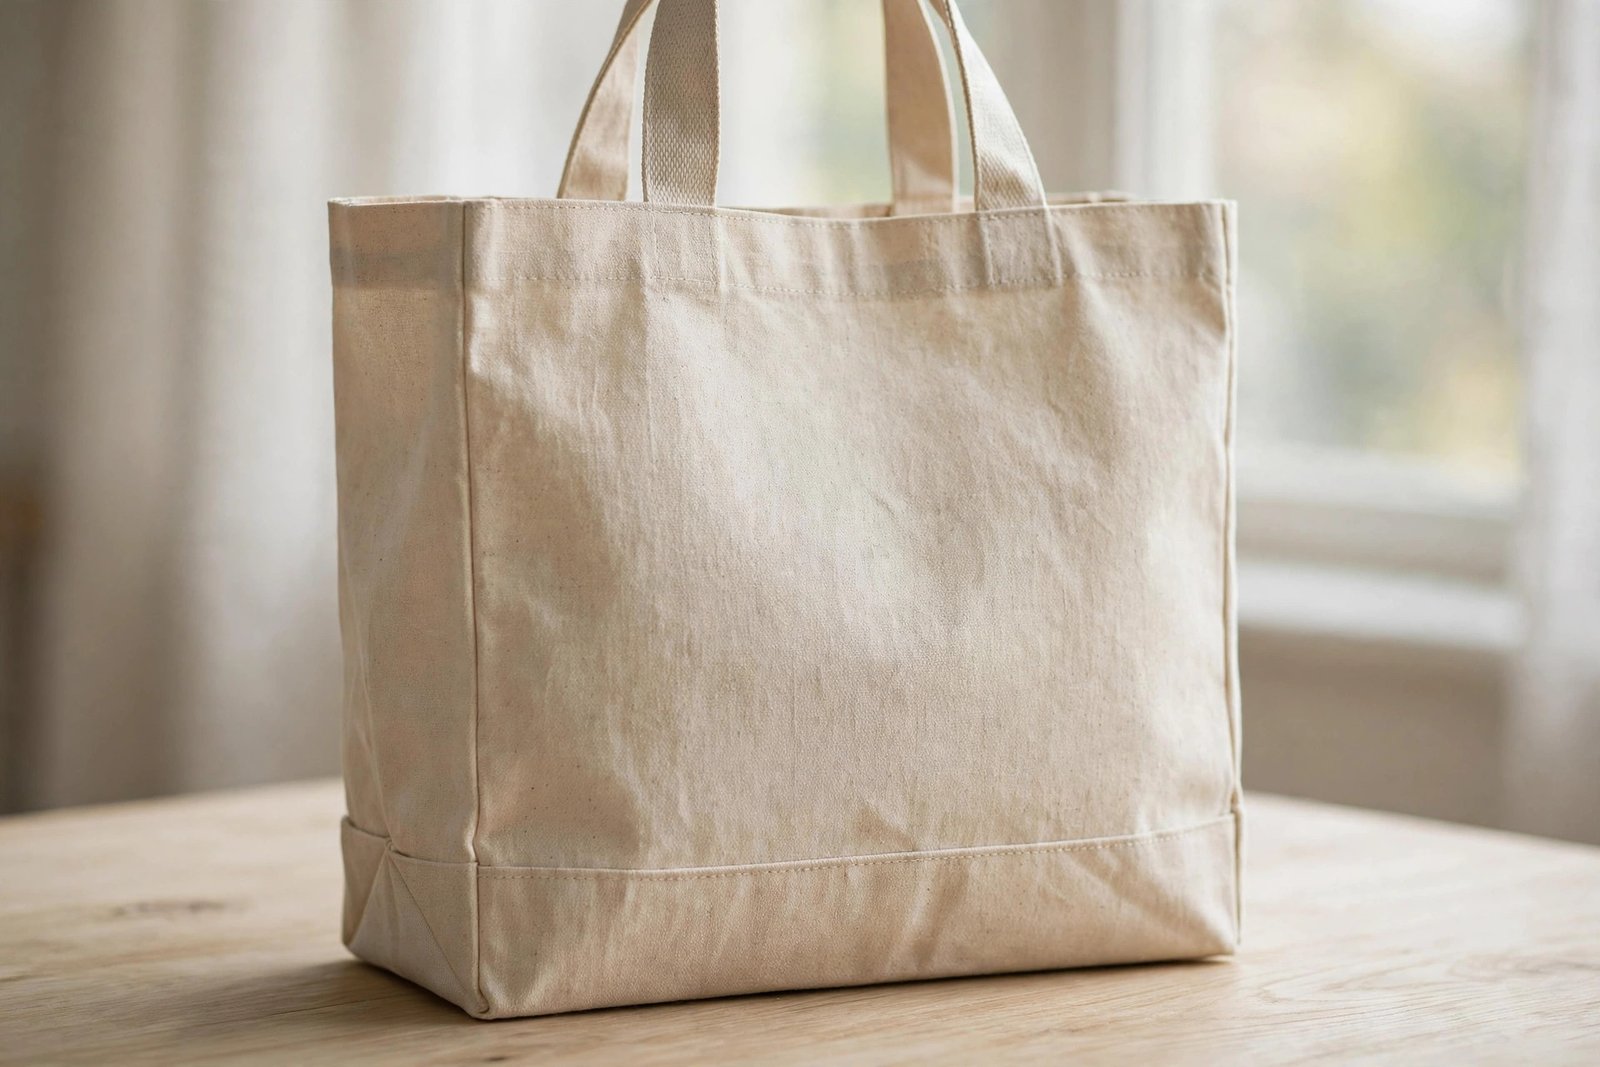
Boxed corners are the ten-minute trick that turns a flat fabric pouch into a bag that stands up, holds its shape, and actually fits things. Without them, your tote is a limp envelope that collapses the moment you set it down. With them, it is a structured bag with a flat bottom that sits on the counter like it owns the place. I boxed the corners on my very first tote bag as an afterthought, and it was the difference between a bag I used and a bag I would have been embarrassed to carry.
The technique is almost suspiciously simple: you pinch each bottom corner of the bag into a triangle, sew straight across it, and trim the excess. The size of the triangle decides how deep the bag’s bottom is. This tutorial covers the method for both unlined and lined bags, the math for getting the depth you want, and the mistakes that make boxed corners lumpy instead of crisp.
What boxed corners actually do
A bag sewn from two flat pieces has no depth. It is two-dimensional, and two-dimensional bags do not hold lunch containers. Boxing the corners converts the flat bottom corners into a three-dimensional base by folding each corner into a triangle and stitching across it. The stitched line becomes the new bottom edge of the bag, and the triangle of excess fabric gets trimmed away or tucked inside.
The result is a flat, stable bottom that lets the bag stand upright on its own. It also adds real capacity: a tote with three-inch boxed corners gains roughly three inches of depth, which is the difference between a bag that fits a water bottle standing up and one that does not. For the hardware lovers, a boxed bottom is also what makes purse feet possible, since feet need a flat bottom to sit on.
The math: how big to make the square
Here is the part that looks like math but is really just one decision. The square you cut or mark at each corner determines the finished depth of your bag. A two-inch square gives you about a two-inch deep bottom. A three-inch square gives about three inches of depth. Measure the square from the corner point along both the side seam and the bottom seam, mark where the two measurements meet, and draw your stitching line connecting them.
For a standard tote, I use a three-inch square, which gives a bottom deep enough for real life without making the bag look boxy and stiff. For a small pouch or cosmetic bag, two inches is plenty. For a weekender or diaper bag, go four inches. The rule of thumb: the square’s side length equals roughly half the finished depth you want to add, measured per corner, because each corner contributes its triangle to the total. When in doubt, pin it first and eyeball the bag before you sew. You can always make the square bigger. You cannot make it smaller after cutting.
How to box bag corners, step by step
Work with the bag inside out. Everything happens on the wrong side, and the right side stays pristine until the reveal.
Step 1: Mark the square at each corner
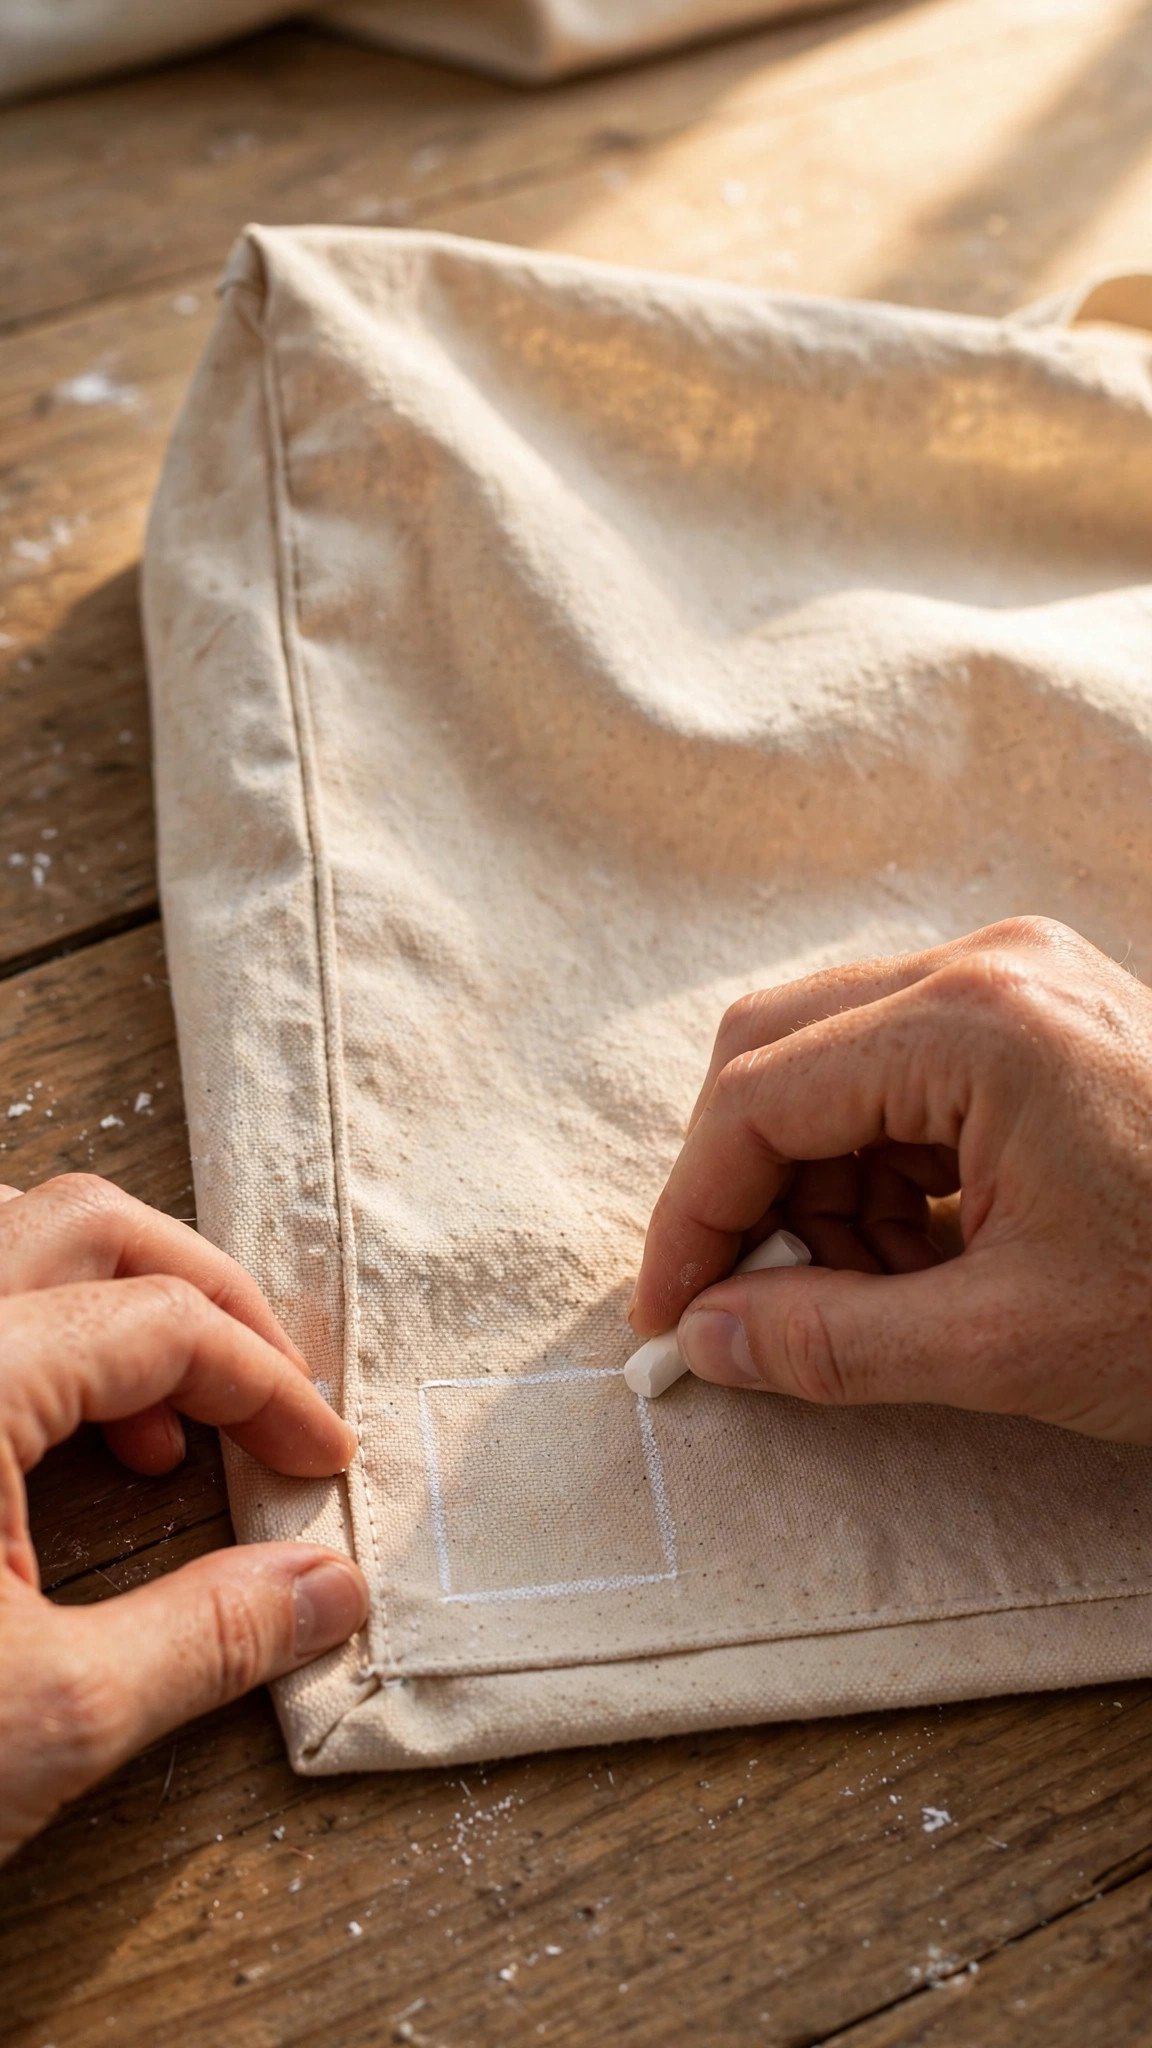
With the bag inside out, flatten one bottom corner so the side seam and the bottom seam lie directly on top of each other, forming a neat triangle point. The seams should align exactly. If they do not, the boxed corner will twist, so take the time to match them. Pin the layers together to hold the alignment.
Measure from the corner point along the side seam and mark your chosen distance, say three inches. Measure the same distance from the corner point along the bottom seam and mark it. Draw a straight line connecting the two marks, perpendicular to the seam line running down the middle of your triangle. This drawn line is your stitching line. Repeat at all four corners: two on the outer bag, and two on the lining if your bag is lined. Mark all four before you sew any of them, and double-check that every square is the same size. Mismatched squares make a bag that sits crooked, and crooked is forever.
Step 2: Sew across the marked line
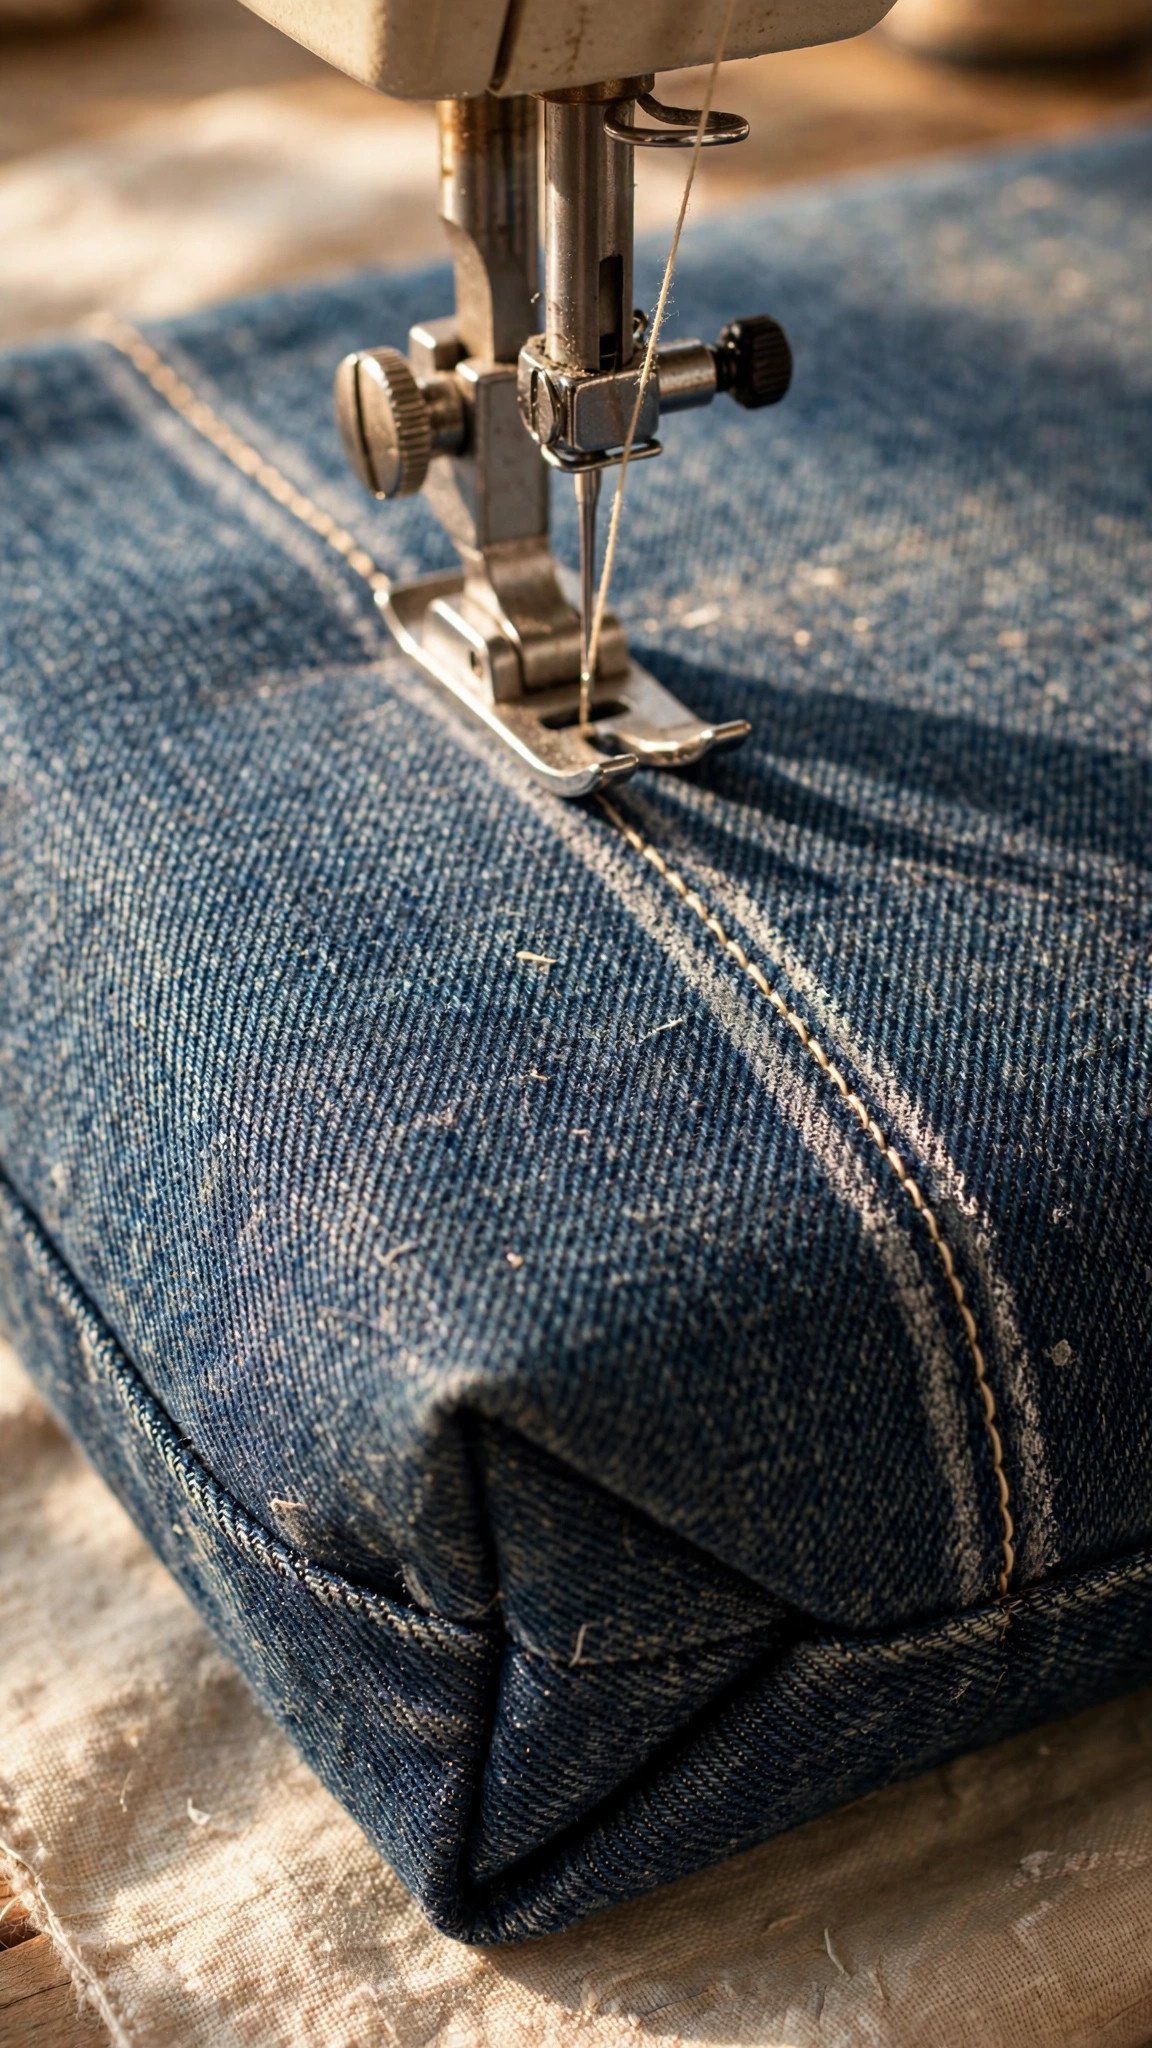
Sew directly on the drawn line, backstitching at both ends to lock the stitches. Use your standard seam stitch length, around 2.5mm, and sew slowly. The layers are thick at the corner, especially if you have interfaced the bag, and rushing through thick layers is how needles break and stitches skip. If your machine struggles, hand-crank the first few stitches to get through the bulk, then sew normally.
Check your work before moving on. The stitching should sit exactly on the marked line from edge to edge, and the triangle of fabric beyond the stitching should be even on both sides. If a line wandered, unpick it now. This is a thirty-second fix at this stage and a thirty-minute fix later. I have strong feelings about unpicking early, born of unpicking late.
Step 3: Trim the excess and finish the edge
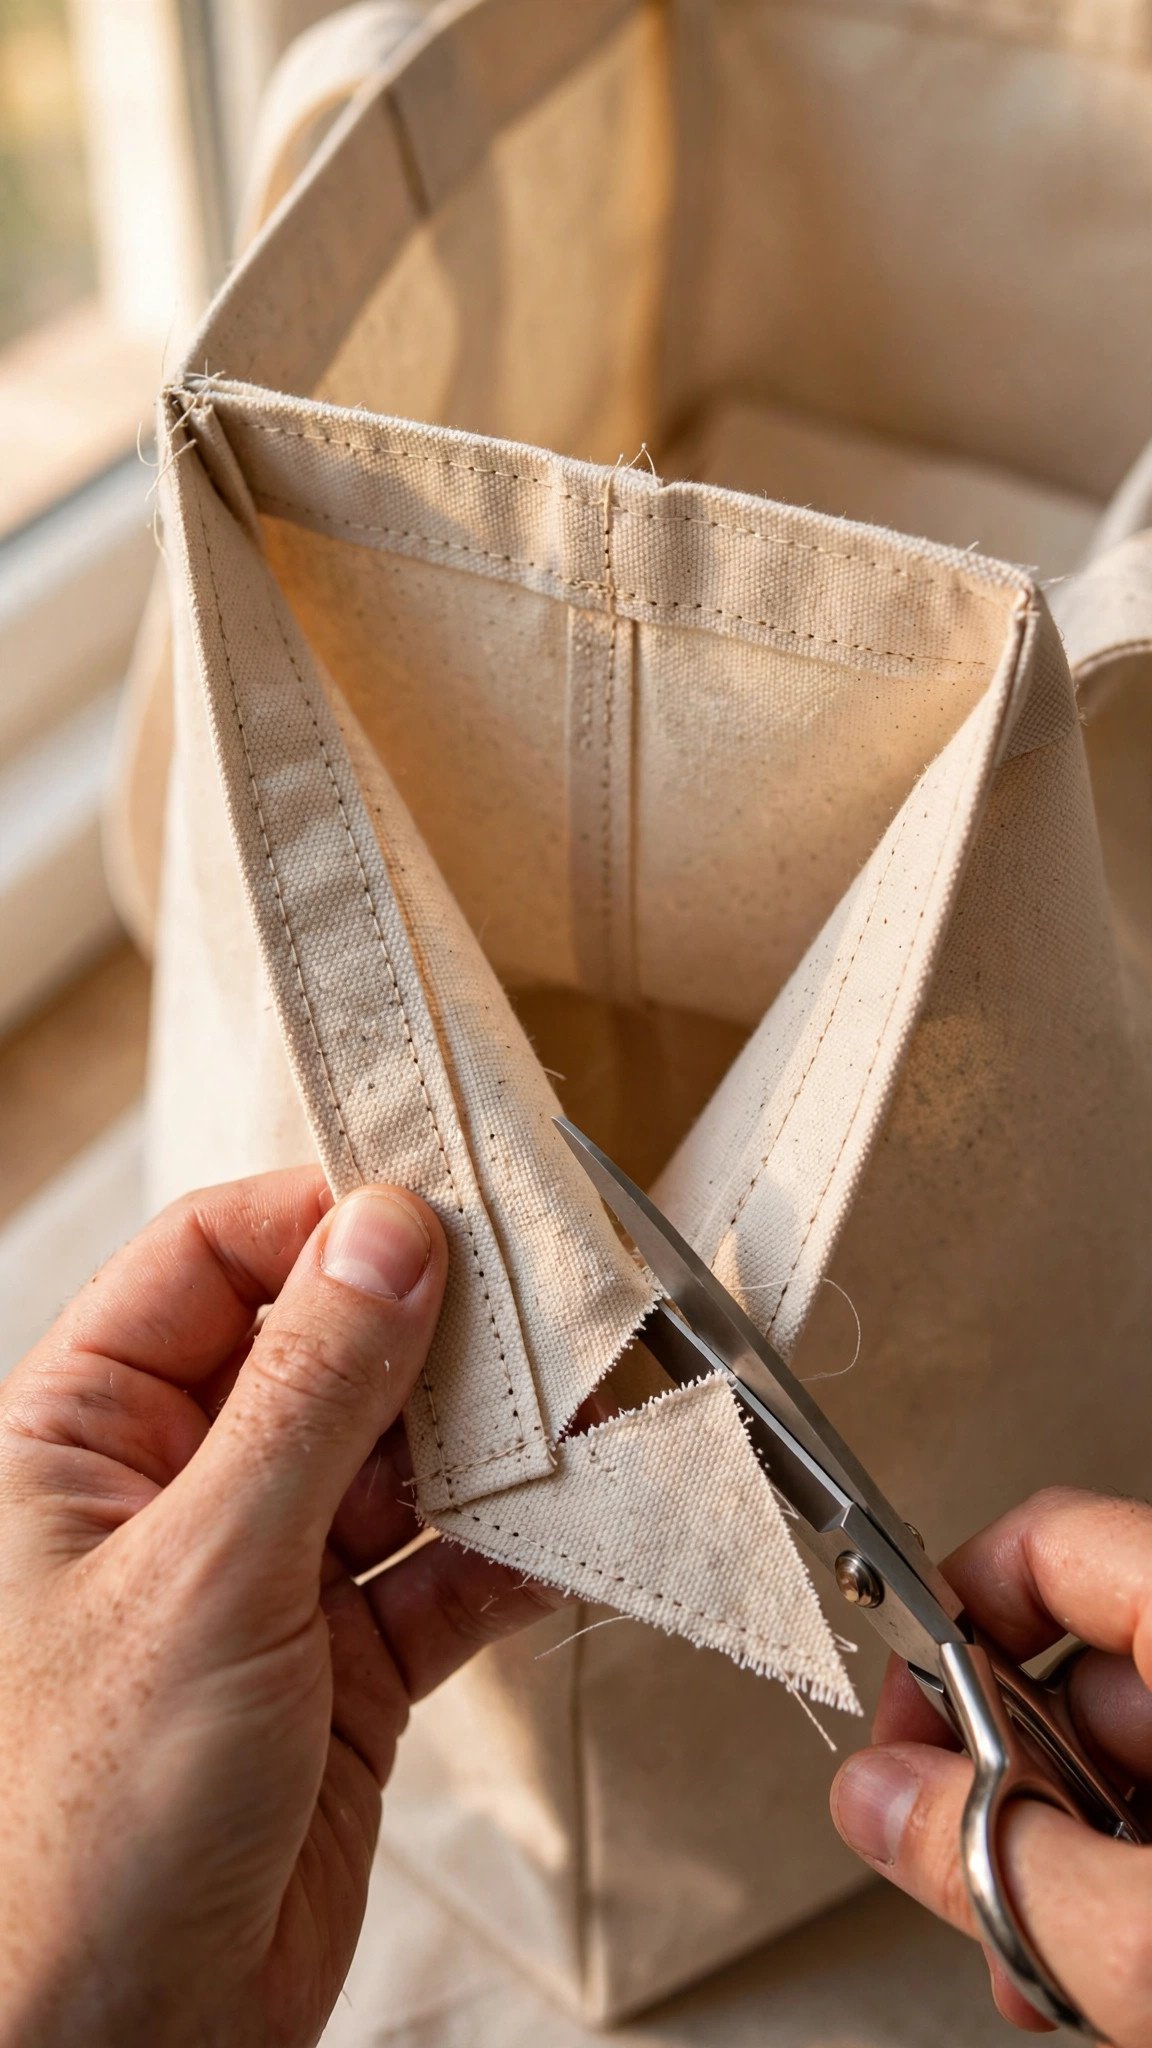
Trim the triangle of excess fabric beyond your stitching line, leaving about a half-inch seam allowance. On an unlined bag, finish this raw edge so it does not fray: zigzag it, bind it, or pink it. On a lined bag, you can leave the trimmed edge unfinished inside the lining sandwich, since it will be hidden between the layers, but I still like to trim it neatly.
Press the boxed seam to one side or open, depending on bulk. Pressing the seam allowances flat is what makes the corner look crisp from the outside instead of lumpy. For heavy canvas or denim, press the seam to one side and topstitch it down from the right side for a tailored, intentional look. This extra topstitching also reinforces the corner, which is the part of the bag that takes the most stress when it is loaded up.
Step 4: Turn and check the corners
Turn the bag right side out and push each boxed corner out gently from the inside. The bottom should now be a flat rectangle instead of a flat line, and the bag should stand up on its own on a table. Check all four corners from the outside: the stitching lines should be straight, the corners should match each other, and the bottom should sit level.
If one corner looks off, it is almost always the marking, not the sewing. A square that was slightly off-square makes a corner that pulls. The fix is to unpick, re-mark carefully with the seams truly aligned, and re-sew. Boxed corners are forgiving to redo because the fabric is still all there. Nothing is cut away that cannot be restitched, as long as you trimmed conservatively.
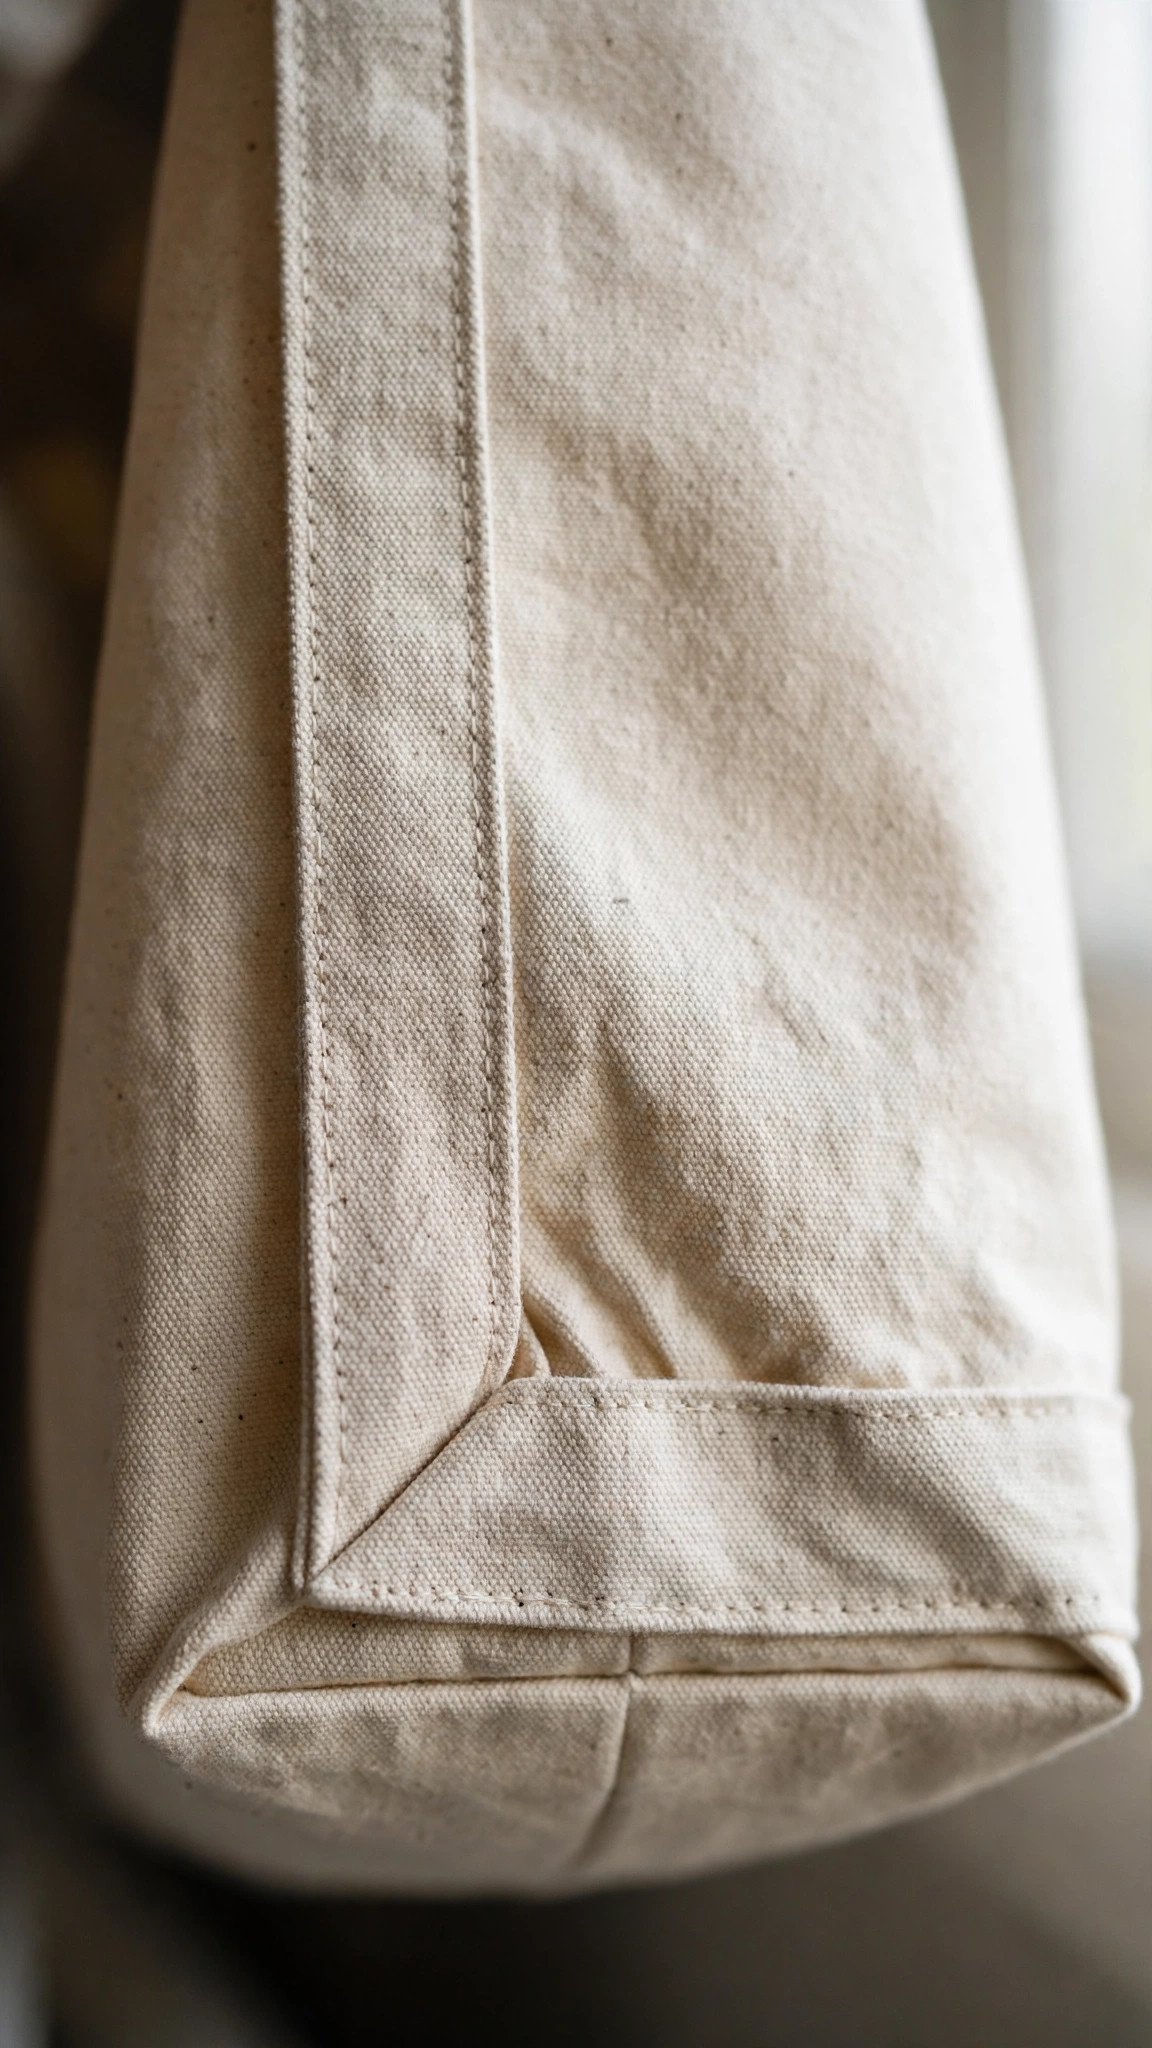
Boxing corners on a lined bag
Lined bags get boxed corners twice: once on the outer bag and once on the lining, before the two are joined. Box the outer bag’s corners first, then the lining’s, using the same square size for both so the layers match. When you join the lining to the outer bag at the top and turn everything right side out through the gap in the lining, the boxed corners nest together and the bag has a clean finished interior with real depth.
The one extra consideration is bulk. Four layers of boxed corner, outer plus lining plus interfacing, is a lot of fabric in one spot. Trim the lining’s corner seam allowances a little narrower than the outer’s so the layers stagger instead of stacking, and press everything flat before assembling. A lined bag with well-nested boxed corners feels like a store-bought bag. You will know it when you feel it.
Frequently asked questions
How do I decide what size square to cut for boxed corners? The square’s side length roughly equals the depth you want to add to the bag’s bottom per corner. Two inches for pouches, three inches for everyday totes, four inches for large bags. Pin and eyeball before sewing, because bigger is adjustable and smaller is not.
Can I box corners on a bag I already sewed? Yes, if the bottom corners are still accessible. Turn the bag inside out, flatten each corner with the seams aligned, mark, sew, and trim. It works on finished bags as long as you can reach the corners and there is enough seam allowance to work with.
Why are my boxed corners lumpy? Three usual suspects: the side and bottom seams were not aligned when you marked, the seam allowances were not trimmed, or the corner was not pressed. Alignment first, trimming second, pressing third. Fix those three and lumps disappear.
Should I cut the excess triangle off or leave it? Trim it to a half-inch seam allowance and finish the edge on unlined bags. Leaving the full triangle creates bulk that shows as a lump from the outside. The only time I leave more is on very lightweight fabric where the extra layer adds welcome structure.
Do boxed corners work on zippered pouches? Beautifully. Box the two bottom corners of a simple zippered pouch and it transforms from a flat envelope into a little basket that stands open on the counter. It is the single best upgrade for handmade pouches, and it takes five minutes.
The ten-minute transformation
Mark a square, sew across it, trim, press. Four corners, ten minutes, and a flat bag becomes a real bag with depth, structure, and a bottom that sits flat. It is the highest return on effort of any technique in bag sewing, and once you have done it, you will box the corners on everything: totes, pouches, lunch bags, gift bags. The flat-bottomed life is better. Welcome to it. For the full bag-making picture, pair this with best bag hardware and where to buy it for the feet and closures that finish the job, and pin and clipping fabric for the pinning technique that keeps thick bag layers aligned.

Written by June Carter
I am June, a sewing enthusiast who loves turning simple fabric into things people actually use. I test every technique and product I write about at my own machine before it lands here.