
Few wardrobe malfunctions are as annoying as a zipper that splits open right behind the slider, leaving you holding two flapping halves of a jacket. I have been there, tugging the pull up optimistically while the teeth yawned apart underneath it. Learning how to fix a separating zipper saved that jacket, and the repair took about ten minutes with tools I already owned. Most separating zippers are not broken. They just have a loose slider, and a loose slider can be tightened.
This guide walks through the full repair in order: diagnosing the real cause, cleaning and lubricating, tightening the slider with pliers, re-seating a slider that came off the track, and knowing when replacement is the honest answer. No sewing machine required for most of these fixes.
Why Zippers Separate in the First Place
A zipper works because the slider squeezes the two rows of teeth together as it travels. Over time, the slider’s channel wears and widens, especially on jackets and bags that get yanked daily. Once the channel is too loose to press the teeth fully together, the teeth pop apart behind the slider. That is the classic separation: the pull moves, but the zipper will not stay closed.
Other causes include grit and lint packed between the teeth, bent or missing teeth that the slider cannot mesh, and a cracked or missing bottom stop that lets the slider travel crooked. The fix depends on the cause, which is why diagnosing first matters. Tightening a slider will not help if three teeth are missing, and replacing a zipper is overkill when all it needed was a cleaning.
Diagnose Before You Fix
Start with a slow, careful zip. Watch where the separation happens. If the teeth split immediately behind the slider and the teeth themselves look straight and complete, the slider is loose, and the pliers fix below will almost certainly work. If the zipper jams, grinds, or catches at one spot, look for bent teeth, thread wrapped around the tape, or packed-in lint at that exact point.
Check the bottom stop, the little clamp of metal or plastic at the base of the teeth. If it is cracked, lifted, or missing, the slider can wander off the end of the track or sit crooked, and no amount of slider squeezing will hold. Also wiggle the slider side to side: a healthy slider sits snug, while a worn one rocks loosely on the teeth. That looseness is your confirmation that tightening is the right repair.
Clean and Lubricate the Teeth First
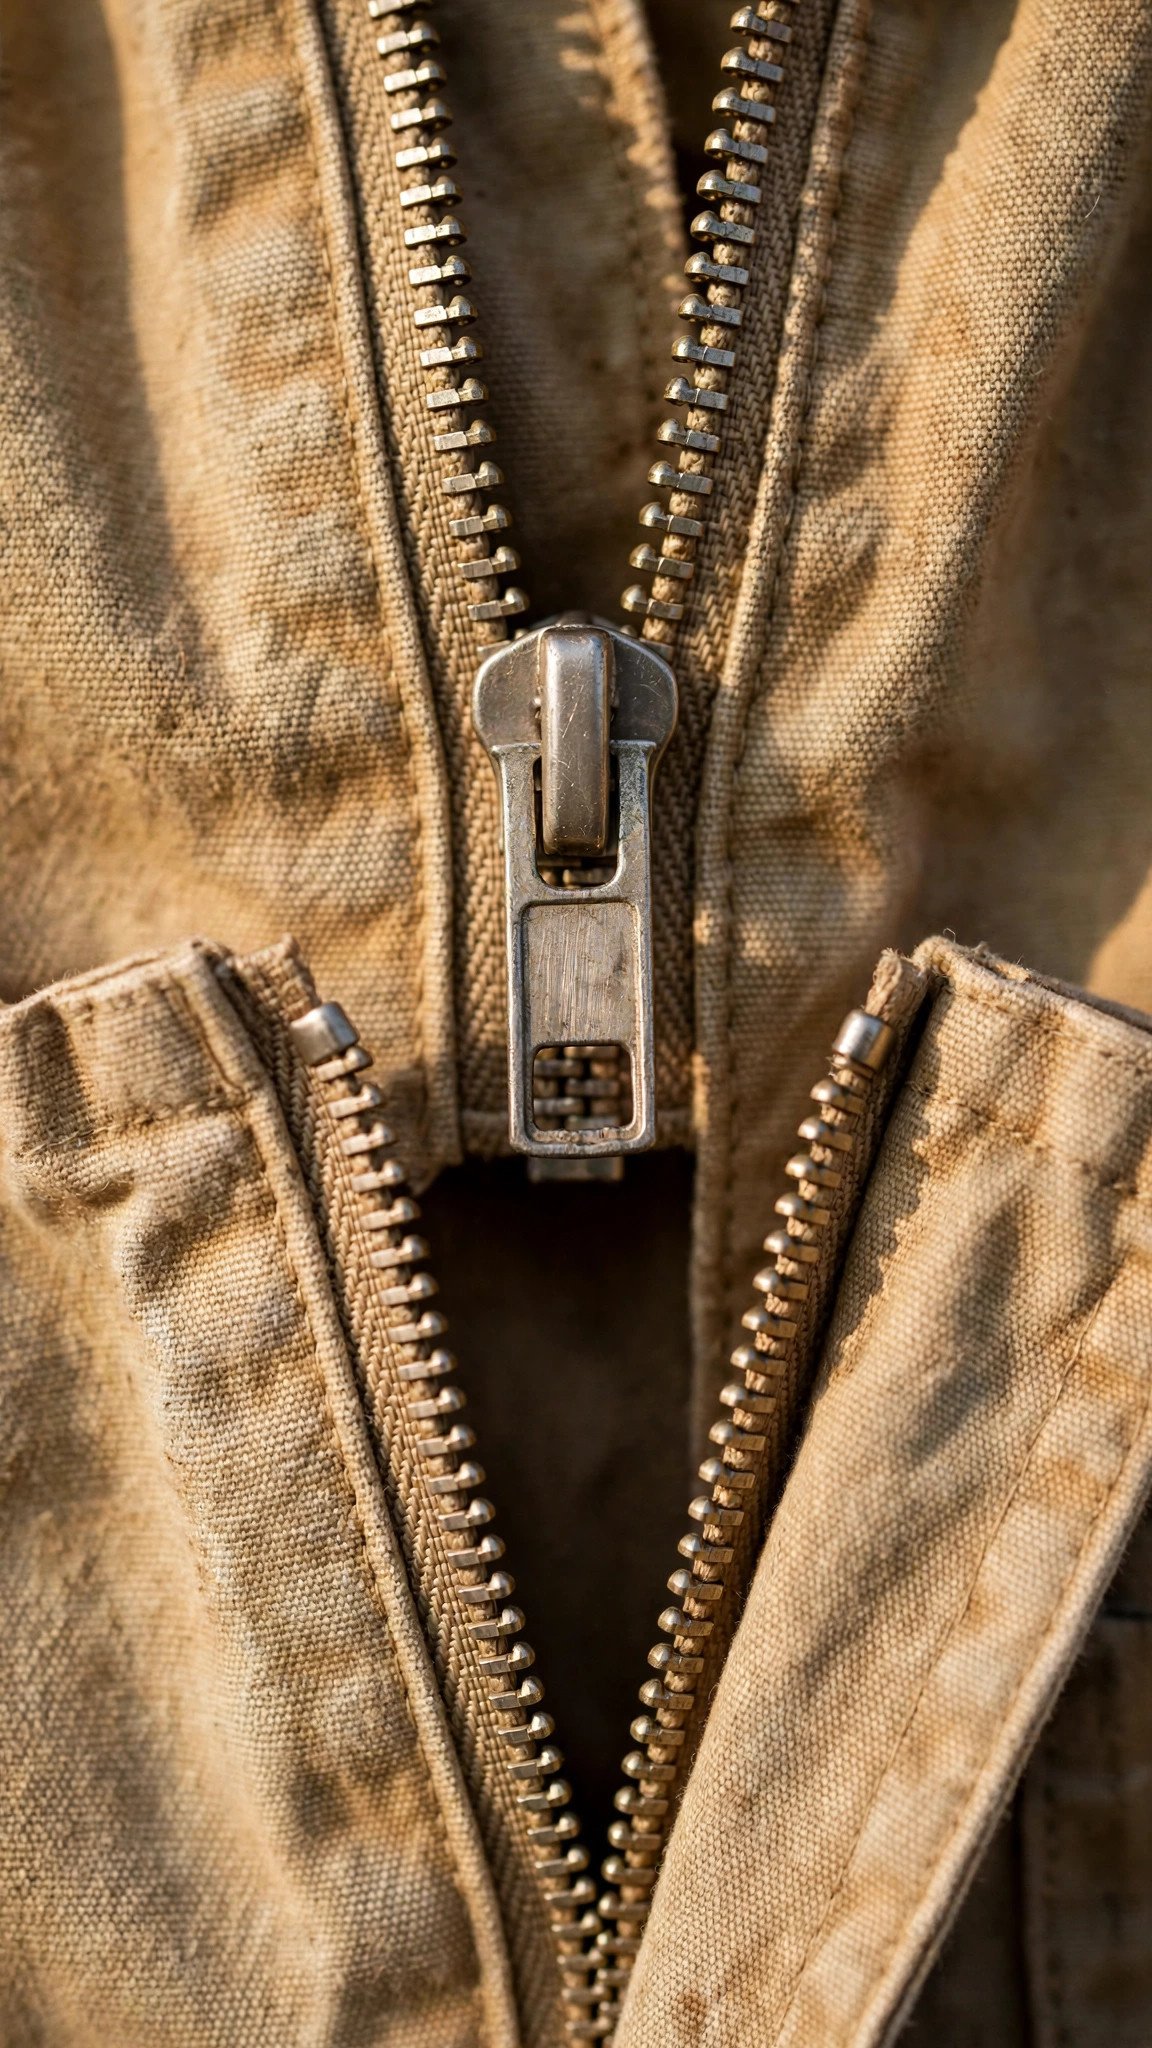
Even when the slider is the main problem, cleaning first makes every later step work better. Scrub along both rows of teeth with an old toothbrush and a drop of mild soap, working out lint, dust, and dried grime. For stubborn buildup, a cotton swab dipped in rubbing alcohol gets into the crevices. Wipe everything dry when you are done.
Next, lubricate. A dry zipper resists the slider and forces you to yank, which is exactly how sliders get loose in the first place. Rub a graphite pencil along the teeth, or use a little bar soap, beeswax, or paraffin. Avoid oil-based products, which attract dirt and can stain fabric. Work the slider up and down a few times to distribute the lubricant, and you may find a mildly separating zipper already behaves better.

How to Fix a Separating Zipper by Tightening the Slider
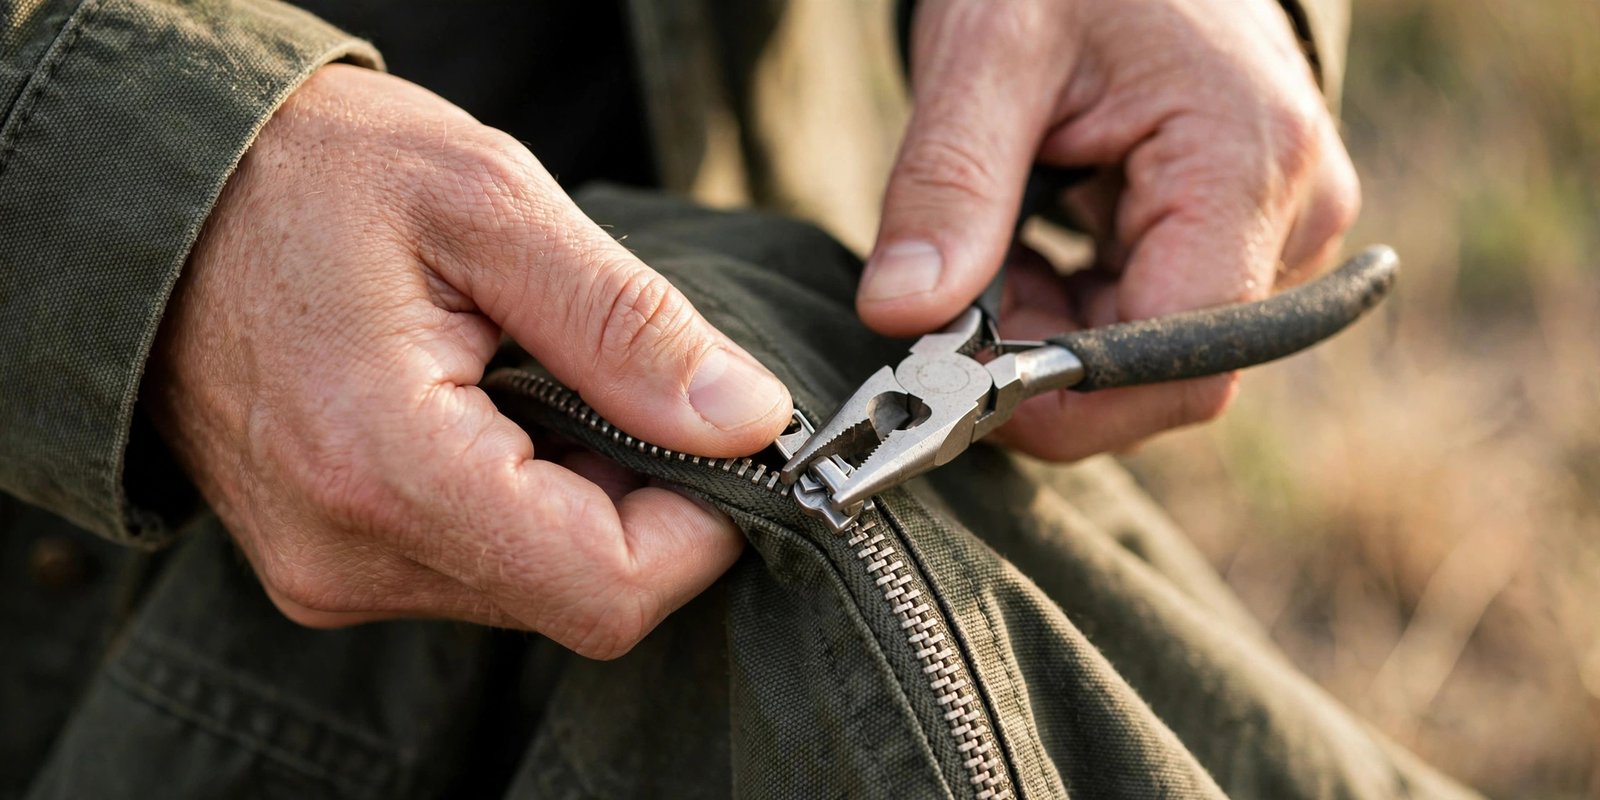
This is the core repair, and it works on most coil and metal zippers with a loose slider. You need a pair of needle-nose or flat-nose pliers and a light touch. The goal is to compress the slider’s channel just enough that it grips the teeth firmly again.
- Slide the pull to the bottom. Open the zipper fully so the slider sits at the base, away from the separated section. If a bottom stop blocks access, you can work with the slider in place, which is fine for most repairs.
- Inspect the slider. Look at it from the side. A worn slider often shows a visibly widened mouth where the teeth enter. Note which type you have: metal sliders take gentle pressure well, while molded plastic sliders can crack, so go extra easy on those.
- Squeeze gently with pliers. Hold the slider vertically in the pliers and apply light, even pressure to the body, focusing on the center channel where the teeth meet. Squeeze a little, then stop. The most common mistake here is crushing it in one go.
- Test immediately. Zip up slowly. You should feel slightly more resistance and see the teeth meshing fully behind the slider. If it still separates, squeeze a fraction more and test again. Several micro-adjustments beat one aggressive squeeze every time.
- Work from both sides. If one side still gapes, apply the same gentle pressure to the other face of the slider so the channel tightens evenly.
When the zipper stays closed through several full open-and-close cycles, the repair is done. If you had to remove or disturb the bottom stop during the process, crimp it back into place with the pliers, or sew a sturdy thread stop just above the base of the teeth using a few wraps of heavy thread. My guide to essential hand stitches covers the whipstitch and wrapping technique that makes a solid stop.
Re-seating a Slider That Came Off the Track
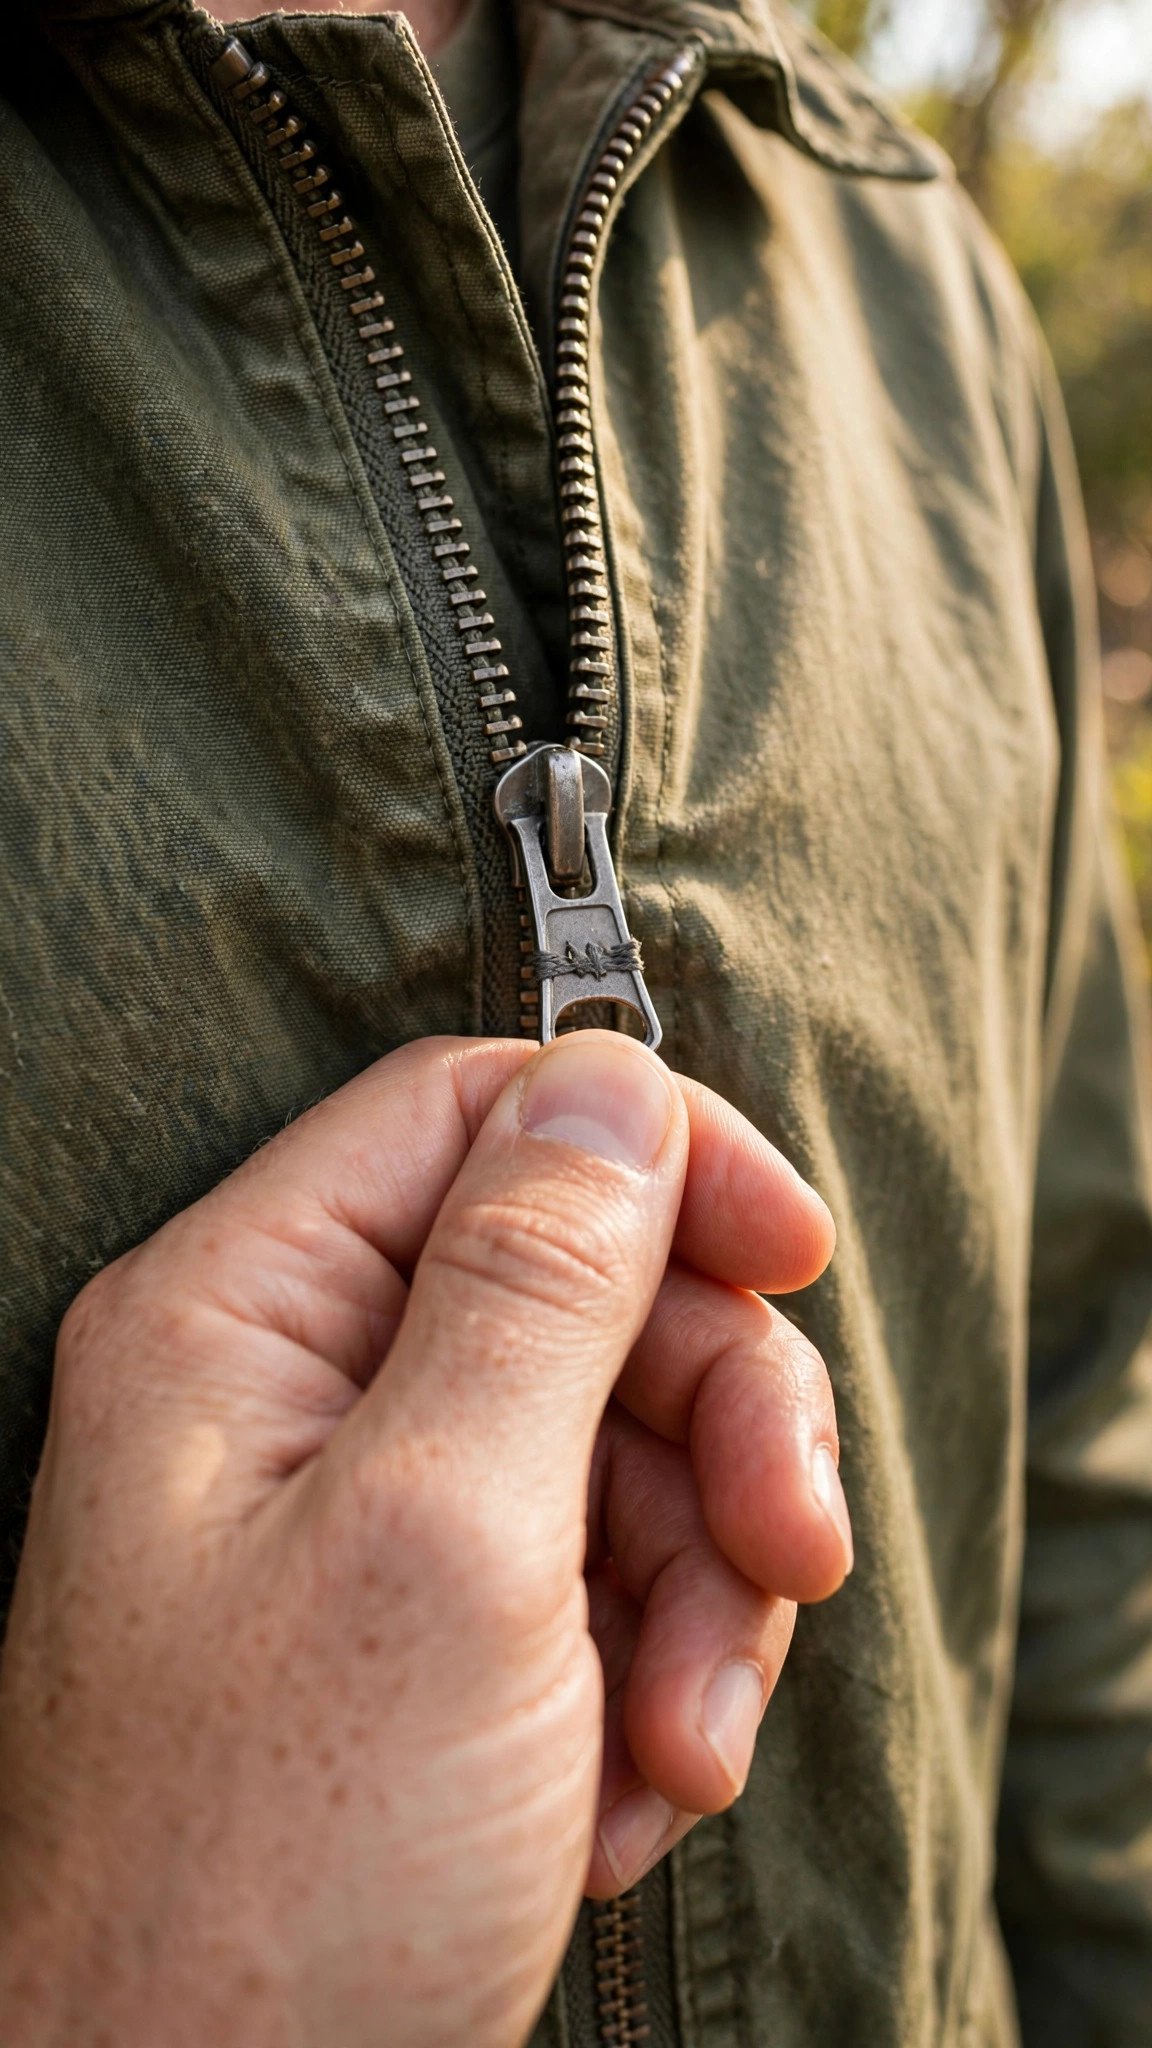
Sometimes the slider is not loose, it has simply derailed, with one side of the tape pulled out of the channel. To re-seat it, slide the pull all the way to the bottom of the teeth. If the bottom stop is in the way, carefully pry it off with pliers and set it aside. Feed both sides of the tape into the slider mouth evenly, making sure the teeth enter symmetrically, then work the slider upward slowly while holding the tapes aligned with your other hand.
Do not force it. If the slider jams halfway, back it down and re-feed the tapes. Once it travels smoothly, reattach the bottom stop by crimping the original back on or sewing a new thread stop. Test the full length of the zipper several times before calling it fixed.
When to Replace Instead of Repair
Tightening cannot fix everything, and knowing when to stop saves frustration. If three or more consecutive teeth are bent, broken, or missing, the slider has nothing to mesh, and the zipper needs replacing. A cracked plastic slider that splits under gentle plier pressure is also done. Likewise, if the fabric tape itself is torn or frayed through near the base, no slider adjustment will hold.
Replacement sounds intimidating, but it is a straightforward sewing job: unpick the old zipper, baste in the new one, and stitch it down. If your machine fights you on the thick layers, my troubleshooting guide for fixing skipped stitches will help you get clean stitching through zipper tape. And if you are finishing the garment that the zipper came from, my buttonhole guide covers the other classic closure with the same step-by-step care.
FAQ
Can I fix a separating zipper without pliers?
Sometimes. If the cause is debris or dryness, a thorough cleaning and graphite lubrication can restore function with no tools at all. But a genuinely loose slider needs the gentle compression that only pliers provide, so borrow a pair if you do not own one.
Will tightening work on a plastic coil zipper?
Yes, and coil zippers respond especially well, since their sliders are usually metal even when the teeth are nylon coil. Be gentle and test often. Molded plastic teeth with a plastic slider need the lightest touch of all, as the slider can crack.
Why does my zipper separate only at one spot?
That points to damaged teeth or a bent section of tape at that exact location rather than a loose slider. Inspect the spot closely, straighten any bent teeth with pliers, and if teeth are missing there, the zipper will keep failing at that point until it is replaced.
How do I stop this from happening again?
Never yank a stuck zipper, keep the teeth clean and lightly lubricated, and close zippers before washing so the slider does not bang around. A little maintenance twice a year keeps the slider channel snug for a long time.

Written by June Carter
I am June, a sewing enthusiast who loves turning simple fabric into things people actually use. I test every technique and product I write about at my own machine before it lands here.