

Learning how to fit sleeves properly changed my sewing more than any fancy technique ever did. For years I sewed garments where the bodice fit fine but the sleeves pulled, twisted, or sat with strange diagonal wrinkles I could not explain. I blamed the pattern. I blamed my machine. Eventually I admitted the truth: I had never actually measured my arms, I did not understand what a sleeve cap was doing, and I was setting sleeves in the way that felt easiest instead of the way that worked.
Sleeves are the part of garment sewing where fit becomes three-dimensional. The bodice is mostly flat against your torso, but a sleeve has to wrap a moving cylinder and join it smoothly to the body. That is genuinely harder, and it is why sleeves deserve their own fitting process rather than being an afterthought. Here is the method I use now, from measurements to final tweaks.
Why Sleeves Are the Hardest Fit to Get Right
A sleeve has to do three jobs at once: give your upper arm enough room, allow your elbow to bend, and join the armhole without puckers. Most fitting problems come from treating only one of those. A sleeve that feels fine standing still can bind the moment you reach forward, because nobody accounted for how the cap needs extra fullness to move with your shoulder.
The other reason sleeves fight back is that arms are not symmetrical and not standard. Pattern companies draft for an idealized arm, and most of us differ from it in at least one dimension: bicep width, shoulder slope, arm length, or the angle at which our arm hangs. Fitting sleeves is really the art of finding which of your measurements disagrees with the pattern and adjusting for it before you cut your good fabric.
How to Fit Sleeves: Start With Honest Measurements
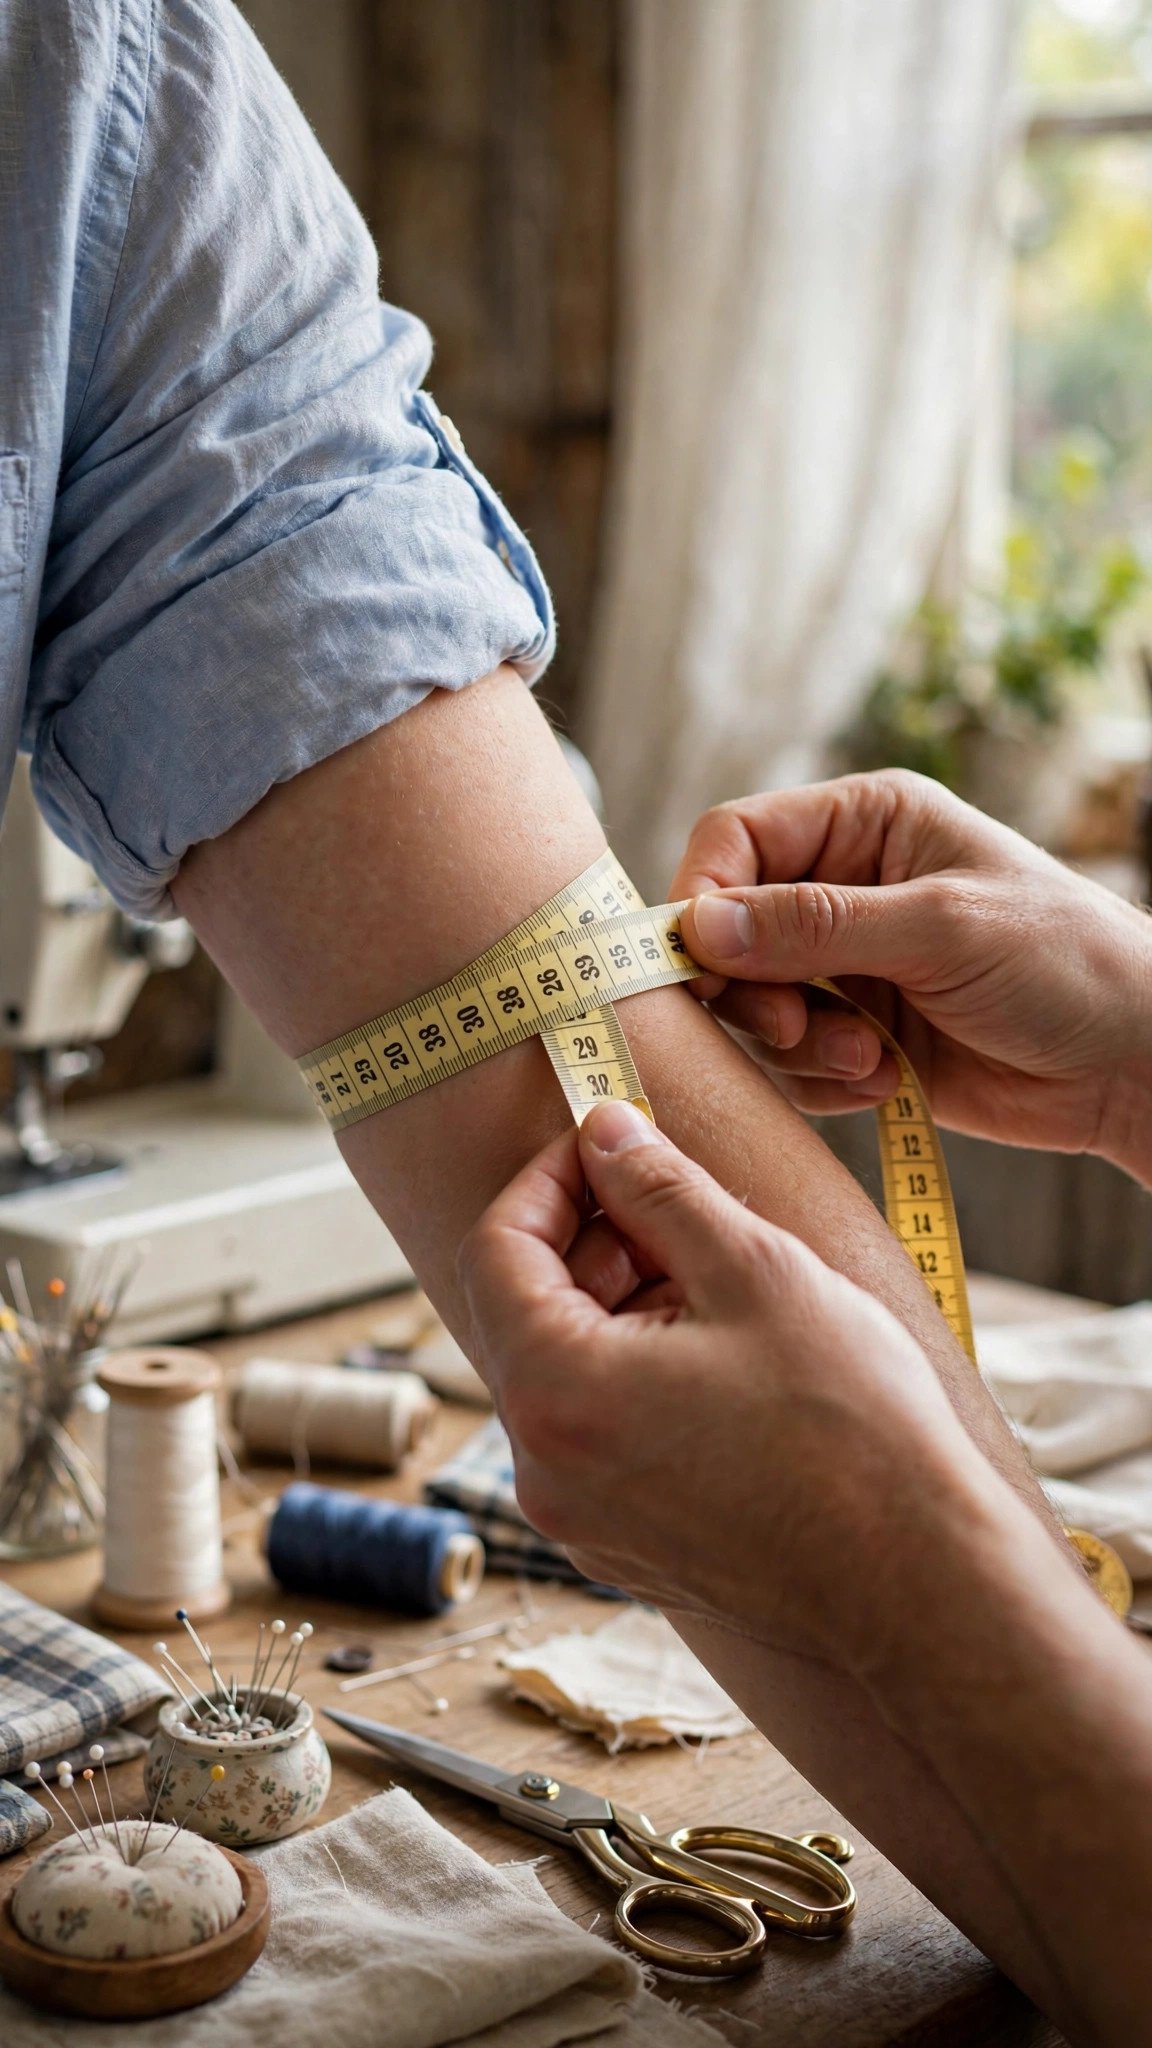
Everything begins with the tape measure, and I mean your real numbers, not the ones you wish were true. Measure your bicep at its fullest point with your arm relaxed, then measure again with your arm bent: use the larger number. Measure your arm length from the shoulder point down to your wrist with your arm slightly bent, since a straight-arm measurement comes up short. Measure your wrist too if the pattern has fitted cuffs.
Compare these numbers to the pattern’s finished measurements, not just the size label. Pattern sizing and ready-to-wear sizing are different systems, and the number on the envelope means almost nothing. The finished garment measurements, usually printed on the tissue or in the pattern instructions, tell you how much ease the design includes. For a sleeve, you want enough wearing ease to pinch about an inch of fabric at the bicep on a woven garment. If you need a refresher on technique, my guide on how to take accurate body measurements covers the positions and posture that keep numbers reliable.
Write your measurements directly on the pattern envelope or in a notebook you keep with your patterns. I keep a small card in each pattern envelope with my relevant measurements and the alterations I made, so the next time I sew that pattern I am not starting from zero.
Reading the Wrinkles: What Your Sleeve Is Telling You
The fastest diagnostic tool in fitting is a mirror and a muslin test sleeve. Sew a quick test sleeve in cheap muslin or an old sheet, baste it into the armhole, and look at the wrinkles. Wrinkles are not random; they point at the problem like arrows.
Diagonal wrinkles pulling from the underarm toward the shoulder usually mean the sleeve cap is too short or the armhole is too tight: the sleeve is straining to cover the distance. Horizontal folds across the bicep mean the sleeve is too narrow there and needs more width. A sleeve that twists so the underarm seam spirals around your arm is often a grainline issue or a sign that the front and back of the cap were eased unevenly. Vertical puddling at the cap means there is too much fullness to ease in and the cap height needs reducing.
Take a photo of yourself in the test sleeve from the front, side, and back. I know it feels awkward, but a photo shows what the mirror hides: you can stare at the image calmly instead of craning your neck. Mark the problem areas on the test sleeve with pins or a marker while you are still wearing it, then take it off and transfer those marks to your paper pattern.
Pattern Alterations: Slash and Spread Basics
Most sleeve adjustments use the slash-and-spread method, which sounds violent and is actually beautifully controlled. To add width to the bicep, draw a vertical line down the center of the sleeve pattern from the cap to the hem, cut along it from hem to just below the cap, and spread the two halves apart by half the total amount you need to add. Tape tissue behind the gap, then true up the side seams and the hem so the curves stay smooth.
To lengthen or shorten a sleeve, use the horizontal lengthen-shorten line printed on most patterns. Cut along it, spread or overlap to your measured amount, and re-tape. If your pattern lacks that line, draw one perpendicular to the grainline about midway down the sleeve. Always keep the grainline straight and unbroken through any alteration, since a tilted grainline is what makes finished sleeves twist. Pay attention to the notches and symbols as you redraw: my tutorial on how to read sewing pattern symbols explains what each mark is telling you to match.
For a cap that needs more or less height, slash horizontally across the cap area and spread or overlap there. Small cap adjustments of a quarter inch make a surprisingly big difference in how the sleeve sits, so change a little, test, and change more only if needed. After every alteration, walk the sleeve cap seamline against the armhole seamline with your tape measure on its edge to confirm they still match in length. A sleeve that no longer matches its armhole is a fitting disaster waiting to happen, and this two-minute check prevents it.

Setting In the Sleeve: Easing the Cap
Here is where technique meets fit. A set-in sleeve cap is intentionally slightly larger than the armhole, and that extra fullness is eased in as you sew. The fullness is what lets your arm move without the seam straining. The trick is distributing it evenly so it disappears into the seam instead of gathering into little pleats.
Run two rows of long basting stitches along the cap seamline, between the notches, and gently pull the bobbin threads to draw up the fullness. Match the sleeve’s notches to the bodice notches first: the single notch usually marks the front, the double notch the back, and the top notch meets the shoulder seam. Pin at the notches, then pin between them, distributing the ease evenly. Then sew with the sleeve side up so the feed dogs help ease the fullness in rather than pushing it into folds.
Go slowly and check the underside as you sew. If you see a pleat forming, stop, lift the presser foot, smooth the fabric, and continue. A well-set sleeve looks smooth from the outside with no visible gathering. It takes practice, and my first dozen set-in sleeves had at least one tiny pleat each. They still looked fine on, which is worth remembering when you are being hard on yourself. The seam itself is just a careful straight seam, and the same control you practice in how to sew a straight stitch is what makes this work.

Fine-Tuning Length, Elbow Room, and Cuffs
Once the cap is set, evaluate the rest of the sleeve on your body. Bend your elbow: you should be able to bend fully without the sleeve pulling tight across the inner elbow. If it binds, the sleeve needs more length or a two-piece sleeve with an elbow dart, depending on the pattern. For length, the classic check is that a long sleeve hem hits right at your wrist bone with your arms relaxed. I prefer to finalize length while wearing the garment and pin the hem where I want it, because arms and posture vary too much for a chart to get it perfect.
Check the seam allowances before you trim anything during alterations: if you adjusted the fit but the pattern’s seam allowance changed in the process, your finished dimensions will drift. A quick review of how to check seam allowance inclusion keeps your math honest. For cuffs, make sure you can push the sleeve up comfortably if that is something you do, and that a buttoned cuff does not cut off your circulation when your wrist flexes.
My last piece of advice is the least technical and the most important: fit the sleeve to your body, not to the pattern’s idea of your body. Every adjustment you make is information for the next garment. Keep notes, keep your altered pattern pieces, and your third sleeve will go in dramatically easier than your first.
FAQ
What causes diagonal wrinkles in a sleeve?
Diagonal drag lines from the underarm toward the shoulder usually mean the sleeve cap is too short or the armhole is too tight for your shoulder. The fabric is straining across too short a distance. Lengthening the cap or enlarging the armhole slightly, then re-testing, typically resolves it.
How much ease should a sleeve have at the bicep?
For woven garments, aim for enough room to comfortably pinch about an inch of fabric at the fullest part of your bicep. Less than that restricts movement; much more looks sloppy unless the design calls for a full sleeve. Knit sleeves need less ease because the fabric itself stretches.
Why does my sleeve twist around my arm?
Twisting usually comes from a grainline that drifted off during cutting or alteration, or from easing the front and back of the cap unevenly when setting the sleeve in. Check that the pattern’s grainline runs straight and parallel to the fabric’s straight grain, and redistribute the cap ease symmetrically.
Should I fit sleeves before or after cutting my fashion fabric?
Before, always. Make your pattern alterations first, then sew a test sleeve in muslin and baste it into a test bodice or your actual bodice pieces. Only cut your good fabric once the test sleeve moves comfortably and looks smooth. Muslin is cheap; regret is expensive.

Written by June Carter
I am June, a sewing enthusiast who loves turning simple fabric into things people actually use. I test every technique and product I write about at my own machine before it lands here.