

Learning how to clip and grade seam allowances is the quiet skill that separates homemade-looking sewing from the kind people ask about. Nobody sees the inside of your seams, but everyone sees the result: collars that lie flat, necklines that curve smoothly, and corners that come to a crisp point instead of a lumpy blob. It takes five extra minutes and a small pair of scissors.
Here is the idea in one sentence: you trim the hidden layers inside a seam so they do not fight each other once the piece is turned right side out. Grading staggers the layers like stair steps so no single ridge shows through. Clipping lets curves spread, and notching lets curves compress. Together they are the reason store-bought garments look so clean inside.
In this guide I will show you exactly when to trim, when to grade, how to clip inner curves and notch outer curves, and how to trim corners for sharp points. Follow the order I give you and your seams will press like a dream.
How to Clip and Grade Seam Allowances: The Order That Matters
The order is: sew, press, grade, clip, press again. Press the seam first to set the stitches, then do your trimming while everything is flat and readable. Grade the layers to staggered widths, then clip or notch any curves. Finally, turn the piece right side out and press it properly. Skipping that first press is the most common mistake I see; trimming an unpressed seam is like cutting hair while it is still tangled.
Always check your pattern instructions before you start snipping. Patterns often tell you exactly which seams to trim and to what width, and checking what your pattern includes for seam allowances keeps you from trimming something the designer wanted left alone, like a seam meant to be pressed open and finished later.
Why Trimming Seam Allowances Changes Everything
Every seam allowance you leave full width is bulk trapped inside your project. On a simple straight seam pressed open, that bulk does not matter much. But the moment a seam is enclosed, turned, or pressed to one side, that extra fabric has nowhere to go. It bunches, it ridges, and it telegraphs through to the right side as an ugly shadow line. Trimming removes the fight.
Reducing bulk also improves comfort, which matters in anything worn close to the skin. A graded collar seam feels smooth against the neck instead of scratchy, and a trimmed waistband sits flat instead of digging in. Think of trimming as editing: you are keeping the strength of the seam while removing everything that does not serve the finished piece.
How to Grade Seam Allowances
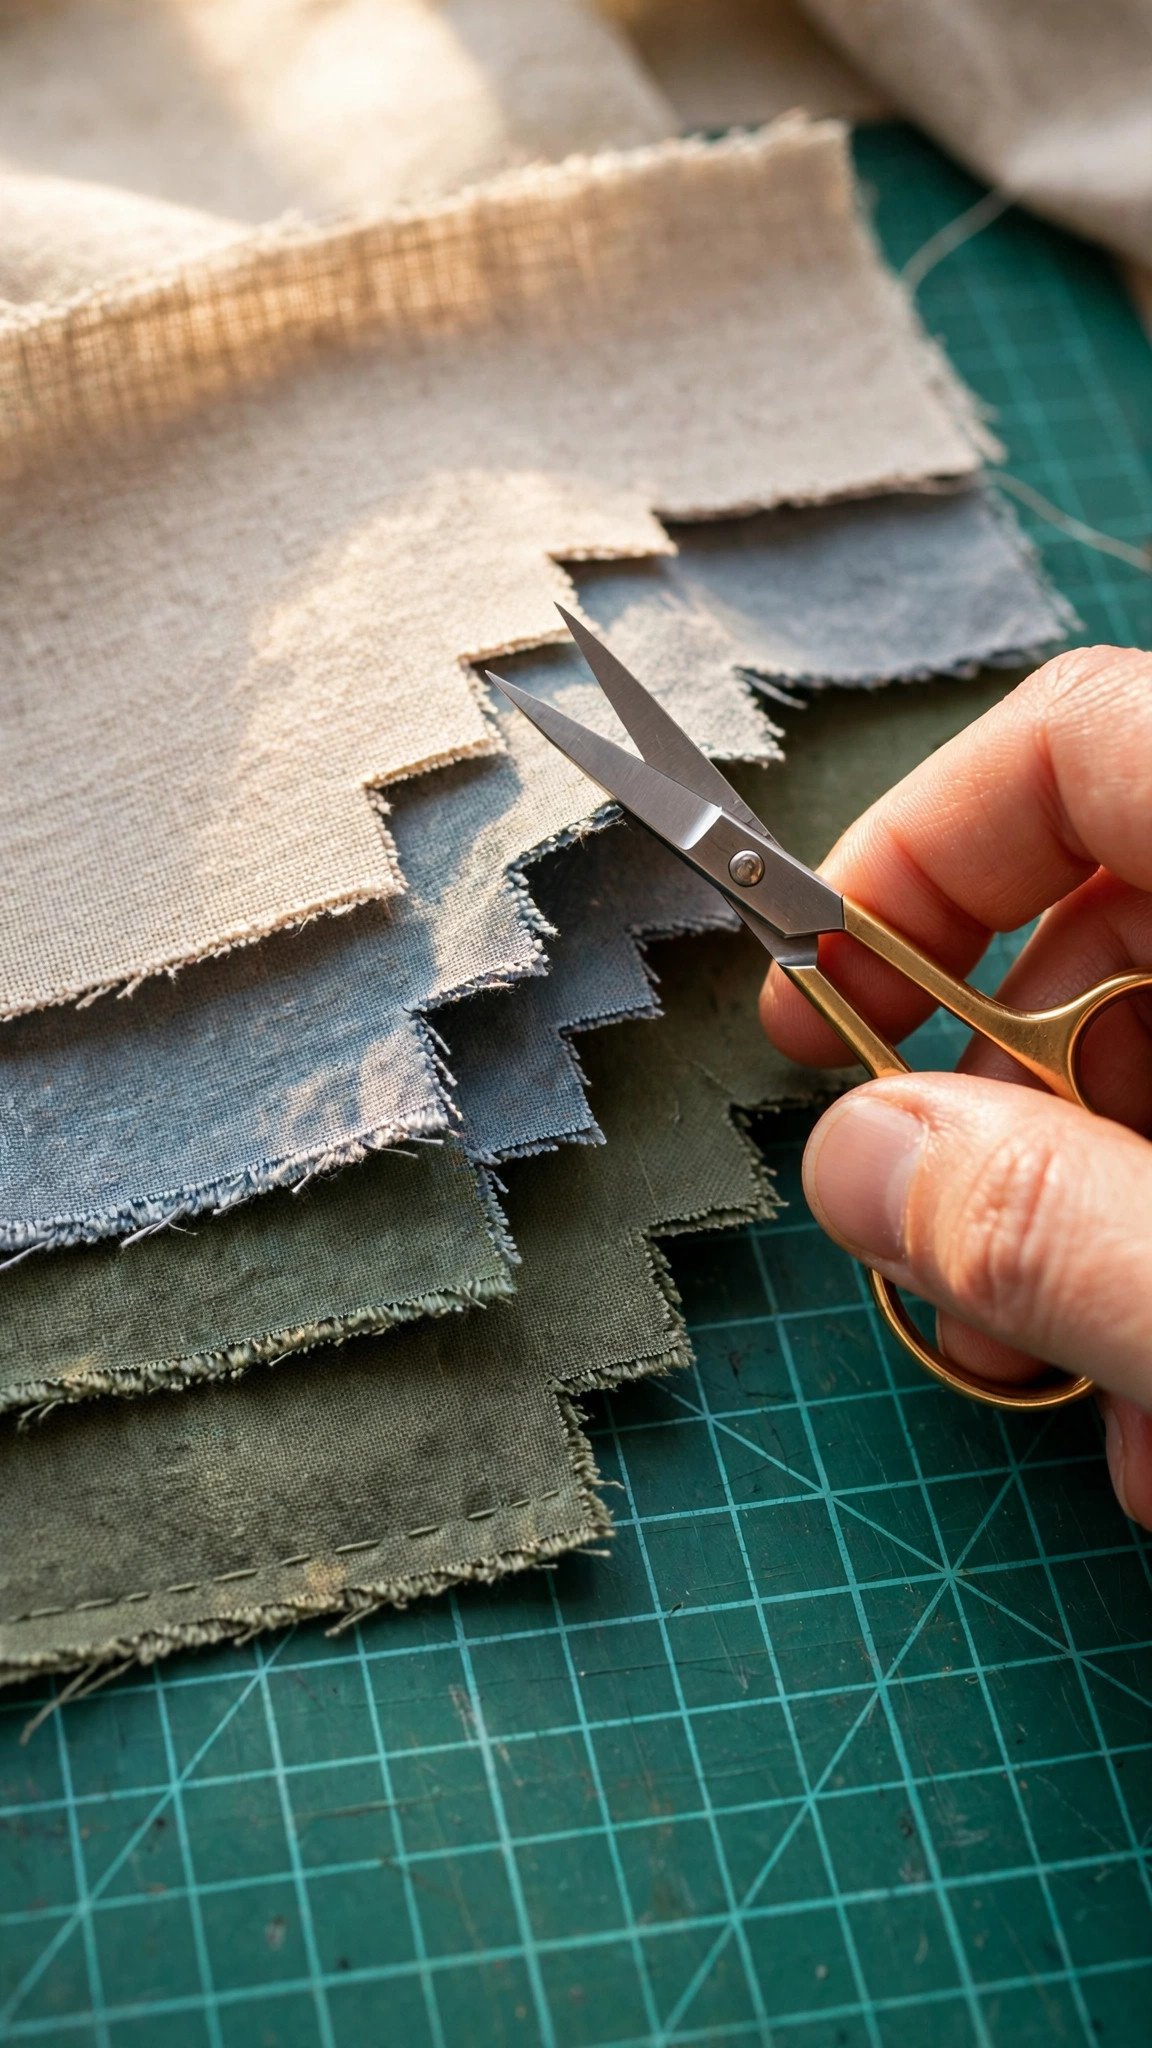
Grading means trimming each layer of a seam allowance to a different width, creating a stair-step profile. This is the technique to reach for whenever several layers stack up: facings, collars, cuffs, waistbands, and linings. Without grading, all those raw edges land in exactly the same place and form a thick ridge that shows on the outside.
Here is the method. Press the seam to one side first. Trim the layer that will sit closest to the outside of the garment the widest, about a quarter inch. Trim the next layer a little narrower, about an eighth of an inch. If you have a third layer, trim it narrower still. Small sharp scissors, or duckbill applique scissors that slide under the top layer without nicking it, make this precise work much easier. The golden rule: never cut through your stitching line, and never trim so close on a loose weave that the seam loses its strength.
How to Clip Inner Curves and Notch Outer Curves
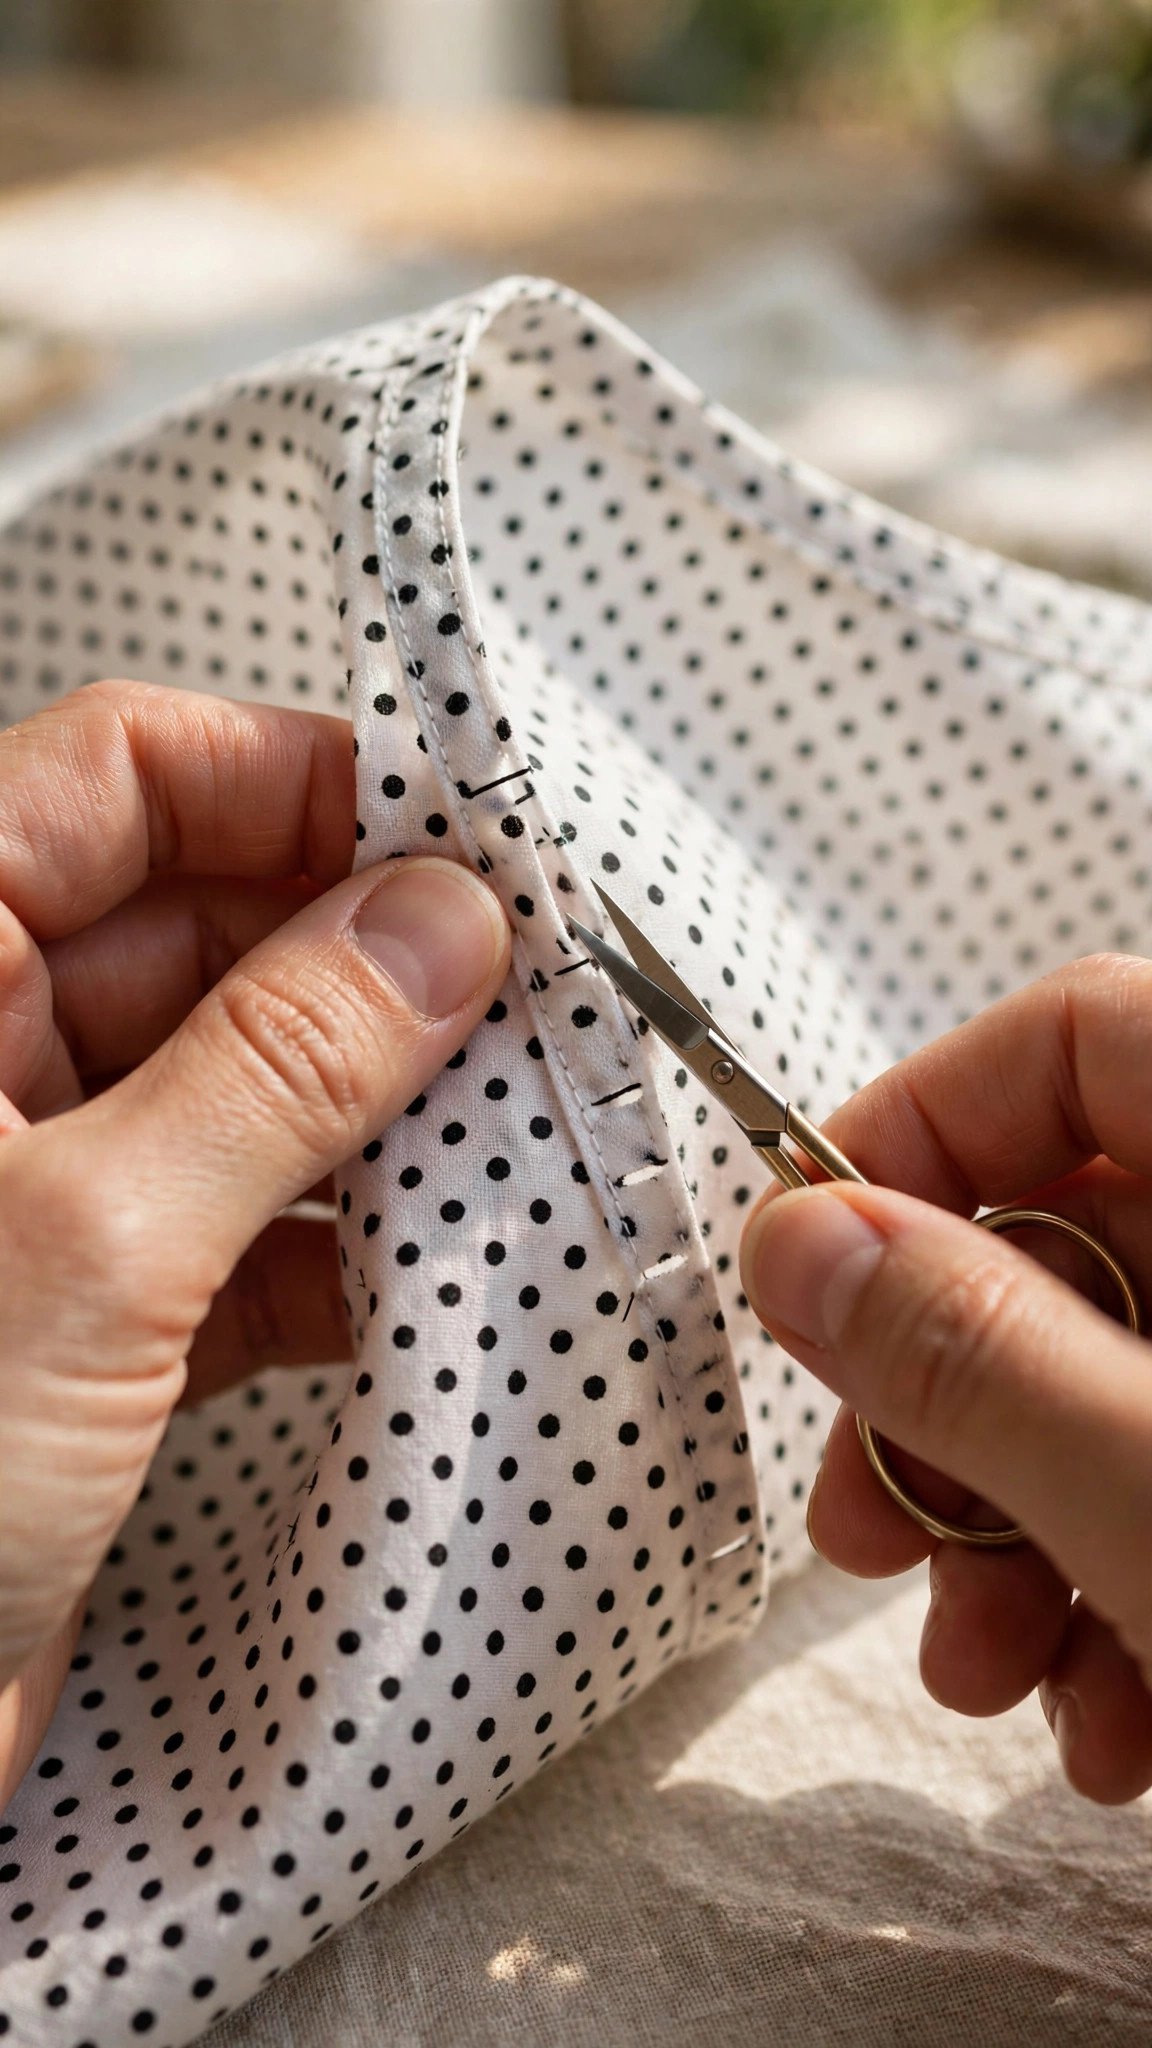
Curves will not lie flat unless you give the seam allowance room to move, and inner and outer curves need opposite treatments. Inner curves, like necklines and armholes, need to spread open when turned. Clip them with small straight cuts into the seam allowance at regular intervals, stopping about an eighth of an inch from the stitching. Space the clips closer together on deep curves and farther apart on shallow ones.
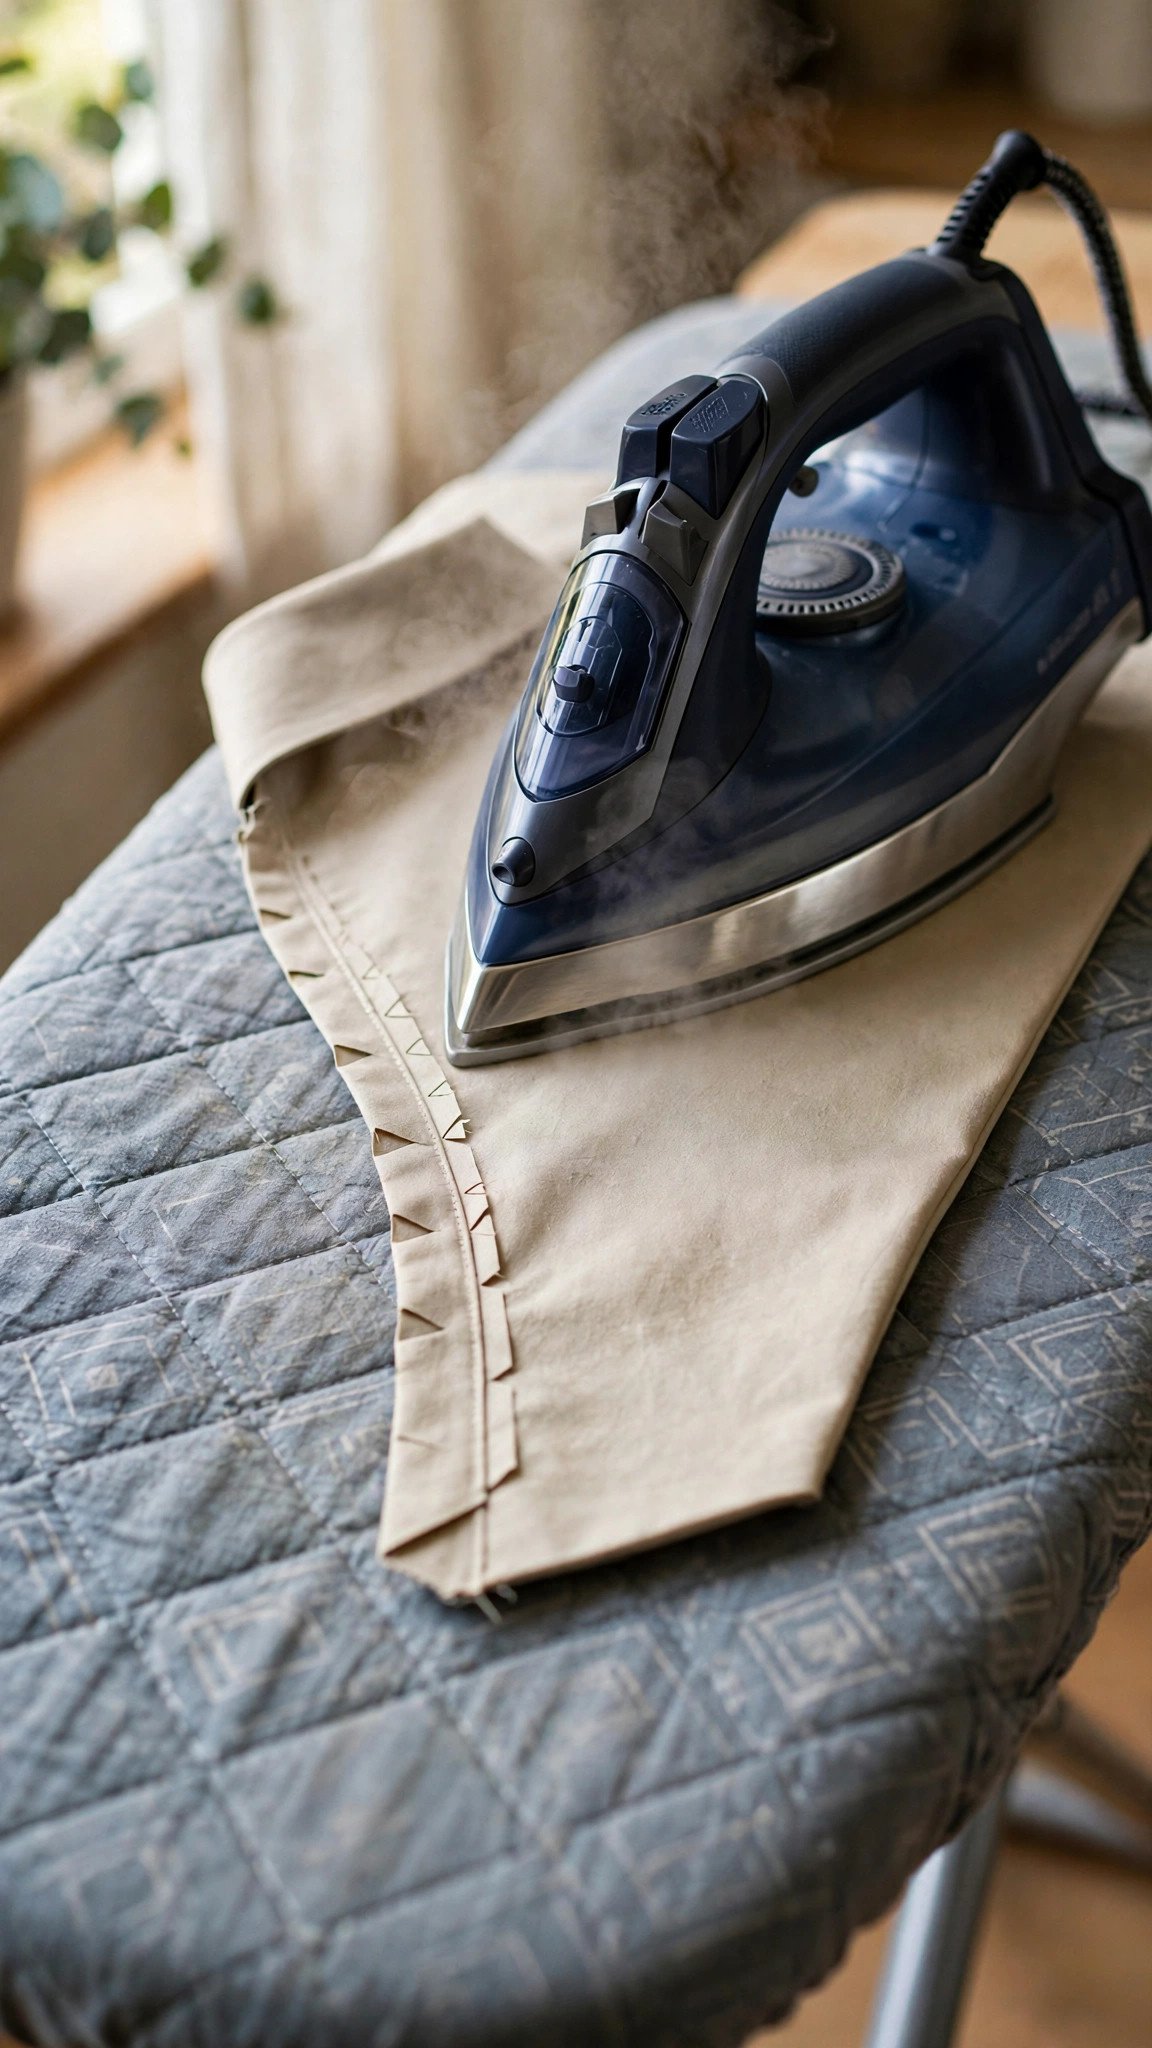
Outer curves, like a rounded collar edge or a princess seam, need bulk removed so the allowance can compress. Cut small V-shaped notches out of the seam allowance at intervals, again stopping just short of the stitching. The wedges you remove are what let the curve turn smoothly without puckering. Do your clipping after grading, so you are cutting through the staggered layers cleanly in one pass.
Trimming Corners for Sharp Points
Sharp corners, on collars, cuffs, and lapels, need their own treatment. First grade the seam allowances on both sides of the corner. Then trim the corner itself at a diagonal, cutting close to but never through the stitching. For a very sharp point, take one stitch across the corner instead of pivoting to a perfect point, then make an additional small cut on each side of the corner to remove the extra fabric hiding there.
When you turn the corner, use a blunt point turner or a chopstick to gently push it out, never anything sharp enough to poke through. Understitch any facing first if the pattern symbols call for it; it keeps the facing rolled to the inside so it never peeks out. Then press the corner with the seam pulled slightly underneath, and you will have a point to be proud of.
Pressing and Knowing When Not to Clip
Pressing is half of this technique, not an afterthought. After clipping and turning, press the seam with the edge rolled just slightly to the underside so no seam allowance shows from the right side. A tailor’s clapper or a good burst of steam helps flatten bulky intersections. Press every clipped curve from the wrong side first, then give the right side a light final press.
A few cautions from experience. On very loose weaves, trim less, since those fabrics ravel and need the extra holding power. On seams that take strain, like a trouser crotch or an armhole, stitch twice along the stitching line before trimming anything, or leave those allowances a touch wider. And trim interfacing right up to the stitching line; it is the bulkiest layer and the first one to go. The essential fabric tools for this job are simple: small sharp scissors, a point turner, and a good iron.
FAQ
What is the difference between clipping and grading?
Grading trims seam allowance layers to staggered widths to reduce bulk, like stair steps. Clipping cuts slits or V-shaped notches into the allowance so curves can spread or compress when turned. You often do both on the same seam: grade first, then clip.
How close to the stitching can I clip?
Stop about an eighth of an inch from the stitching line. Closer risks cutting your stitches and weakening the seam; farther leaves bulk that defeats the purpose. On tight curves, clip closer together rather than closer to the line.
Do I need to grade seams that will be pressed open?
Usually not. Grading is for seams pressed to one side or enclosed inside the garment, where stacked layers create a ridge. Seams pressed open lie flat on their own and just need their raw edges finished.
Can I clip curves with pinking shears?
Pinking shears trim and notch in one step on gentle outer curves, and they also discourage fraying. For deep inner curves like necklines, straight clips with small scissors give you more control, so I keep both handy.

Written by June Carter
I am June, a sewing enthusiast who loves turning simple fabric into things people actually use. I test every technique and product I write about at my own machine before it lands here.