
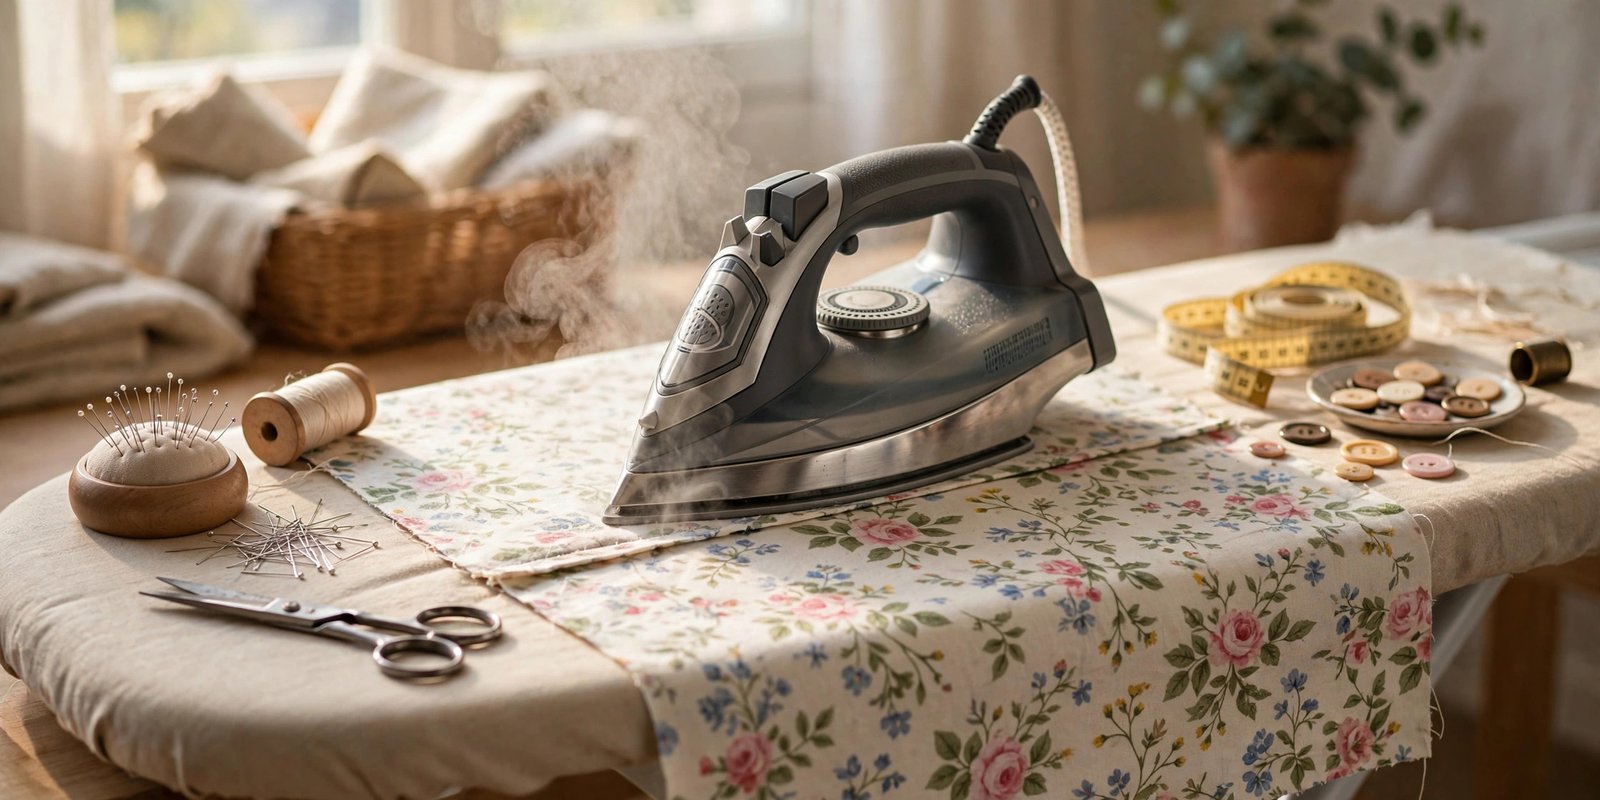
Here is a truth nobody tells you when you start sewing: the difference between clothes that look homemade and clothes that look handmade is rarely the stitching. It is the pressing. I sewed for two years before I truly understood how to press seams while sewing, and when I finally made it a habit, my projects transformed overnight. Same machine, same fabric, same skill level. The only change was that I started pressing every seam, and suddenly my garments looked like they came from a real pattern studio instead of my kitchen table.
Pressing is not ironing. Ironing slides the iron back and forth to smooth wrinkles out of finished clothes. Pressing lifts the iron, sets it down firmly, holds it for a few seconds, and lifts again. That up and down motion sets stitches into the fabric and flattens seam allowances without stretching or distorting anything. Once this clicks, you will never skip it again.
Why Pressing Every Seam Matters So Much
A freshly sewn seam has a memory of being two flat pieces of fabric. The stitches pull slightly, the seam allowances stick up like little fins, and the whole thing looks lumpy and amateur. Pressing resets that memory. It melds the stitches into the fabric, flattens the allowances, and gives you a crisp, professional finish that no amount of careful stitching can achieve on its own.
There is also a structural reason. Press each seam before another seam crosses it, and every intersection sits flat and accurate. Skip pressing, and you sew lumpy seams into lumpy seams, compounding the problem with every step. I batch my work: I sew all the non-intersecting seams I can, then take everything to the ironing board and press them all at once, then continue. It keeps the rhythm of sewing intact while honoring the pressing habit.
The Three-Pass Method for a Perfect Seam
For a standard straight seam, I use a three-pass method that works on almost everything. First, press the seam exactly as it was sewn, without opening it. This sets the stitches into the fabric and removes any tiny puckers from the stitching line. Just lay the seam flat and press along it.
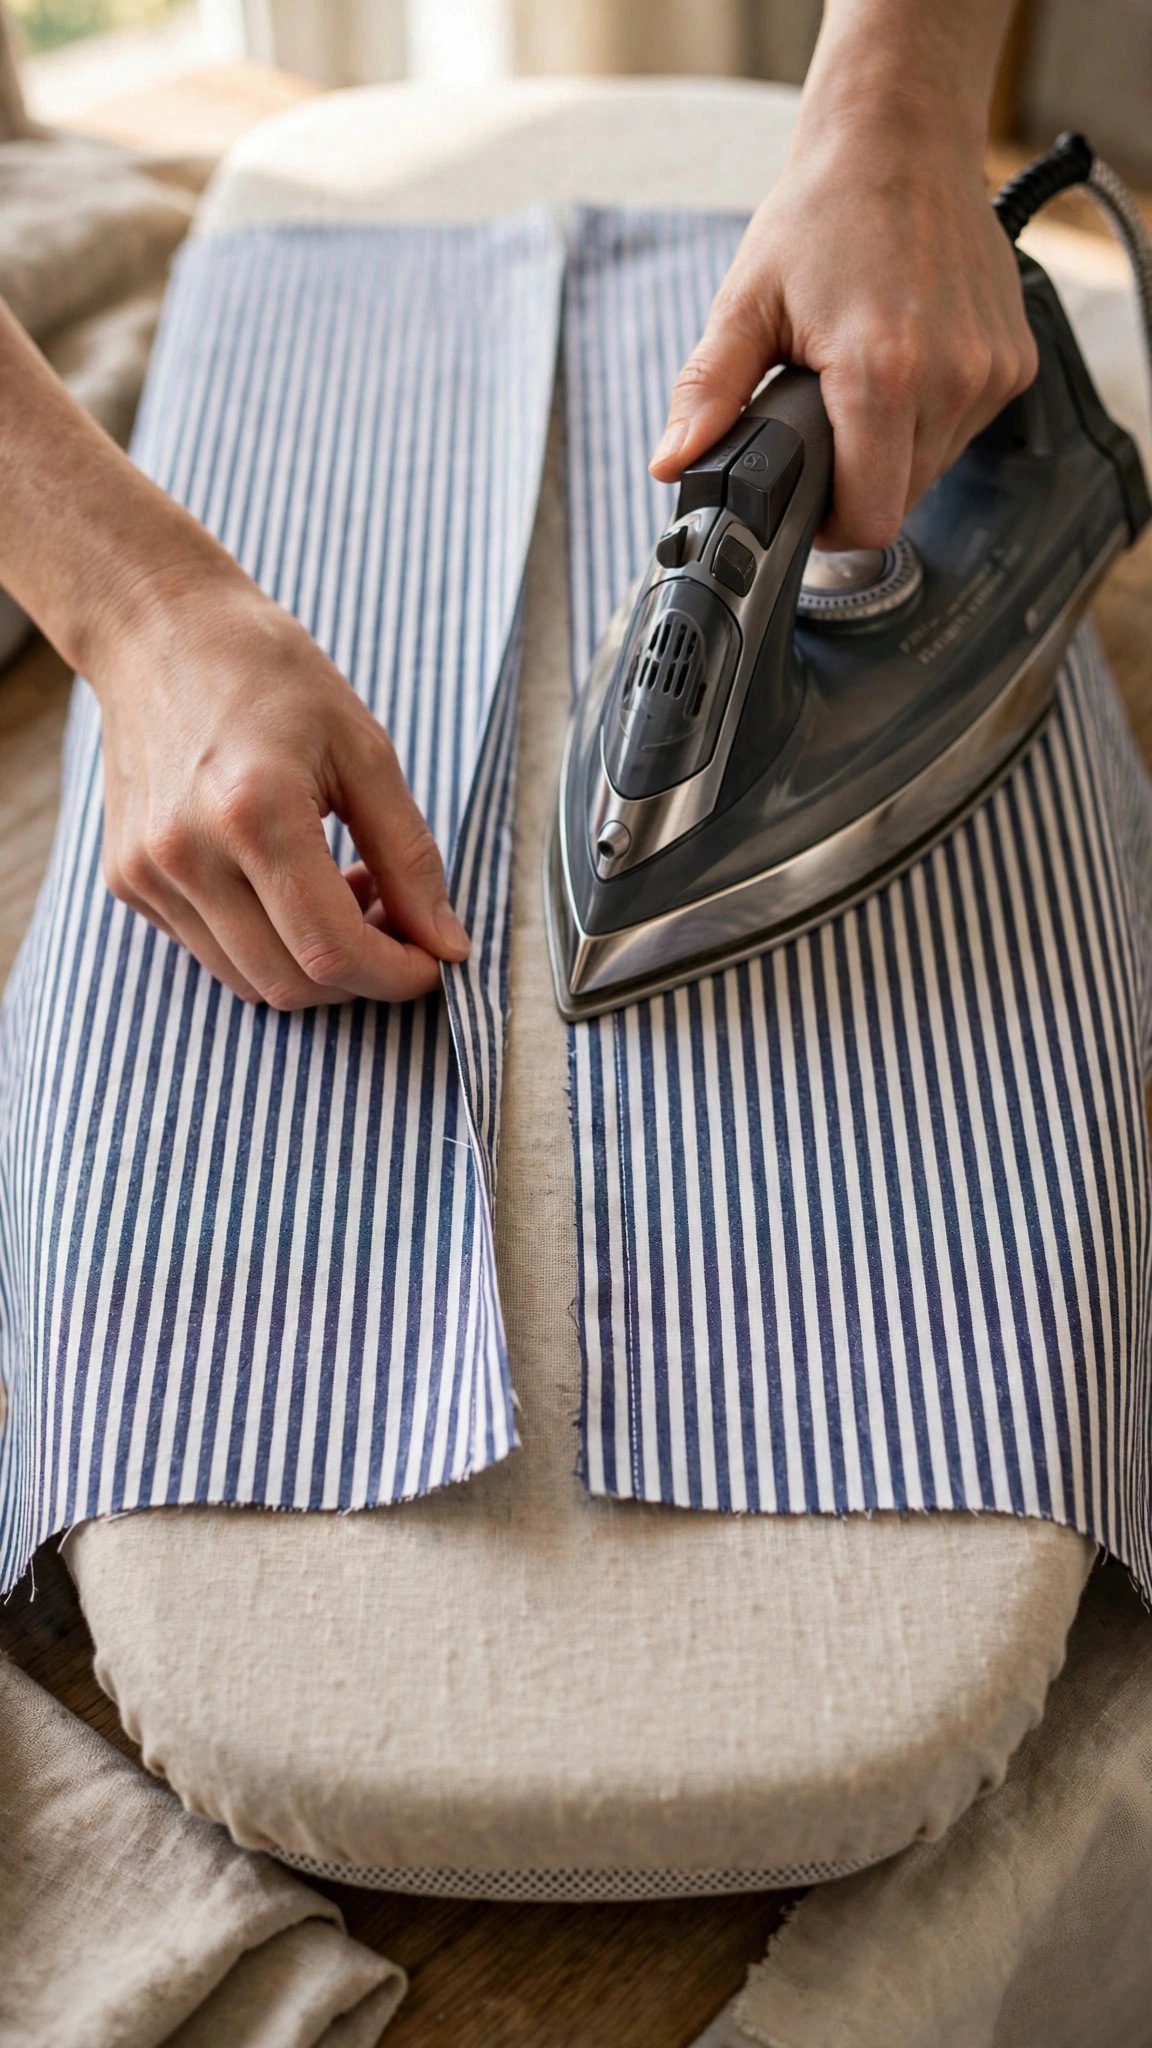
Second, open the fabric with the wrong side up and press the seam allowances. Most seams are pressed open, meaning you spread the two allowances apart and press each flat. If your pattern says to press to one side, push both allowances in the indicated direction and press them flat. Use the tip of the iron to start in tight spots, then the flat of the iron to finish.
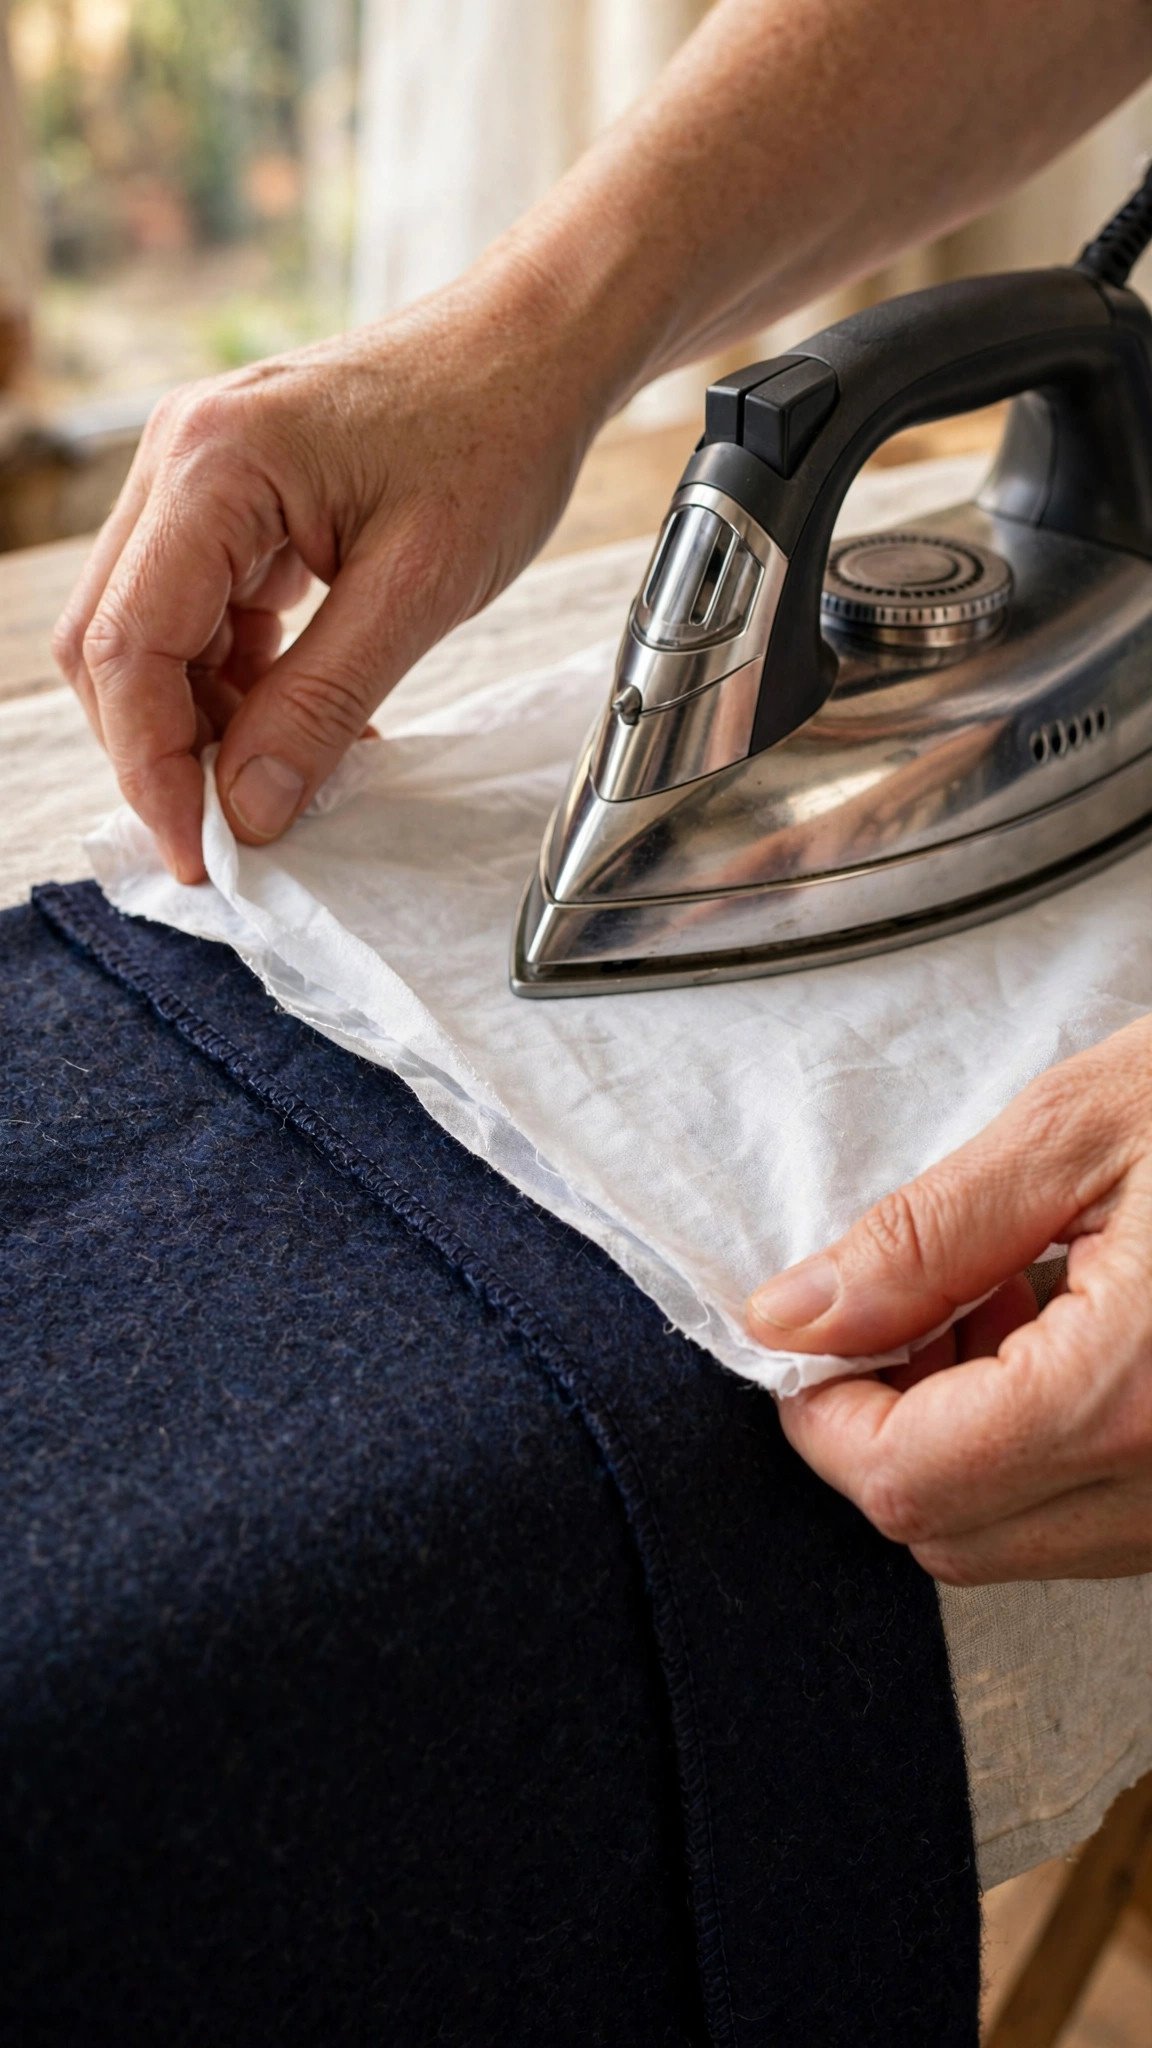
Third, flip the piece right side up and press the seam once more from the right side. This final pass gives you that crisp, finished look. If the fabric is delicate or dark, lay a press cloth over it first so the iron never touches the right side directly. Three passes sounds like a lot, but once it becomes habit it takes seconds, and the results are unmistakable.
How to Press Seams While Sewing Different Seam Types
Not every seam wants the same treatment. Pressing open is the default for garment seams because it distributes bulk evenly and lies beautifully flat. Pressing to one side is standard in quilting, where nested allowances help pieces align, and in garments where the pattern directs it, often toward the darker fabric so the allowance does not show through from the front.
Curved seams need clipping or notching before they will press smoothly. Clip into concave curves and notch out little wedges on convex curves, then press over a tailor’s ham or a rolled towel so the curve keeps its shape instead of being flattened. Press darts before moving on: horizontal darts like bust darts press downward, vertical darts press toward the center, always starting at the wide end and working toward the point.
For enclosed seams, like collars and cuffs, press the allowances open first, then press them together, grade and clip as needed, turn right side out, and press again for a smooth edge. Understitching keeps the seam from rolling to the right side. Each of these is a small technique on its own, but they all follow the same principle: press at every stage, never at the end.
Tools That Make Pressing Easier and Better
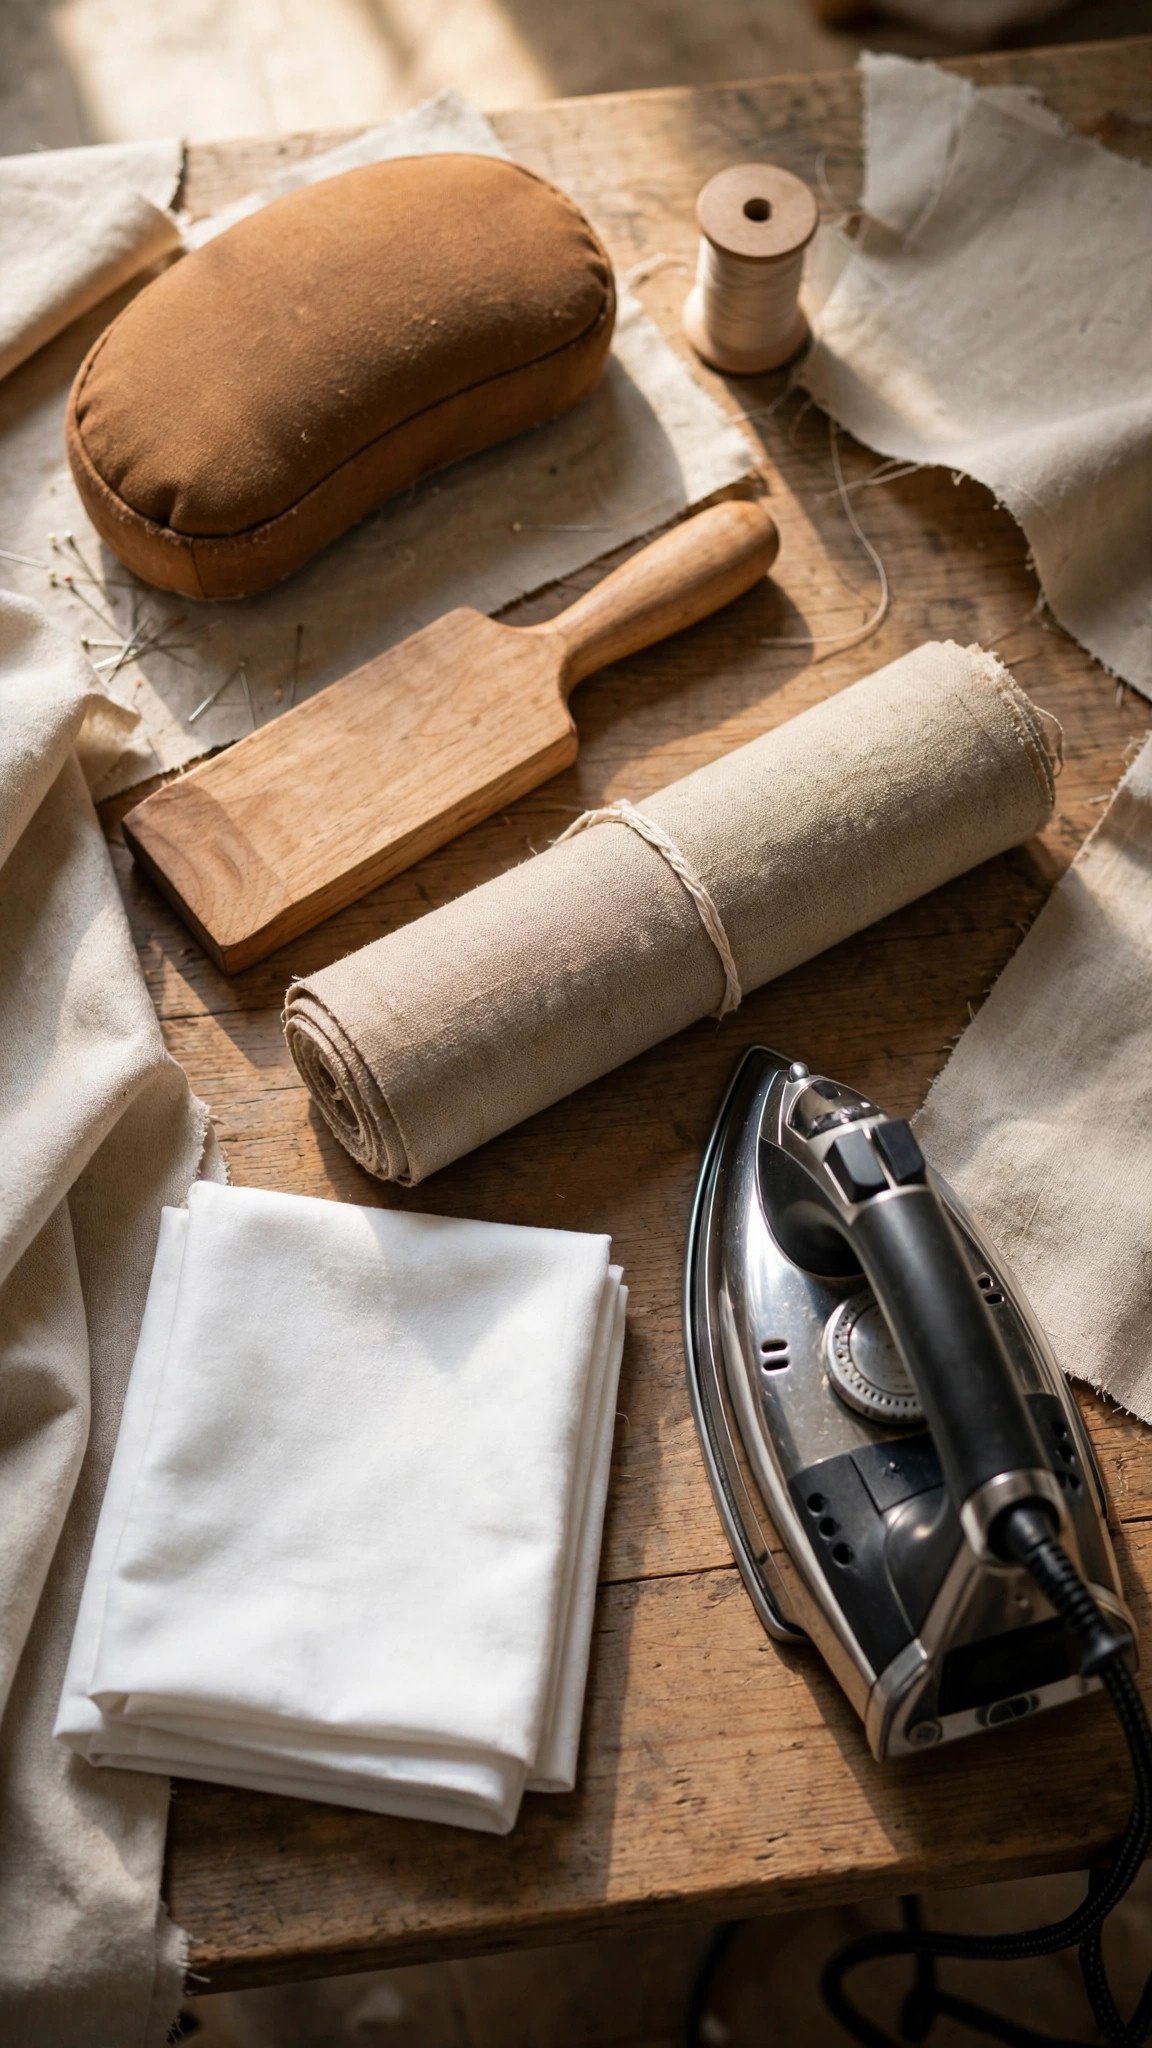
You do not need a fancy setup, but a few tools genuinely change the game. A tailor’s ham, that firmly stuffed ham-shaped cushion, is essential for pressing curved seams and darts without flattening them. A seam roll, which is basically a long firm sausage, lets you press a seam open without the allowance edges leaving an imprint on the right side. Both are inexpensive and last forever.
A tailor’s clapper is a wooden block you press onto a steamed seam to trap the heat and flatten it dramatically. It is magic on heavy fabrics, collars, and lapels. A press cloth, which can be as simple as a clean white cotton cloth or a square of silk organza, protects delicate and dark fabrics from shine and scorch marks. And for textured fabrics like velvet, press on a thick towel or a needle board with the fabric right side down, so you never crush the pile.
My most-used trick costs nothing: strips of plain brown paper tucked under each seam allowance before pressing. The paper absorbs the edge so the allowance does not leave a ridge imprinted on the right side of the garment. Grocery bags and wrapping paper work perfectly.
Pressing Cloth, Steam, and Heat Settings
Heat is the part of pressing that demands respect. Always match your iron temperature to your fabric: synthetic fabrics want low heat, wool wants medium, and cotton and linen can take high heat with steam. When in doubt, test on a scrap. A scorch mark is permanent, and I have the sad little pile of test scraps to prove I learned this the embarrassing way.
Steam is your friend on natural fibers. It relaxes the fibers, sets the stitches, and gives seams that crisp, flat finish. On synthetics, go easy with steam or skip it, since too much heat and moisture can distort them. And the press cloth is non-negotiable on the right side of dark fabrics, where a shiny iron mark will show forever, and on delicate fabrics that mark easily.
One more habit worth building: press in the direction of the grain whenever you can, so you do not distort how the fabric drapes. On bias-cut pieces, keep the iron at a right angle to the seam. Small disciplines like these are what separate pressing that helps from pressing that quietly ruins.
Mistakes That Undo Good Sewing
The biggest mistake is treating the iron like a scrub brush. Sliding the iron back and forth stretches the fabric, especially on bias edges and knits, and it can permanently distort a seam. Lift and press, lift and press. If you catch yourself ironing, stop and reset.
The second mistake is pressing a seam after another seam has already crossed it. Once an intersection is sewn, you can never get the first seam perfectly flat. Press in order, every time. The third is skipping the press cloth on dark fabrics and discovering a shiny streak across your bodice front. Ask me how I know.
Finally, do not press over pins. It dulls them, it can melt plastic heads onto your fabric, and a hot pin can leave a mark. Remove pins as you go, press, and move on. If you want your seams to look as good as they can, pair good pressing with accurate seam allowances and a well maintained sewing machine, and even simple beginner projects will look remarkably professional.
FAQ
What is the difference between pressing and ironing?
Pressing uses an up and down motion: lift the iron, set it down firmly, hold, and lift again. Ironing slides the iron back and forth. Pressing sets stitches and flattens seams without stretching the fabric, while sliding can distort seams and bias edges.
Should I press seams open or to one side?
Follow your pattern first. As a general rule, garment seams are usually pressed open for a flat finish, while quilting seams are usually pressed to one side so they nest together. When pressing to one side with two different fabrics, press toward the darker one to prevent show-through.
Do I really need to press every single seam?
Yes, and I say this as someone who resisted for years. Pressing each seam before the next one crosses it is the single highest-impact habit in sewing. It takes seconds per seam and transforms the finished look of everything you make.
Can I press without a press cloth?
On the wrong side of sturdy cottons, usually yes. On the right side of anything, and on dark or delicate fabrics anywhere, use one. A clean white cotton cloth works fine, and it is the cheapest insurance against shine and scorch marks.

Written by June Carter
I am June, a sewing enthusiast who loves turning simple fabric into things people actually use. I test every technique and product I write about at my own machine before it lands here.