
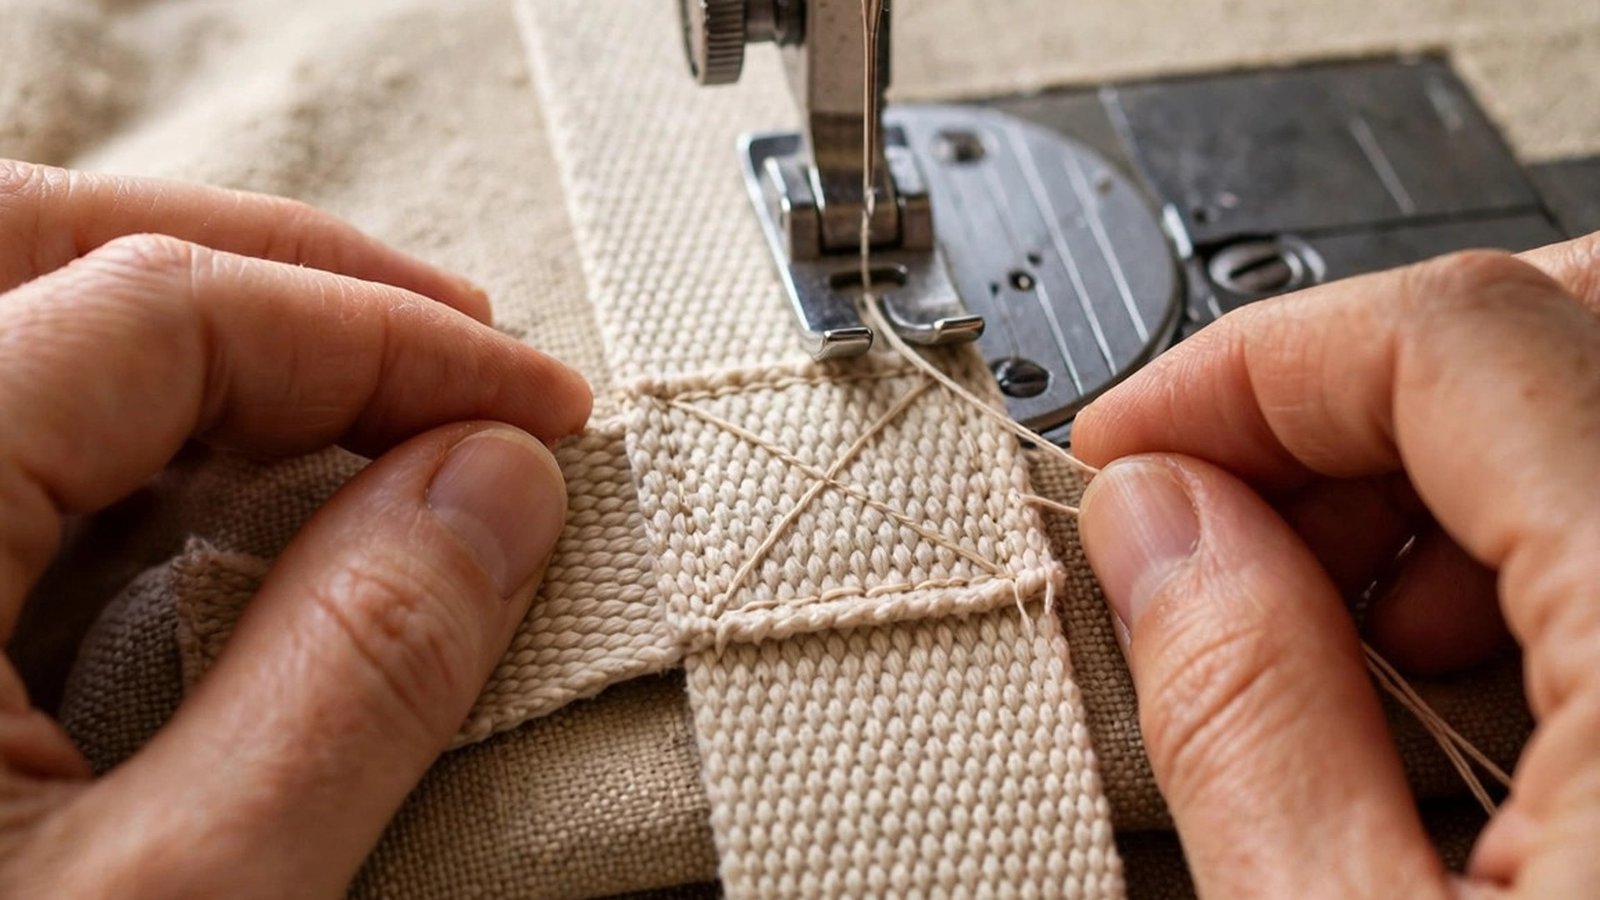
If you want to learn how to sew webbing straps securely, here is the honest truth: one straight line of stitching is not enough. A bag strap takes a beating every time you carry it, and the stitching has to share that load across a wide area. I have repaired enough pulled loose handles to know that the straps that fail are almost always the ones that were stitched with a single row, in the wrong place, or with thread that was too fine for the job.
A secure strap uses a strong stitch pattern, the right needle and thread, and a reinforced attachment point on the bag itself. The classic box with a cross through it spreads the strain beautifully, and a few bar tacks at the stress points add real insurance. In this guide I will show you the whole method, from choosing webbing and preparing the ends, to stitching the box, to testing the finished strap before you trust it with your belongings.
Choose the Right Webbing, Needle, and Thread
Webbing comes in cotton, polypropylene, and nylon, and each behaves a little differently. Cotton webbing is soft, easy to sew, and looks lovely on casual bags, but it can stretch slightly under a heavy load. Polypropylene is strong and does not absorb water, which suits travel and outdoor bags. Nylon is very strong and smooth, but it can slip under the presser foot, so pin or clip it carefully. For most bags I reach for cotton webbing about one inch wide, because it sews cleanly and feels good in the hand.
Match your needle and thread to the job, because this is where many straps fail before they start. Use a heavy duty or jeans needle, size 100 or 110, which will punch through webbing and bag layers without deflecting or snapping. Use a strong polyester thread, not a fine cotton thread, and a slightly longer stitch length than usual, about three millimetres, so the stitches do not perforate the webbing like a tear line. If you are unsure about thread, my guide to the best thread for sewing machines explains weights clearly.
Prepare the Strap Ends Properly
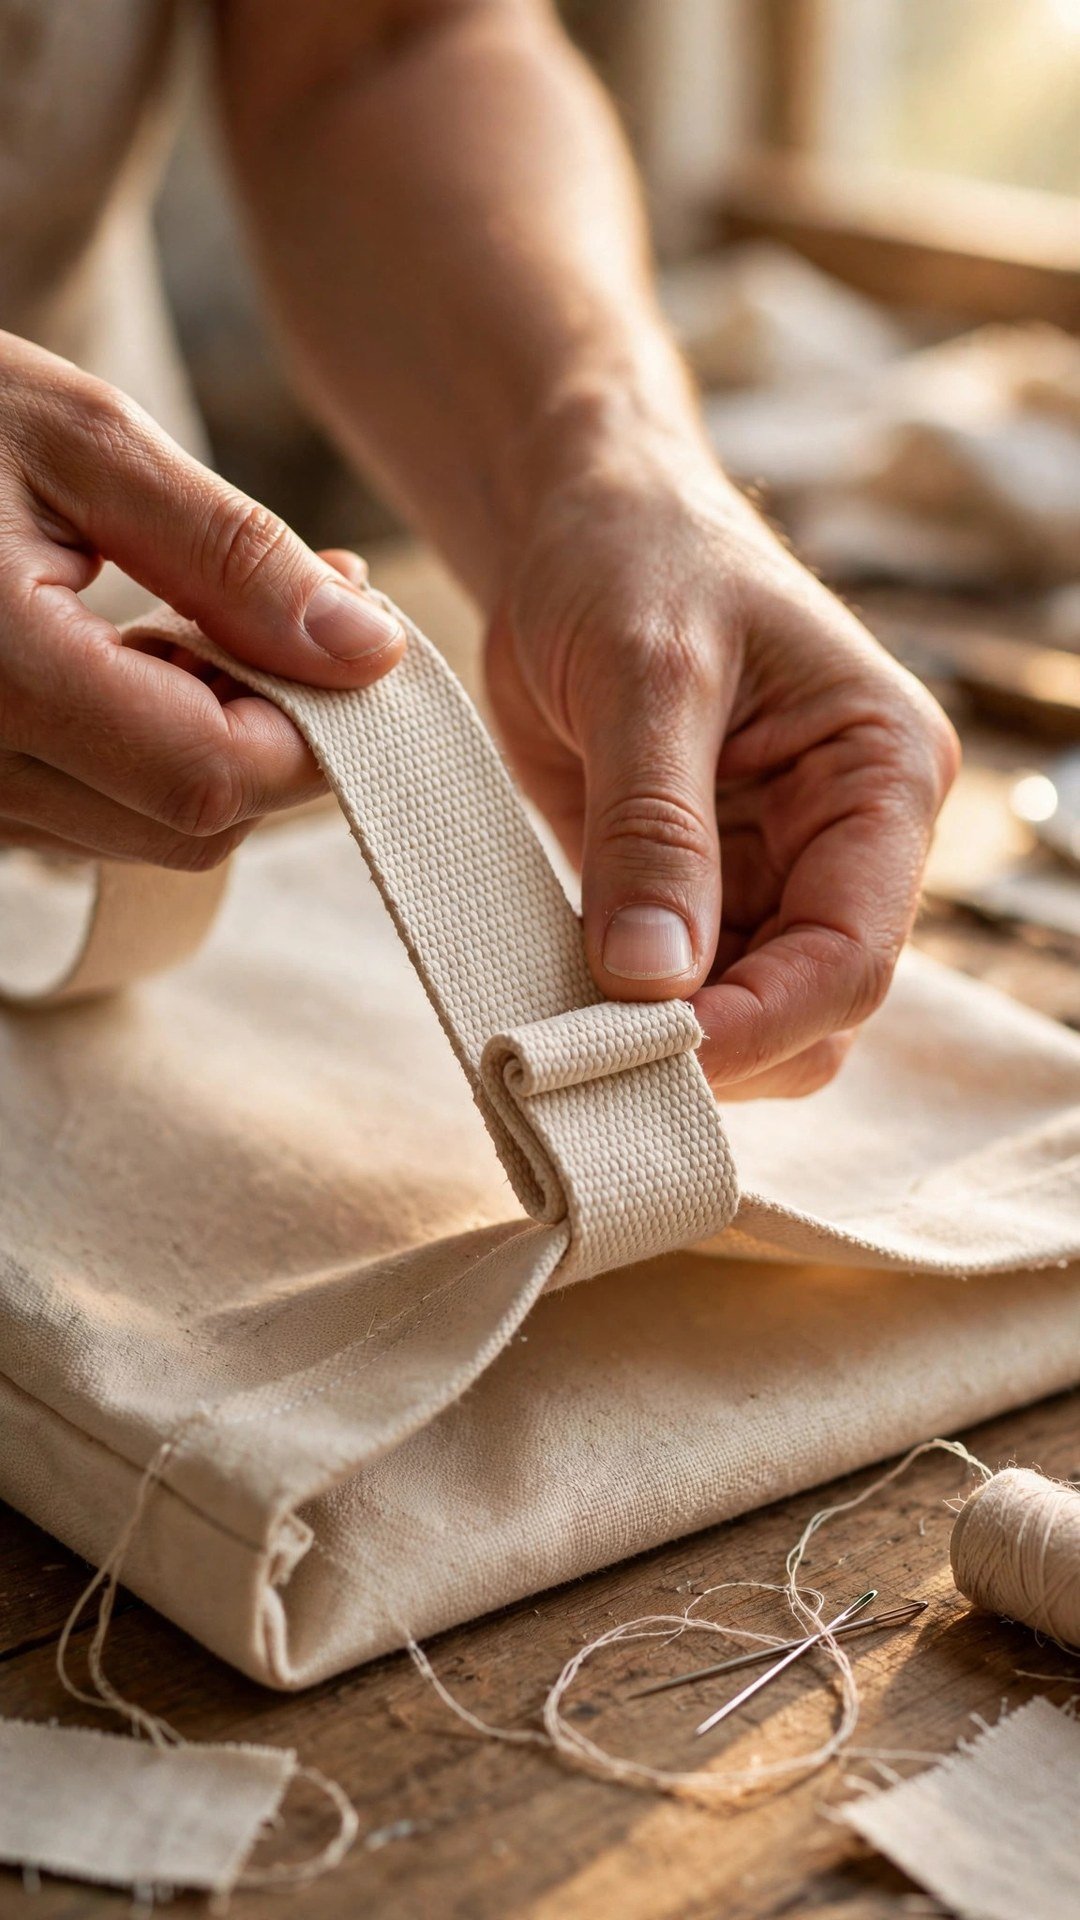
How you finish the strap end decides how neat and how strong the attachment will be. Cut the webbing cleanly with sharp scissors, then seal the cut end so it cannot fray. For cotton webbing, a quick zigzag across the end or a dab of fray check works well. For synthetic webbing, carefully pass the cut end near a flame for a second until the fibres melt together, keeping your fingers well away from the heat and working in a ventilated space.
Fold the end of the strap under by about an inch before you stitch it down, so the raw end is hidden inside the fold and the stitching goes through two layers of webbing instead of one. This folded end is stronger, neater, and much less likely to fray or pull out over time. Pin or clip the folded end in place on the bag, and check the strap length on both sides before you sew, because a strap sewn one inch shorter on one side will make the bag hang crooked forever.
How to Sew Webbing Straps Securely Step by Step
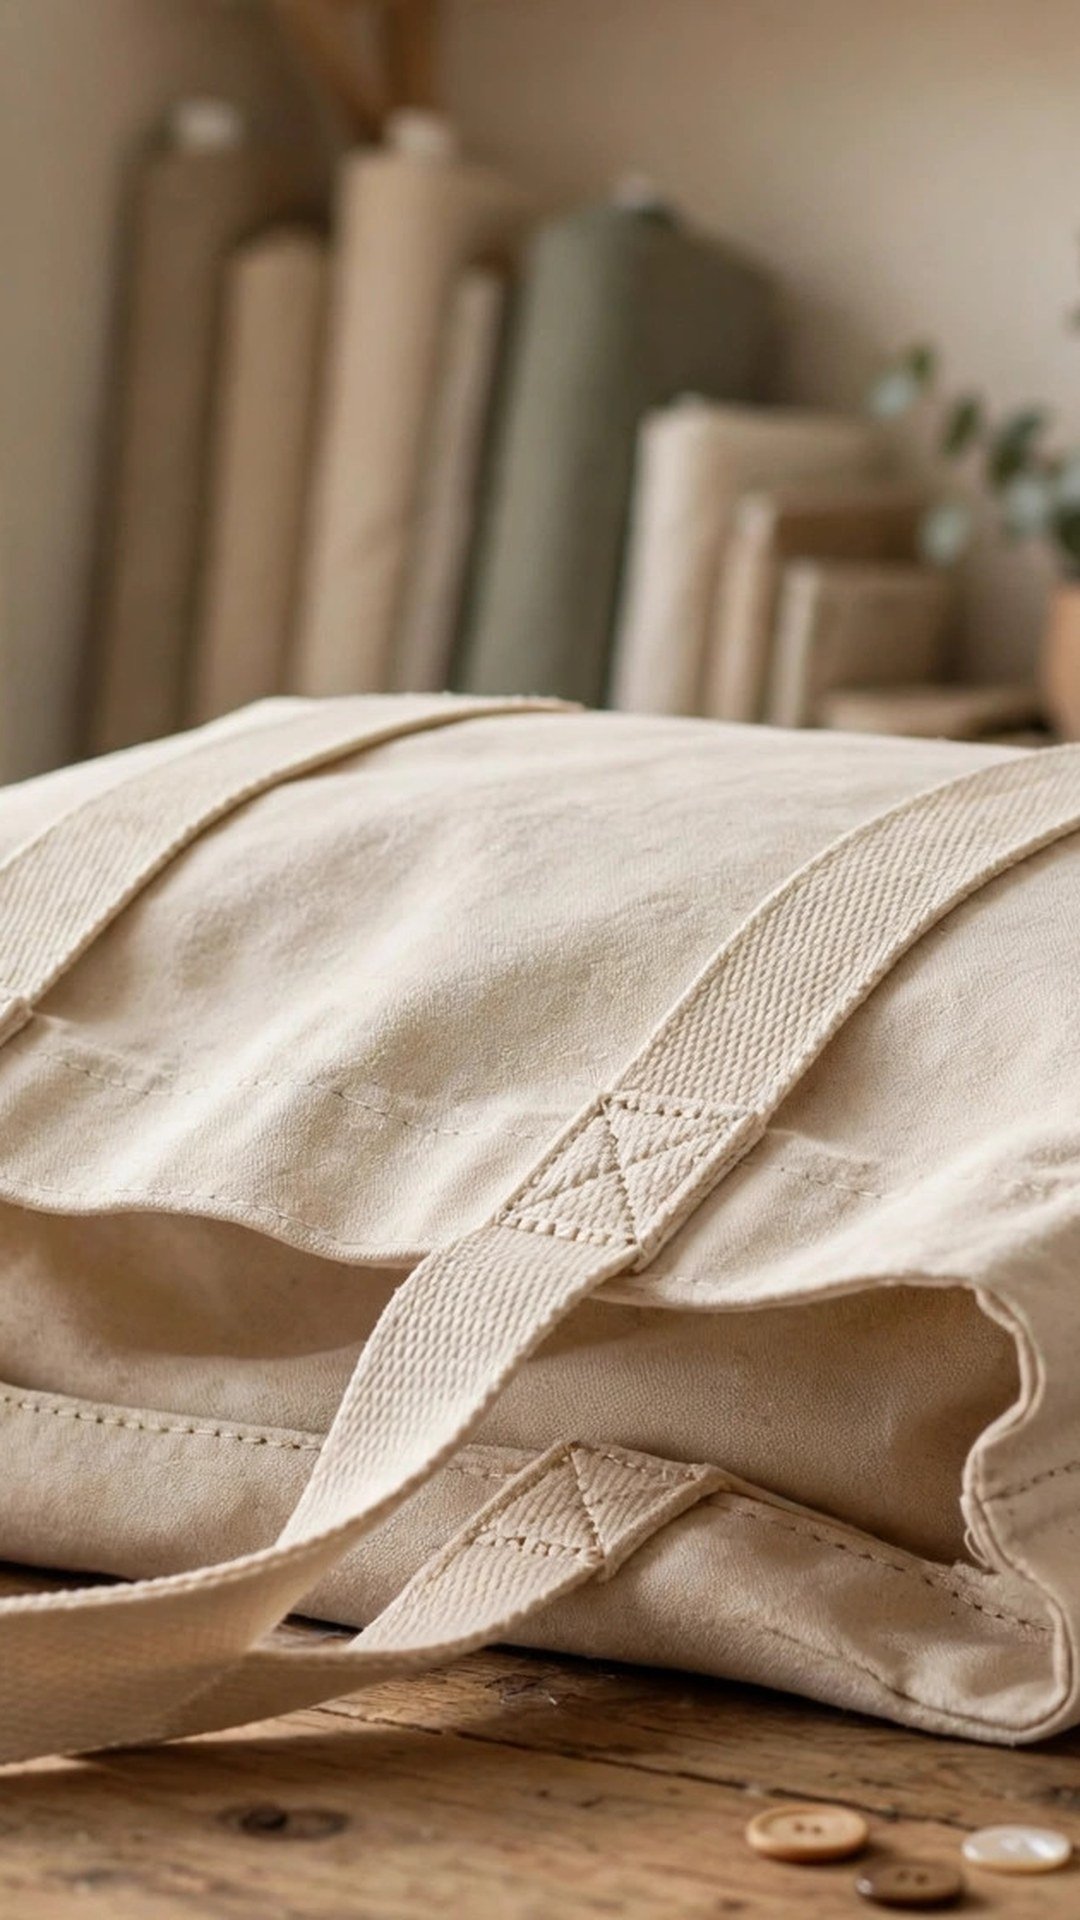
Start by marking the box on the webbing with a fabric marker or chalk. The box should cover the full overlap area, with a margin of about an eighth of an inch from the edges of the webbing. Stitch slowly around the box, pivoting neatly at each corner with the needle down, and backstitch at the start and end to lock the thread. Keep your stitching straight and even, because a wobbly box looks homemade in the worst way.
Now stitch the cross, running a diagonal line from one corner of the box to the opposite corner, then back across the other diagonal to form an X inside the box. This cross is what spreads the pulling force across the whole box instead of letting it concentrate on one edge. Backstitch at each end of the diagonals, and keep the stitch length the same as the box so the whole pattern looks intentional and tidy.
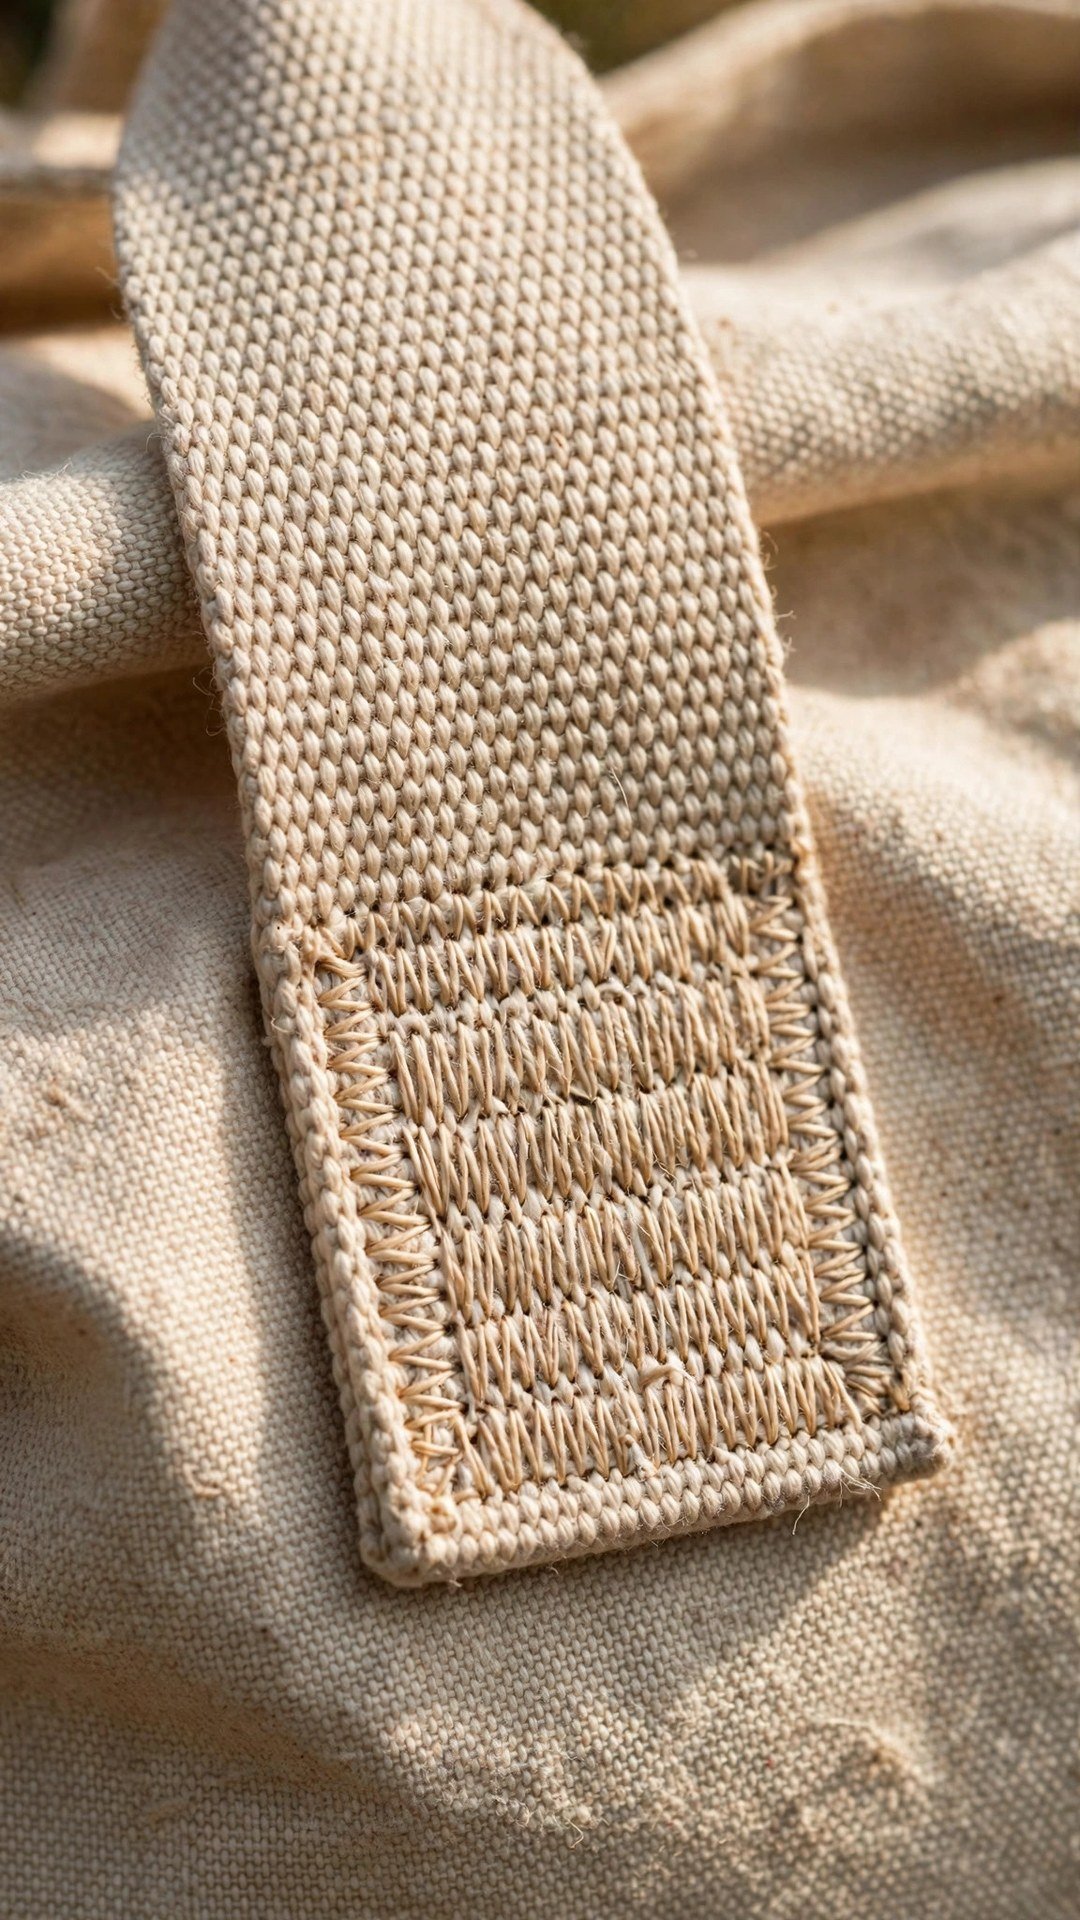
Finish with bar tacks across the top and bottom edges of the box if your machine has a bar tack or a dense zigzag setting. A bar tack is a short, very dense row of stitches that reinforces the exact spot where the strap starts to lift away from the bag. If your machine does not have a bar tack stitch, a narrow zigzag with a very short stitch length does the same job. Trim your thread tails, press the area gently, and give the strap a firm tug to test it before you move on.
Reinforce the Bag Where the Strap Attaches
The strongest stitching in the world will still fail if the bag fabric underneath it is too weak, so reinforce the attachment area before you sew the strap on. A square of heavy interfacing, a patch of canvas, or a second layer of the bag fabric behind the attachment point all spread the load and stop the stitches from tearing through. I add this reinforcement to every bag I make, even light ones, because it is invisible from the outside and it doubles the life of the strap.
For heavy bags, I also run the strap further down the bag body, sometimes all the way to the bottom seam, so the weight is carried by the whole bag instead of one small patch. This is how good commercial bags are built, and it is easy to copy at home. Stitch the strap to the bag along its length as well as at the top, and the load spreads beautifully. If you are making a lined tote, my guide to how to sew a lined tote bag shows how the lining and outer layers work together.
Mistakes That Make Straps Pull Loose
The most common mistake is stitching the strap with a single straight row across the webbing. It looks fine on the day, but every tug concentrates on that one line, and it will eventually pull through. Always use a box, always add the cross, and always backstitch. The extra minute of stitching is the difference between a strap that lasts and one that does not.
The second mistake is using a fine needle and fine thread for a heavy job. Webbing and bag layers are thick, and a fine needle will deflect, skip stitches, or snap, leaving weak spots you cannot see. Use the heavy needle, the strong thread, and the longer stitch length, and test on scraps first. The third mistake is attaching the strap to unreinforced fabric, especially thin cotton, which will tear around the stitches no matter how good the stitching is.
Finally, do not rush the positioning. A strap sewn on crooked, too short on one side, or too close to the edge of the bag will annoy you every time you carry it. Measure twice, pin both straps, hold the bag up, and look at it from the front before you sew a single stitch. A few minutes of checking now saves an hour of unpicking later, and your finished bag will hang straight and carry well.
Frequently Asked Questions
What stitch is best for sewing webbing straps?
A box stitch with a cross through it is best, because it spreads the pulling force across a wide area. Add bar tacks at the top and bottom edges of the box for extra reinforcement at the stress points.
What needle should I use for webbing?
Use a heavy duty or jeans needle, size 100 or 110, with strong polyester thread and a stitch length of about three millimetres. Test on a scrap sandwich of webbing and bag fabric first.
How do I stop webbing ends from fraying?
Fold the end under by about an inch so the raw edge is hidden, and seal the cut edge first. Use a zigzag or fray check for cotton webbing, and carefully melt the end for synthetic webbing.
Why did my bag strap pull loose?
The strap was probably stitched with a single row, attached to unreinforced fabric, or sewn with thread that was too fine. Reattach it with a box and cross stitch on a reinforced patch, using strong thread.
How long should the strap overlap the bag?
Aim for at least two inches of webbing overlapping the bag body. That overlap gives the box stitch room to spread the load, and a longer overlap is even stronger on heavy bags.
Stitch the Box, Then Trust the Bag
A secure strap is not about sewing harder, it is about sewing smarter, with a box, a cross, strong thread, and a reinforced attachment point. Practise the box on scraps, take your time with the positioning, and test each strap with a firm tug before you fill the bag. Do that, and your straps will carry groceries, books, and travel gear for years without a wobble. That is the quiet confidence a well made bag gives you every time you pick it up.

Written by June Carter
I am June, a sewing enthusiast who loves turning simple fabric into things people actually use. I test every technique and product I write about at my own machine before it lands here.