
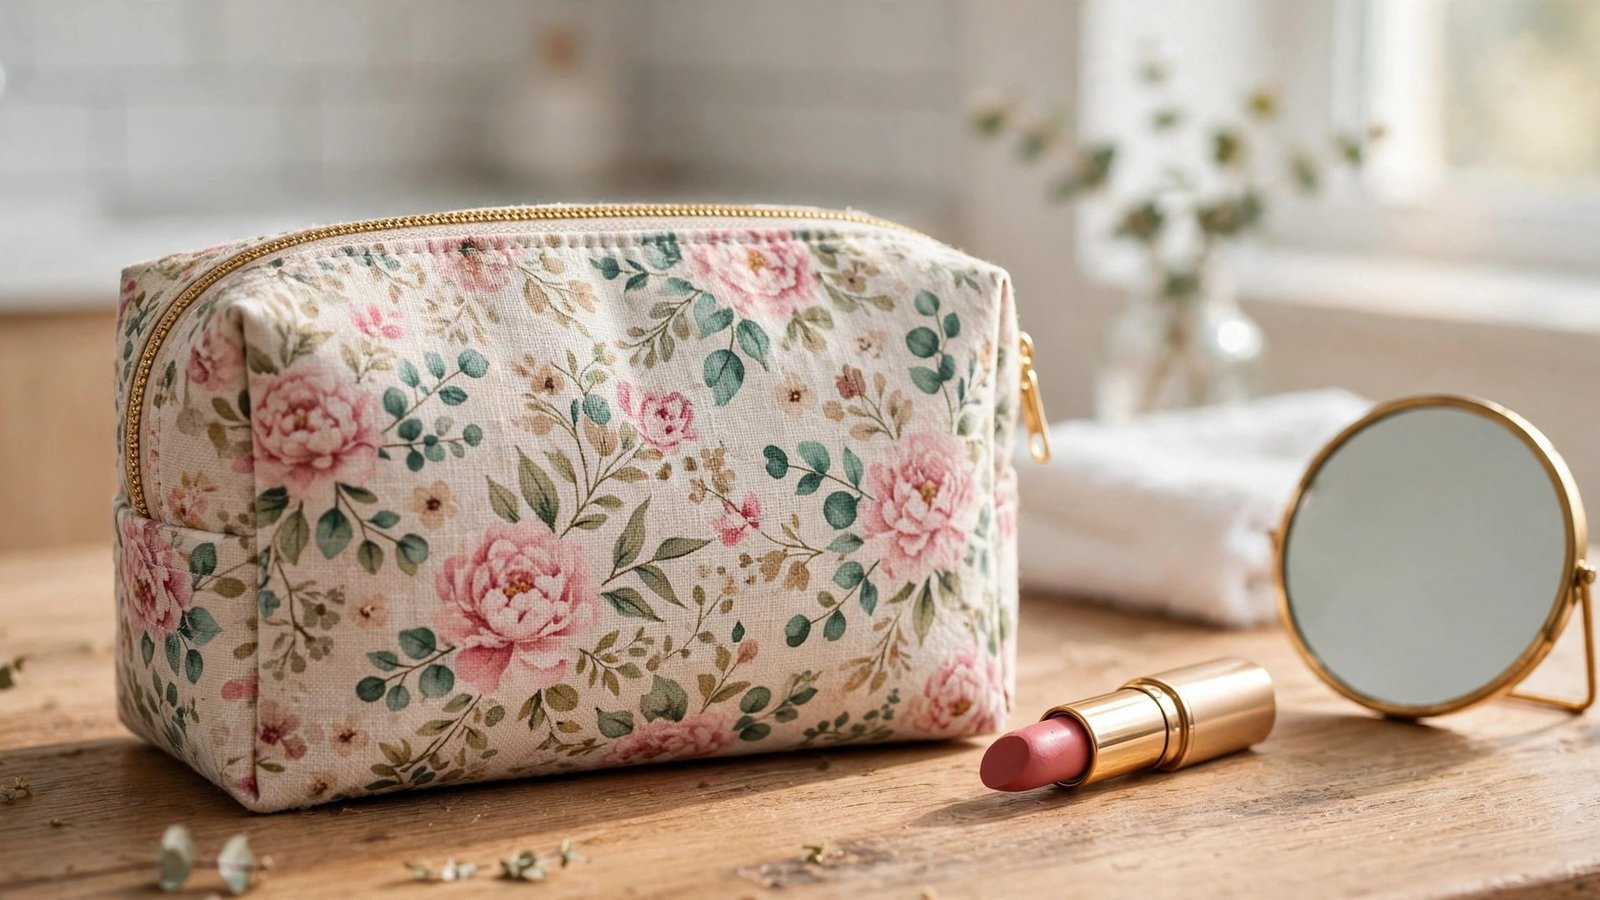
If you want to know how to sew a makeup bag with a zipper, here is the happy truth: it is a quick, satisfying project that looks far harder than it is. A makeup bag is a small lined pouch with a zipper across the top, and it sews up in about an hour. It is the perfect first zipper project, the perfect gift, and the perfect way to use up beautiful fabric scraps that are too small for a garment but too pretty to throw away.
I have sewn dozens of makeup bags, in quilting cotton, canvas, and linen, and I give them away almost as fast as I make them.
This guide walks you through choosing fabric and a zipper, cutting the pieces, sewing the zipper, boxing the corners, and lining the bag. I will also cover the mistakes that make zippers pucker and the finishing touches that make a handmade makeup bag look like it came from a shop.
Choose Your Fabric and Zipper
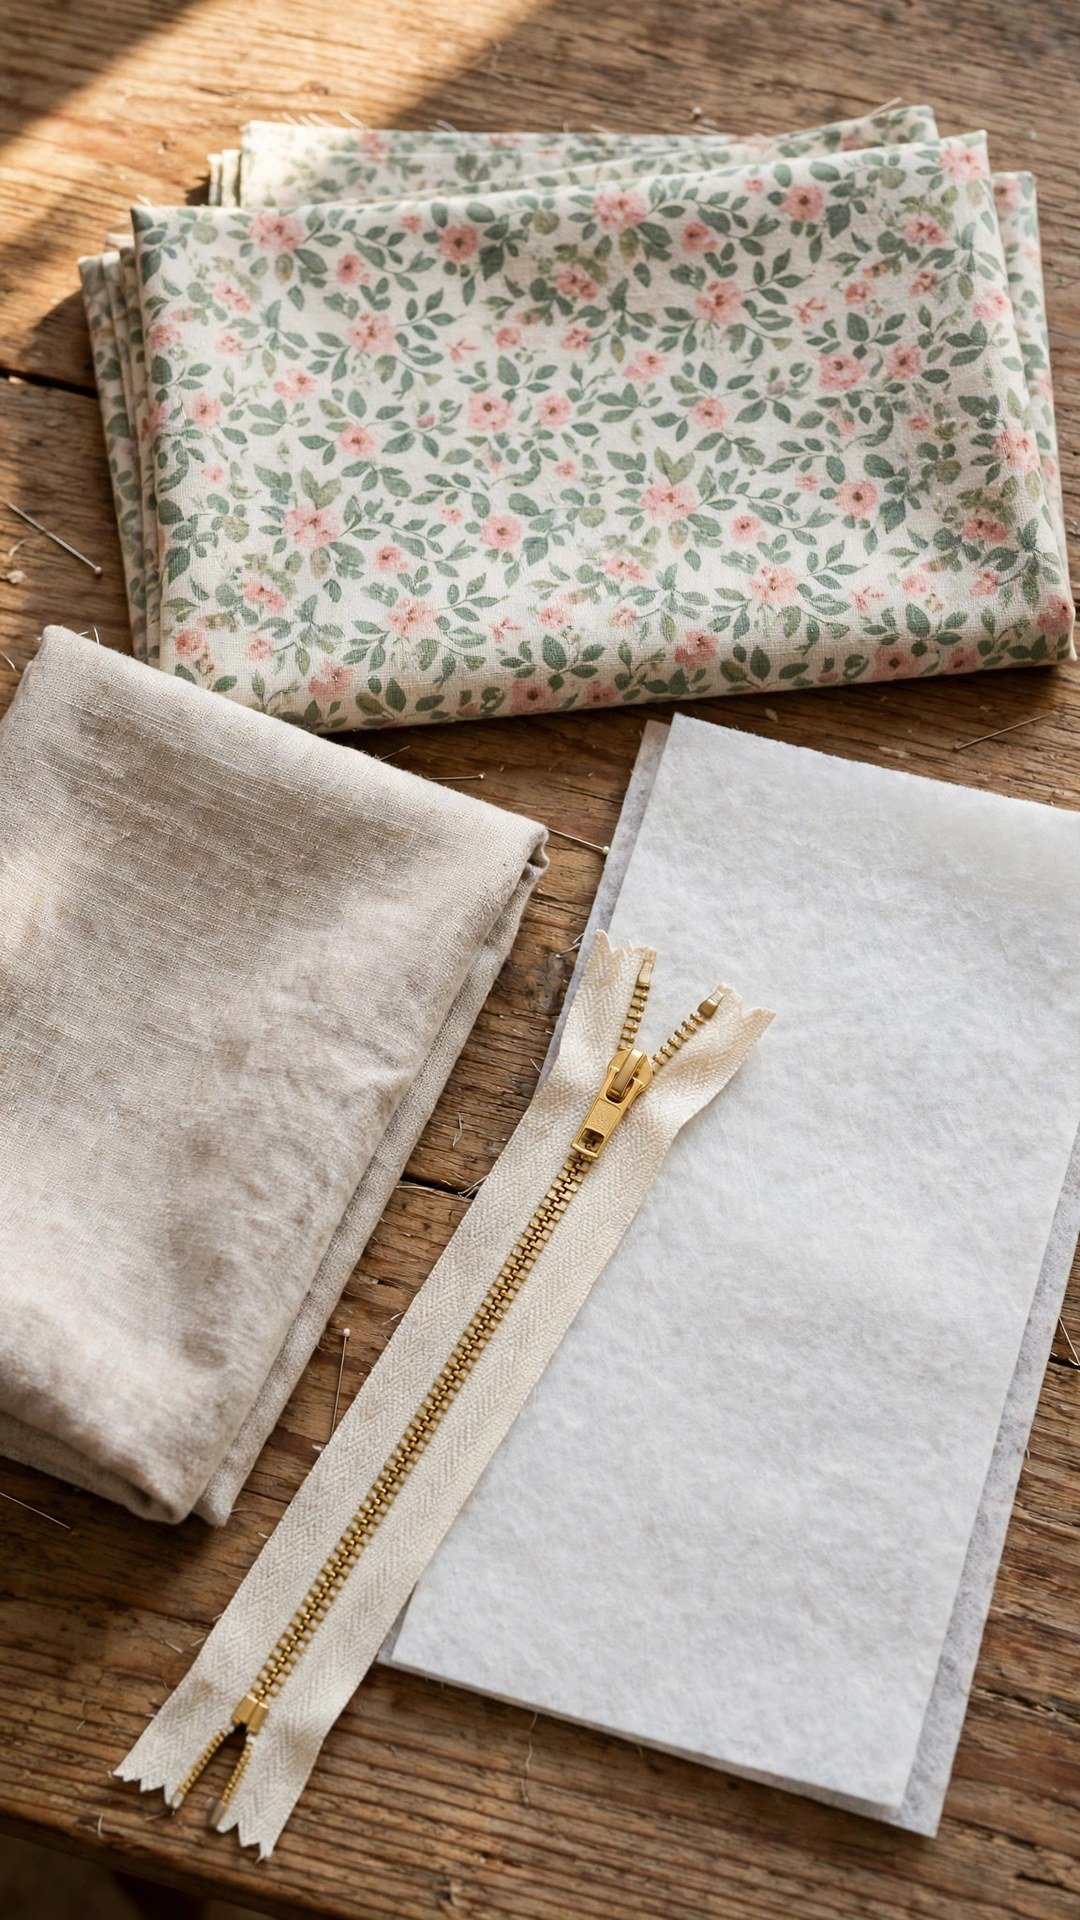
For a makeup bag, pick a medium weight fabric for the outside and a lighter fabric for the lining. Quilting cotton is the classic choice for the outside, because it comes in endless prints and it sews easily. Canvas or duck cloth makes a sturdier bag that stands up on its own. For the lining, use a quilting cotton or a lightweight cotton, in a colour that complements the outside. A wipe clean lining, like a laminated cotton, is lovely for a makeup bag, because it wipes clean if something spills inside.
You will also need fusible interfacing for the outer fabric, which gives the bag body and helps it hold its shape. A medium weight fusible interfacing works well for quilting cotton. For canvas, you may not need interfacing at all, because the fabric is already sturdy. Test a scrap first, and choose the interfacing that gives the bag the body you want without making it stiff.
For the zipper, choose a zipper that is at least an inch longer than the top edge of your bag. A standard dress zipper works fine, or you can use a continuous zipper tape and cut it to length. If you are new to zippers, my guide to how to choose zipper length explains how to measure and pick the right size.
How to Sew a Makeup Bag with a Zipper Step by Step
Cut two outer pieces and two lining pieces, all the same size. A good starter size is ten inches wide by seven inches tall, which makes a bag that holds a full set of makeup without being bulky. Fuse the interfacing to the wrong side of the outer pieces, following the interfacing instructions, and let the pieces cool completely before you handle them.
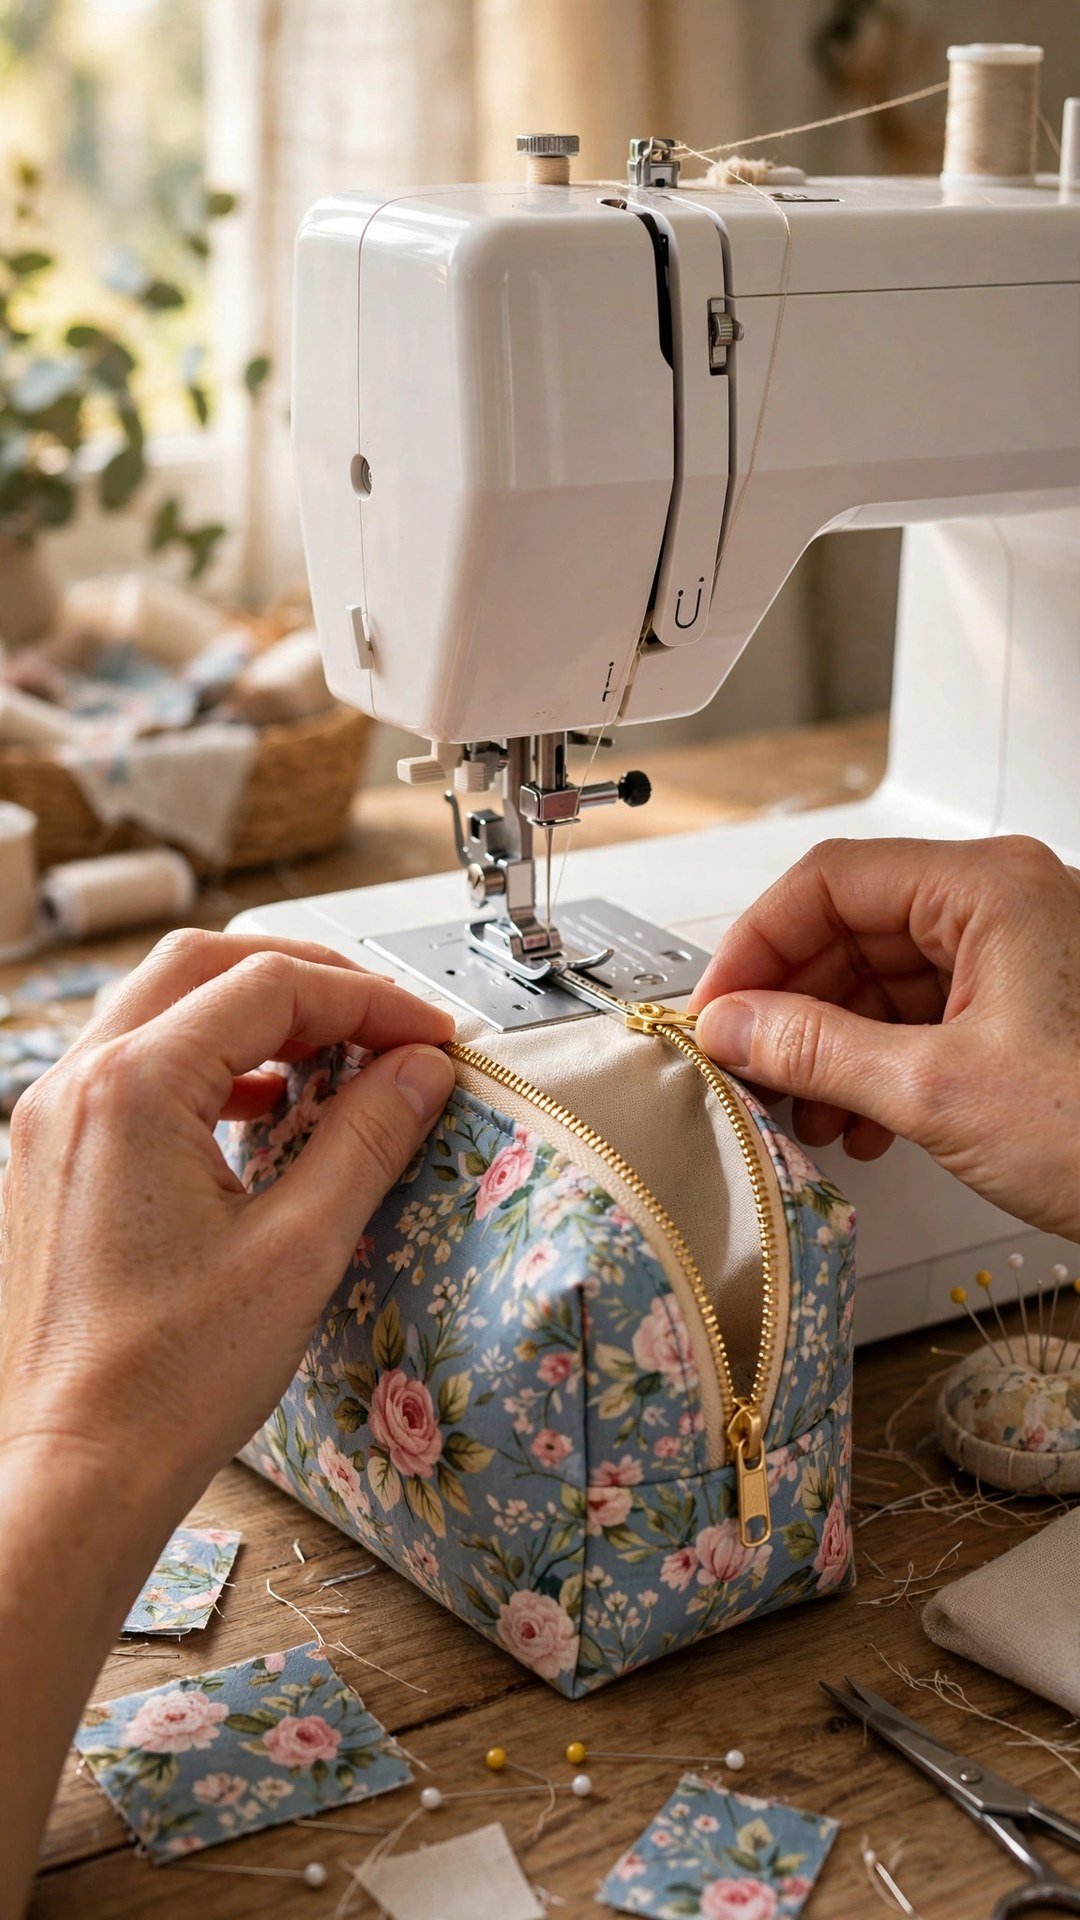
Now sew the zipper. Lay one outer piece right side up, place the zipper right side down along the top edge, and place one lining piece right side down on top of the zipper, sandwiching the zipper between the outer and the lining. Pin or clip the layers together and stitch along the top edge with a zipper foot, close to the zipper teeth. Open the layers out and press the seam, then topstitch along the fold, close to the zipper, which keeps the fabric from catching in the teeth. Repeat on the other side of the zipper with the remaining outer and lining pieces.
Open the zipper halfway, which is important, because you need the opening to turn the bag right side out later. With the zipper open, lay the bag flat so the outer pieces are right sides together on one side and the lining pieces are right sides together on the other side, with the zipper teeth pointing toward the lining. Pin around the outside edge, leaving a gap of about three inches in the bottom of the lining for turning. Stitch all the way around, backstitching at the start and end.
Boxing the Corners for a Bag That Stands Up
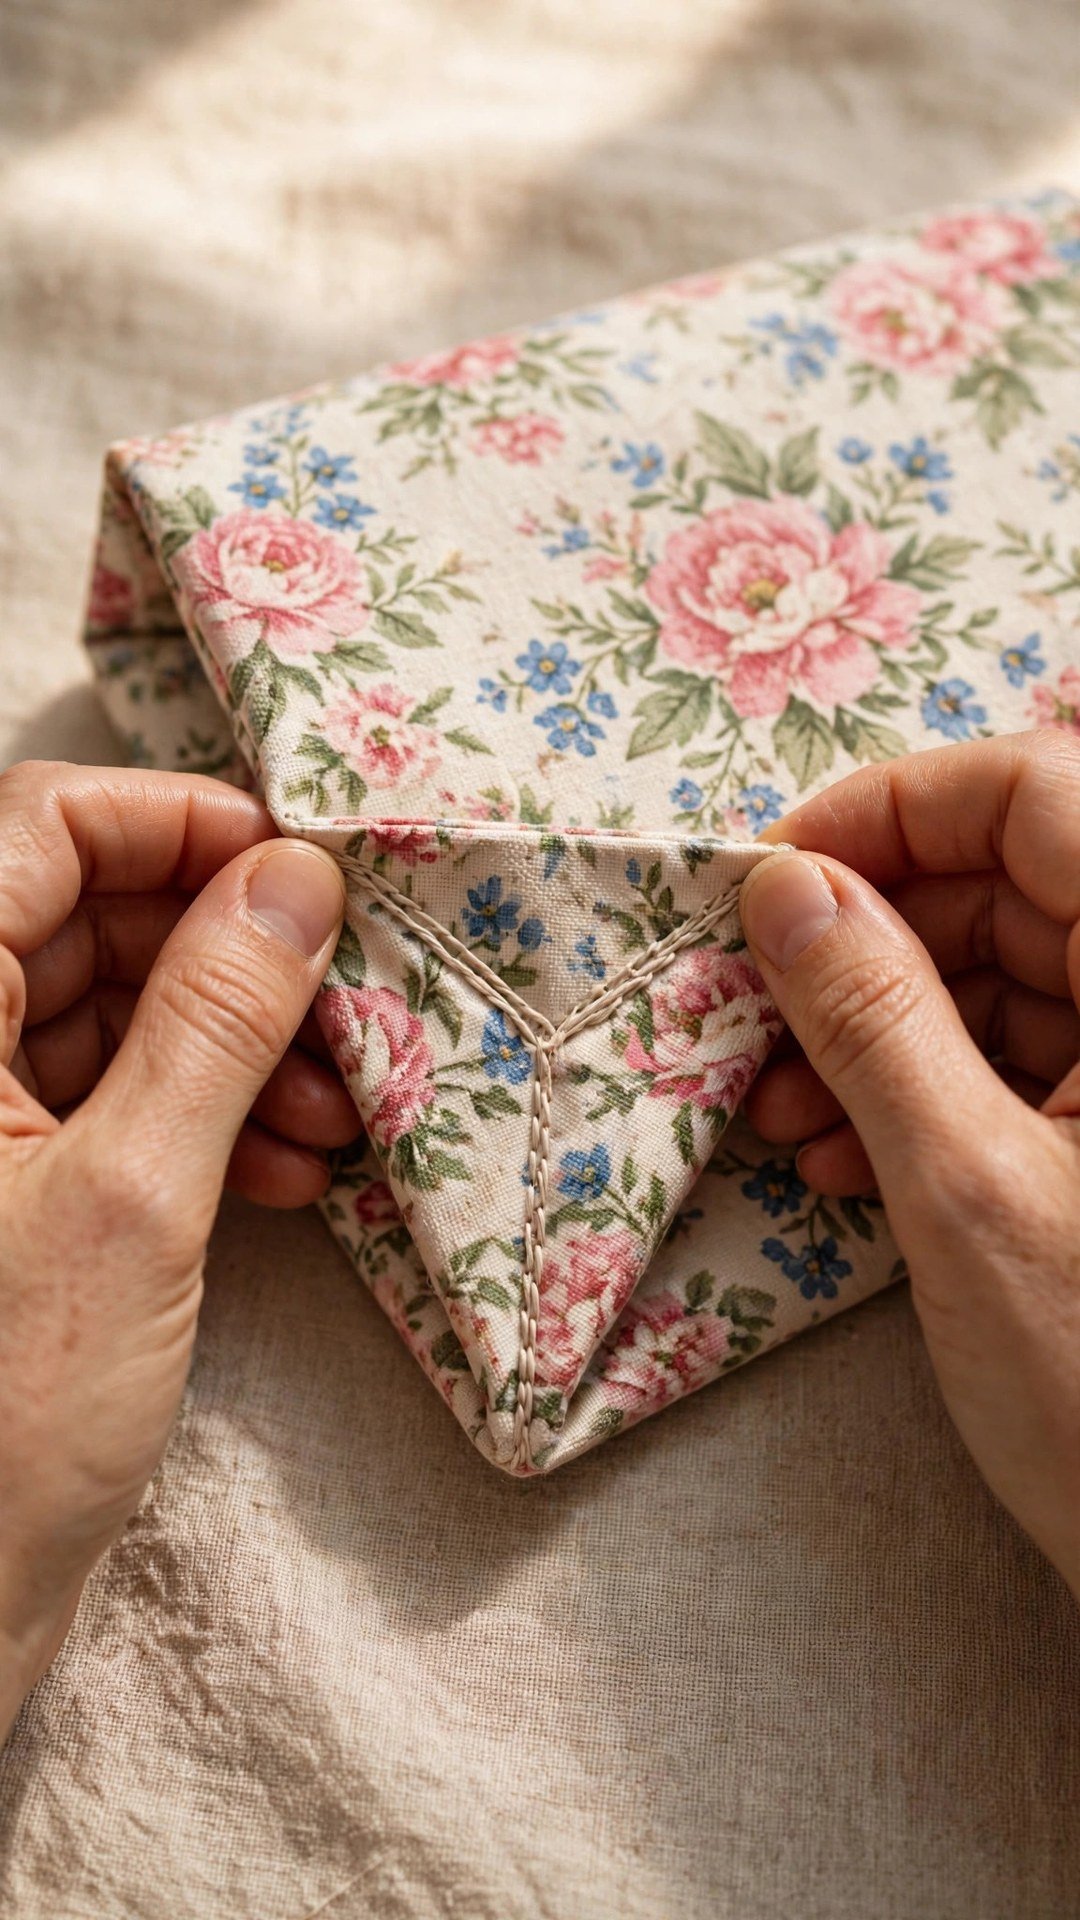
Boxed corners are what turn a flat pouch into a bag that stands up and holds its shape. To box the corners, flatten each bottom corner of the bag into a triangle, matching the side seam to the bottom seam, and measure in from the point. For a bag this size, measuring in one and a half inches from the point gives a nice wide base. Mark a line across the triangle at that measurement, stitch along the line, and trim the excess, leaving a small seam allowance.
Box the corners on the outer bag and on the lining, so both layers have the same shape. When you turn the bag right side out, the boxed corners will give it a flat bottom that sits neatly on a table. If the corners look pointy or uneven, check that you measured the same distance on all four corners, because even a small difference shows.
Turn the bag right side out through the gap in the lining, pushing the corners out gently with a chopstick or a point turner. Stitch the lining gap closed by hand or by machine, tuck the lining inside the bag, and press the bag lightly. My guide to how to box bag corners shows the measuring and stitching steps with more detail if you want to practise the technique first.
Finishing Touches for a Professional Bag
The zipper is the star of this bag, so take a moment to finish it neatly. If your zipper is longer than the bag, trim the excess from the end and cover the cut with a small fold of fabric, or use a zipper end tab. A zipper tab is a small rectangle of fabric folded over the end of the zipper tape, and it stops the zipper pull from sliding off and gives the bag a polished look.
Topstitch along both sides of the zipper, close to the teeth, to keep the fabric from catching when you open and close the bag. Use a zipper foot and go slowly, keeping the stitching even. If the fabric keeps catching in the zipper, the topstitching is too far from the teeth, so move it closer. A bag that opens and closes smoothly is a bag you will actually use.
Mistakes That Make Zippers Pucker
The most common mistake is sewing the zipper with the fabric stretched or pulled, which makes the zipper pucker when the fabric relaxes. Pin or clip the zipper generously, let the fabric lie flat, and do not pull it as you sew. Use a zipper foot, which lets you stitch close to the teeth without the presser foot pushing the fabric out of shape.
The second mistake is forgetting to open the zipper before you sew the bag closed. If the zipper is closed when you stitch around the outside edge, you cannot turn the bag right side out, and you will have to unpick the seam.
The third mistake is using an interfacing that is too heavy, which makes the bag stiff and hard to turn. Test your interfacing on a scrap first, and choose a weight that gives body without stiffness. If your bag feels like cardboard, the interfacing is too heavy. For a simpler first bag project, my guide to how to sew a simple wallet uses the same zipper skills on a smaller scale.
Frequently Asked Questions
What size zipper do I need for a makeup bag?
Choose a zipper at least an inch longer than the top edge of your bag. For a ten inch wide bag, a twelve inch zipper is ideal. The extra length gives you room to work and lets you trim the ends neatly after sewing.
Do I need interfacing for a makeup bag?
Yes, for quilting cotton, because it gives the bag body and helps it hold its shape. Use a medium weight fusible interfacing on the outer pieces. For canvas, you may not need interfacing, because the fabric is already sturdy.
Why does my zipper pucker?
Usually because the fabric was stretched or pulled while you sewed the zipper, or because the presser foot pushed the fabric out of shape. Pin generously, use a zipper foot, let the fabric lie flat, and topstitch close to the teeth to hold everything in place.
Can I sew a makeup bag without a zipper foot?
You can, but a zipper foot makes it much easier to stitch close to the teeth. A regular foot will sit on the zipper teeth and push the fabric, which causes puckering. If you do not have a zipper foot, use an adjustable foot and move the needle as close to the teeth as you can.
What is the best lining for a makeup bag?
A lightweight cotton works well, and a laminated cotton or a wipe clean fabric is ideal, because it wipes clean if makeup spills inside. Choose a lining colour that complements the outer fabric, because it shows every time you open the bag.
A makeup bag with a zipper is a small project with a big payoff. It teaches you zippers, lining, and boxed corners, and it gives you a useful, beautiful bag in about an hour.

Written by June Carter
I am June, a sewing enthusiast who loves turning simple fabric into things people actually use. I test every technique and product I write about at my own machine before it lands here.