

If you want to learn how to add a magnetic snap to a bag, you are about to give your handmade bag the one detail that makes it feel finished and professional. A magnetic snap closes with a satisfying click, holds the bag shut without a fiddly clasp, and looks neat from the outside. I add one to almost every bag I make now, from small pouches to everyday totes, because it is the closure that guests notice first.
The method is straightforward once you understand the parts. A magnetic snap has two halves, each with a metal disc and a washer with prongs, and the prongs fold down to grip the fabric. The trick is placement and reinforcement: put the snap in the right spot, strengthen the fabric behind it, and set the prongs cleanly, and the snap will hold for years. Get any of those wrong, and the snap will wobble, pull through, or sit crooked.
Choose the Right Magnetic Snap
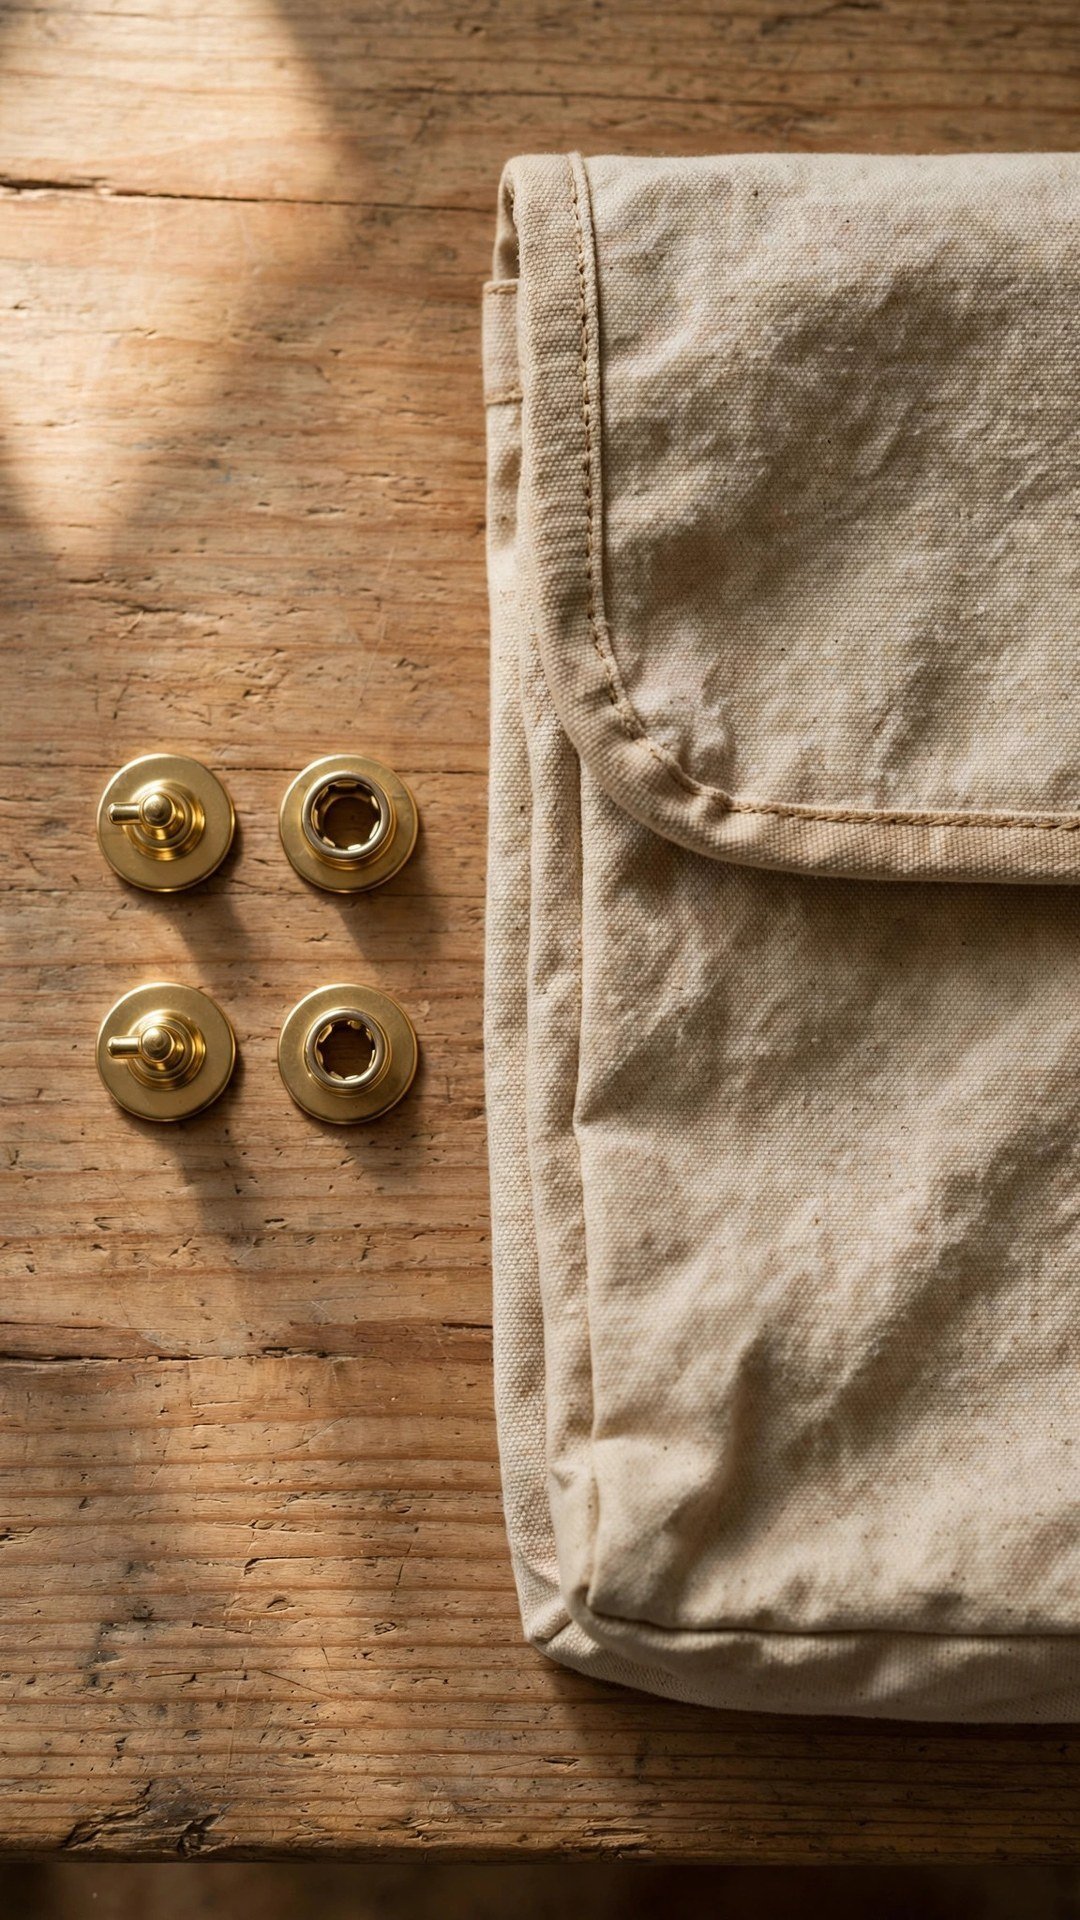
Magnetic snaps come in several sizes, and the most common are 14 millimetres and 18 millimetres across. For small pouches and light bags, the smaller size is plenty, and it looks neater on a narrow flap. For larger totes and bags that carry weight, the larger size gives a stronger hold and a more satisfying click. Buy snaps sold as a set, with both halves, washers, and prongs included, so you know the parts match.
Check the finish too, because snaps come in silver, antique brass, gold, and black, and the finish should suit your bag hardware and fabric. If your bag has brass zips and rings, a brass snap will look intentional, while a silver snap will look like an afterthought. Buy a few spares when you order, because practising on a scrap first is the best way to learn, and a spare snap means a mistake does not stall your project.
Mark the Placement Before You Cut Anything
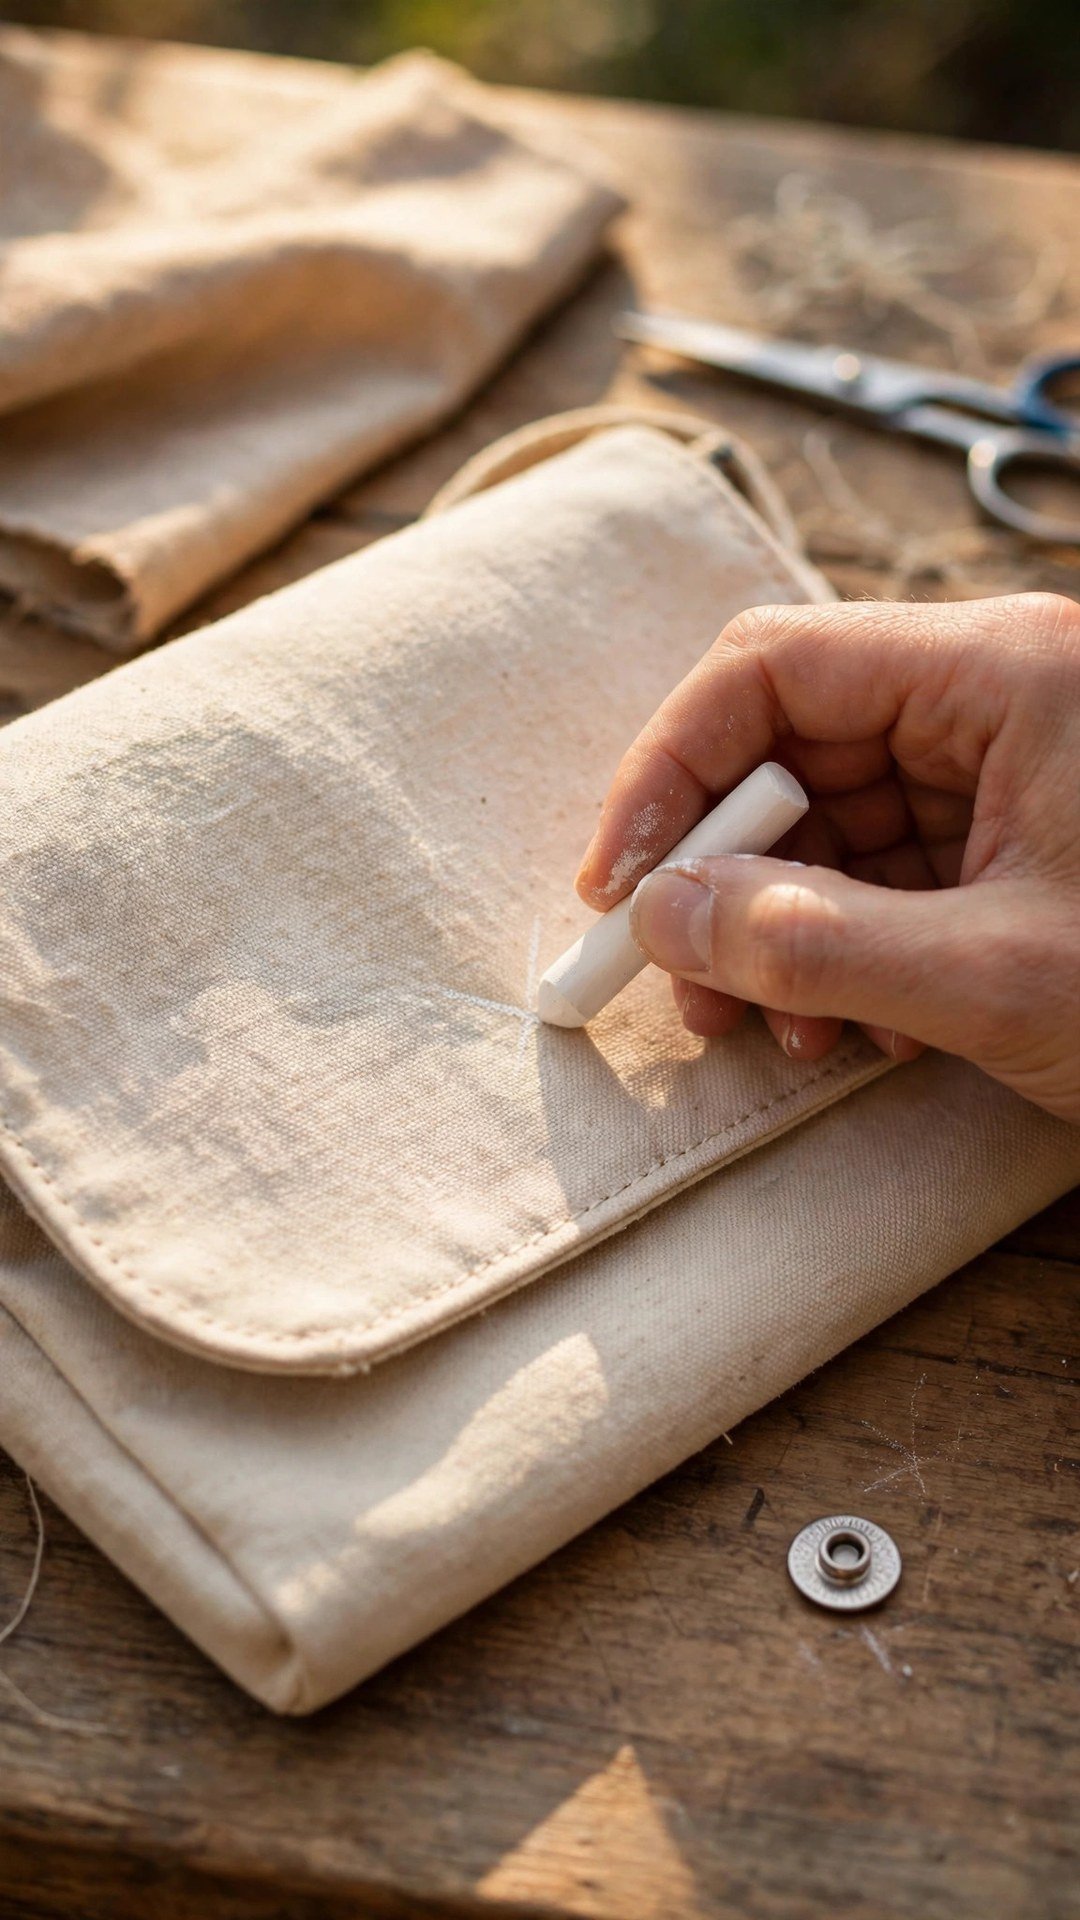
Placement is the step beginners rush, and it is the step that decides whether the bag looks professional. The snap belongs on the centre line of the bag, with one half on the front body and the matching half on the flap or back body. Hold the finished bag up, fold the flap down where it will naturally sit, and mark the spot with chalk or a fabric marker. The two halves must meet exactly, or the snap will pull the bag crooked every time it closes.
Measure from the top edge of the bag to the centre of the snap, and write the measurement down, because you will use the same measurement on the other half. For a flap bag, place the snap about one inch down from the edge of the flap, and the matching half the same distance below the top edge of the bag body. For a bag without a flap, place the halves just below the top edge on the front and back, so the bag closes flat and neat.
How to Add a Magnetic Snap to a Bag Step by Step
Start by reinforcing the fabric where the snap will sit, because the prongs need something strong to grip. Cut a small square of heavy interfacing or a scrap of canvas, about two inches square, and fuse or stitch it to the wrong side of the fabric at the marked spot. This reinforcement stops the prongs from tearing through the fabric and keeps the snap sitting flat. For thin or loosely woven fabric, use two layers of interfacing, because a snap that pulls through ruins the bag.
Now mark the two prong slits on the fabric, using the washer as a template. Place the washer over your centre mark, trace the two small slots with a pencil, and cut them carefully with a small sharp pair of scissors or a seam ripper, making the slits just long enough for the prongs to pass through. Push the prongs of the snap half through the slits from the right side of the fabric, so the metal disc sits flat on the outside and the prongs poke through to the wrong side.
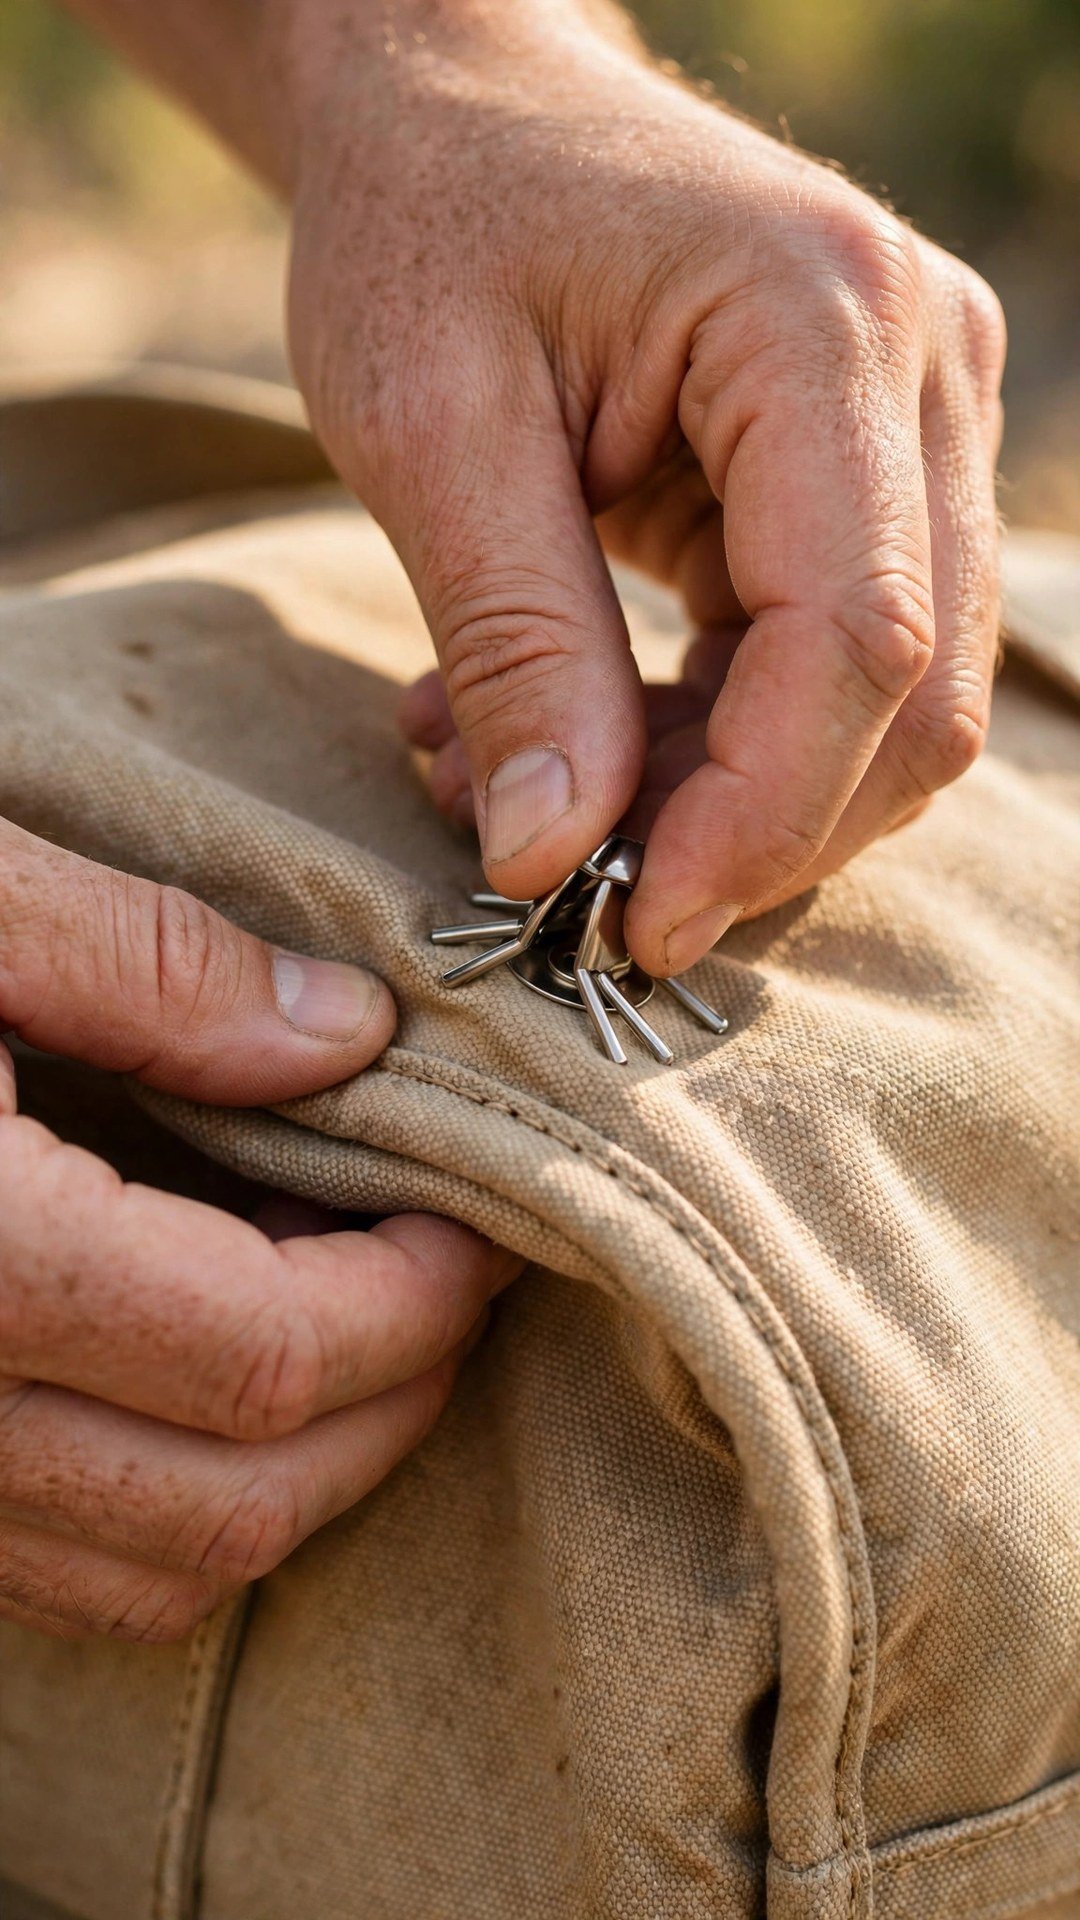
Place the washer over the prongs on the wrong side, with the prongs passing through the washer slots, then fold each prong flat outward against the washer, using the flat end of a tool or your fingernail. Fold them firmly and evenly, so the washer is gripped tightly and the snap cannot wobble. Repeat the whole process for the matching half on the other side of the bag, checking that the two halves align before you fold the second set of prongs. My guide to how to install bag hardware covers the same careful setting method for other closures too.
Check the Snap and Finish Neatly
Once both halves are set, close the snap and check how the bag sits. It should click shut cleanly, lie flat, and open with a firm but easy tug. If the snap feels loose, check that the prongs are folded fully flat against the washer, because a prong left sticking up will let the snap wobble. If the two halves do not meet, check your placement measurements, because even a small offset makes the bag pull to one side.
Cover the washer and folded prongs on the inside of the bag with a small square of fabric or interfacing, stitched or fused in place. This cover does two jobs: it protects the contents of the bag from scratching on the metal, and it hides the workings so the inside looks as neat as the outside. For a lined bag, the lining will cover the washer naturally, but I still add a small fabric square for extra protection.
Mistakes That Make Snaps Fail
The most common mistake is skipping the reinforcement, and it is also the most costly. A snap set into thin, unreinforced fabric will pull through sooner or later, leaving a torn hole that is hard to repair. Always reinforce, even on sturdy canvas, because the prongs concentrate a lot of force on a small area. The second mistake is cutting the prong slits too long, which lets the snap shift and wobble, so cut them small and widen them only if the prongs will not pass through.
The third mistake is setting the two halves out of line, which makes the bag close crooked and strains the snap every time it is used. Measure twice, mark both halves from the same centre line, and check the alignment before you fold the second set of prongs. The fourth mistake is folding the prongs unevenly, with one folded flat and the other sticking up, which leaves the snap loose and wobbly. Fold each prong firmly and evenly, and check the washer sits flat all the way around.
Finally, do not install the snap before the bag is otherwise finished, because later stitching near the snap can catch on the metal and damage your needle. Install the snap as one of the last steps, after the main seams are done and before the lining goes in, and your bag will come together cleanly. If you are making a lined tote, my guide to how to sew a lined tote bag shows where hardware fits in the order of work.
Frequently Asked Questions
What size magnetic snap should I use for a bag?
Use a 14 millimetre snap for small pouches and light bags, and an 18 millimetre snap for larger totes and heavier bags. The larger snap gives a stronger hold and a more satisfying click.
Do I need to reinforce fabric for a magnetic snap?
Yes, always. Fuse or stitch a square of heavy interfacing or canvas to the wrong side behind the snap. Without reinforcement, the prongs can tear through the fabric over time.
How do I mark snap placement on a bag?
Fold the flap down where it will naturally sit, mark the centre line with chalk, and measure the same distance from the top edge on both halves. Check the alignment by holding the halves together before you cut any slits.
Why does my magnetic snap feel loose?
The prongs are probably not folded fully flat against the washer. Press each prong down firmly and evenly with a flat tool, and check that the washer sits flat all the way around.
Can I remove a magnetic snap once it is set?
It is difficult, because the prongs are folded flat and the slits are cut. You can carefully unfold the prongs and remove the snap, but the slits will remain, so measure and test placement carefully before you set it.
Click It Shut and Admire Your Bag
A magnetic snap is a small piece of hardware with a large effect, because it turns a handmade bag from an open pouch into a proper bag that closes with a click. Reinforce the fabric, mark the placement carefully, set the prongs cleanly, and cover the workings inside. Do that, and your bag will close neatly, hold securely, and feel finished every time you use it. That satisfying click is the sound of a job well done.

Written by June Carter
I am June, a sewing enthusiast who loves turning simple fabric into things people actually use. I test every technique and product I write about at my own machine before it lands here.