
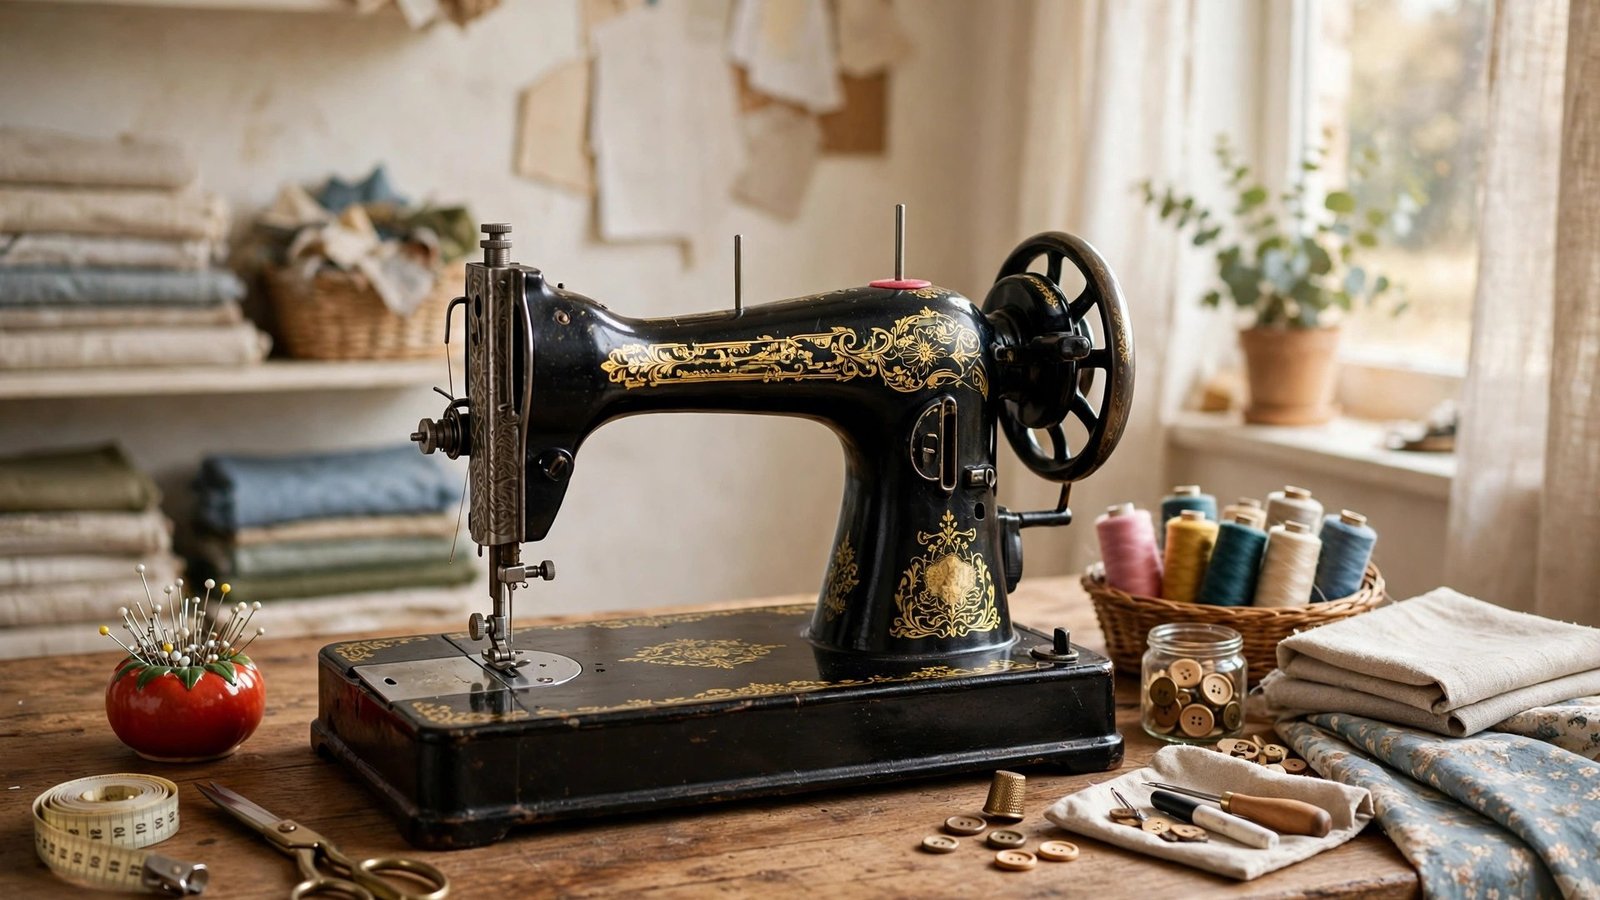
If you are learning how to oil a vintage sewing machine, you have already made the most important discovery about old machines: they were built to be cared for, not replaced. A vintage machine that sounds dry, stiff, or squeaky is usually not broken. It is thirsty. A few drops of the right oil in the right places can turn a clunky, complaining machine into one that hums along like it did decades ago.
I oil my own vintage machine on a regular schedule, and I treat the job as a quiet ritual rather than a chore. It takes about twenty minutes, a clean cloth, a small brush, and a bottle of proper sewing machine oil. Nothing fancy, nothing rushed. The machine rewards patience, and the stitch quality after a good oiling is the proof. If your machine has been sitting in a cupboard for years, this is the first job to do before you sew a single seam.
In this guide I will show you which oil to use, where the oiling points hide on most vintage models, how to clean first so you are not oiling over lint, and how to test the machine afterwards. I will also tell you the mistakes that cause the most trouble, including the one oil you should never use. My guide to maintaining a sewing machine covers the wider routine, and this one zooms right in on oiling.
Start by Cleaning, Not Oiling
Oil on top of lint makes a sticky paste, so cleaning always comes first. Unplug the machine, remove the needle, the presser foot, the throat plate, and the bobbin case. Use a small brush to sweep lint out of the feed dogs, the bobbin area, and around the tension discs. A soft cloth picks up the dust the brush loosens. Work gently around old parts, because vintage screws and springs can be brittle.
Look closely as you clean, because this is also your inspection. Check for rust spots, frayed belts, cracked rubber, and any thread wrapped around the handwheel shaft. A little surface rust on a metal part can often be wiped away with a cloth, but deep rust or a cracked part is a job for a repair person. Write down anything that looks worn so you can ask about it later.
Never blow lint into the machine with your mouth, and avoid canned air, which can push lint deeper into the workings. A brush and a cloth are enough. When the bobbin area looks clean and the feed dogs move freely, you are ready to oil. If you want the full cleaning routine first, my notes on how to clean sewing machine lint walk through it step by step.
Choose the Right Oil for a Vintage Machine
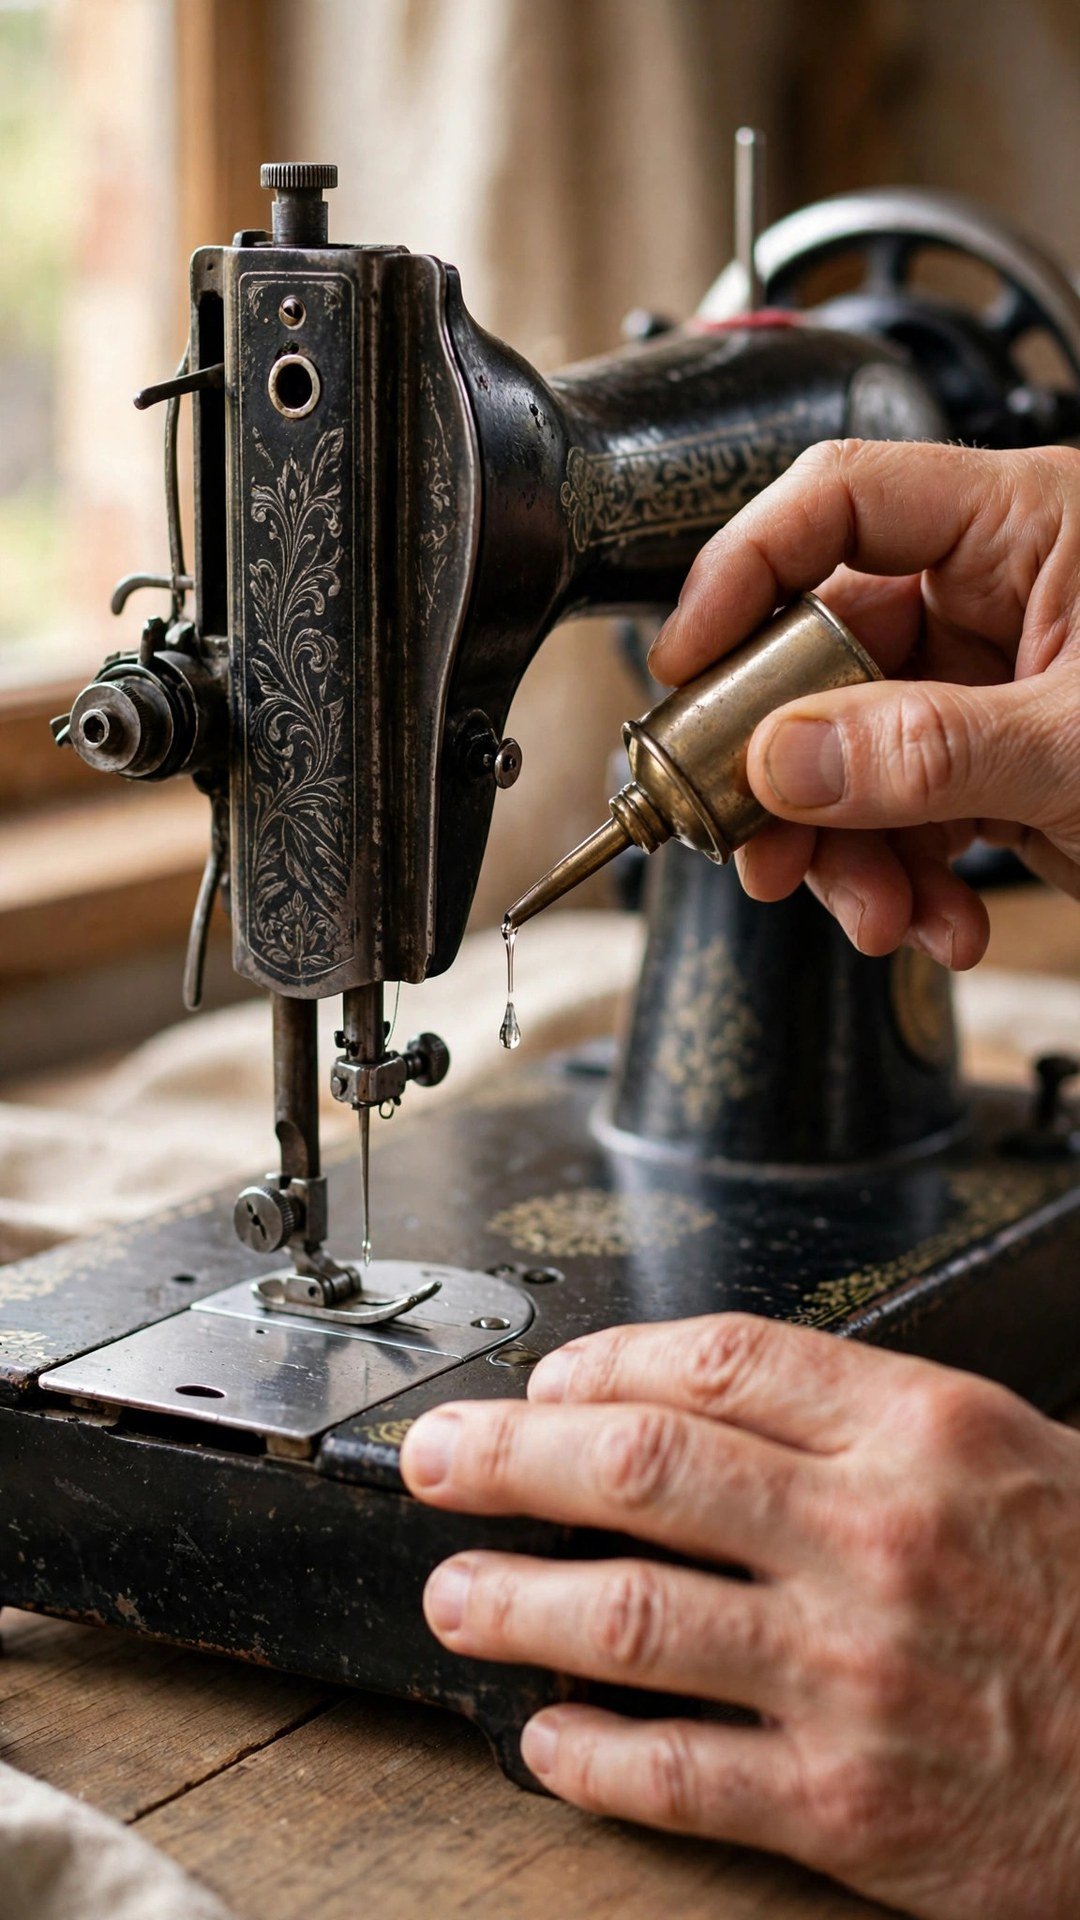
Use only clear sewing machine oil, the thin, colourless oil sold for sewing machines. It is made to lubricate tiny metal parts without going gummy or staining fabric. Keep the bottle upright, keep the cap on between uses, and keep it away from your fabric stash, because even clear oil can mark cloth if it drips.
Never use cooking oil, vegetable oil, olive oil, or general household oil on a sewing machine. Those oils thicken, turn sticky, and attract dust, and they can seize a machine that was running fine. The same warning applies to thick motor oil and spray lubricants that are not made for sewing machines. If a bottle does not say sewing machine oil, do not put it in your machine.
One small bottle lasts a very long time, because you use only a drop or two at each point. I keep mine in a small tray with a cloth underneath, so a stray drop never lands on my cutting table. Buy the proper oil once, and your vintage machine will thank you for years.
Where to Oil a Vintage Sewing Machine
Most vintage machines have small oiling holes marked with a dot or a tiny oil can symbol on the top, the front, and the side. Your manual is the best map, and many vintage manuals are available online if yours is missing. As a general rule, oil every place where metal moves against metal: the needle bar, the presser bar, the take-up lever joint, the handwheel shaft, and the bobbin race.
Put one small drop at each point, then turn the handwheel slowly by hand so the oil works its way in. Do not flood the machine. Excess oil drips onto fabric and attracts lint, and wiping it away afterwards is a waste of good oil. A drop is enough, and you can always add another drop later if a joint still feels stiff.
Oil the bobbin race with care. One drop on the race, then run the machine slowly without thread for a minute so the oil spreads evenly. Wipe away any oil that pools on the surface. If your machine has a felt wick or an oil reservoir, follow the manual for that model, because some vintage machines oil differently from modern ones.

How to Oil a Vintage Sewing Machine Step by Step
Start with the machine unplugged and the needle removed. Clean the bobbin area and the feed dogs, then place one drop of sewing machine oil at each oiling point on the top and front of the machine. Turn the handwheel towards you a few times so the oil moves into the joints. You should feel the movement get smoother almost straight away.
Next, tip the machine back if your model allows it, or open the base, and oil the moving parts underneath: the joints, the shafts, and the bobbin mechanism. One drop per joint is plenty. Turn the handwheel again and listen. A well oiled machine sounds even and quiet, with no squeak or grind on any part of the rotation.
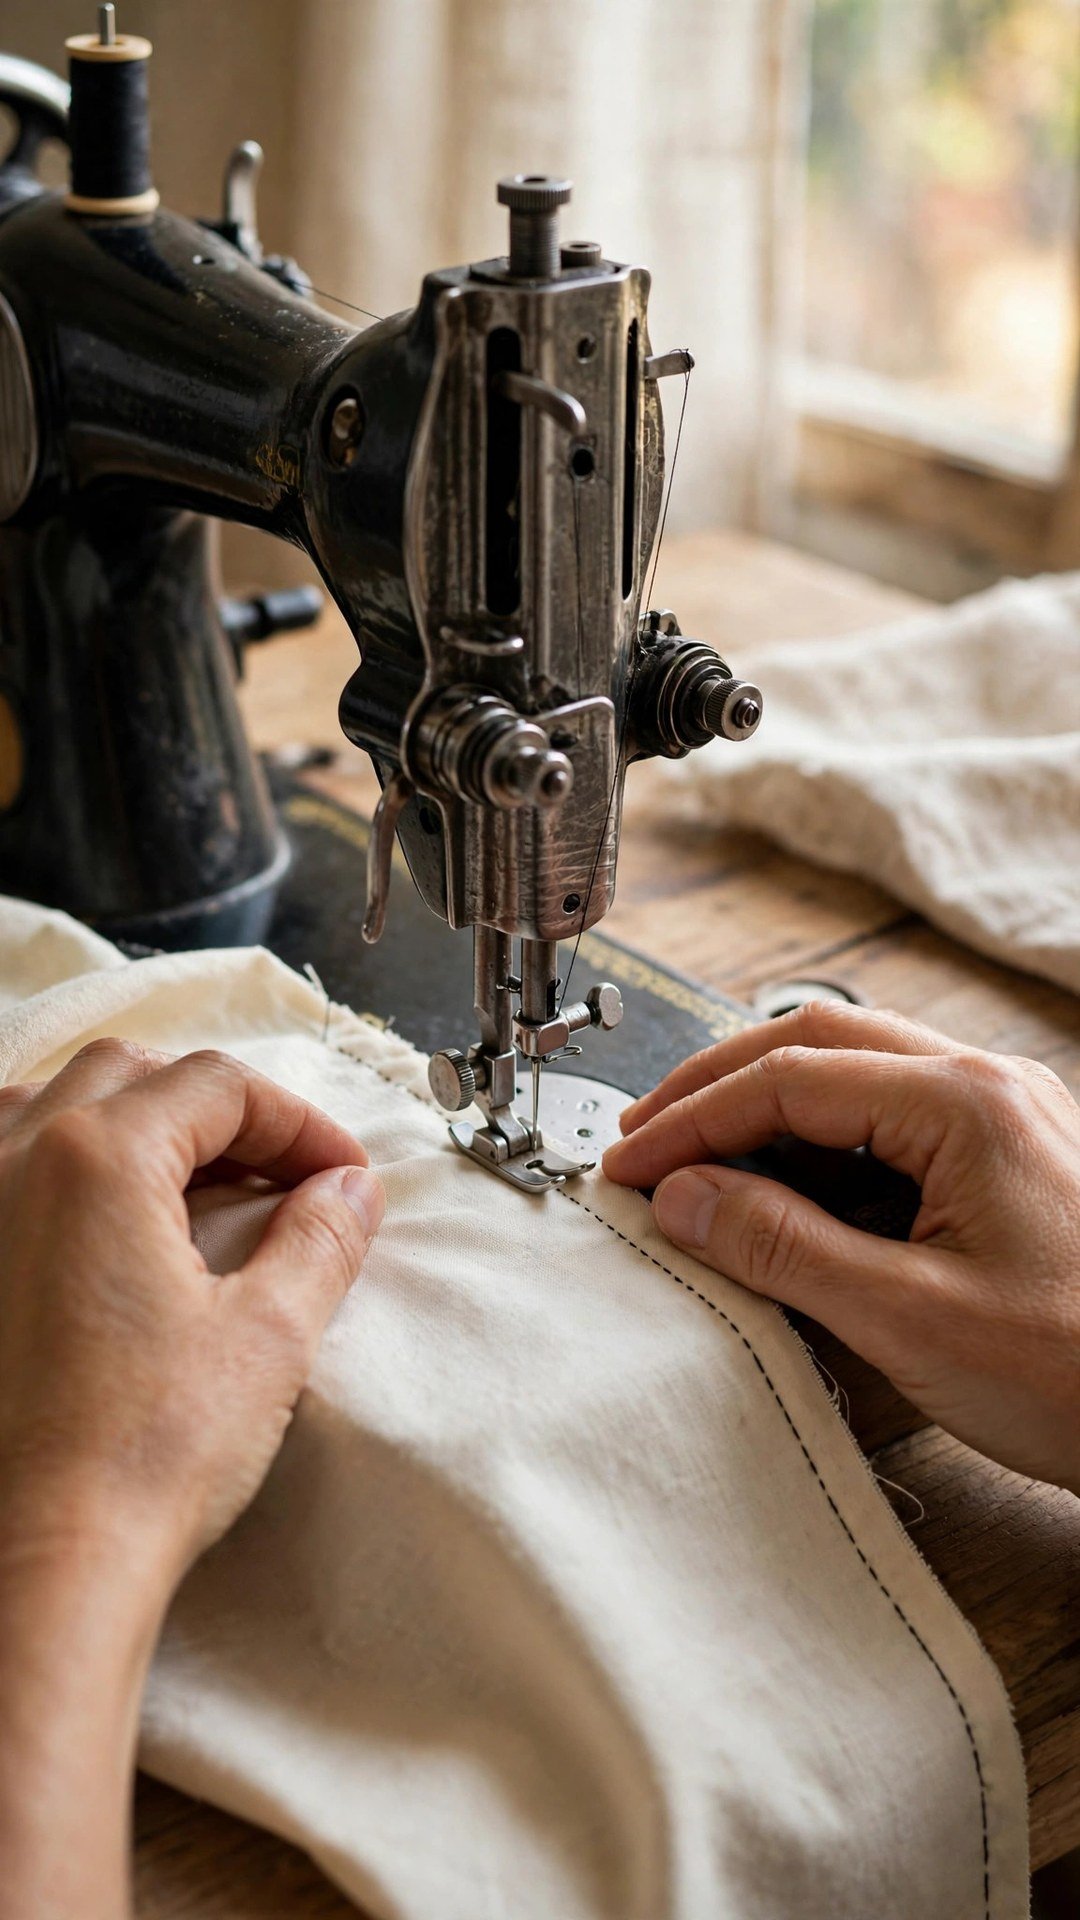
Now run the machine slowly on a scrap of fabric, with thread in, for a few minutes. Check the stitches and check the scrap for oil spots. If you see oil marks, keep sewing on scraps until the marks stop, and wipe the needle bar and throat plate with a clean cloth. This is how to oil a vintage sewing machine without ruining your good fabric, and it is worth the extra scrap every time.
How Often to Oil and What to Watch For
How often you oil depends on how much you sew. For regular weekly sewing, a light oiling every month or two keeps most vintage machines happy. For heavy daily use, oil more often, and for a machine that sits unused for months, oil it before you start sewing again. A machine that has been stored needs oil before its first stitch, not after it starts complaining.
Listen to your machine. A squeak, a stiff handwheel, uneven stitches, or a bobbin area that feels gritty are all signs it needs attention. Do not keep sewing through a squeak and hope it goes away. Stop, clean, oil, and test on a scrap. Machines are honest about what they need, and a small job now prevents a repair later.
Keep a simple note of when you oiled the machine, especially if you own more than one. I write the date on a small card kept in the machine drawer. It takes seconds, and it stops the guessing game about whether the machine was oiled last month or last year. Regular care is the whole secret of vintage machines, and oiling is the kindest part of it.
Frequently Asked Questions
Can I use any oil on a vintage sewing machine?
No. Use only clear sewing machine oil. Cooking oil, household oil, and thick motor oil go gummy, attract lint, and can seize the moving parts. If the bottle does not say sewing machine oil, keep it away from the machine.
How do I know where the oiling points are?
Check your manual first, and look for small holes marked with a dot or an oil can symbol on the top, front, and side of the machine. Oil every joint where metal moves against metal, one drop at a time, and turn the handwheel slowly so the oil spreads.
How often should I oil a vintage machine?
For regular weekly sewing, oil lightly every month or two. Oil more often for heavy daily use, and always oil a machine that has been stored before you sew with it again. Listen for squeaks or stiffness, which mean it is time.
Why is there oil on my fabric after oiling?
You used a little too much oil, or you sewed on good fabric too soon. Sew on scraps for a few minutes after oiling, wipe the needle bar and throat plate, and use only one drop per oiling point next time.
Should I oil a vintage machine that has not run for years?
Yes, but clean it first and go gently. Remove lint, check for rust and worn parts, oil one drop at a time, and turn the handwheel by hand before you plug it in. If the handwheel will not turn freely, ask a repair person before forcing it.
Oil It Gently and It Will Sew for Decades
A vintage sewing machine is a simple, honest tool, and oiling is the simplest care you can give it. Clean first, use the right oil, one drop at a time, and test on scraps. Do that on a regular schedule and your old machine will keep sewing smooth, even stitches for many more years. That is a fair trade for twenty quiet minutes.

Written by June Carter
I am June, a sewing enthusiast who loves turning simple fabric into things people actually use. I test every technique and product I write about at my own machine before it lands here.