
June here. Threading a sewing machine looks like defusing a bomb the first time you do it. Dials, levers, tiny metal loops, a diagram printed on the machine that might as well be in ancient Greek. I have taught this to enough beginners to know the truth: it is a 2-minute job once someone shows you the path, and 90% of “my machine is broken” panic is just one missed thread guide.
This is the single most useful skill on this whole site. Get this right and half your future sewing problems never happen.
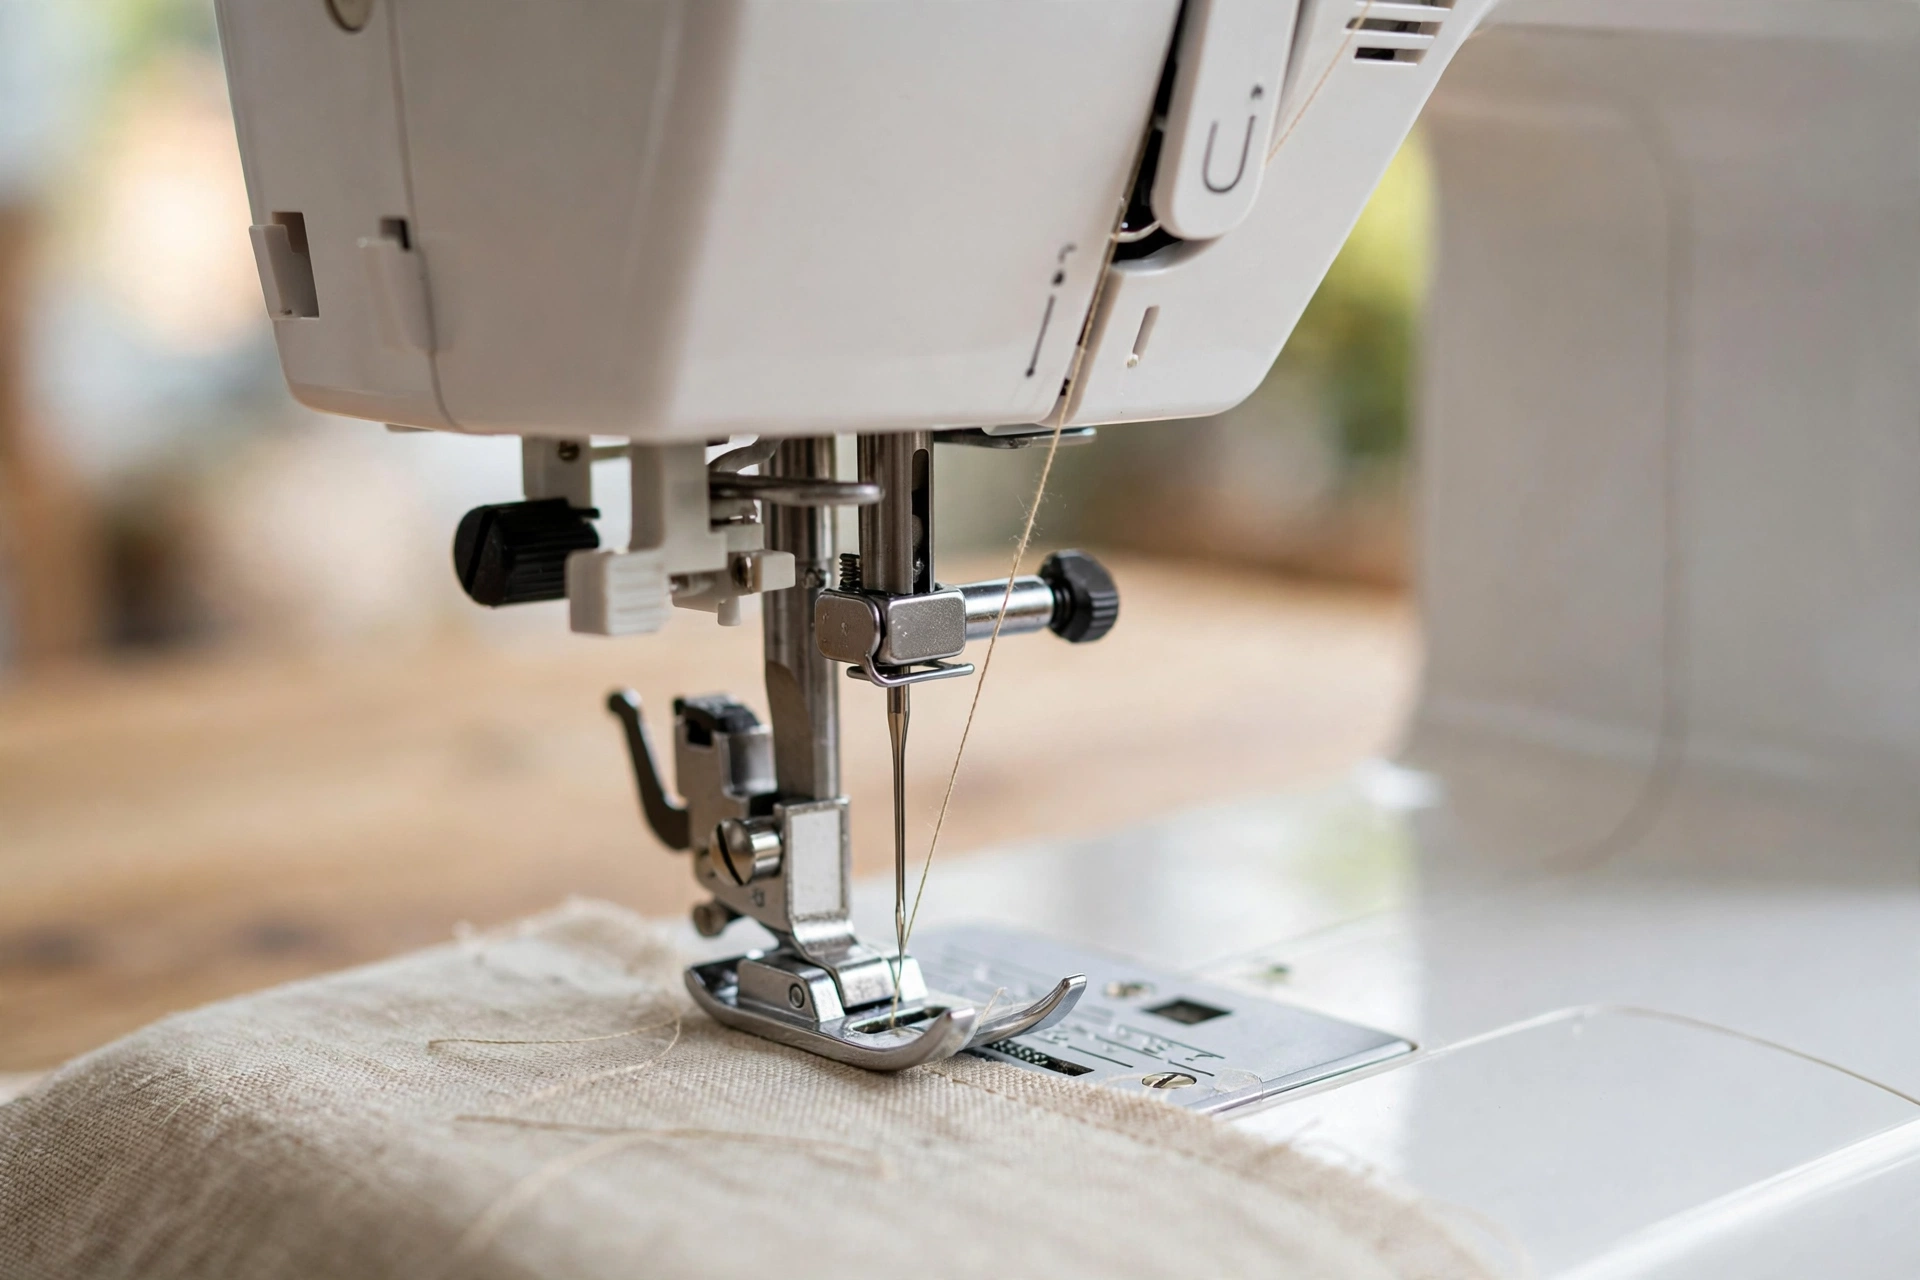
What you need to thread a sewing machine
- Your sewing machine (any brand; the path is nearly identical on Brother, Singer, and Janome)
- All-purpose polyester thread. I use Gutermann Sew-All, about $3.50 a spool, because cheap thread sheds lint into your tension discs and you will pay for it later.
- An empty bobbin that fits your machine (check the manual; bobbins are not universal)
- Small scissors or snips
- 5 unhurried minutes
Gutermann Sew-All thread Schmetz Universal needles 80/12, 5-pack
Before you start: two rules
Rule 1: Presser foot UP. Always. The tension discs only open when the foot is up. Thread with the foot down and your top tension will be wrong no matter what the dial says. This one mistake causes more bird-nesting than everything else combined.
Rule 2: Needle at its highest point. Turn the handwheel toward you until the needle is fully up. The take-up lever needs to be at the top or the thread will slip out of it mid-seam and you will wonder what you did wrong. (You did this.)
Step 1: Wind the bobbin
Do this first, while the machine is unthreaded. It is easier and you need a full bobbin anyway.
- Place your thread spool on the spool pin.
- Pull the thread to the small bobbin-winding guide (usually a tiny disc on top of the machine), then wrap it around your empty bobbin 4-5 times clockwise.
- Push the bobbin onto the winder spindle until it clicks, then slide the spindle to the right.
- Hold the thread tail and press the foot pedal gently. Wind until the bobbin looks full but not bulging, about 80% full is perfect. Snip the tail.

June’s take: Wind two bobbins while you are at it. Future you, mid-project with an empty bobbin, will be grateful.
Step 2: Place the spool
Put the thread spool back on the spool pin. If your machine came with a little felt disc, put it under the spool. If it came with a spool cap, put it on top. These tiny parts exist to stop the spool from rattling and the thread from tangling. Do not throw them in a drawer and forget them. (I did. For a year.)
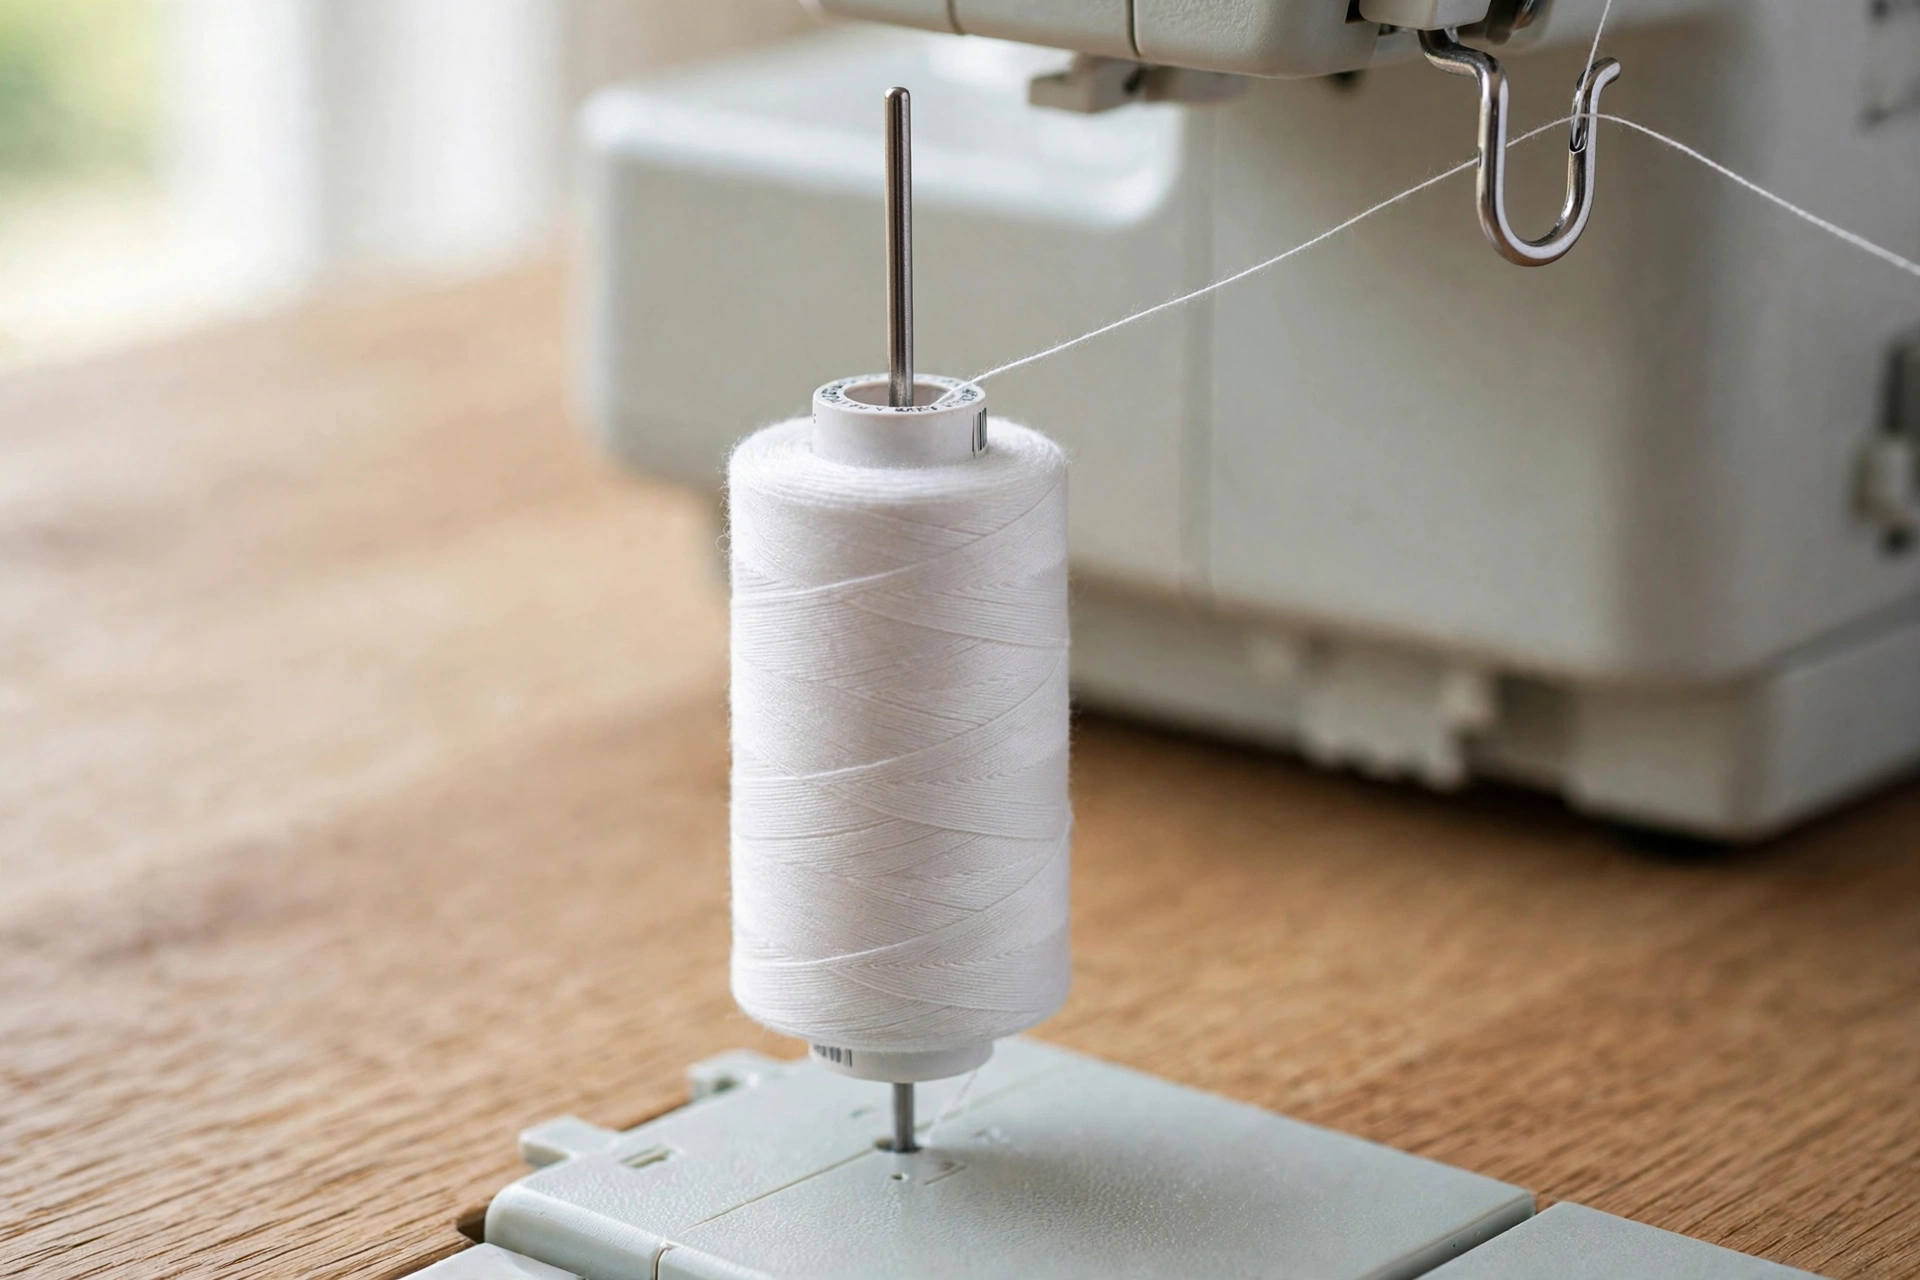
Step 3: Follow the numbered path
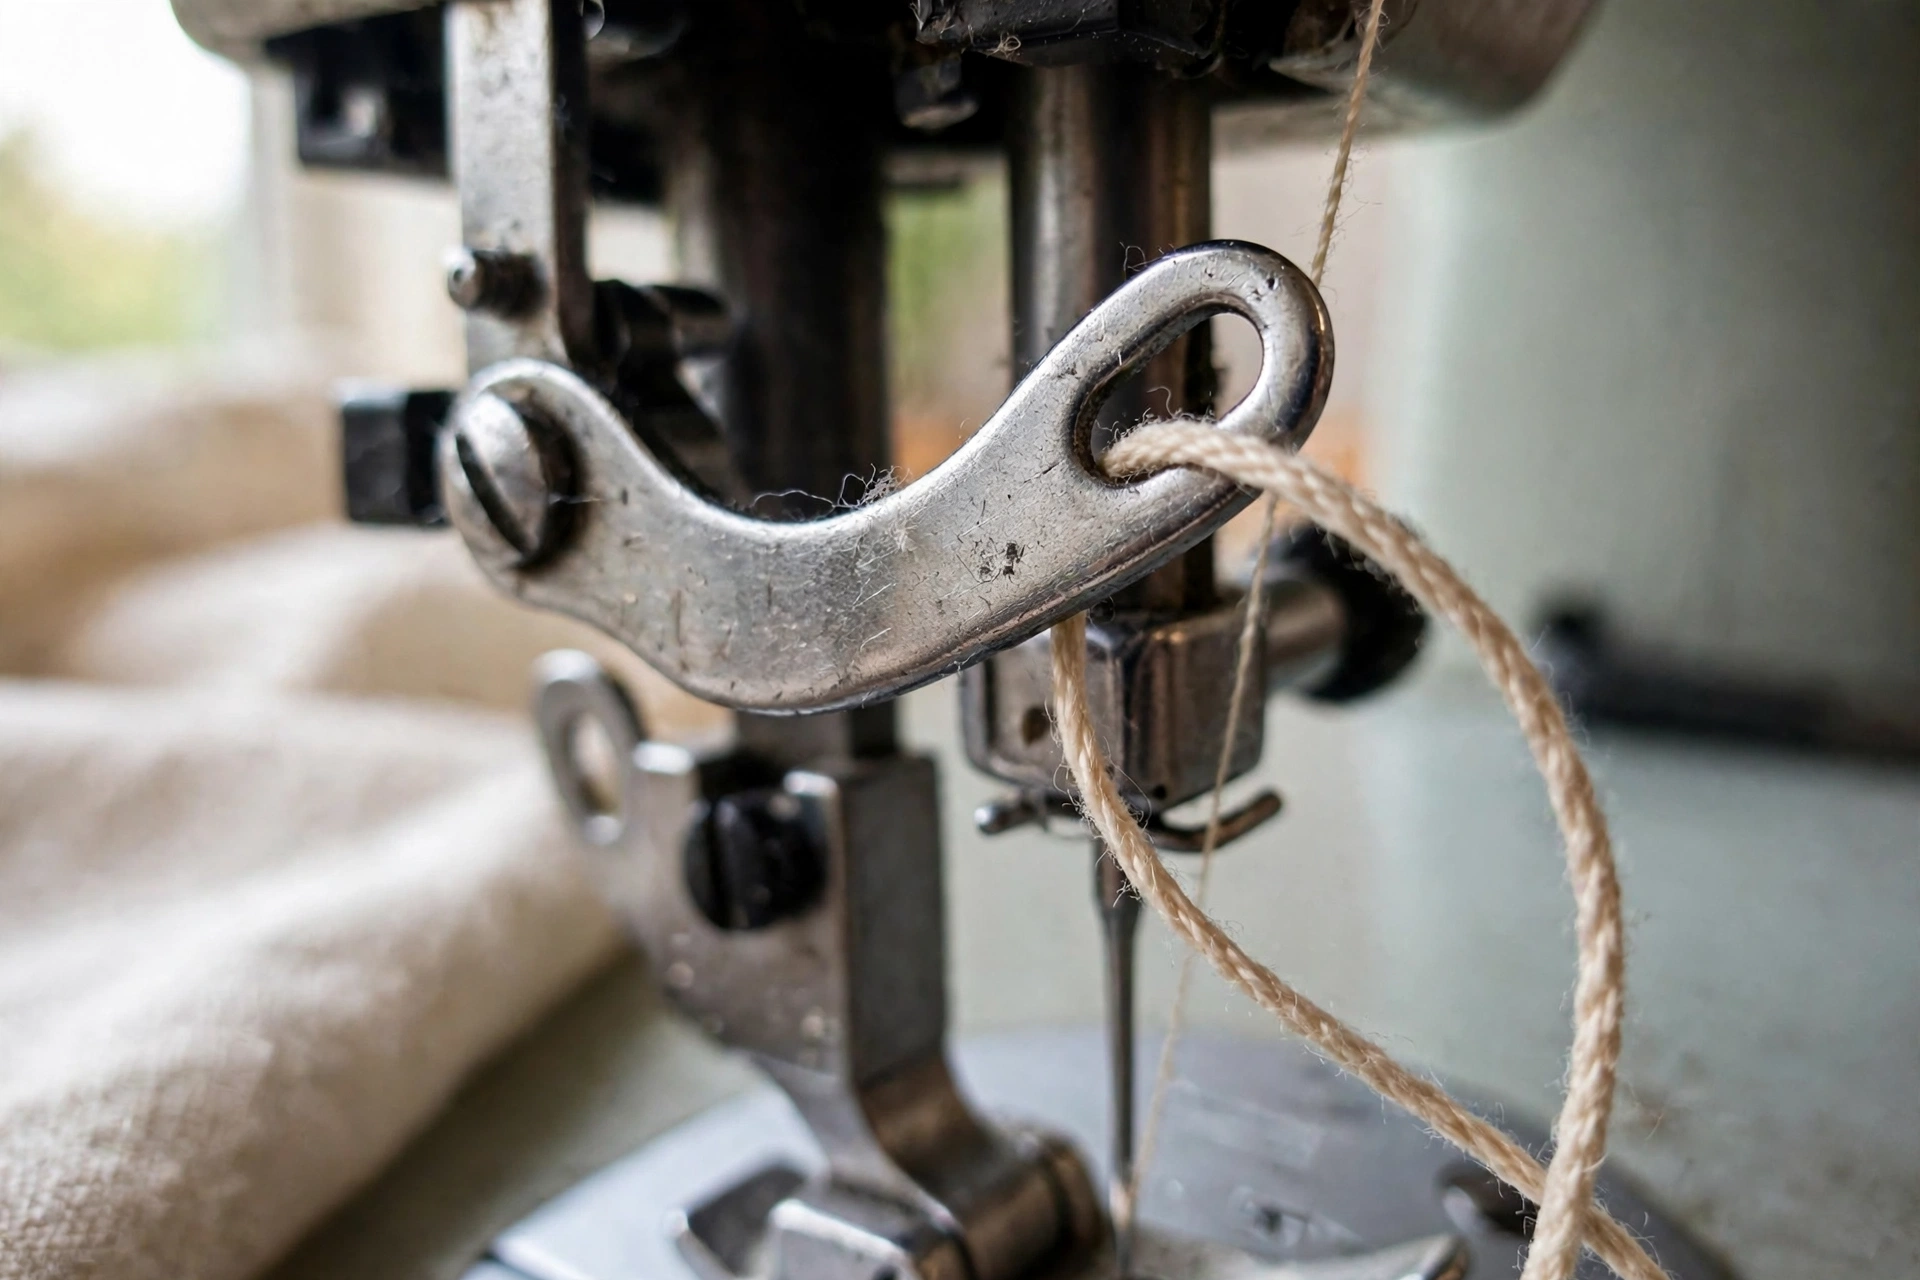
Most modern machines print little numbers along the thread path. Follow them in order. On a typical machine:
- Pull the thread through the top thread guide (the little loop near the spool).
- Bring it DOWN through the long channel on the front, sliding it between the tension discs. You should feel a slight resistance, like the thread is being gently gripped. No resistance means the presser foot is down. Go back to Rule 1.
- Bring it back UP the second channel and hook it through the take-up lever, left to right. The lever must be at its highest point (Rule 2).
- Bring it back DOWN toward the needle, slipping it behind the last little wire guide above the needle.
Step 4: Thread the needle
Front to back. That is the rule on almost every home machine: push the thread through the needle eye from the front toward the back. Leave a 4-inch tail.
If your machine has a built-in needle threader (a little lever near the needle), use it: pull the lever down, hook the thread around the tiny wire, release slowly. If the wire misses the eye three times in a row, do it by hand. No shame in it. I still thread by hand half the time.
Step 5: Insert the bobbin and bring up the thread
- Open the bobbin cover under the needle plate.
- Drop the bobbin in so the thread unwinds counterclockwise (on most drop-in bobbins; front-loading machines differ, check the manual once and memorize it).
- Pull the bobbin thread through its slit and leave a 4-inch tail.
- Hold the top thread tail loosely in your left hand. Turn the handwheel toward you one full rotation. The needle dips down and comes back up, pulling a loop of bobbin thread with it.
- Fish out the loop with your finger or tweezers. You now have two threads. Pull both toward the back of the machine, under the presser foot.
Done. That is the whole job.
The 5 threading mistakes that ruin everything
I promised troubleshooting, so here is the part that saves you hours:
1. Threading with the presser foot down. Symptom: giant loops of thread on the underside of your fabric (bird-nesting). Fix: rethread with the foot UP.
2. Missing the take-up lever. Symptom: thread snaps within the first inch of sewing, or the top thread just pulls straight out. Fix: rethread, and this time watch the thread actually catch in the lever.
3. Bobbin in backwards. Symptom: tension looks fine for 6 inches, then everything goes wrong at once. Fix: check the unwind direction in your manual. Counterclockwise for most drop-in bobbins.
4. Old, cheap, or wrong thread. Symptom: constant snapping, lint everywhere. Fix: throw away the thread that came free with the machine. Buy Gutermann or Coats & Clark all-purpose polyester. It costs $3 and saves $30 worth of frustration.
5. Skipping the last needle guide. Symptom: skipped stitches, thread shredding at the needle. Fix: there is almost always a tiny wire guide right above the needle eye. Use it.
Quick test before you sew
Grab a scrap of quilting cotton, folded double. Sew a 6-inch straight seam at medium speed. Now look at it. Top and bottom should look like mirror images, with the threads locking in the middle of the fabric layers. Loops on top mean the bobbin tension is off. Loops underneath mean the top thread path has a problem, which means rethread from Step 3. Ninety percent of the time, rethreading fixes it. I am not exaggerating.
What to learn next
Now that your machine is threaded: How to sew a straight stitch (coming next), then how to wind and insert a bobbin if you want the deep version. And if your machine is still fighting you, the troubleshooting hub has fixes for every common complaint.
Go thread it twice. The second time takes 90 seconds and you will feel like a different person.

Written by June Carter
I am June, a sewing enthusiast who loves turning simple fabric into things people actually use. I test every technique and product I write about at my own machine before it lands here.