

If you want to know how to press seams open or to one side, here is the secret nobody tells beginners: pressing is the real difference between homemade-looking and handmade-looking. I have seen the same pattern sewn in the same fabric come out looking either crisp and professional or soft and lumpy, and the only difference was whether the maker pressed every seam as they went. Your sewing machine makes the stitches, but your iron makes the garment.
Here is my honest opinion, stated plainly: skipping pressing is the single most common reason a beginner’s project looks like a beginner’s project. It is also the easiest habit to fix. Every seam you sew should visit the ironing board before you sew the next one. Not at the end. As you go. Once you understand how to press seams open or to one side, and when to choose each, your sewing will level up overnight, and the technique takes about thirty seconds per seam.
Pressing Is Not Ironing
This is the first thing to get straight, because the words get used interchangeably and they should not be. Ironing is what you do to a wrinkled shirt: you slide the iron back and forth across the fabric. Pressing is different. You lower the iron onto the fabric, hold it still with firm pressure for a few seconds, then lift it straight up and move to the next spot. Lift and press, lift and press.
Why does this matter for seams? Because sliding the iron pushes the fabric layers around and can stretch them out of shape, especially on bias edges and curved seams. The lift-and-press motion applies heat and pressure without any sideways force, so the seam stays exactly where you put it. When your pattern says to press a seam, it means this lifting motion, not a vigorous back-and-forth scrub.
One more rule that matters enormously: let the fabric cool before you move it. Heat plus pressure reshapes the fibers, but they need to cool in that new position to hold the shape. If you pick up a seam while it is still hot, it can spring right back. Press it, lift the iron, and give it a few seconds before you carry on.
How to Press Seams Open or to One Side: The Basic Method
Every seam starts the same way, regardless of which direction you will press it in the end. First, press the seam exactly as it was sewn, with the two layers still closed together, right sides facing. Lay it flat on the ironing board and press along the stitching line. This step sets the stitches into the fabric, melding the thread and the fibers together so the seam behaves as one piece instead of two layers held by thread. I do this on the wrong side first, and for heavy fabrics I flip and press from the right side too.
Only after the stitches are set do you choose a direction. If you are pressing the seam open, open the two layers and spread the seam allowances apart, one to each side of the stitching line. Finger press them flat first to hold them in place, then press each allowance with the iron, working along the whole length of the seam. If you are pressing to one side, keep both allowances together and fold them toward the chosen side, finger pressing first, then pressing with the iron along the full seam.
The final step is the same either way: turn the piece over and press from the right side. This is what makes the seam look crisp and flat from the outside, which is the side everyone actually sees. Check that there are no bumps or ridges along the seam line, and give any stubborn spots another press. That is the whole method. Set the stitches, choose a direction, press from the wrong side, then finish from the right side.
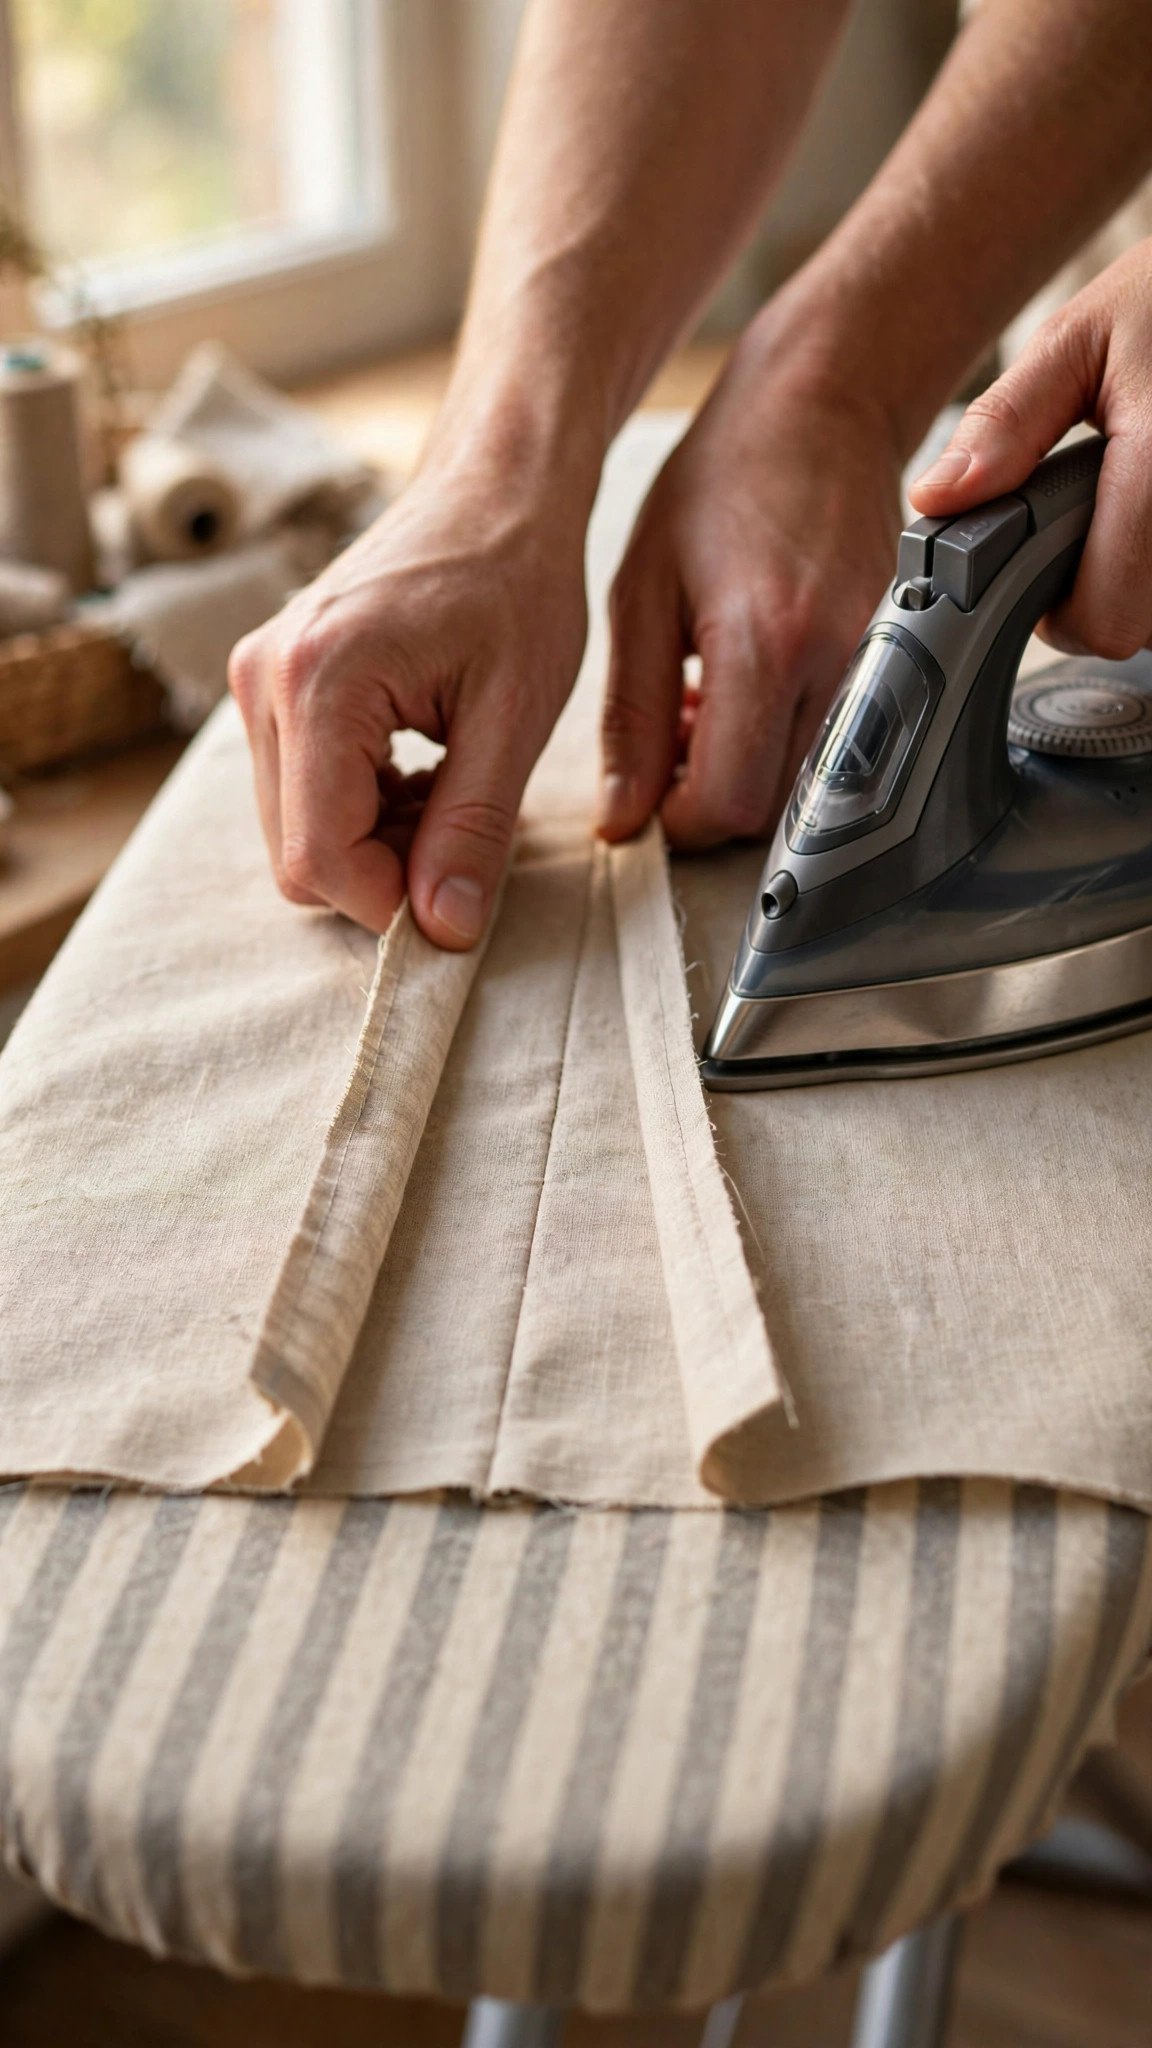
How to Press a Seam Open
Pressing a seam open means spreading the two seam allowances apart so one lies to each side of the stitching line. This is the default for most garment sewing, and if your pattern does not specify a pressing direction, open is usually the safe choice. An open seam lies the flattest of any seam finish, it looks balanced and tidy from both the right side and the wrong side, and it reduces bulk wherever seams intersect, like at the center back of trousers or the side seams of a jacket.
To press a seam open well, take your time with the finger pressing first. Open the seam, run your fingernail or a wooden point turner firmly along both allowances to crease them flat, and only then bring in the iron. Press with the tip of the iron right along the stitching line, then work outward along each allowance. For delicate fabrics, lay the seam over a seam roll first. The roll is a narrow, firmly stuffed tube that supports the seam while letting the rest of the garment fall away on either side, so the iron cannot press a ridge of the seam allowance into the fabric below. It is a small tool that solves a very annoying problem.
One thing to watch: on fabrics that fray easily, an open seam exposes both raw edges, so finish them before you press. A zigzag, pinking, or serged edge on each allowance keeps everything neat. And when you are sewing with a consistent allowance, which my guide on checking seam allowance inclusion helps you verify, the open allowances will be perfectly even and press up beautifully.
How to Press a Seam to One Side
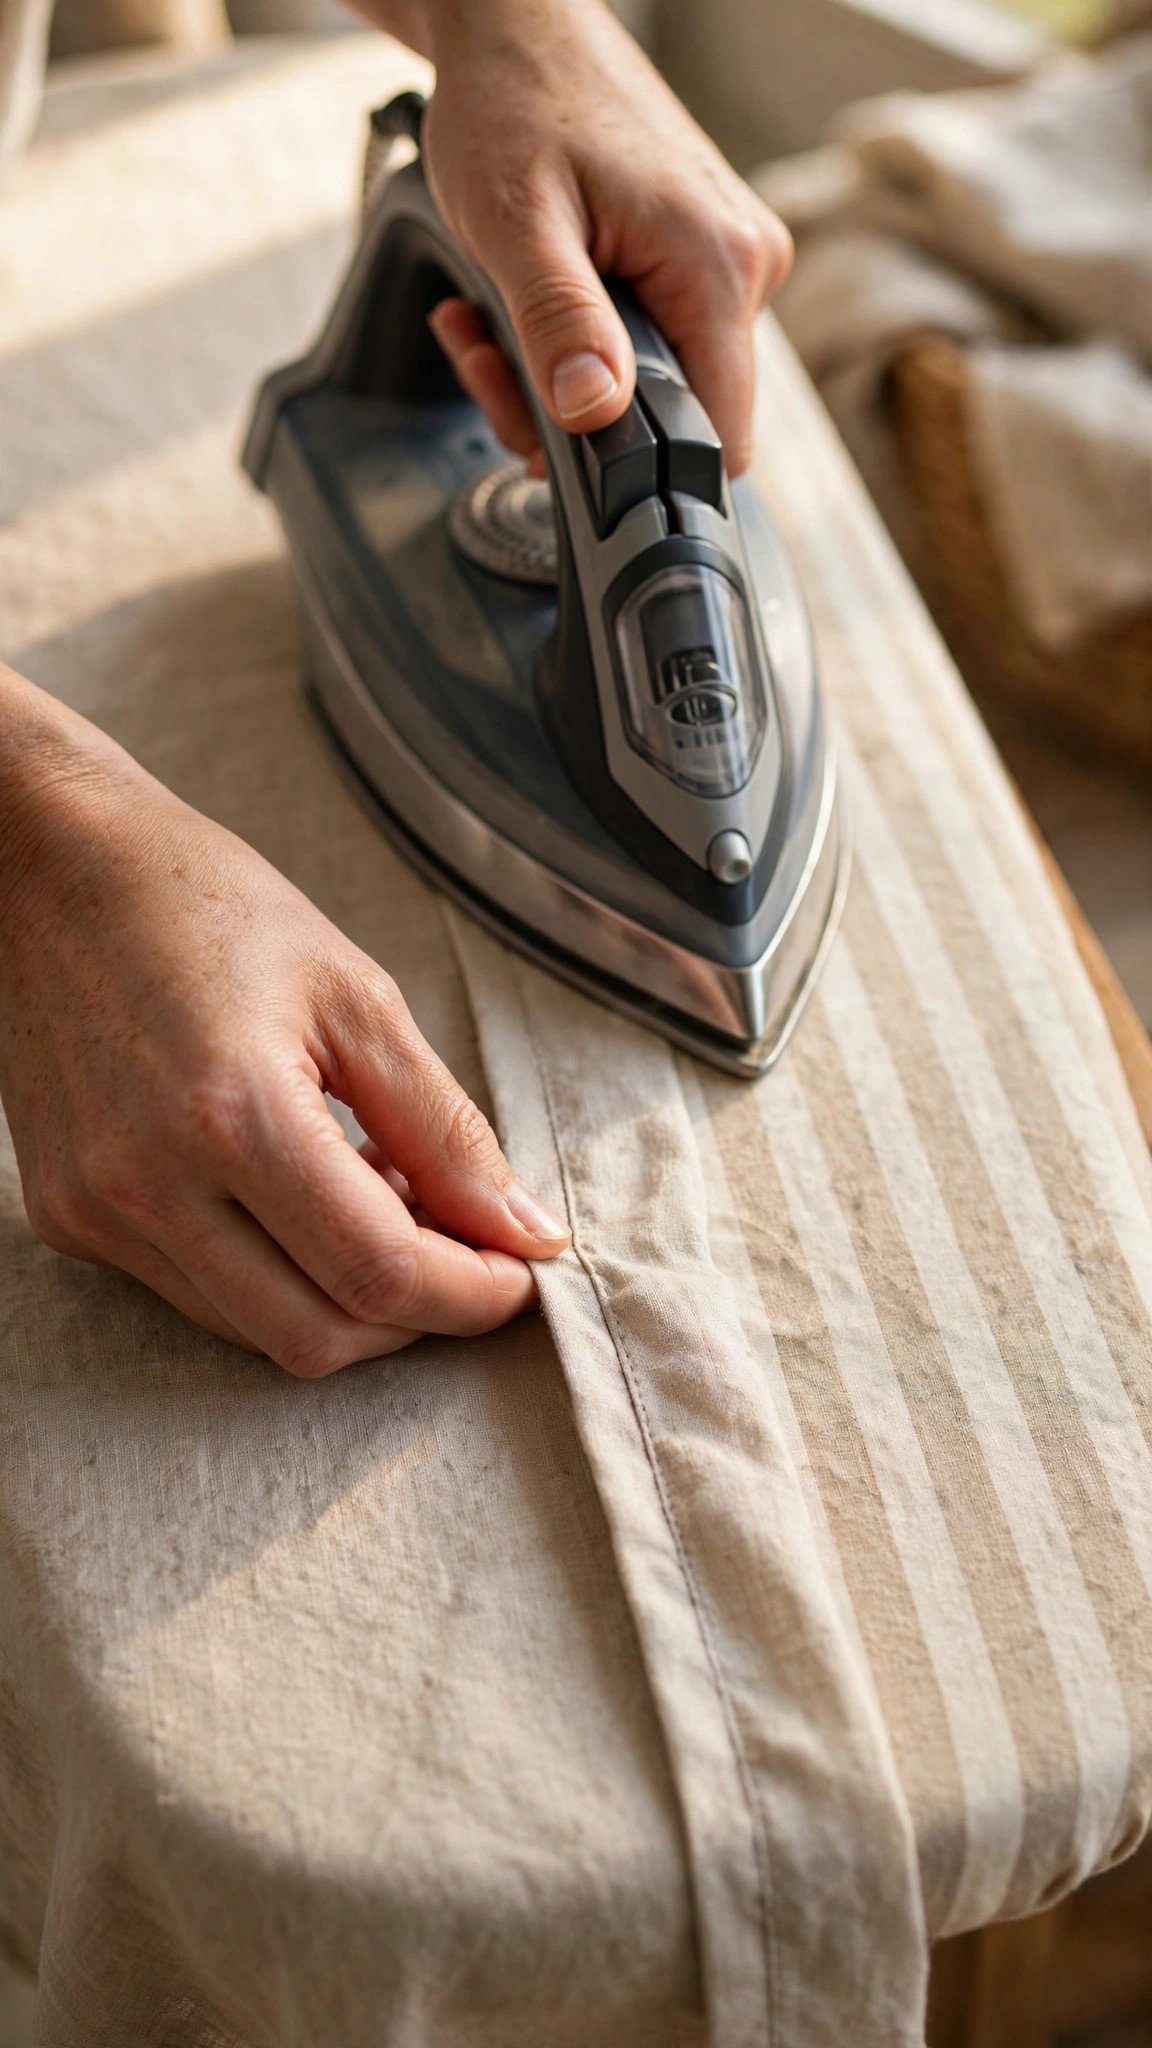
Pressing to one side means both seam allowances are folded together in the same direction. This is sometimes called a closed seam. Quilters will recognize it immediately, because pressing to one side is the standard in quilting: it nests the seams together at intersections, which makes matching points much easier, and it keeps the batting from bearding through open seams. In garment sewing, pressing to one side is the right call when the seam will be enclosed later, like inside a facing or a collar, and when you plan to topstitch along the seam line, because the folded edge gives you a crisp line to follow.
Pressing to one side also has structural uses. On bias-cut seams, pressing the allowances to one side helps prevent the seam from stretching out, because the two layers support each other. On heavy fabrics like denim and canvas, pressing to one side and then topstitching through all the layers creates a famously strong seam. The direction matters, though. As a rule of thumb, press horizontal seams upward and vertical seams toward the back of the garment, and press both sides of a symmetrical garment the same way so the finished piece looks intentional.
The technique is simple: after setting the stitches, fold both allowances to the chosen side, finger press the fold to hold it, and press along the full length with the iron. Then finish from the right side as always. If the seam is curved, like a princess seam or an armhole, press it over a tailor’s ham. The ham is a firmly stuffed, ham-shaped cushion whose curves support the garment’s curves, so you can press a curved seam flat without ironing unwanted pleats into it.
Choosing Open or One Side: A Quick Decision Guide
When the pattern is silent, here is how I decide. If reducing bulk matters, press open: intersecting seams, set-in sleeves, and anywhere the garment needs to lie flat against the body. If the seam will be enclosed or topstitched, press to one side. If you are quilting, press to one side so the seams nest. If the seam is curved and you want the smoothest possible finish, press it open over a ham, because open allowances conform to curves without fighting you.
Also check your pattern’s pressing instructions before you start sewing, because they are there for a reason. Patterns use standard symbols for pressing direction, and my guide on how to read sewing pattern symbols decodes all of them. When a pattern tells you to press a particular way, follow it: the designer chose that direction because the next construction step depends on it, like a facing that wraps the allowances or a topstitched edge that needs the fold underneath.
And if you realize halfway through a project that you have been pressing the wrong way, do not despair. Seams can be re-pressed. Dampen the seam lightly, press the allowances into the new direction, and hold until cool. The fibers will forget the old crease faster than you expect, especially with a little steam.
Tools That Make Pressing Easier
You can press perfectly good seams with nothing but an iron and a board, but a few simple tools make the work faster and the results crisper. A press cloth is the most important one: a clean piece of cotton or muslin laid between the iron and your fabric protects against shine marks, scorching, and melted synthetic fibers. I use one on every fabric more delicate than quilting cotton, and honestly I should use one on quilting cotton too.
A tailor’s clapper is my favorite pressing luxury. It is a smooth block of hardwood that you press down onto a freshly steamed seam. The wood absorbs the heat and the moisture, setting the crease flat and sharp as the fabric cools underneath it. It is especially wonderful on heavy fabrics and on seams you want razor crisp, like trouser creases and collar edges. No steam or electricity required, just weight and wood.
The seam roll and tailor’s ham I mentioned above round out the kit, and a sleeve board, a narrow mini ironing board, earns its place the moment you press your first sleeve seam without creasing the rest of the sleeve. None of these are expensive, and together they turn pressing from a chore into the most satisfying five minutes of every project. If your seams still will not lie flat after proper pressing, the culprit is usually the stitching itself, and my guide on how to sew a straight stitch will help you sort out tension and feeding issues at the source.

FAQ
Should I press seams open or to one side?
Press open when you want the flattest finish with the least bulk, which is the default for most garment seams. Press to one side for quilting, for seams that will be enclosed or topstitched, and for bias seams that need the extra support of both layers together.
What is the difference between pressing and ironing?
Pressing means lifting the iron, placing it on the fabric, holding still with pressure, and lifting straight up. Ironing means sliding the iron back and forth. The lifting motion of pressing sets seams without stretching or distorting the fabric.
Do I really need to press every seam?
Yes, as you sew each one, not all at the end. Pressing each seam before sewing the next keeps the fabric flat and accurate, which means every subsequent seam lines up better. It is the highest-return habit in sewing.
What temperature should I use to press seams?
Use the temperature recommended for your fabric’s fiber content, and always test on a scrap first. When in doubt, start cooler and use a press cloth. You can add heat, but you cannot undo a scorch mark.

Written by June Carter
I am June, a sewing enthusiast who loves turning simple fabric into things people actually use. I test every technique and product I write about at my own machine before it lands here.